Pumpkin Snickerdoodles
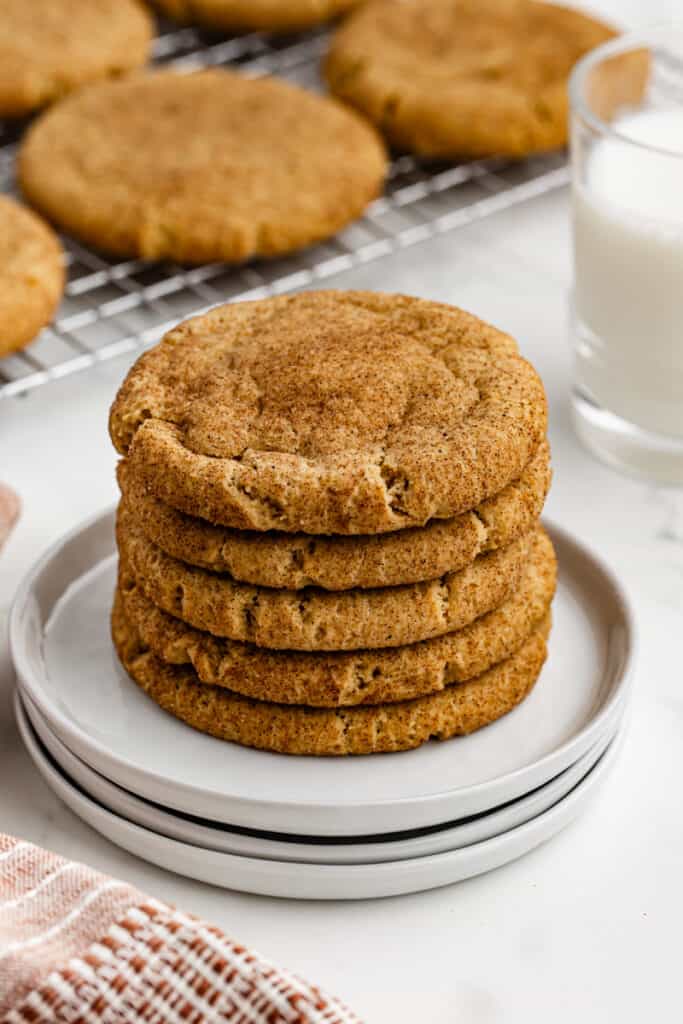 These soft and chewy Pumpkin Snickerdoodles are the ultimate fall cookie, made with real pumpkin and warm spices, then rolled in cinnamon sugar. How to make Pumpkin Snickerdoodles: Make Dough and Roll: Cream butter, shortening, and sugars until light and fluffy. Mix in eggs, pumpkin, and vanilla, then stir in dry ingredients and mix until…