Homemade Snickers Bars
Know what really satisfies? Making your own gooey, peanutty, caramel-y, milk chocolate-y Snickers candy bars at home.
all things food
Know what really satisfies? Making your own gooey, peanutty, caramel-y, milk chocolate-y Snickers candy bars at home.
Expect a slightly ginormous, squat, thin cookie that’s chewy in the center, crisp at the edges, and uncommonly good through and through.
Designed to maintain their just-out-of-the-oven loveliness for days, these are ideal for sharing something sweet with the ones you care, whether via the USPS or porch delivery. Or save ’em all for yourself.
There’s chocolate bark and then there’s chocolate bark. This bark is the latter sort, a sort that intrigues and surprises, that both starts and stops conversations, a bark that knows no boundaries.
Whether you want a distraction for the kids or a decorative element for dessert, you’ll find your solution in these how-tos for drizzling and decorating with chocolate.
The classic cookie benefits enormously from a hit of ginger here with these surprise sleeper hits of your Christmas season.
Molten, gooey, dense, chocolatey, and done in minutes with nary any evidence, er, we mean cleanup, this microwave mug cake is the solution to when you need dessert stat.
Hi friends. It feels good to be back in this blog space. Since the beginning of this year, I’ve been focusing my attention on my latest project, My New Roots Grow – an online universe of wellness education – which will launch soon. Grow…
The post White Chocolate Peppermint Torte appeared first on My New Roots.

It feels good to be back in this blog space. Since the beginning of this year, I’ve been focusing my attention on my latest project, My New Roots Grow – an online universe of wellness education – which will launch soon. Grow is the most energy-intensive and large-scale project since my cookbooks, and once again it feels like birthing something major. The blog has been on the back burner giving more space for Grow to, well, grow, but I thought I’d pop in with this stellar holiday dessert because ’tis the season for a White Chocolate Peppermint Torte!
I actually developed this recipe last winter, but wasn’t sure what to do with it. I thought about keeping it exclusively on Grow (since that is where a lot of my recipe content will live from now on!), but because it is so special and delicious, I felt that it should just be out in the world. Inspired by the Spiced Chocolate Torte that I make on the retreats in Mexico (remember places?!), I wanted to make a festive holiday version with white chocolate and peppermint… enter the White Chocolate Peppermint Torte.
The crust is dark chocolate and pecan, so rich and delicious with just the right amount of salt. The interior is velvety smooth and beguilingly creamy, made with cashews, coconut oil, and white chocolate. I love the kiss of peppermint in the filling, which is definitely present but not overwhelming. I didn’t want anyone to feel like they were eating dessert and brushing your teeth at the same time!


If you’re using peppermint essential oil to flavour the filling, I find it helpful to measure it out on a spoon first, just in case the bottle is in a giving mood – one too many drops of this stuff will ruin a good torte with too much minty-ness! I like to use about 6 or 7 drops total, but if it comes out too fast, I have no way of controlling the amount. If you’re using peppermint extract, start at a quarter of a teaspoon and work your way up to the flavour that suits you.
If you eat a vegan diet, you can use maple syrup instead of honey in the filling, but the colour is going to be more brown / beige than creamy. Also, make sure to find dairy-free white chocolate, since the vast majority of commercially-made white chocolate contains milk solids. And then, if you do find vegan white chocolate, read the ingredient list to make sure that is doesn’t contain any hydrogenated oils or weird emulsifiers (or just pick your battles!).


The torte decorating is entirely up to you, although pomegranate seeds create a striking display of holiday cheer! Other options include fresh mint leaves, cacao nibs, or shaved dark chocolate. You could even include them all, if you’re feeling extra festive.
Store the torte in the freezer until you’re ready to enjoy it, then bring it out about 15-20 minutes before serving so that it’s not rock hard. It’s easier to slice and eat when it’s warmed up a tad. Use a smooth, very sharp chef’s knife, and run it under hot water before cutting into the torte to make it glide.
If you’re not in the mood to make a crust, you can turn this dessert into freezer fudge by preparing only the filling. Pour the filling into an 8-inch / 20 cm square pan lined with plastic wrap; top with ½ cup / 65g toasted pecans, cacao nibs, or chocolate shards, and freeze until solid (about 2 hours). Slice into squares and enjoy straight from the freezer!

I hope that wherever you are and whatever you’re celebrating this month, you are safe, healthy, and grateful. This year has thrown us all for the biggest loop of our lives, and finding the small joys and tiny triumphs (like getting out for some fresh air, putting dinner on the table) is enough to make me feel proud, anyway. The holidays will undoubtedly look different this year, but I know that I am just thankful to have a roof over my head and a torte to share with the ones I love. I hope the same for you, dear friend.
In light and love, best wishes for the season ahead.
Sarah B
The post White Chocolate Peppermint Torte appeared first on My New Roots.
…


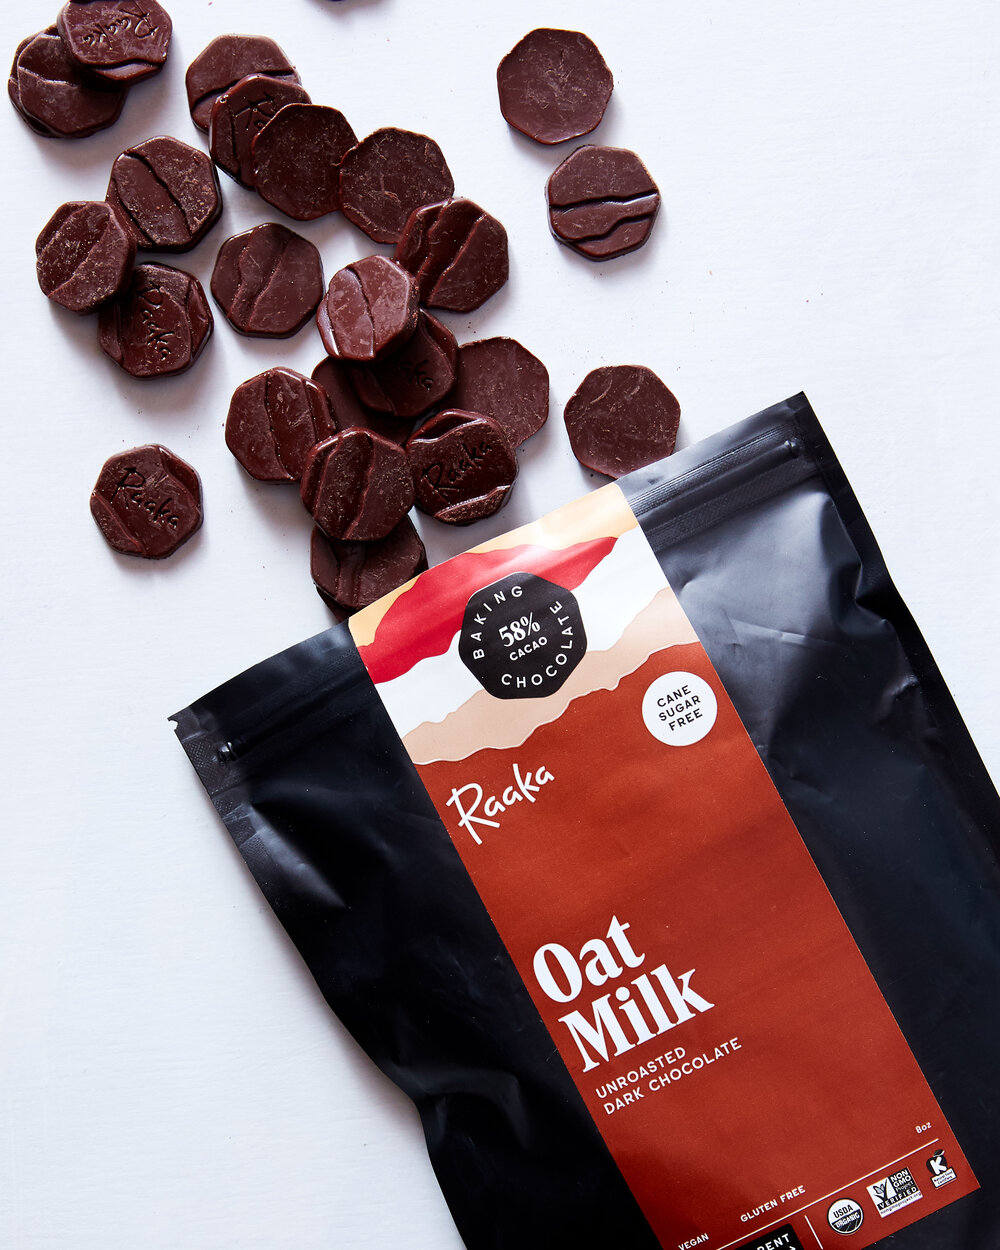
One of my very favorite chocolate makers in NYC, Raaka Chocolate, is launching a new line of baking chocolate today! They are starting with two delicious varieties, Oat Milk 58% cacao that I used in this chocolate mousse tart and Maple Dark 75% cacao. They will launch two more varieties in the coming weeks, and they have cacao powder and cacao nibs too! I got a sneak peek of all four varieties and I have enjoyed baking with (and just plain eating) these little chocolate discs so much.
This decadent Chocolate Mousse Tart with Browned Butter Oat Crust is definitely fit for a special occasion, but isn’t too tricky to put together. The crust is the easy-peasy pat in the pan variety and the mousse is just as good on its own as it is in this buttery, crisp, toasty crust. You could even just make the chocolate mousse and skip the crust all together, but don’t skip the billowy whipped cream!


Raaka Chocolate is unroasted which highlights all of the natural fruitiness of cacao so it’s flavor profile might be a little different than your everyday chocolate, and it is so, so tasty. They are also a company that values the community of growers, producers, and makers whose livelihoods depend on cacao and chocolate and are very transparent about their sourcing practices. You can read all about it on their website. Let me know if you try it!

This post was sponsored by Raaka Chocolate.
Makes one 9-inch tart
This decadent chocolate tart is more than the sum of its parts. The toasty-oaty crust provides a perfect base for rich and decadent chocolate mousse made with Raaka’s sublimely delicious Oat Milk chocolate. The mousse is delicious on its own for gluten free folks too.
Browned Butter Oat Crust
1/2 cup (115g) unsalted butter
2/3 cup (60g) rolled oats
1 cup (130g) all purpose flour
1/3 cup (35g) confectioner’s sugar
1/2 teaspoon kosher salt
Water, as needed
Oat Milk Chocolate Mousse
2 tablespoons granulated sugar
2 tablespoons strong coffee or coffee liqueur
3 large egg yolks
Pinch salt
4 ounces Raaka Oat Milk Chocolate finely chopped, plus a little more to garnish
1 1/4 cups heavy cream, divided
Heat your oven to 375ºF and lightly grease a 9-inch removable bottom tart pan.
Brown the butter: Melt the butter in a small saucepan set over medium heat. Make sure to use a pan with a light colored interior so you can see the milk solids change color. Continue to cook the butter, stirring occasionally, scraping the milk solids off of the bottom and sides of the pan as necessary. After a few minutes the milk solids should turn golden brown and smell toasty. Transfer the toasty browned butter to a heat safe container and let it cool slightly.
Add the oats to the bowl of a food processor and pulse a few times until the oats are broken up a bit. Add the flour, confectioners sugar, and salt and pulse about 10 times or until the mixture looks like coarse sand. Drizzle the butter into the mixture and pulse until combined. The mixture should hold together easily when you squeeze it in your hands. If it seems very dry, add water 1 teaspoon at a time until it holds together.
Pour the mixture into the prepared tart pan and press it evenly into the bottom and sides of the pan. Use the bottom of a measuring cup to make the crust smooth and even. Bake the crust until it is golden brown, 20-25 minutes. Set it on a rack to cool completely.
When the shell is cool, make the mousse.
Whisk 3/4 cup of the heavy cream to soft peaks and store in the refrigerator while you make the rest of the mousse.
Set a heatsafe bowl over a pan of simmering water to make a double boiler. Add the sugar, coffee, egg yolks, and a pinch of salt to the bowl and whisk the mixture until it is very hot to the touch (about 160ºF), pale yellow and doubled in volume.
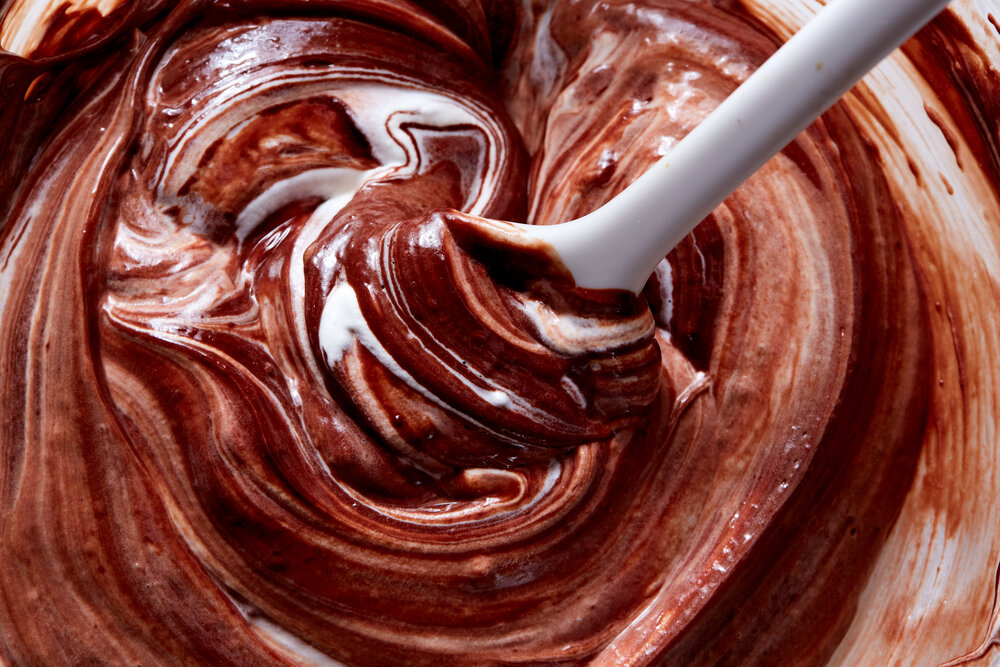
Add the chopped chocolate and whisk until smooth. Off of the heat, add a heaping spoonful of the whipped cream and whisk it into the chocolate mixture to lighten it a bit. Add the rest of the whipped cream and gently fold to combine. Pour the mousse into the cooled shell, smooth the top, and refrigerate until firm, about one hour. Just before serving whip the remaining 1/2 cup cream to soft peaks dollop it over the mousse. Grate a bit more chocolate over the top and serve.

…


I love a cake that you can stir together in one bowl, and this passionfruit cake fits the bill. It is packed with passionfruit flavor and is mouth-puckering tart, but the *ahem generous* swoops of chocolate frosting balance it quite nicely. You could also add an additional 1/4 cup (50g) sugar for a sweeter cake, but I’m a fan of the contrast. If you aren’t a huge frosting fan you may want to hold a little back when you are topping the cake. The cake is also delicious - tart, floral, and tropical - on its own. If you’d prefer to skip the frosting all together, make a little bit of glaze made from passionfruit and confectioners sugar and drizzle it over the top instead.
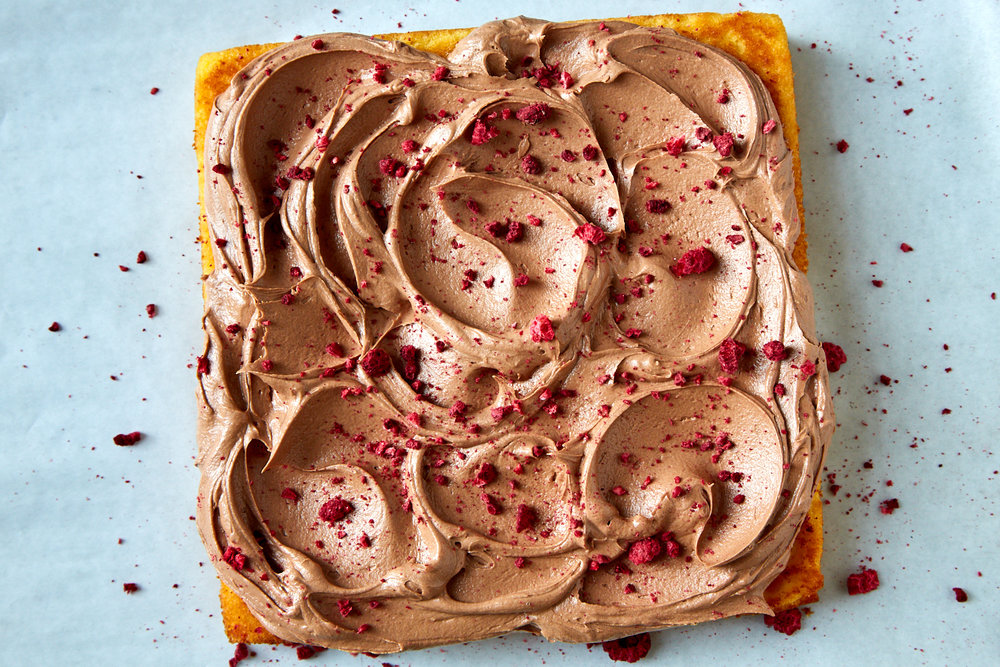
Would you believe that I have misplaced my sprinkles? I’m not sure how it happened, but after my Christmas cookie bonanza I managed to hide ALL OF MY SPRINKLES from myself and I didn’t discover it until I went their normal storage spot to grab some to sprinkle this beaut. In the end it was a blessing because I crushed up a handful of dehydrated raspberries for decor instead and they added a nice tart punch to the topping.
p.s. I use a spoon, instead of an offset spatula, to get these deep swoops and swirls.
makes one 8-inch square cake
Frosting recipe from Smitten Kitchen’s “I want chocolate cake cake”
I used Goya brand passionfruit puree for this cake which I can find easily at most of the supermarkets in my area. Its also very inexpensive and runs about 3 bucks for 7 ounces. You can certainly make your own puree or use a higher end brand, but I’m here to tell you that the inexpensive stuff works just fine. Choose your own adventure. Although, if you can find fresh passionfruit, a few of the seeds and pulp sprinkled over the top would make a beautiful, crunchy garnish. This cake tastes best the day that it is baked, but holds up for a couple of days at room temperature. If you use dehydrated fruit as a garnish it will soften as it sits.
For a less tart cake use 1 cup (200g) sugar.
One Bowl Passionfruit Cake
3/4 cup (150 grams) granulated sugar
2/3 cup passionfruit puree
1/3 cup (75g) sour cream
4 tablespoons (55g) melted unsalted butter
2 large eggs
1 teaspoon vanilla extract
1/2 teaspoon kosher salt
1 1/4 cups (140g) cake flour
2 teaspoons baking powder
Chocolate Frosting
2 ounces (55 grams) unsweetened (or bittersweet) chocolate, melted and cooled
1 1/2 cups (180 grams) powdered sugar
1/2 cup (115 grams) unsalted butter, at room temperature
1 tablespoons milk, plus more if necessary
1/2 teaspoon vanilla extract
fat pinch of salt
Heat oven to 350ºF and butter and flour or spray an 8x8 inch baking pan with non-stick spray.
In a large bowl, whisk the sugar, passionfruit puree, sour cream, melted butter, eggs, vanilla extract, and salt until combined and smooth.
Combine the flour and baking powder in a fine mesh sieve and sift it into the large bowl. Whisk the batter until smooth and pour into the prepared pan. Slide the pan into the oven and bake until a cake tester inserted into the center comes out clean 20-25 minutes.
Cool the cake in the pan on a rack.
While the cake is cooling make the frosting.
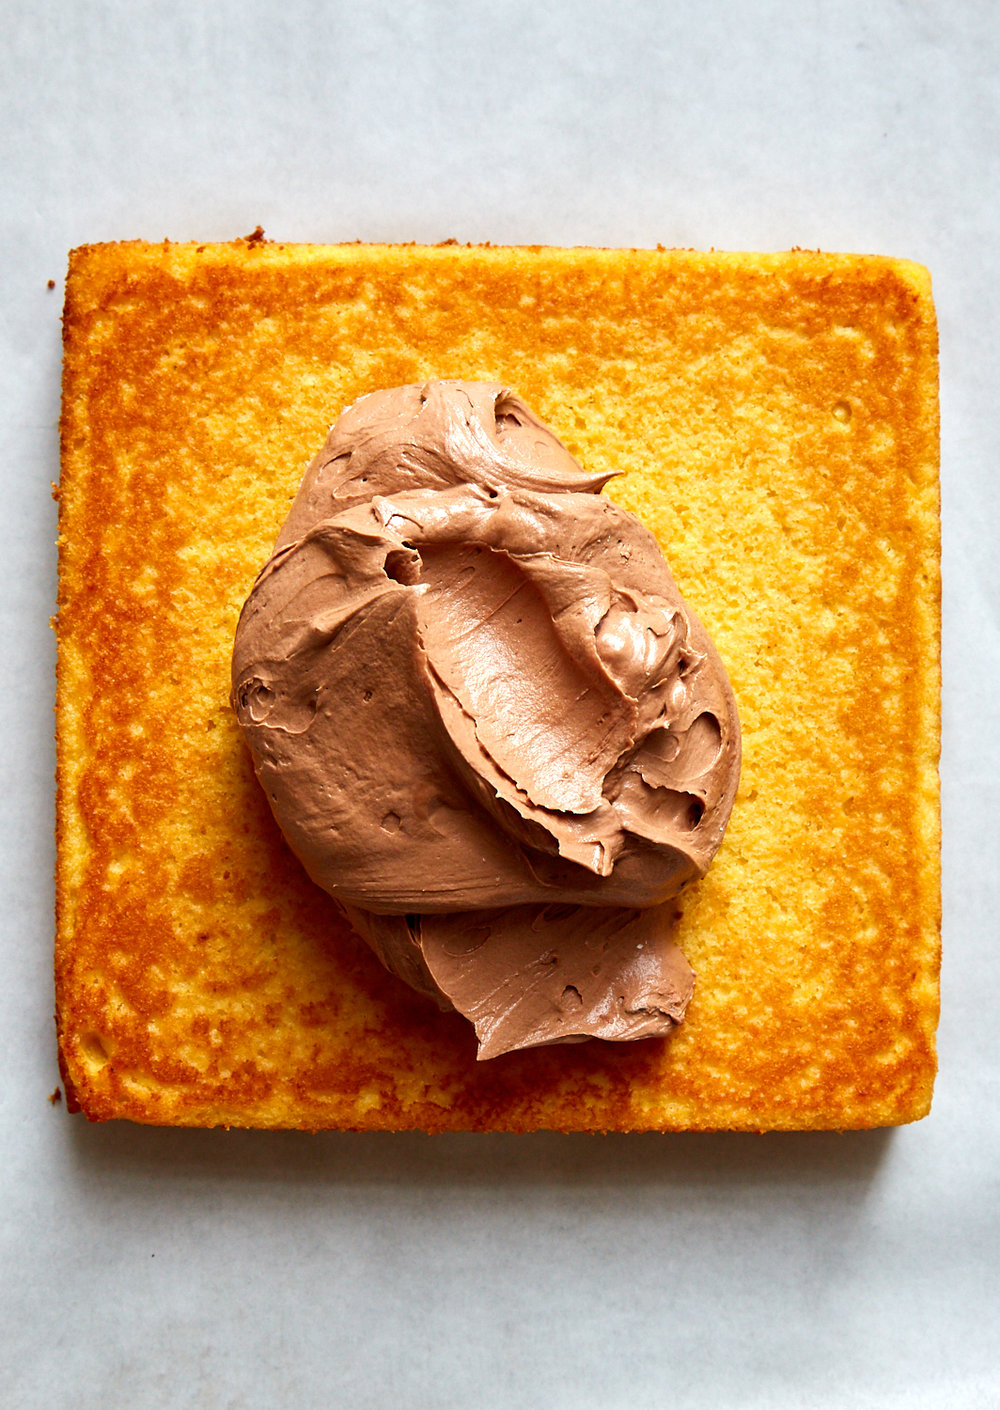
Add all of the frosting ingredients to a large bowl and beat until smooth and fluffy, add a bit more milk if necessary. Alternately, Deb makes the frosting in a food processor.
Spread the frosting evenly over the cooled cake and decorate with a shit-ton of sprinkles. Enjoy immediately! This cake keeps is best the day it’s baked, but will keep for a couple of days, covered at room temperature. The dehydrated raspberries will soften over time.
