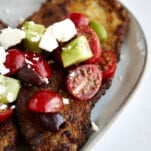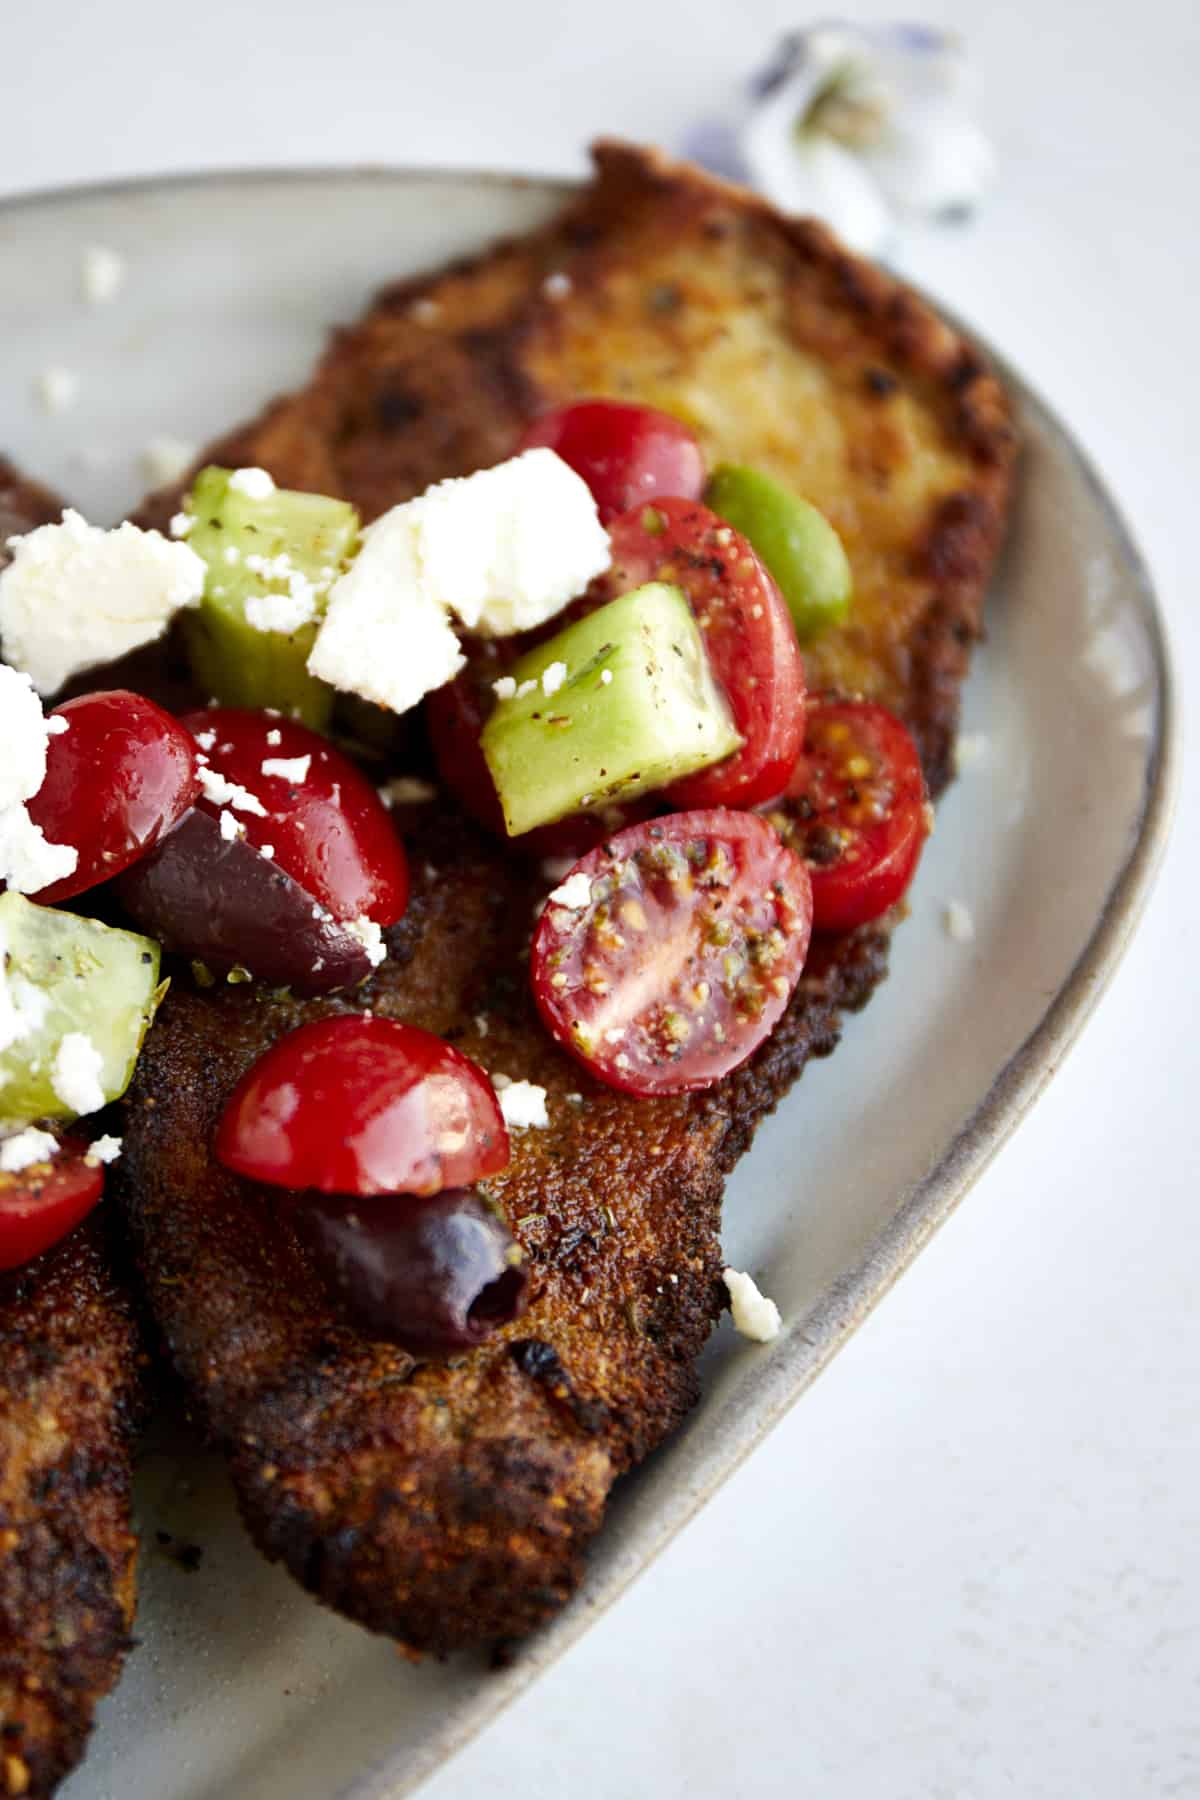
Chicken Milanese with Mediterranean Salad

Chicken Milanese with Mediterranean Salad.Our air fryer Chicken Milanese with Mediterranean salad is a mouthwatering twist on the classic Milanese chicken! This lighter version…

Chicken Milanese with Mediterranean Salad.

Our air fryer Chicken Milanese with Mediterranean salad is a mouthwatering twist on the classic Milanese chicken! This lighter version of the beloved Milanese recipe retains all the crispy, golden goodness and savory flavors you adore but with a fraction of the oil, making it totally guilt-free.

What we really love about this ridiculously easy recipe is that it comes together in less than 30 minutes, which makes it perfect for a quick and satisfying meal. From the golden, crispy chicken to the refreshing and zesty salad, you won’t be able to get enough of this delicious dish!
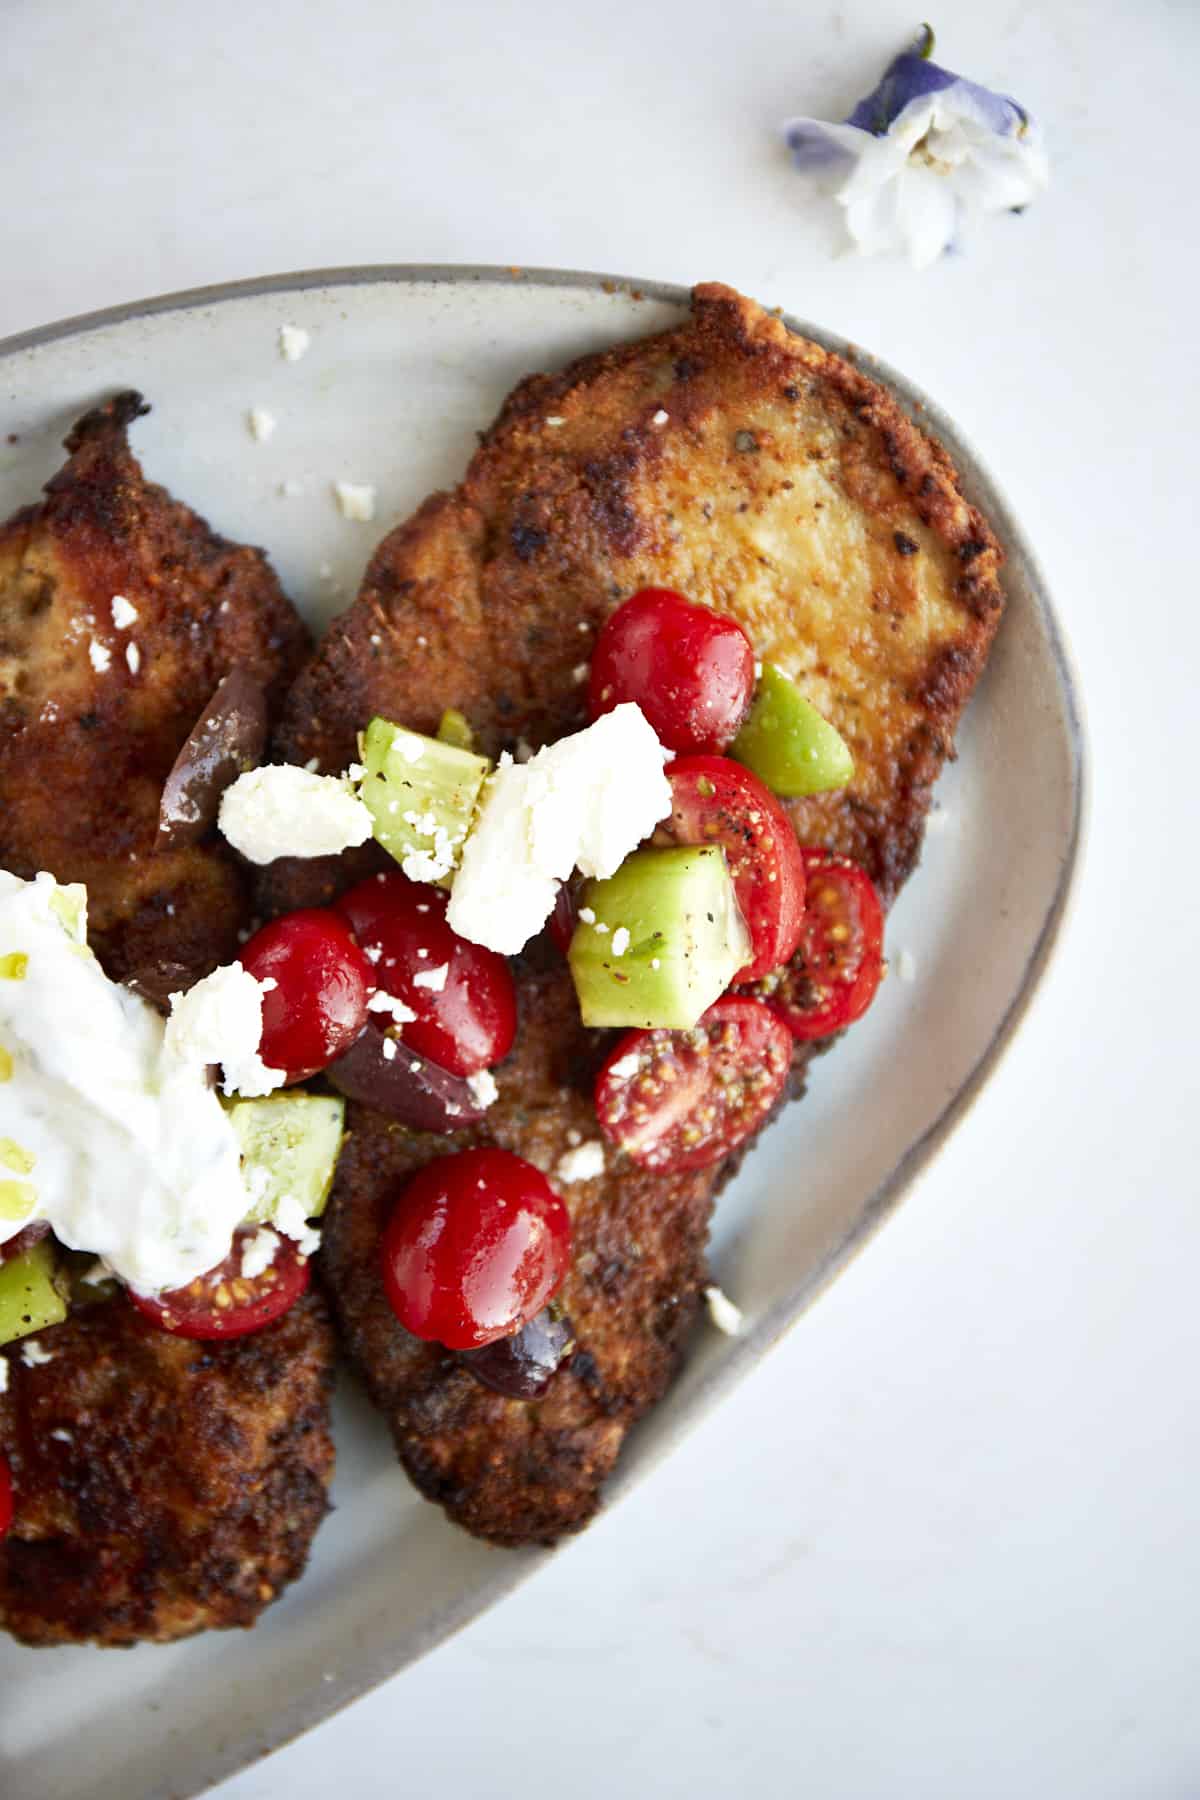
Chicken Milanese with a Mediterranean salad.

What is Chicken Milanese? 

Milanese chicken is a type of breaded and pan-fried protein dish originating from Milan, Italy. You can find it made with veal, pork, or chicken. Chicken is clearly our favorite variation! 

Cooked in oil, the breading becomes crispy and golden on the outside, and the chicken stays tender and juicy. There are many variations of the dish, but we love to add a Mediterranean salad for extra refreshing flavor. 

We also swap the pan frying technique for the air fryer. That way we get the golden, crisp appearance with a fraction of the oil! Ready with minimal prep time and a quick cook time, this Milanese chicken recipe is a game-changer on busy weeknights! 

 What is Chicken Milanese Made Of? 

Traditional recipes provide lots of savory flavor thanks to herbaceous seasonings and plenty of parmesan cheese, and this version is no different! Here’s what you need:

For the Chicken 

  • Chicken – Use large boneless, skinless chicken breasts, and flatten them into thin pieces. Or, feel free to substitute chicken cutlets. 
  • Seasonings – Salt, pepper, and smoked paprika enhance the flavor of the dish, adding just a touch of warmth, too. 
  • Eggs – These are crucial for the breading to cling to the chicken. 
  • Flour – All-purpose flour forms the base of the breading. 
  • Breadcrumbs – We use Italian herb breadcrumbs to add extra flavor to the chicken. If regular breadcrumbs are all you have, just add a sprinkle of Italian seasoning! 
  • Parmesan Cheese – For the best taste and texture, use freshly grated parmesan cheese. 

For the Salad

  • Tomatoes – We use cherry tomatoes, but grape tomatoes also work. 
  • Cucumbers – Persian cucumbers or English cucumbers are best as they have a thinner skin and fewer seeds than other varieties. 
  • Olives – We use a combination of Kalamata olives and green olives to add a pop of color, healthy fats, and a briny flavor. 
  • Lemon Juice – Freshly squeezed is best! 
  • Feta – Use a block of full-fat feta cheese, and grate it over the salad. It’s a little extra work, but the tangy taste and creamy texture are so worth it! 
  • Olive Oil – This forms the base of the dressing, adding peppery flavor and healthy fats. 

Golden Crunch Meets Fresh Zest – A Guide to Air Fryer Chicken Milanese with Mediterranean Flair

Before you begin, be sure to preheat your air fryer so it has plenty of time to get nice and hot! 

  1. Season the chicken. Sprinkle the chicken breasts with salt and pepper. 
  2. Dredge. Dredge the chicken breasts in a bowl of flour seasoned with salt and pepper. Then, dip them into a bowl of beaten eggs, followed by the seasoned breadcrumb mixture. Repeat, dipping them in the eggs and breadcrumbs once more. Use your fingers to press the breading into the chicken and ensure it sticks! 
  3. Arrange. Grease the air fryer basket with cooking spray. Then, arrange the breaded chicken breasts in an even layer, leaving space between each piece. Spritz the tops of the chicken with cooking spray. 
  4. Cook. Air fry until the chicken is golden brown and cooked through, flipping halfway through. 
  5. Prepare the salad. While the chicken cooks, combine all the ingredients except for the cheese for the Meditteranean salad in a bowl. Toss to combine, and sprinkle the feta cheese on top. 
  6. Serve. Plate your chicken Milanese, add the salad on the side, and enjoy warm! 
Top Pick
COSORI Pro III Air Fryer Dual Blaze, 6.8-Quart

The dual heating elements, precise temperature controller and our smart temperature algorithm ensure CRISPY, JUICY FOOD. And with 12 easy functions to choose from, you can cook any food from appetizer to dessert.

We earn a commission if you make a purchase, at no additional cost to you.

Tips for Success

  • Use Tongs. To keep your hands clean, use tongs to pick up and dredge the chicken in each bowl. 
  • Work in Batches. Air fry your chicken in batches as needed to avoid overcrowding the basket. If the pieces overlap, they won’t become golden and crisp! 
  • Check for Doneness. Use a meat thermometer to ensure the chicken reaches an internal temperature of 165 degrees Fahrenheit and is safe to eat. 
  • Rest the Chicken. Set the chicken aside for about five minutes before serving. This allows the juices to redistribute, keeping it juicy all the way through. 

Serving Suggestions

While our Milanese chicken recipe is a satisfying and complete meal on its own, adding an extra side or two can take this dish to the next level! You can never go wrong with options like:

Make Ahead Option

If you want to prepare in advance, feel free to bread the chicken. Then, instead of baking, transfer it to an airtight container, and store it in the fridge for up to a day. 

When you’re ready to eat, air fry as usual, adjusting the cooking time as needed. 

How to Store and Reheat

Store leftover chicken pieces in an airtight container in the fridge for up to four to five days. Keep any leftover salad in a separate airtight container in the refrigerator for one to two days. 

Reheat the chicken in the air fryer or oven at 350 degrees Fahrenheit just until warm and crisp. We don’t recommend freezing this recipe as the breading will become soggy! 

Common Questions About This Chicken Milanese Recipe

What is the difference between chicken cutlet and Milanese? 

Milanese is a cooking method that involves dredging pieces of meat in eggs and breadcrumbs before cooking. Meanwhile, a chicken cutlet is a chicken breast that is sliced horizontally to create two thin pieces of meat.  

What’s the difference between Milanese and parmigiana? 

Chicken parmesan is a dish made with fried chicken cutlets topped with red sauce and cheese. On the other hand, chicken parmigiana is breaded chicken cutlets seasoned with warm herbs and pan-fried until crisp. 

What does Milanese mean in food? 

To prepare something Milanese (or Milanesa) is to dredge thinly sliced pieces of meat in flour, eggs, and season breadcrumbs before frying them. 

More Chicken Recipes to Try 

If you’re looking for more chicken recipes packed with both protein and flavor, we’ve got you covered!

Chicken Milanese with Mediterranean Salad.
Print Recipe
5 from 2 votes

Chicken Milanese with Mediterranean Salad

Prepare this chicken Milanese recipe in the air fryer, and pair it with a Mediterranean salad for a healthy dinner in less than 30 minutes!
Prep Time10 minutes
Cook Time18 minutes
Total Time28 minutes
Course: Main Course
Cuisine: Italian, Mediterranean
Keyword: chicken milanese, chicken milanese recipe, milanese chicken recipe
Servings: 4 servings
Author: Food Dolls

Ingredients

For the Chicken:

  • 2 large chicken breasts halved and flattened
  • Salt to taste
  • Pepper to taste
  • 3 large eggs
  • 1/2 cup all-purpose flour
  • 1 cup Italian herb breadcrumbs
  • 1/3 cup grated Parmesan cheese
  • 1/2 teaspoon salt
  • 1/4 teaspoon pepper
  • 1/2 teaspoon smoked paprika
  • Cooking spray

For the Salad:

  • 1/3 cup sliced cherry tomatoes
  • 1/4 cup chopped cucumbers
  • 1/4 cup sliced Kalamata olives
  • 1/4 cup sliced green olives
  • 1/2 teaspoon salt
  • 1/2 teaspoon pepper
  • 1/2 lemon juiced
  • 3 Tablespoons olive oil
  • 1/4 cup grated feta cheese

Instructions

  • Preheat the air fryer to 380 degrees Fahrenheit (190 degrees Celsius).
  • Season the chicken breasts with salt and pepper.
    2 large chicken breasts, Salt, Pepper
  • In a shallow bowl, beat the eggs, and season with salt and pepper.
    3 large eggs
  • Place the flour in another shallow bowl, and season with salt and pepper.
    1/2 cup all-purpose flour
  • In a third shallow bowl, mix the breadcrumbs, grated Parmesan cheese, salt, pepper, and smoked paprika to create the breading mixture.
    1 cup Italian herb breadcrumbs, 1/3 cup grated Parmesan cheese, 1/2 teaspoon salt, 1/4 teaspoon pepper, 1/2 teaspoon smoked paprika
  • Dredge each chicken breast first in the flour. Then dip them into the beaten eggs, ensuring they are fully coated. Then, dunk the chicken back in the eggs.
  • Coat the chicken breasts with the breadcrumb mixture, pressing gently to adhere the breadcrumbs to the chicken.
  • Spray the air fryer basket with cooking spray.
    Cooking spray
  • Place the breaded chicken breasts in the air fryer basket, making sure they are not overlapping.
  • Spray the tops of the chicken breasts lightly with cooking spray.
  • Air fry for 18 minutes, flipping halfway through the cooking time, until the chicken is golden brown and cooked through.
  • While the chicken is cooking, prepare the salad. In a bowl, combine the sliced cherry tomatoes, chopped cucumbers, Kalamata olives, green olives, salt, pepper, olive oil, and lemon juice. Toss to combine.
    1/3 cup sliced cherry tomatoes, 1/4 cup chopped cucumbers, 1/4 cup sliced Kalamata olives, 1/4 cup sliced green olives, 1/2 teaspoon salt, 1/2 teaspoon pepper, 1/2 lemon, 3 Tablespoons olive oil
  • Once the chicken is cooked, serve hot with the Mediterranean salad on top, and sprinkle grated feta cheese over the salad.
    1/4 cup grated feta cheese
  • Enjoy the delicious Chicken Milanese with Mediterranean Salad!

Nutrition

Serving: 1serving | Calories: 526kcal | Carbohydrates: 36g | Protein: 38g | Fat: 25g | Saturated Fat: 6g | Polyunsaturated Fat: 3g | Monounsaturated Fat: 13g | Trans Fat: 0.03g | Cholesterol: 211mg | Sodium: 1475mg | Potassium: 633mg | Fiber: 3g | Sugar: 3g | Vitamin A: 628IU | Vitamin C: 10mg | Calcium: 213mg | Iron: 3mg

Cheesy Ground Beef Sliders

Get ready for a flavor-packed twist on classic cheeseburgers with our Cheesy Ground Beef Sliders! These simple sliders are kicked…
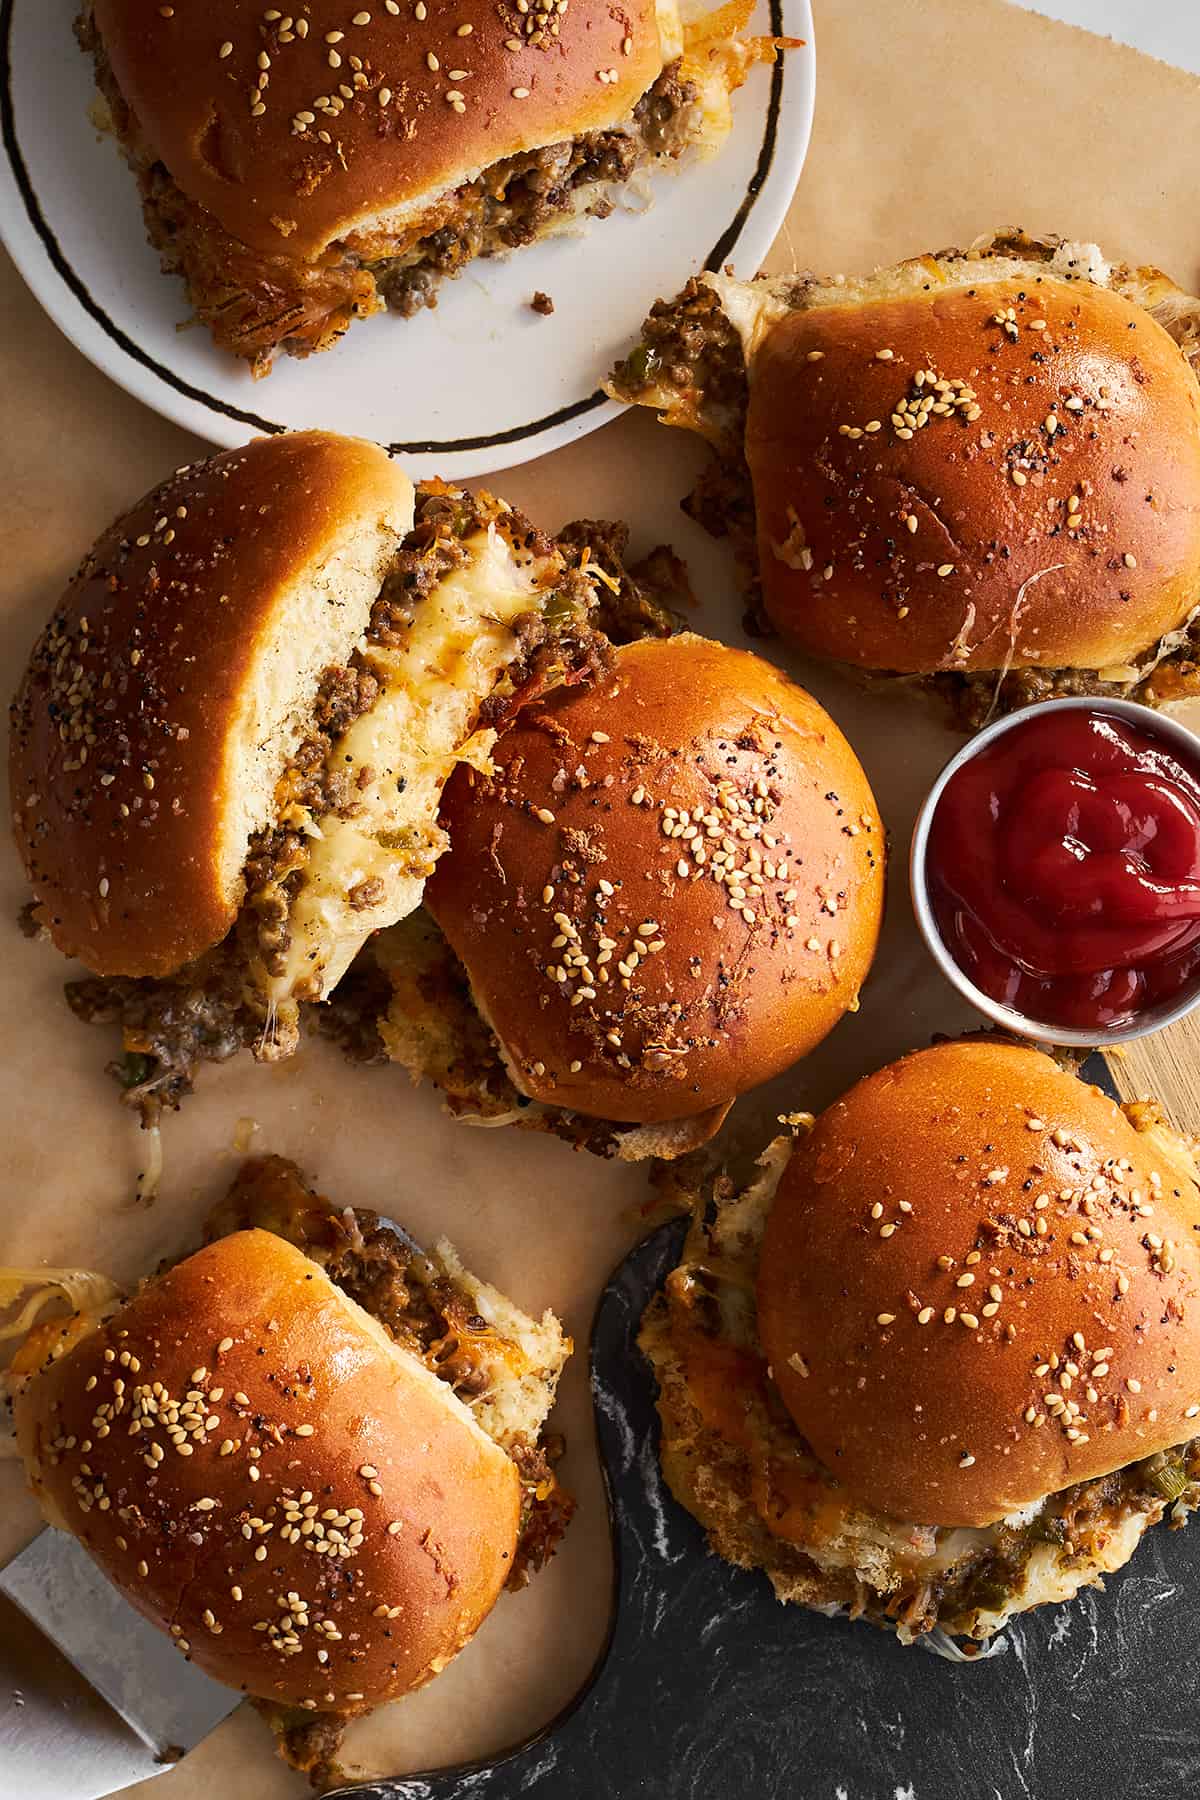
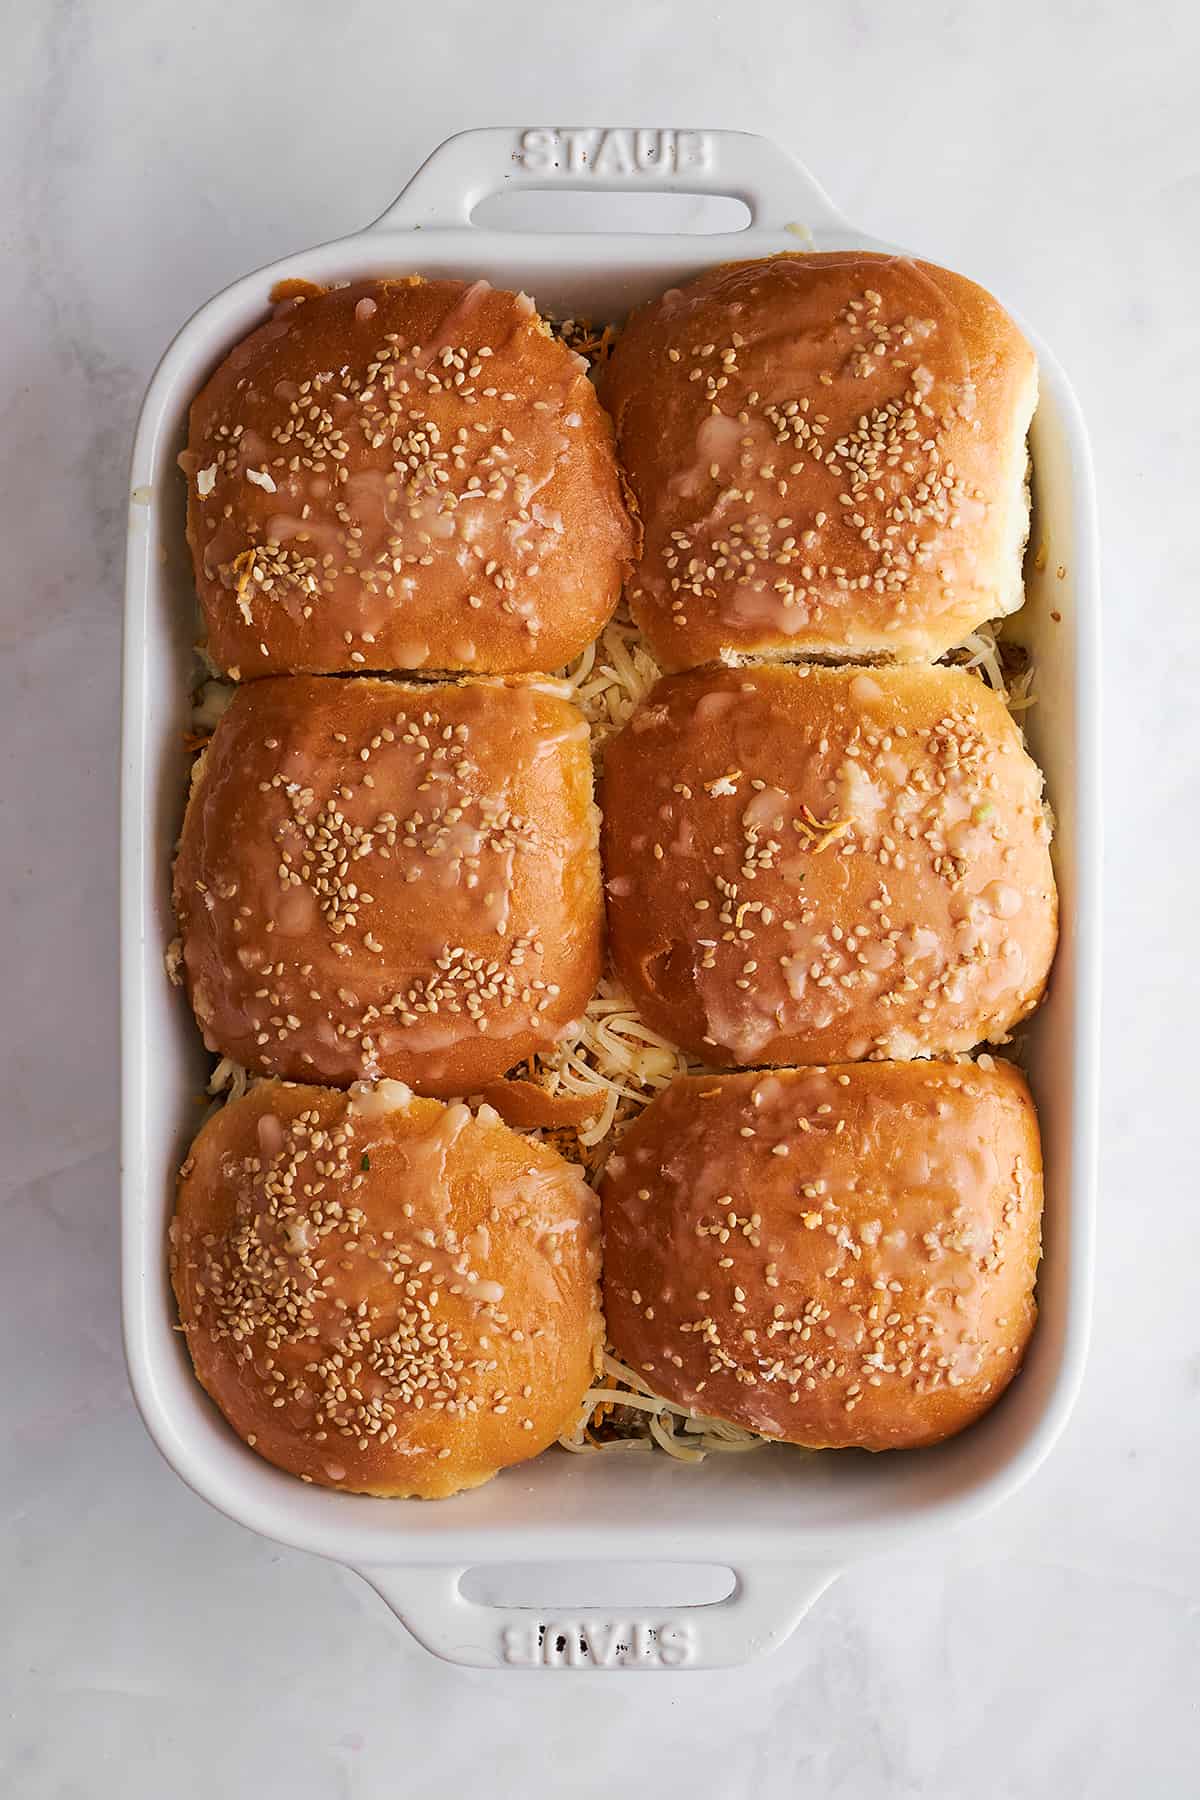
Get ready for a flavor-packed twist on classic cheeseburgers with our Cheesy Ground Beef Sliders! These simple sliders are kicked up a notch with warm seasonings, fresh veggies, and plenty of ooey-gooey cheese! Baked to perfection in the oven, they’re not only quick to prepare but also ideal for meal prep and feeding a hungry crowd.

Cheese ground beef sliders with a side of ketchup.

With savory ground beef, melted cheese oozing from every corner, and the freshness of crisp veggies, these sliders are always a hit!

Small Size, Big Flavor: Why You’ll Love These Cheesy Ground Beef Sliders

Cheeseburger sliders are the ultimate crowd-pleasing recipe! Who can ever say no to beefy cheesy goodness? 

Plus, unlike classic burgers that cook one by one on the grill or stove, sliders can easily be assembled in bulk. That means that prep time is minimal, cook time is quick, and the total time is about 30 minutes! 

Even better, these sliders can easily be prepared in advance and reheat well. As a result, they’re great for stress-free parties and meal prep. Pair them with your favorite sides, and you’ve got a meal that’s suitable for all occasions from weeknight dinners to game days and family barbecues! 

What is the Difference Between a Slider and a Burger? 

The primary difference between the two is their size. Sliders are meant to be smaller and contain less meat than full-sized burgers. They get their name because they’re meant to “slide right down.”

Ingredients You’ll Need

Below is an overview of the ingredients for this recipe. Check out the recipe card below for the complete details and nutrition information! 

  • Beef – We recommend using lean ground beef, 90 percent or leaner. Fattier varieties will work, but you’ll need to drain the fat to prevent the sliders from becoming soggy. 
  • Veggies – Yellow onion, green onion green pepper, and garlic elevate these sliders from standard burgers, adding flavor, texture, and nutrients. 
  • Seasonings – Salt, pepper, paprika, and dried oregano add a savory flavor with a touch of heat. 
  • Worcestershire Sauce – This adds a nice smokiness to the sliders. 
  • Mayonnaise – This helps bind the meat mixture and adds a rich, tangy taste. If you don’t have mayonnaise, Greek yogurt will also work. 
  • Sandwich Buns – Use slider buns, King’s Hawaiian buns, or regular-sized hamburger buns if preferred. Any variety will work. 
  • Cheese – A combination of pepper jack cheese and Colby jack cheese makes these cheeseburger sliders incredibly gooey and oh-so-delicious! Feel free to substitute American cheese or cheddar cheese if preferred.
  • Sesame Seeds – Technically optional, these add a subtle nutty taste and give the buns just a bit of crunch. 

Skip the Grill with This Easy Cheeseburger Sliders Recipe

  1. Brown the meat. Heat a large skillet over high heat. Then, add the beef, and cook, breaking it apart with a meat masher or wooden spoon, until it is no longer pink. Drain the excess fat. 
  2. Add the veggies. Reduce the heat to medium, and add the chopped onions and green peppers. Sauté until the vegetables are soft. 
  3. Season. Add the salt, pepper, paprika, oregano, garlic, and Worcestershire sauce. Sauté until fragrant. Then, remove the skillet from the heat, and stir in the mayonnaise. 
  4. Layer. Arrange the bottom half of the buns in a buttered baking dish. Add the pepper jack cheese slices followed by the browned beef mixture. Sprinkle the shredded Colby Jack on top, and top the burgers with the top half of the buns. 
  5. Top. Brush the buns with melted butter and a sprinkle of sesame seeds. 
  6. Bake. Cover the baking dish with foil, and transfer it to a preheated oven. Bake until the cheese is melted and the buns are golden brown. 
We earn a commission if you make a purchase, at no additional cost to you.
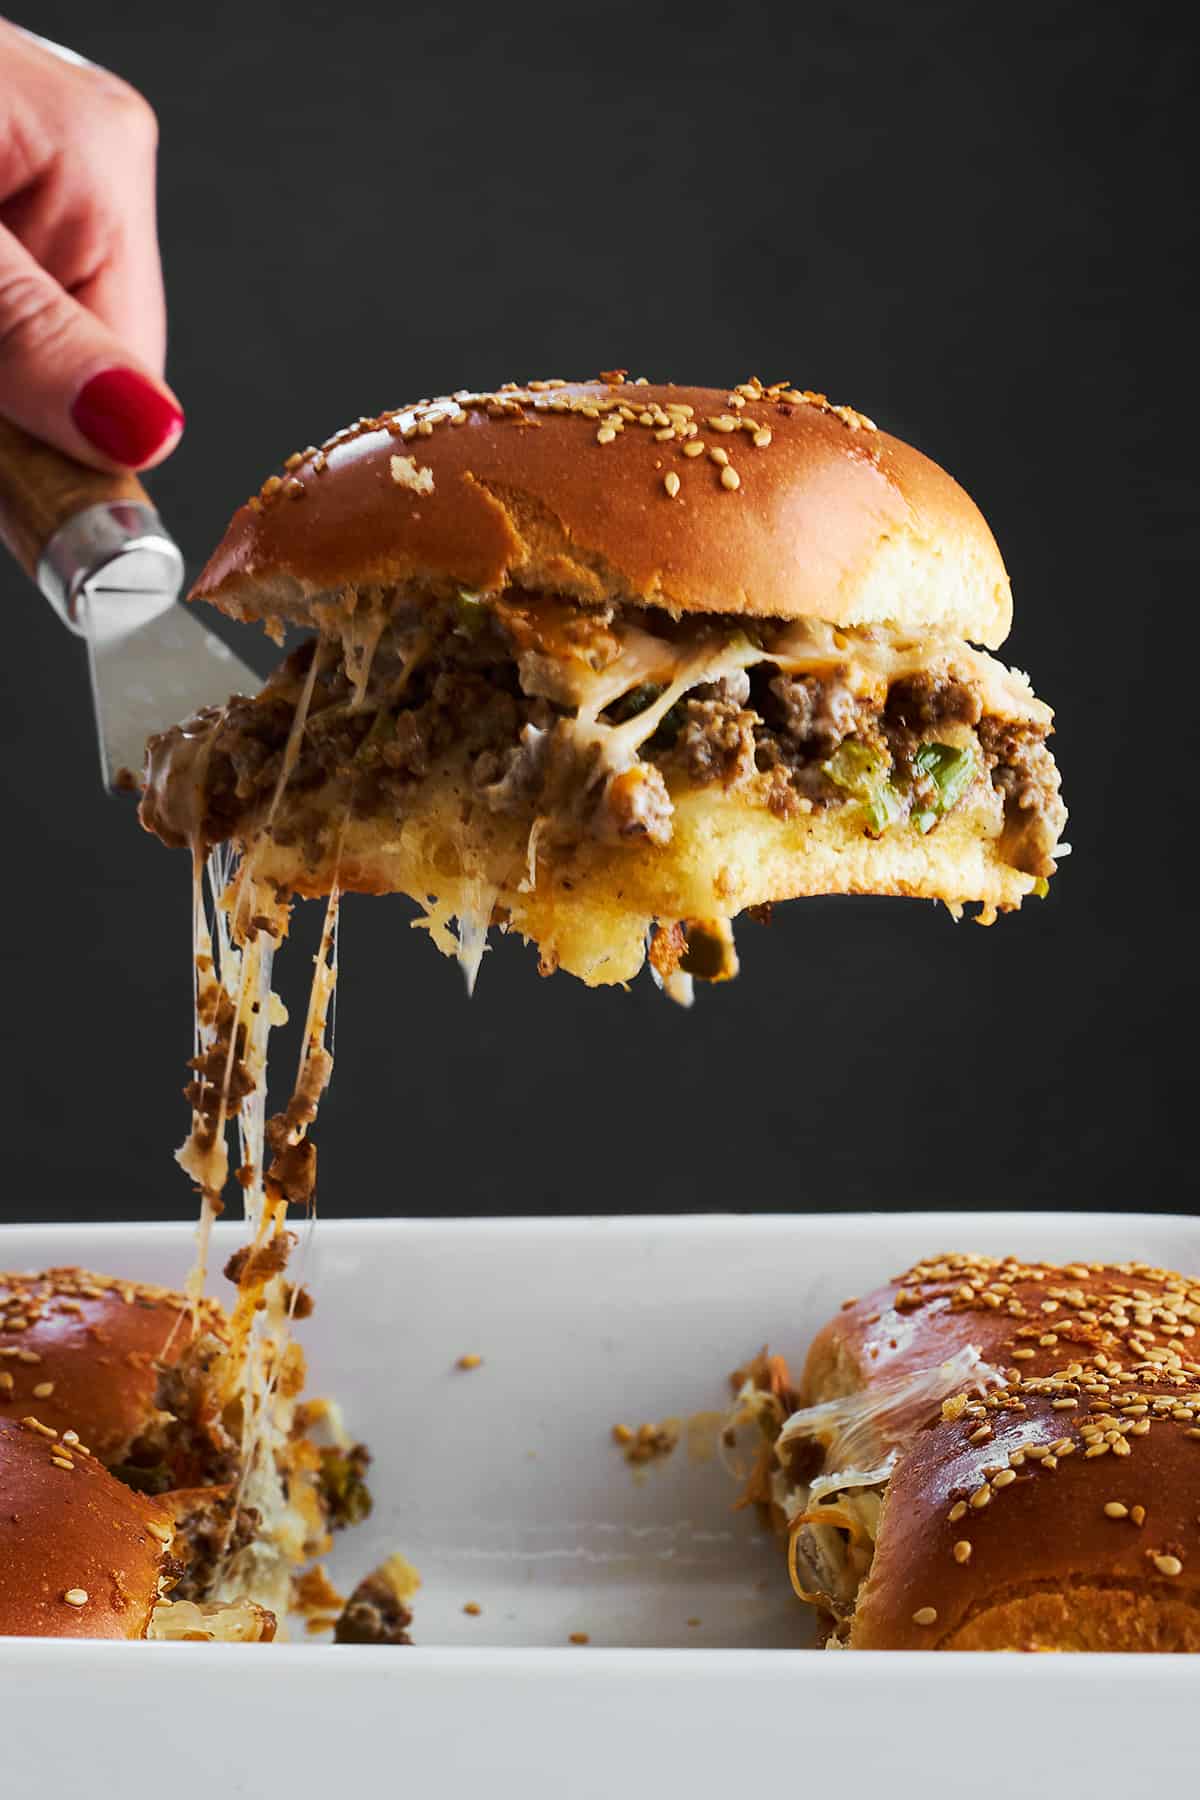
A cheesy ground beef slider being lifted from a baking dish.

Serving Suggestions

These sliders make for a great appetizer on their own. However, if you want to turn them into a complete meal, try adding sides like sweet potato fries, chips, potato salad, pasta salad, or a side salad. 

And don’t forget dipping sauces! Create a condiment bar with options like ketchup, mayonnaise, yellow mustard, burger sauce, and barbecue sauce.

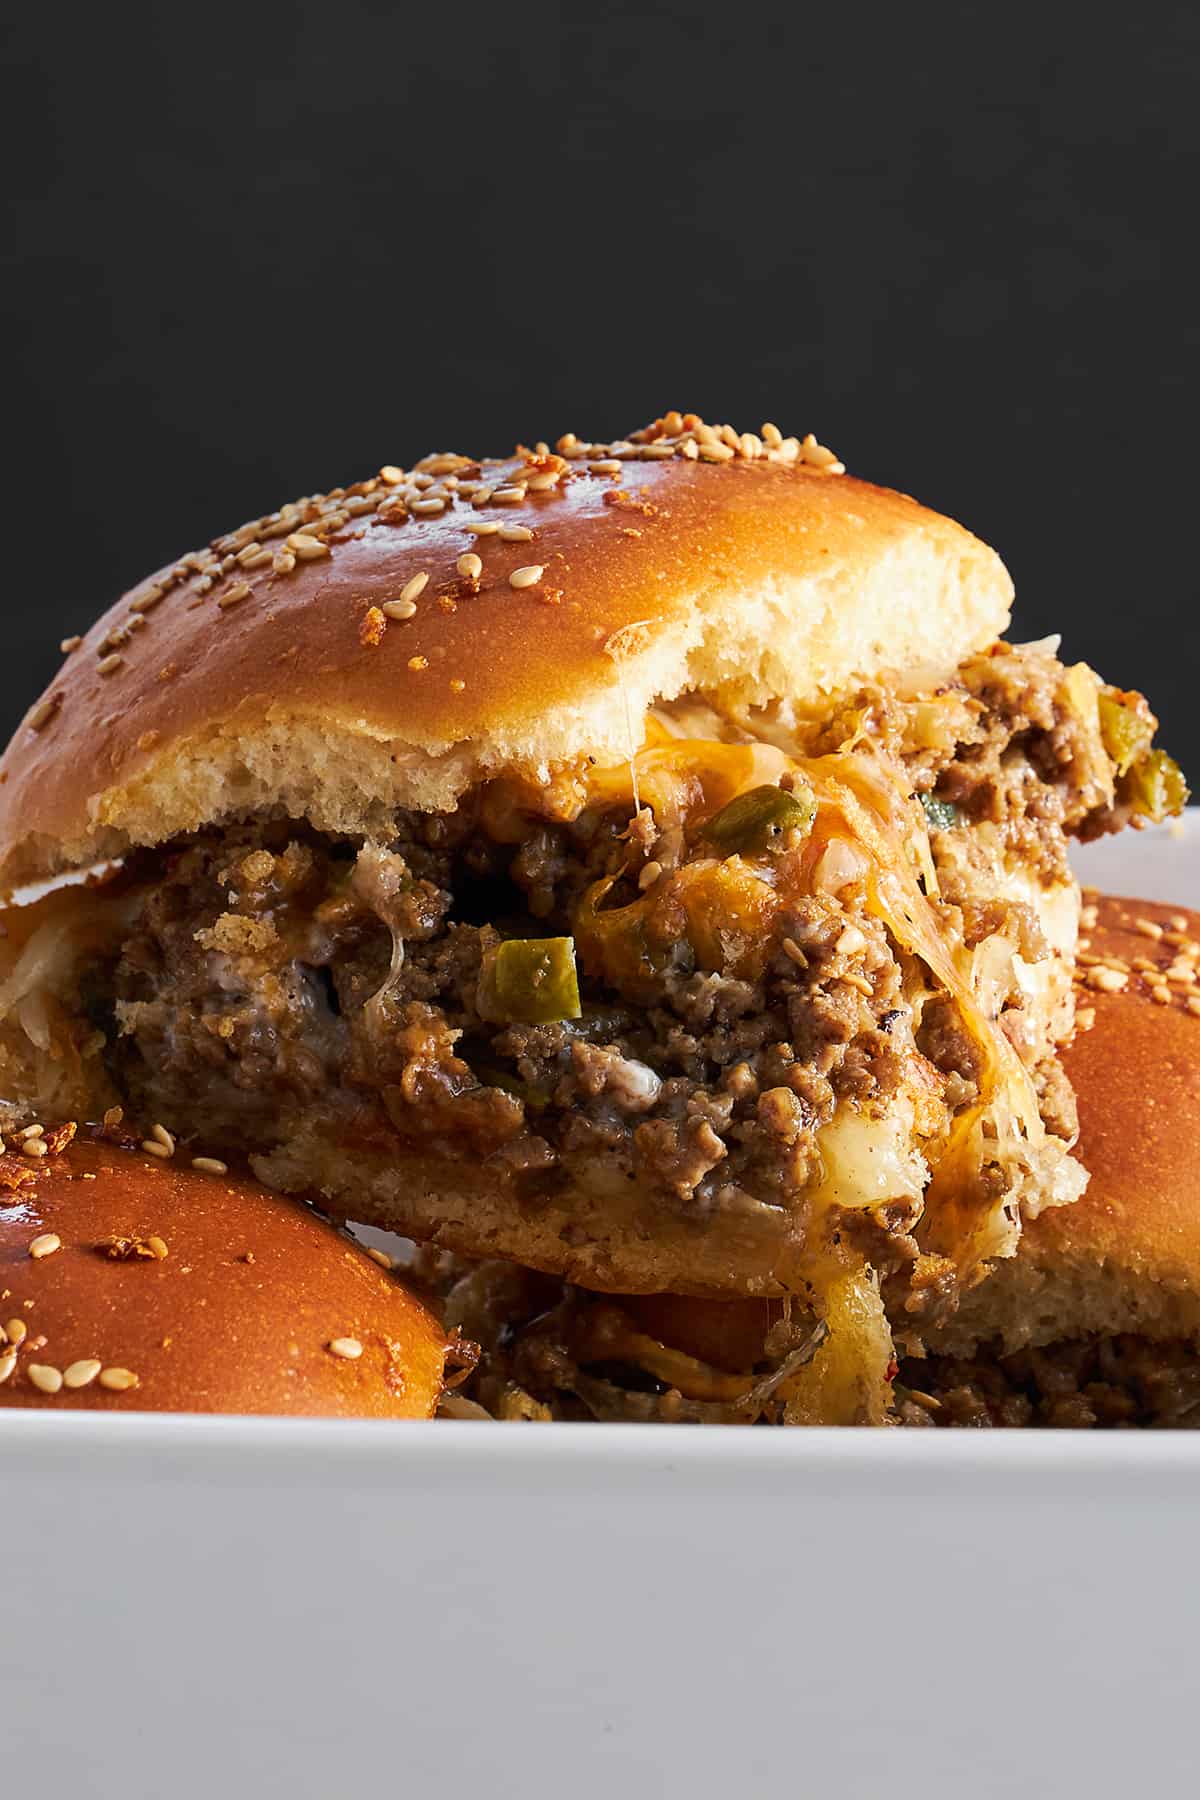
Side view of a cheeseburger slider.

Common Questions About This Ground Beef Sliders Recipe

Can I make this recipe ahead of time? 

Yes! Feel free to assemble the sliders, cover the baking dish, and store them in the fridge for one to two days. When you’re ready to serve, allow the sliders to come to room temperature for about 15 minutes, and bake as usual. 

Can I double the recipe? 

Yes. However, you’ll likely need to use two baking dishes or a large sheet pan.

How should I reheat leftovers? 

Arrange leftover sliders on a baking sheet lined with aluminum foil. Bake at 350 degrees Fahrenheit for eight to ten minutes or until they’re heated through. 

Can I freeze cheeseburger sliders? 

Yes, wrap individual sliders with plastic wrap, and transfer them to a sealable bag or airtight container. They will stay fresh in the freezer for up to two months. Thaw in the fridge overnight before reheating. 

More Ways to Use Ground Beef

We love a meal packed with protein and ground beef is one of our favorite choices. Check out some of our other favorite beefy recipes:

Cheesy ground beef sliders.
Print Recipe
5 from 6 votes

Cheesy Ground Beef Sliders

Make these cheesy ground beef sliders in about 30 minutes for a flavor-loaded, crowd-pleasing appetizer or main course!
Prep Time5 minutes
Cook Time30 minutes
Total Time35 minutes
Course: Appetizer, Main Course
Cuisine: American
Keyword: cheeseburger sliders, ground beef sliders
Servings: 12 servings
Author: Food Dolls

Ingredients

  • 1 pound lean ground beef
  • 1 medium yellow onion finely chopped
  • 1/2 cup green onions finely chopped
  • 1 green pepper finely diced
  • Salt to taste
  • Black pepper to taste
  • 1/2 teaspoon paprika
  • 1 teaspoon dried oregano
  • 2 garlic cloves minced
  • 2 teaspoons Worcestershire sauce
  • 1/4 cup mayonnaise
  • 6 regular sandwich buns OR 12 slider buns
  • 6 slices pepper jack cheese
  • 1 cup shredded Colby Jack cheese
  • 2 Tablespoons melted butter
  • 1 Tablespoon sesame seeds

Instructions

  • In a large skillet over high heat, cook the ground beef, breaking it apart with a meat masher or wooden spoon until no longer pink. Drain excess fat.
    1 pound lean ground beef
  • Reduce heat to medium and add chopped onions and green peppers. Sauté until vegetables are softened, about 6-8 minutes.
    1 medium yellow onion, 1 green pepper, 1/2 cup green onions
  • Season with salt, pepper, paprika, oregano, garlic, and Worcestershire sauce. Sauté for an additional 1-2 minutes until fragrant. Remove from heat and stir in mayonnaise.
    Salt to taste, Black pepper to taste, 1/2 teaspoon paprika, 1 teaspoon dried oregano, 2 garlic cloves, 2 teaspoons Worcestershire sauce, 1/4 cup mayonnaise
  • Preheat oven to 350 degrees Fahrenheit (175 degrees Celsius). Butter the bottom of a 13×9 baking dish.
  • Arrange the bottom half of the buns in the baking dish. Top with pepper jack cheese slices, followed by the beef mixture. Sprinkle shredded Colby Jack cheese over the beef, then cover with the top half of the buns.
    6 regular sandwich buns OR 12 slider buns, 6 slices pepper jack cheese, 1 cup shredded Colby Jack cheese
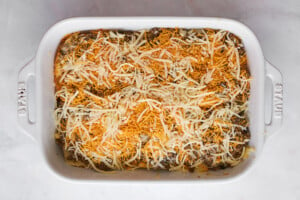
    Cheese and beef being layered on slider buns in a baking dish.
  • Brush the tops of the buns with melted butter and sprinkle with sesame seeds.
    2 Tablespoons melted butter, 1 Tablespoon sesame seeds
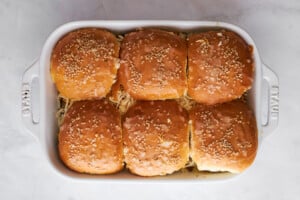
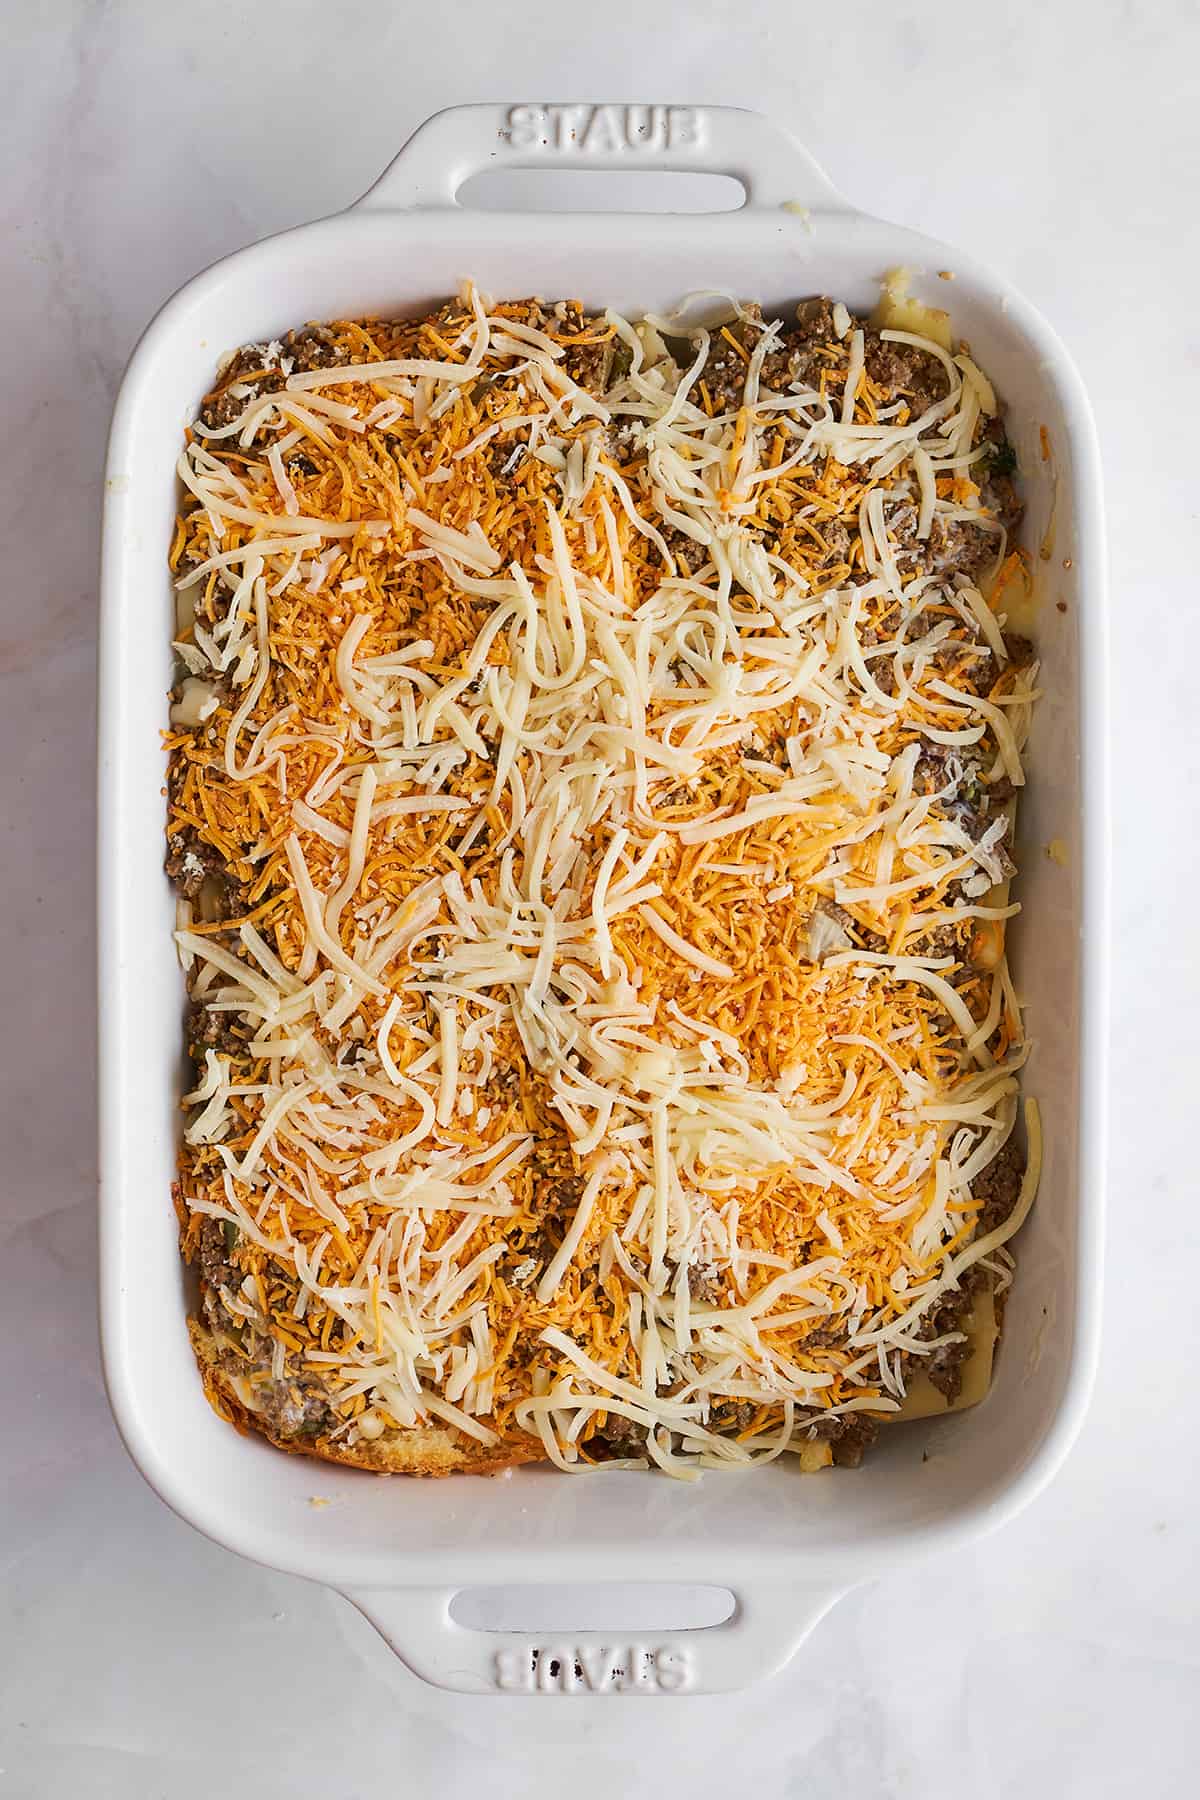
    Unbaked ground beef sliders with cheese in a baking dish.
  • Cover the dish with foil. Bake for 15-20 minutes, or until the cheese is melted and the buns are golden brown.
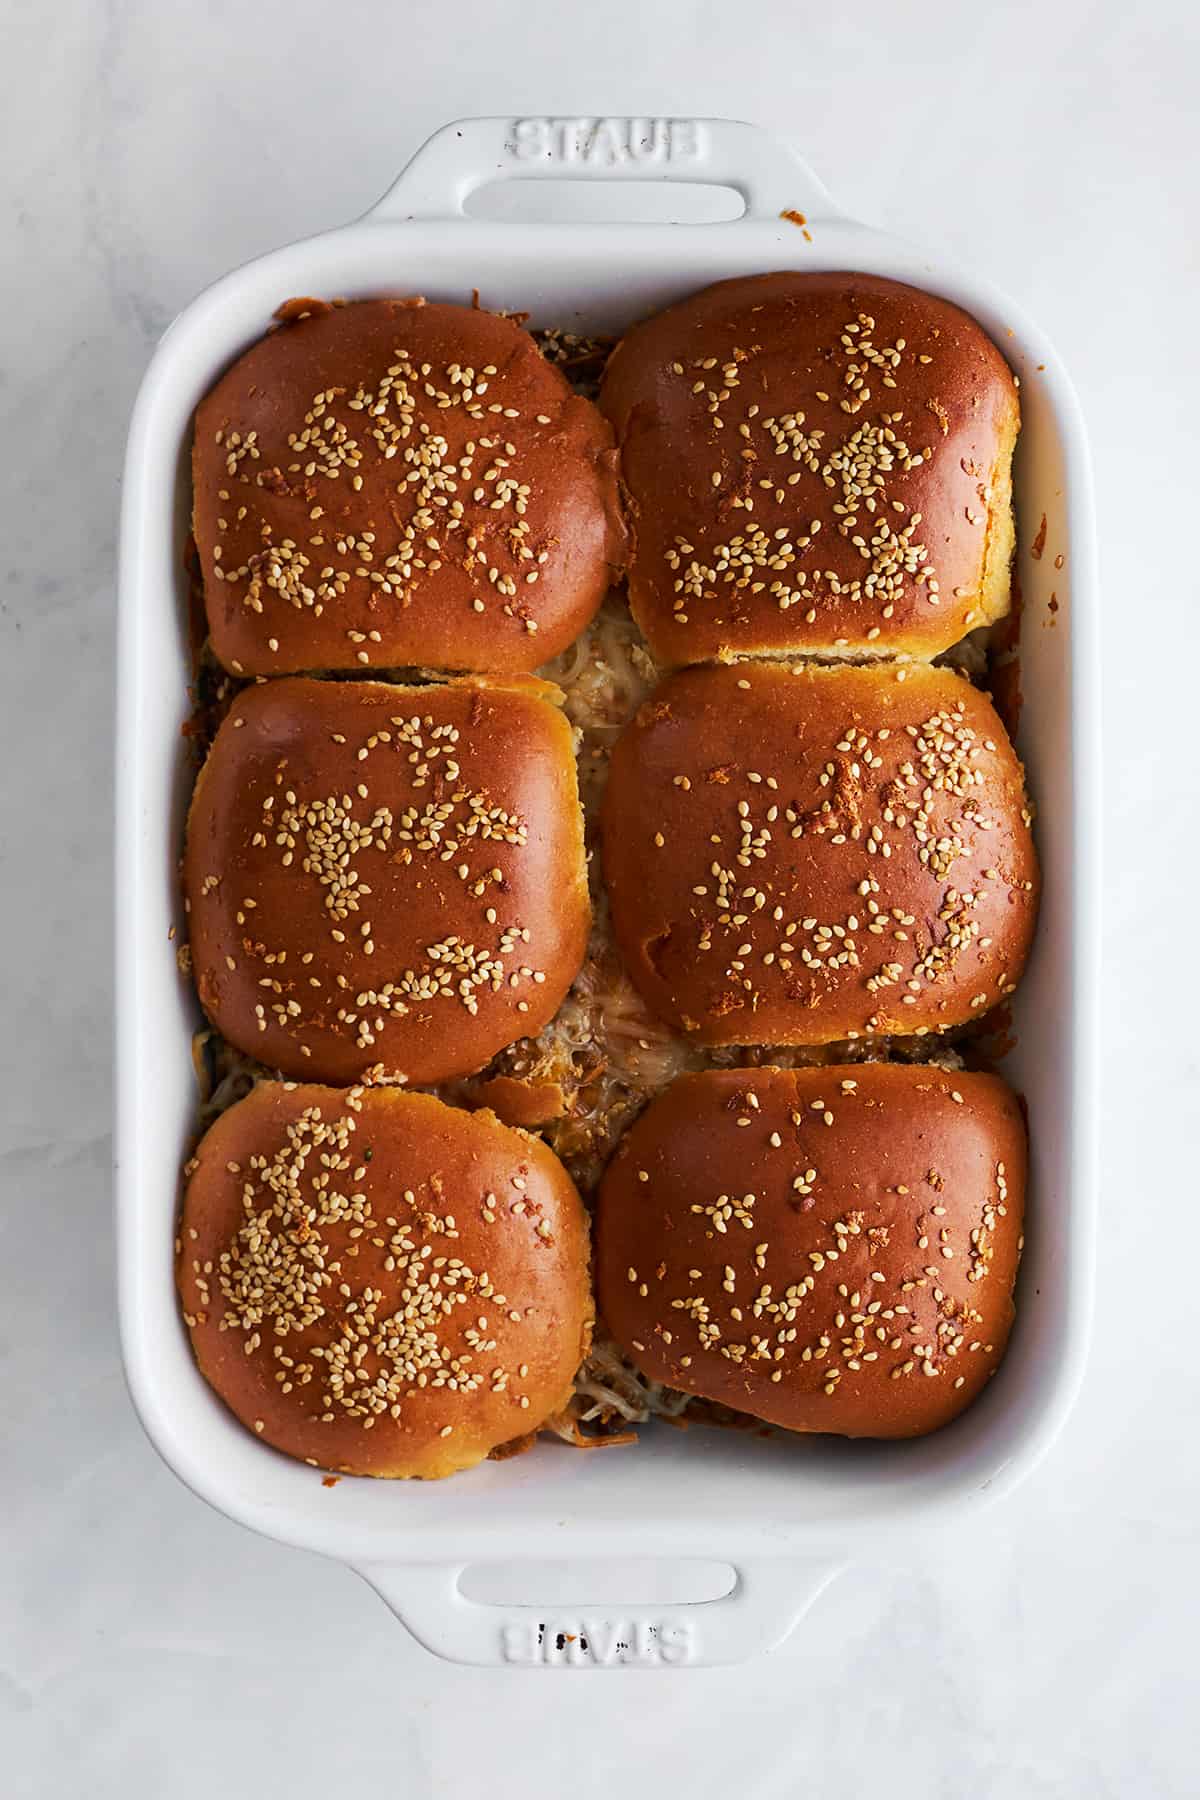
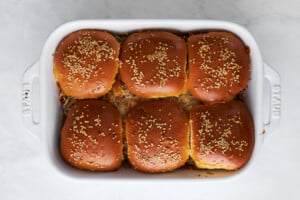
    Baked cheesy ground beef sliders in a baking dish.
  • Serve hot, and enjoy the delicious cheesy ground beef burgers!

Nutrition

Serving: 1serving | Calories: 256kcal | Carbohydrates: 13g | Protein: 16g | Fat: 15g | Saturated Fat: 7g | Polyunsaturated Fat: 3g | Monounsaturated Fat: 4g | Trans Fat: 0.2g | Cholesterol: 50mg | Sodium: 320mg | Potassium: 239mg | Fiber: 1g | Sugar: 3g | Vitamin A: 340IU | Vitamin C: 10mg | Calcium: 206mg | Iron: 2mg

Whole Roasted Chicken Tikka Recipe

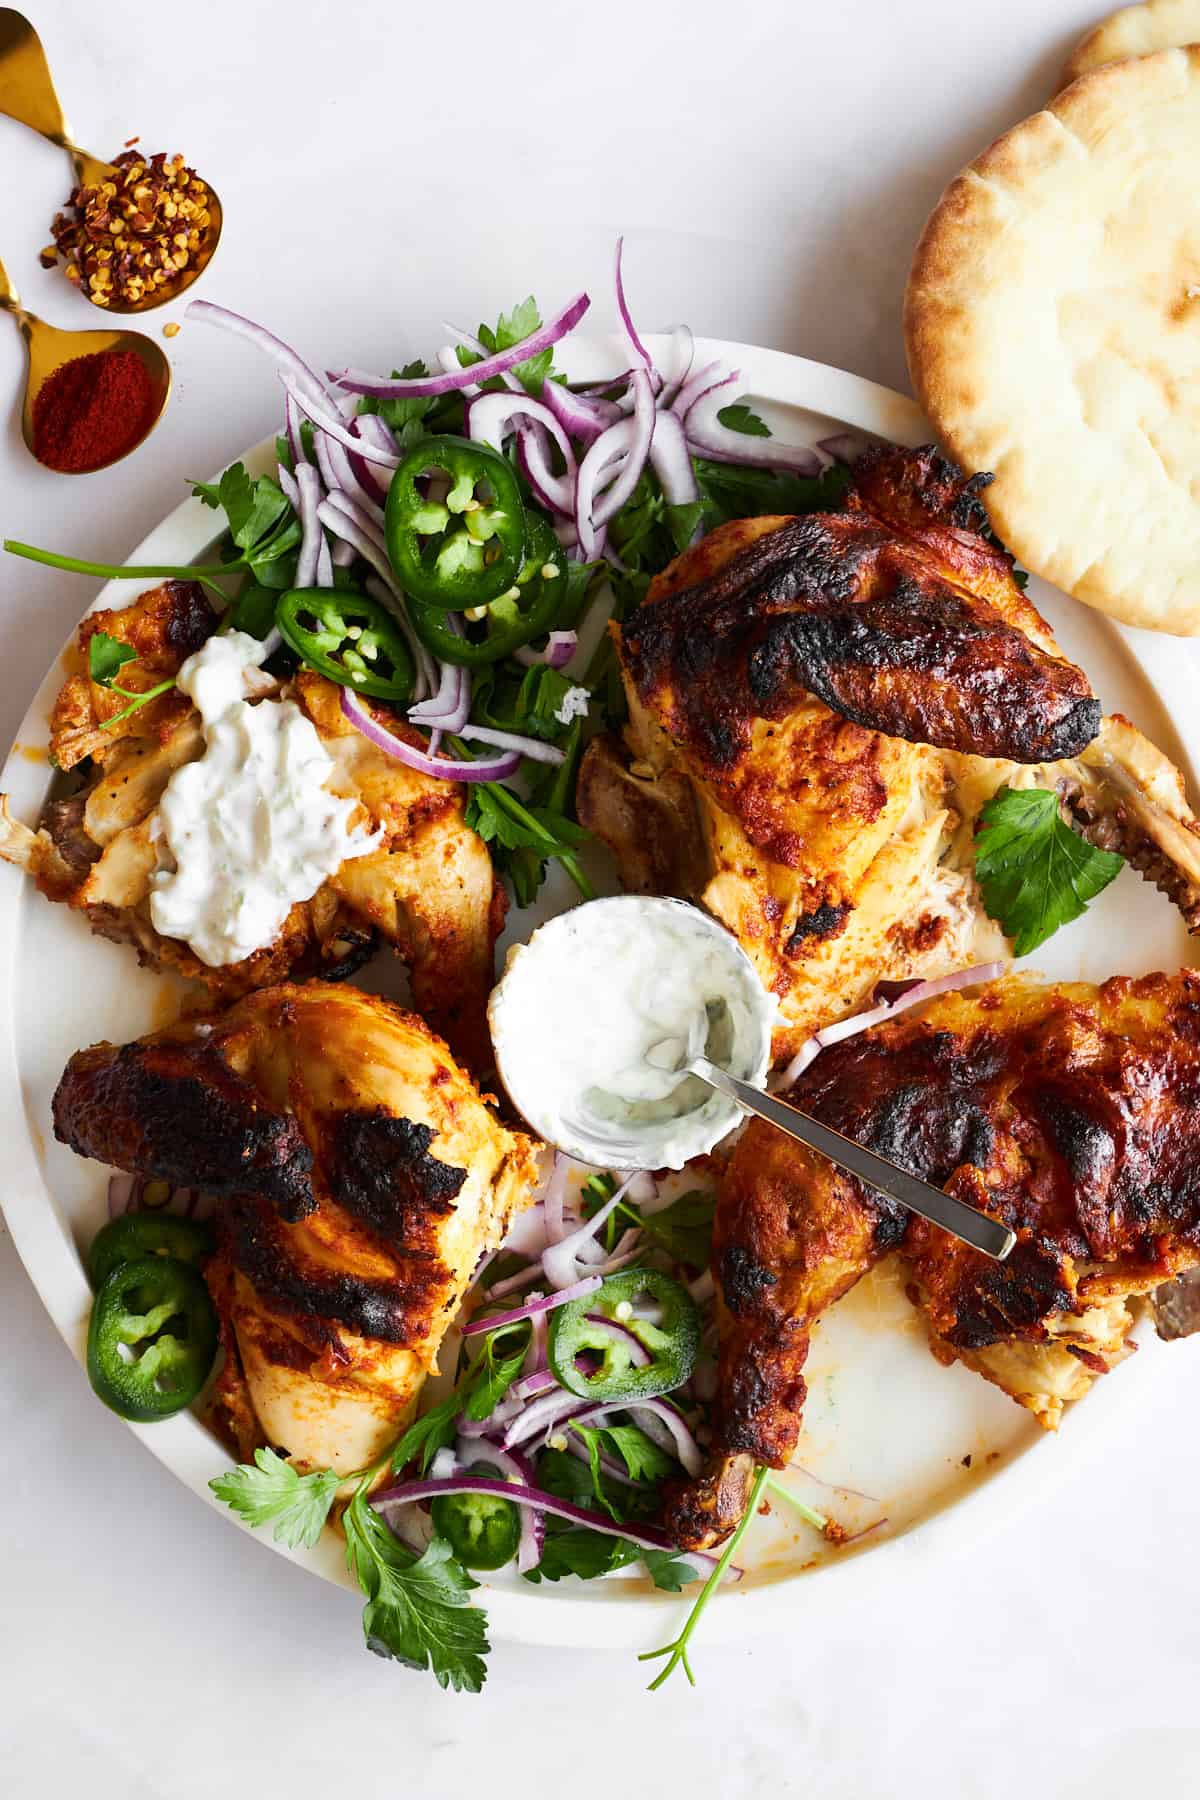
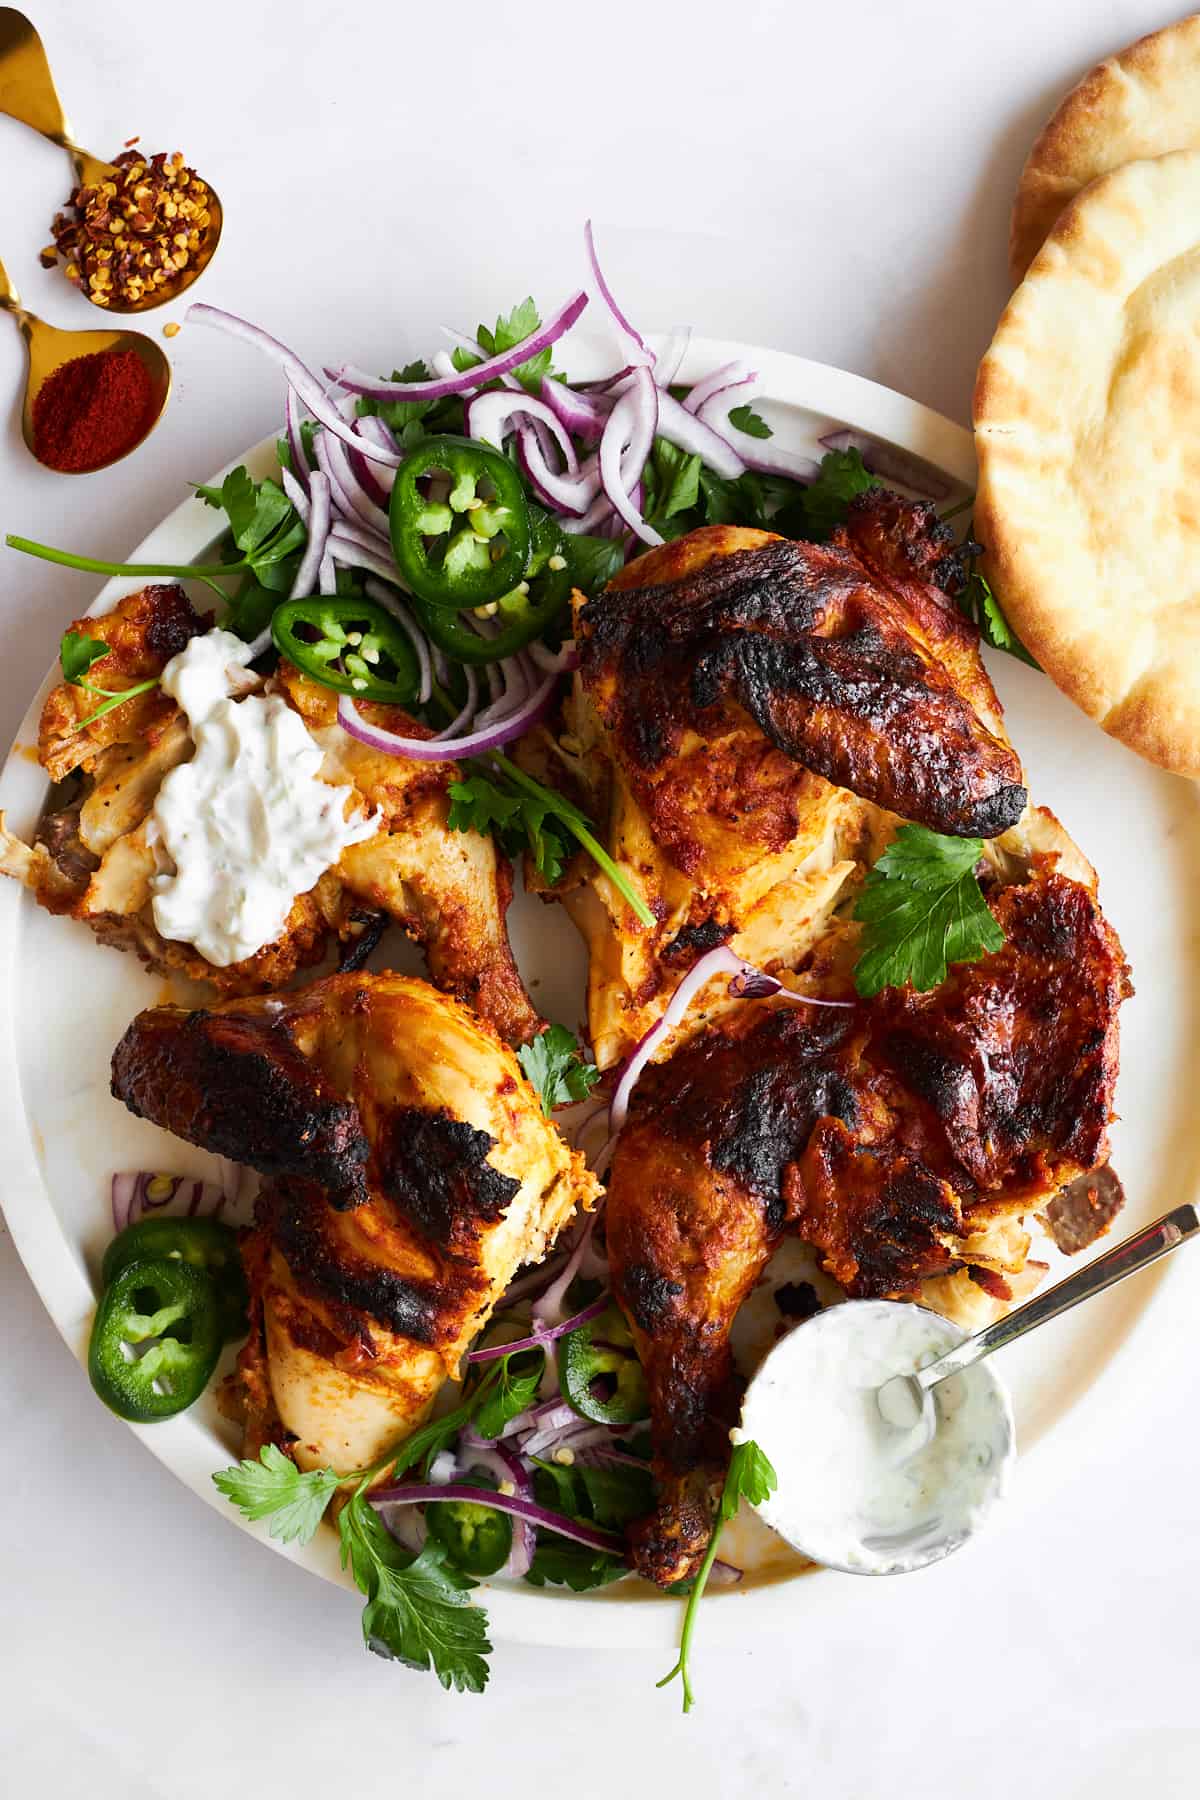
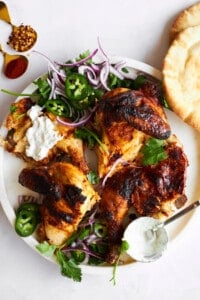
Four pieces of chicken tikka on a plate with garnishes.Our Whole Roasted Chicken Tikka recipe showcases a spatchcock chicken infused with savory goodness from a creamy yogurt marinade. Seared,…
Four pieces of chicken tikka on a plate with garnishes.

Our Whole Roasted Chicken Tikka recipe showcases a spatchcock chicken infused with savory goodness from a creamy yogurt marinade. Seared, baked, and broiled, this chicken has the perfect balance of crispiness on the outside and juicy tenderness on the inside.

Whether you’re hosting a special dinner or simply want to elevate your weeknight meal, this whole roasted chicken tikka is sure to impress!

Chicken tikka on a plate with garnishes.

What Is Chicken Tikka? 

Chicken tikka is a type of chicken dish that is popular in India, Bangladesh, Pakistan, and the United Kingdom. Typically, chicken tikka is made with boneless pieces of chicken marinaded in a spiced yogurt mixture. 

Then, they are threaded onto skewers and cooked over charcoal. This recipe features the same yogurt marinade but uses a whole chicken. We bake it in the oven to keep things simple while retaining the juicy consistency of the meat and bold flavors! 

Ingredients You’ll Need

Below is an overview of the ingredients and instructions for this recipe. Be sure to scroll down to the recipe card below for the complete details! 

  • Chicken – Use a whole spatchcock chicken. 
  • Yogurt – Plain, full-fat yogurt forms the base of the marinade, tenderizing the chicken and infusing it with a tangy flavor. 
  • Olive Oil – Similar to the yogurt, this helps tenderize the chicken and creates a smooth marinade. 
  • Seasonings – Garam masala, smoked paprika, paprika, crushed red pepper flakes, salt, and black pepper create the warm, bold flavor we look for in chicken tikka recipes. 
  • Aromatics – Fresh garlic cloves and grated ginger add a tangy, subtly sweet flavor. 
  • Tomato Paste – Adds extra depth to the marinade. 
  • Lemon Juice – Freshly squeezed is best! The acidity cuts through some of the heaviness of the fats and balances the warm flavors. 

Skip the Takeout with the Best Chicken Tikka Recipe You’ll Ever Taste

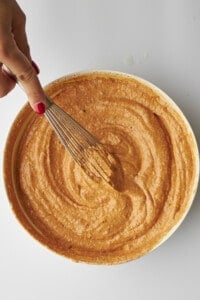
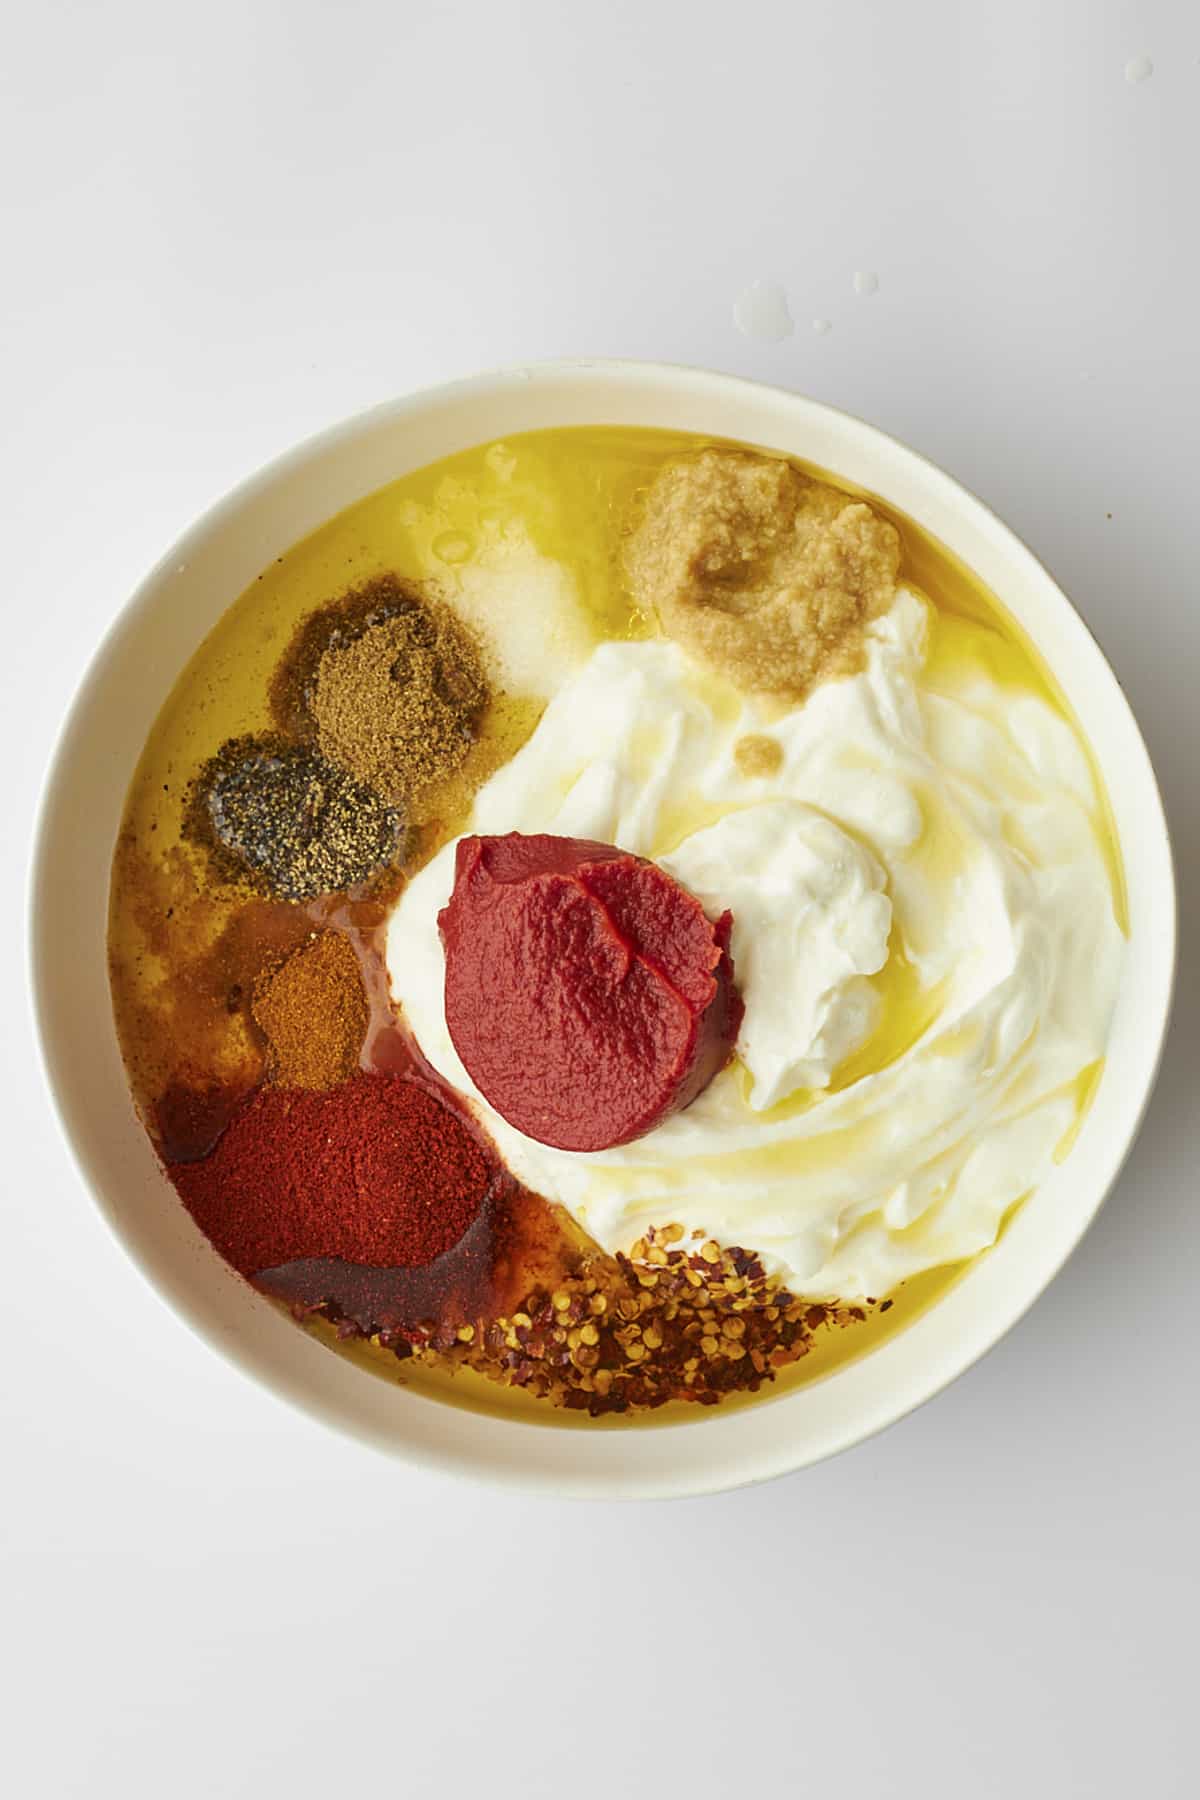
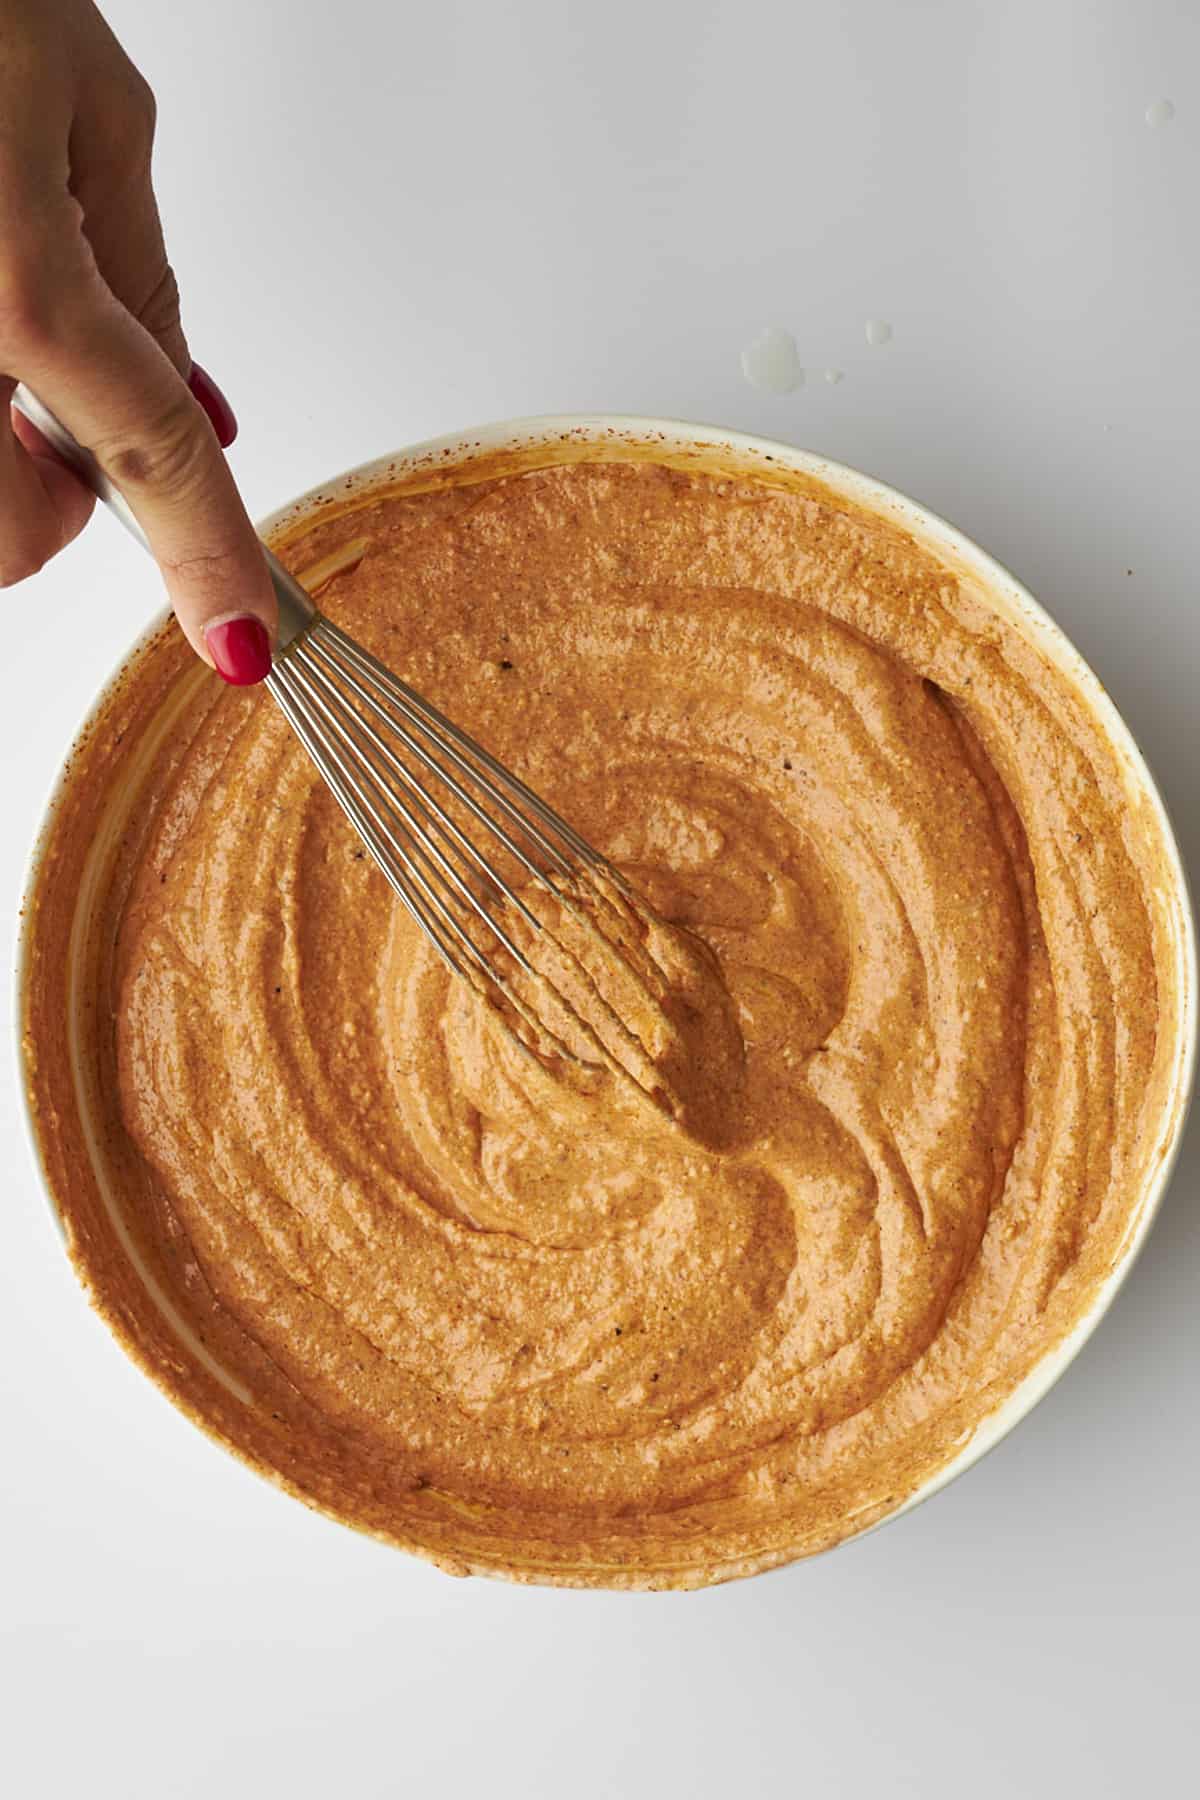
  1. Prepare the marinade. Combine all the ingredients (except the chicken) in a large bowl, whisking until smooth. 
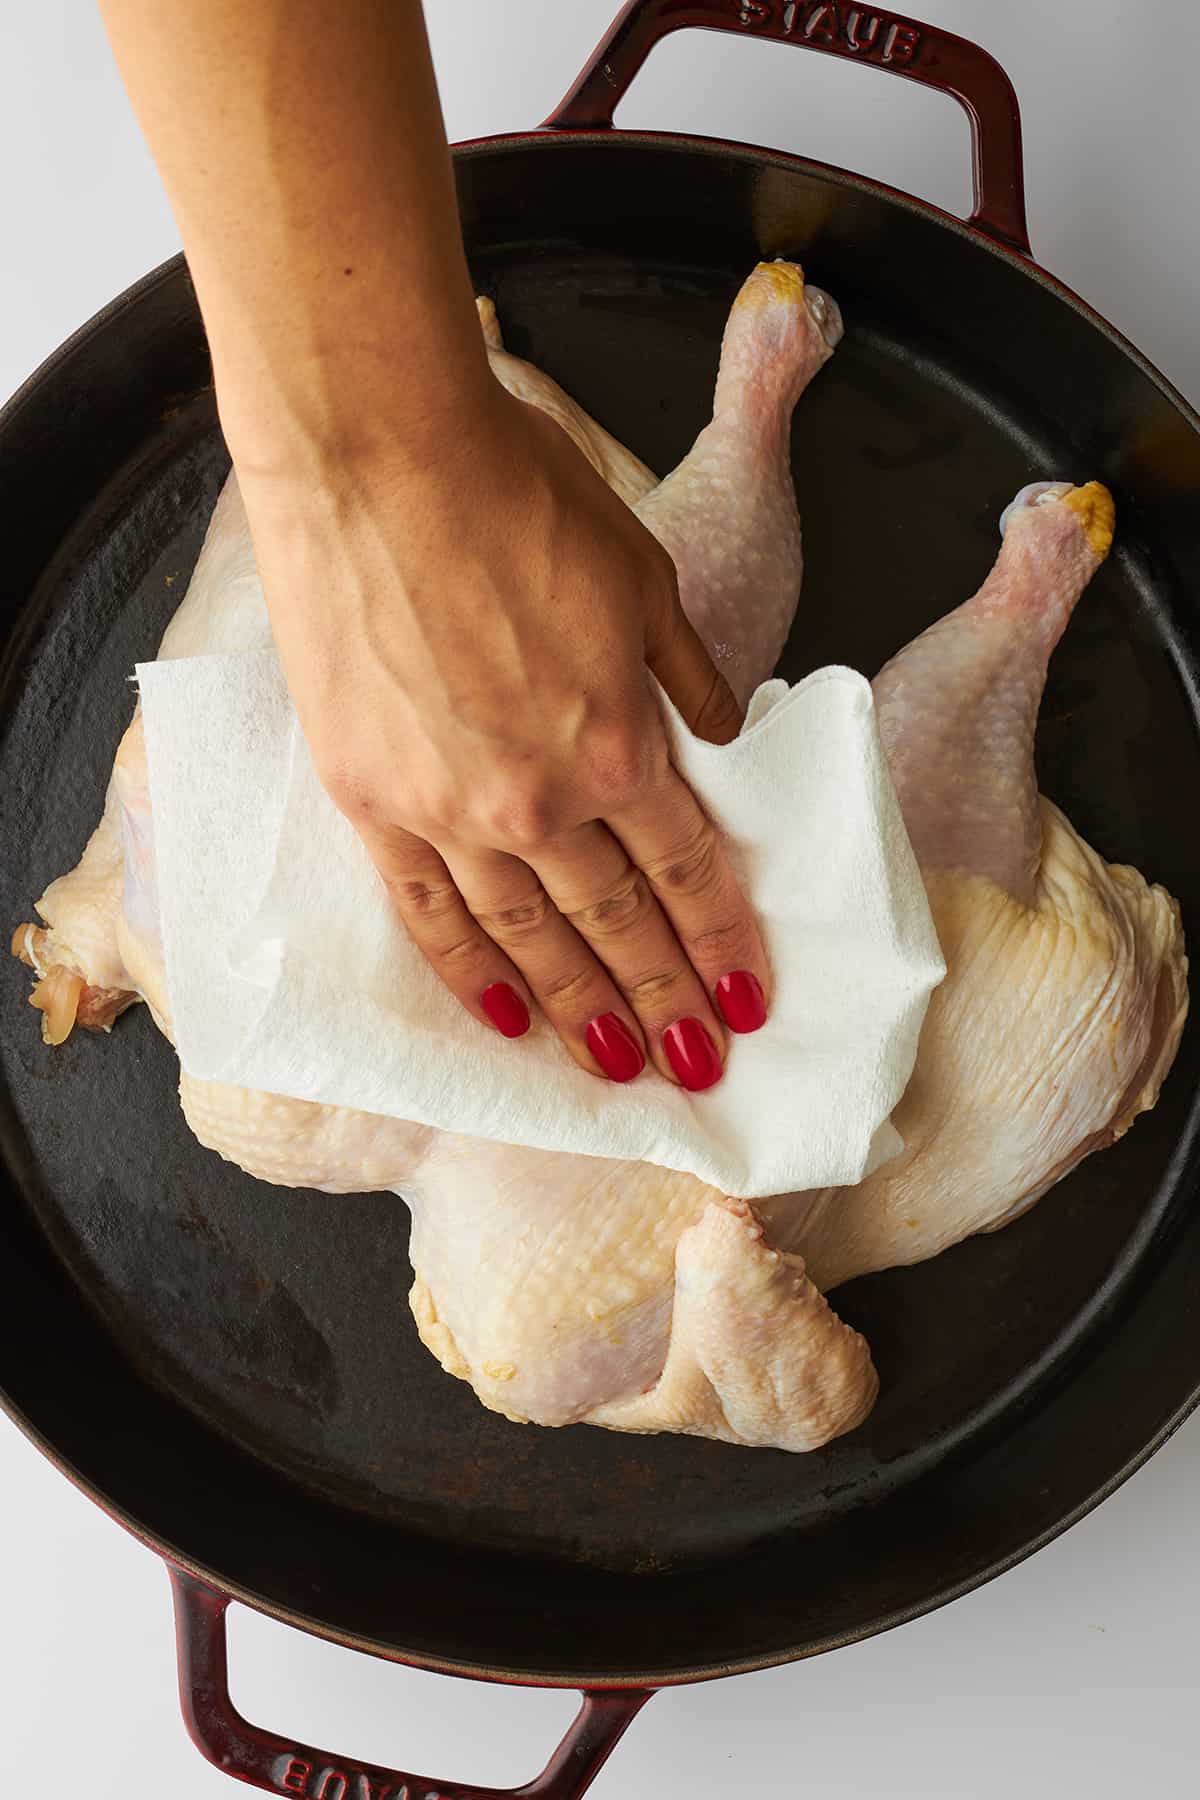
  2. Spatchcock the chicken. Remove the backbone from the chicken, and flatten it down. 
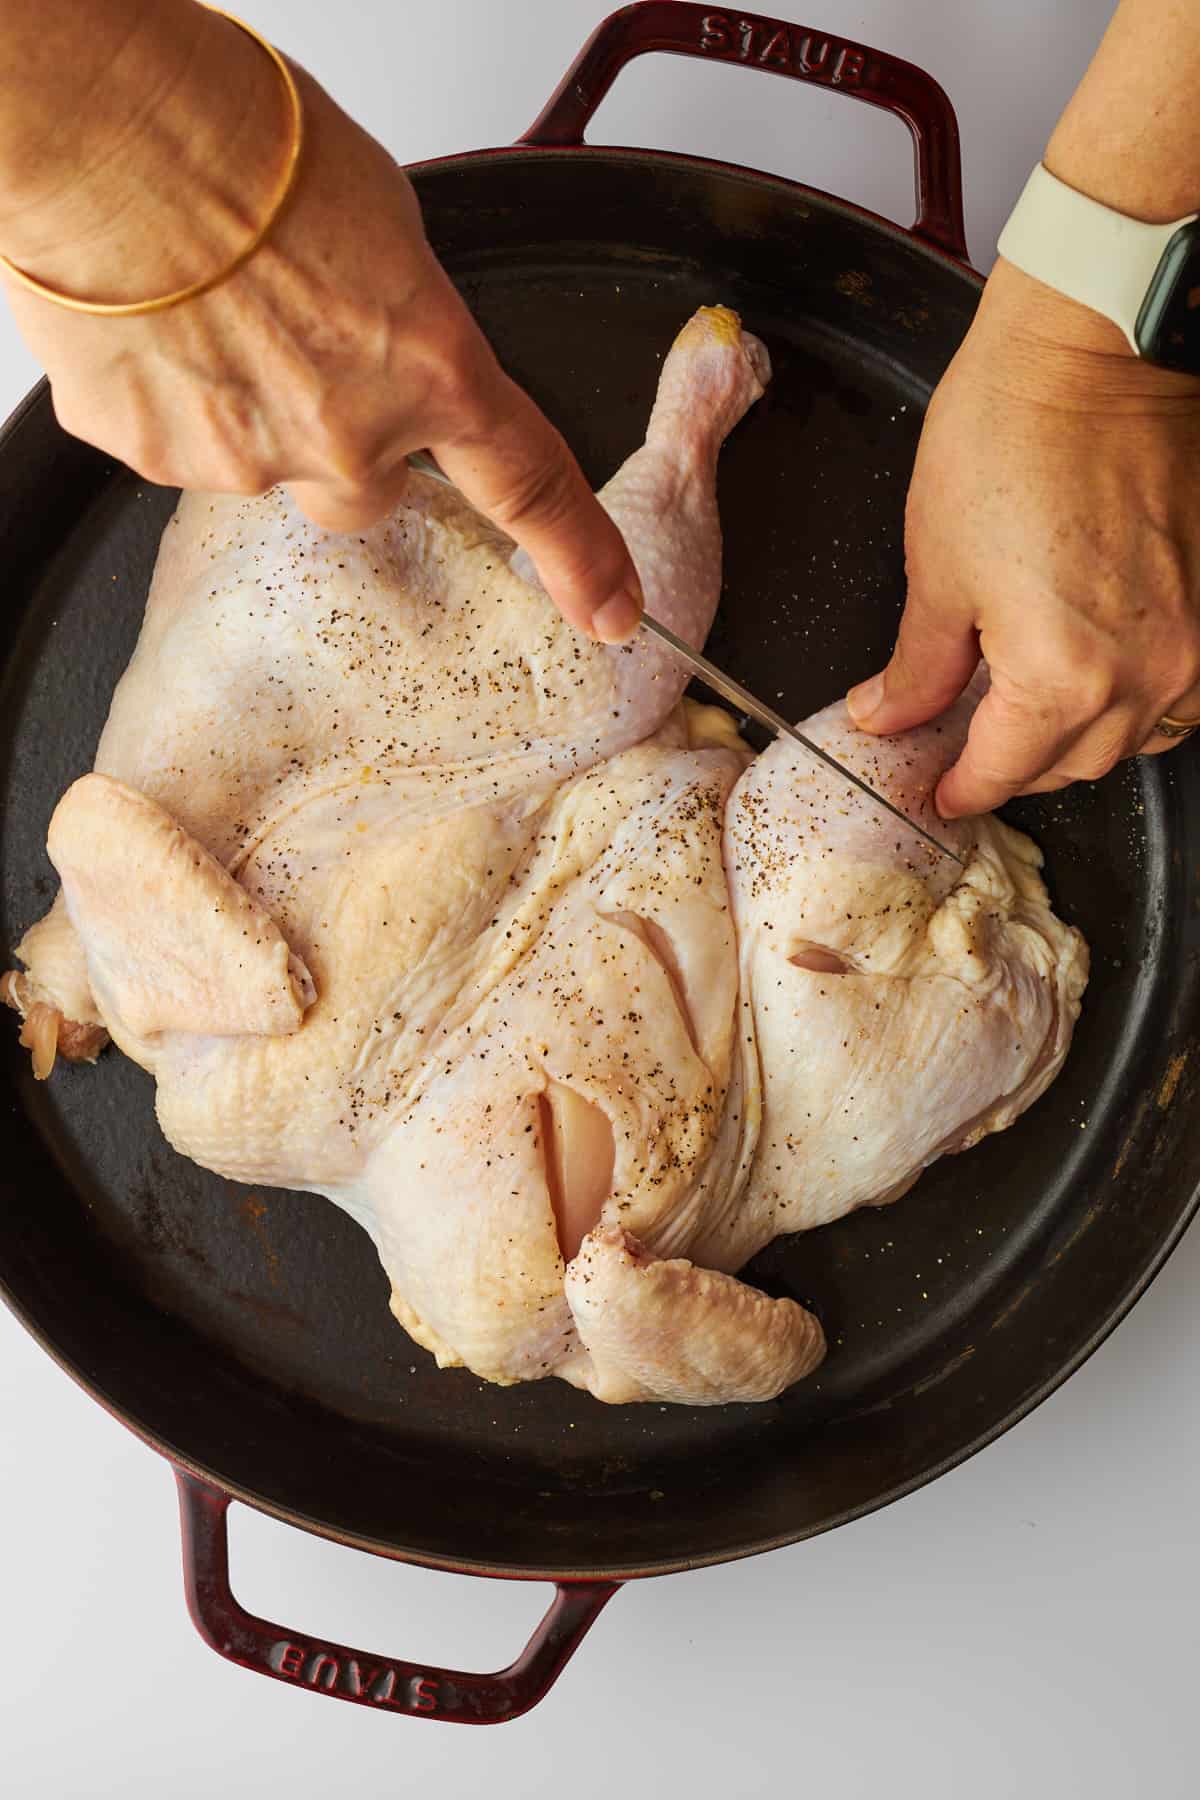
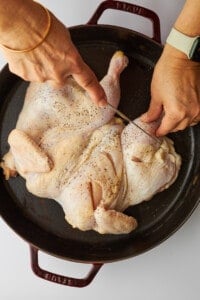
  3. Season the chicken. Use a sharp knife to make deep slits on both sides of the chicken. Place the chicken in a large dish or sealable bag, and pour the marinade on top. 
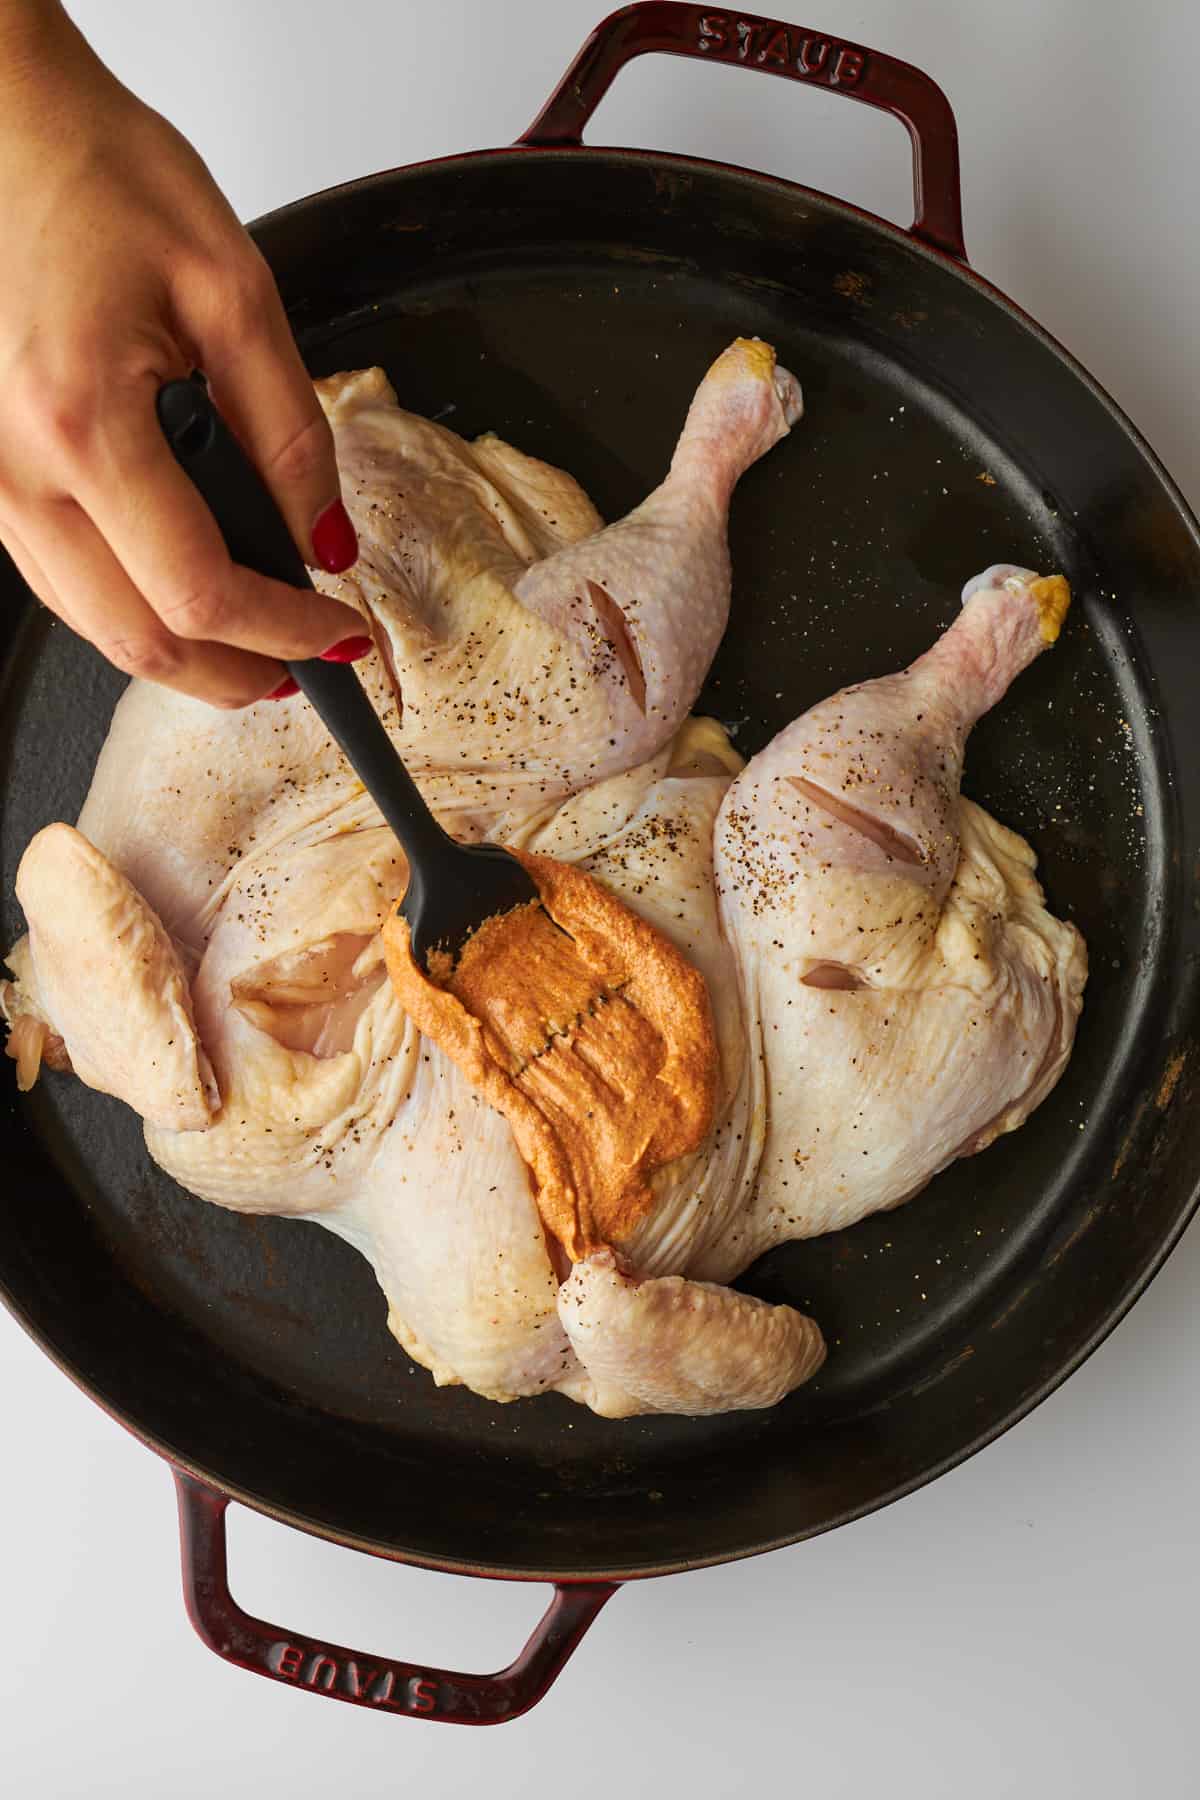
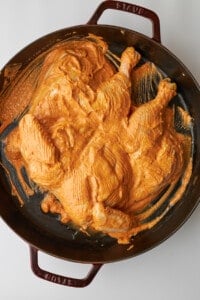
  4. Marinate the chicken. Massage the chicken, making sure the marinade gets into the slits. Cover the chicken, and transfer it to the fridge. 
  5. Warm. Allow the chicken to sit out at room temperature. 
  6. Cook. Heat a grill pan or skillet over high heat. Then, add the chicken skin-side down, and cook until charred. Flip the chicken over, and sear the other side. 
  7. Bake. Transfer the chicken to a baking dish, and cover it tightly with aluminum foil. Transfer the chicken to a preheated oven, and bake until the internal temperature reaches 165 degrees Fahrenheit. 
  8. Broil. Remove the foil, and broil the chicken until the skin is brown and crisp. Be careful not to burn! 
  9. Serve. Allow the chicken to rest for a few minutes. Then, slice, and serve.
Cast Iron Skillet
$29.99 $23.25
We earn a commission if you make a purchase, at no additional cost to you.
03/20/2024 06:59 pm GMT

Serving Suggestions

Chicken tikka is commonly served with a side of white rice. However, it’s also a perfect pairing with these side dishes:

And don’t forget to add a sauce like tzatziki or toum for even more flavor!

Pieces of chicken tikka on a plate with garnishes.

Common Questions About This Roasted Chicken Tikka Recipe

What’s the difference between chicken tikka and chicken tikka masala? 

Chicken tikka is typically pieces of meat that are marinated in a yogurt mixture and grilled or roasted. Tikka masala is made by cooking chunks of marinated meat in a spicy, tomato-based sauce. 

What does chicken tikka taste like? 

Chicken tikka is warm, savory, slightly spicy, and creamy. It’s truly a unique combination of pungent, earthy, and sweet flavors! 

What is chicken tikka vs tandoori? 

The primary difference is the cut of meat used. For instance, skinless, boneless pieces of chicken breast typically form kebabs. Meanwhile half, whole chicken, legs, breasts, and wings can be used for tandoori. 

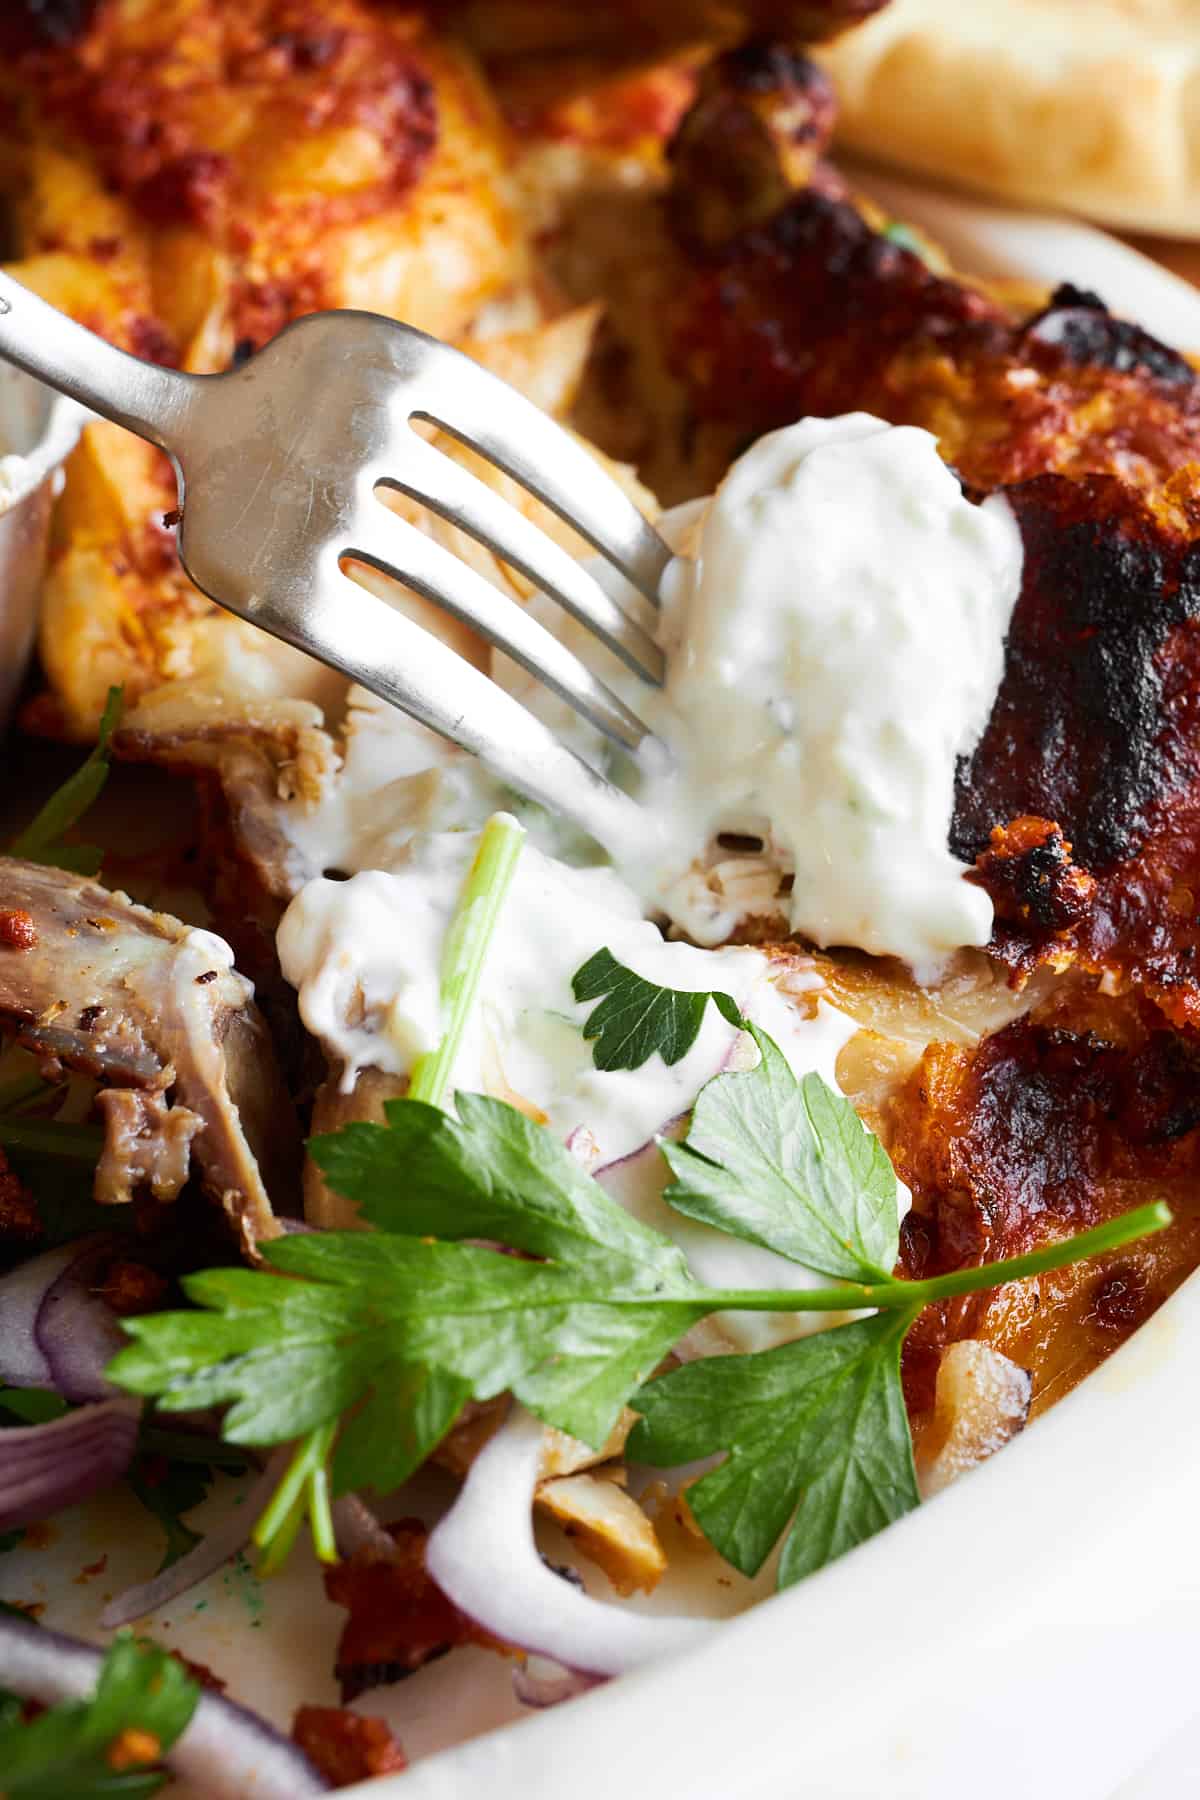
A fork holding a bite of chicken tikka dipped in tzatziki.

More Fantastic Chicken Recipes

Chicken is a staple in our homes so we’ve found plenty of ways to jazz it up! Check out more of our mouthwatering chicken-based recipes:

Four pieces of chicken tikka on a plate.
Print Recipe
5 from 8 votes

Whole Roasted Chicken Tikka

Make this whole roasted chicken tikka recipe in the oven for a juicy, flavorful chicken dish perfect for meal prep or feeding a crowd!
Prep Time10 minutes
Cook Time1 hour
Marinade Time12 hours
Total Time13 hours 10 minutes
Course: Main Course
Cuisine: Indian
Keyword: chicken tikka, chicken tikka recipe
Servings: 6 servings
Author: Food Dolls

Ingredients

  • 3/4 cup plain yogurt
  • 1/2 cup olive oil
  • 2 Tablespoons garam masala
  • 2 teaspoons smoked paprika
  • 1 teaspoon paprika
  • 1 teaspoon crushed red pepper flakes
  • 3 teaspoons salt
  • 1/2 teaspoon black pepper
  • 4 garlic cloves minced
  • 2 teaspoons grated ginger
  • 2 Tablespoons tomato paste
  • 2 Tablespoons lemon juice
  • 1 whole chicken spatchcocked (backbone removed and flattened)

Instructions

Prepare Marinade:

  • In a large bowl, combine yogurt, olive oil, garam masala, smoked paprika, paprika, crushed red pepper flakes, salt, black pepper, minced garlic, grated ginger, tomato paste, and lemon juice. Mix until well combined.
    3/4 cup plain yogurt, 1/2 cup olive oil, 2 Tablespoons garam masala, 2 teaspoons smoked paprika, 1 teaspoon paprika, 1 teaspoon crushed red pepper flakes, 3 teaspoons salt, 1/2 teaspoon black pepper, 4 garlic cloves, 2 teaspoons grated ginger, 2 Tablespoons tomato paste, 2 Tablespoons lemon juice
    Chicken tikka sauce being whisked in a bowl.

Marinate Chicken:

  • Spatchcock the whole chicken by removing the backbone and flattening it.
    1 whole chicken
  • Using a sharp knife, make deep slits on both sides of the chicken.
    Cuts being made in the sides of a spatchcock chicken.
  • Place the spatchcocked chicken in a large dish or resealable plastic bag.
  • Pour the marinade over the chicken, ensuring it’s well coated. Massage the marinade into the chicken, making sure it penetrates into the slits.
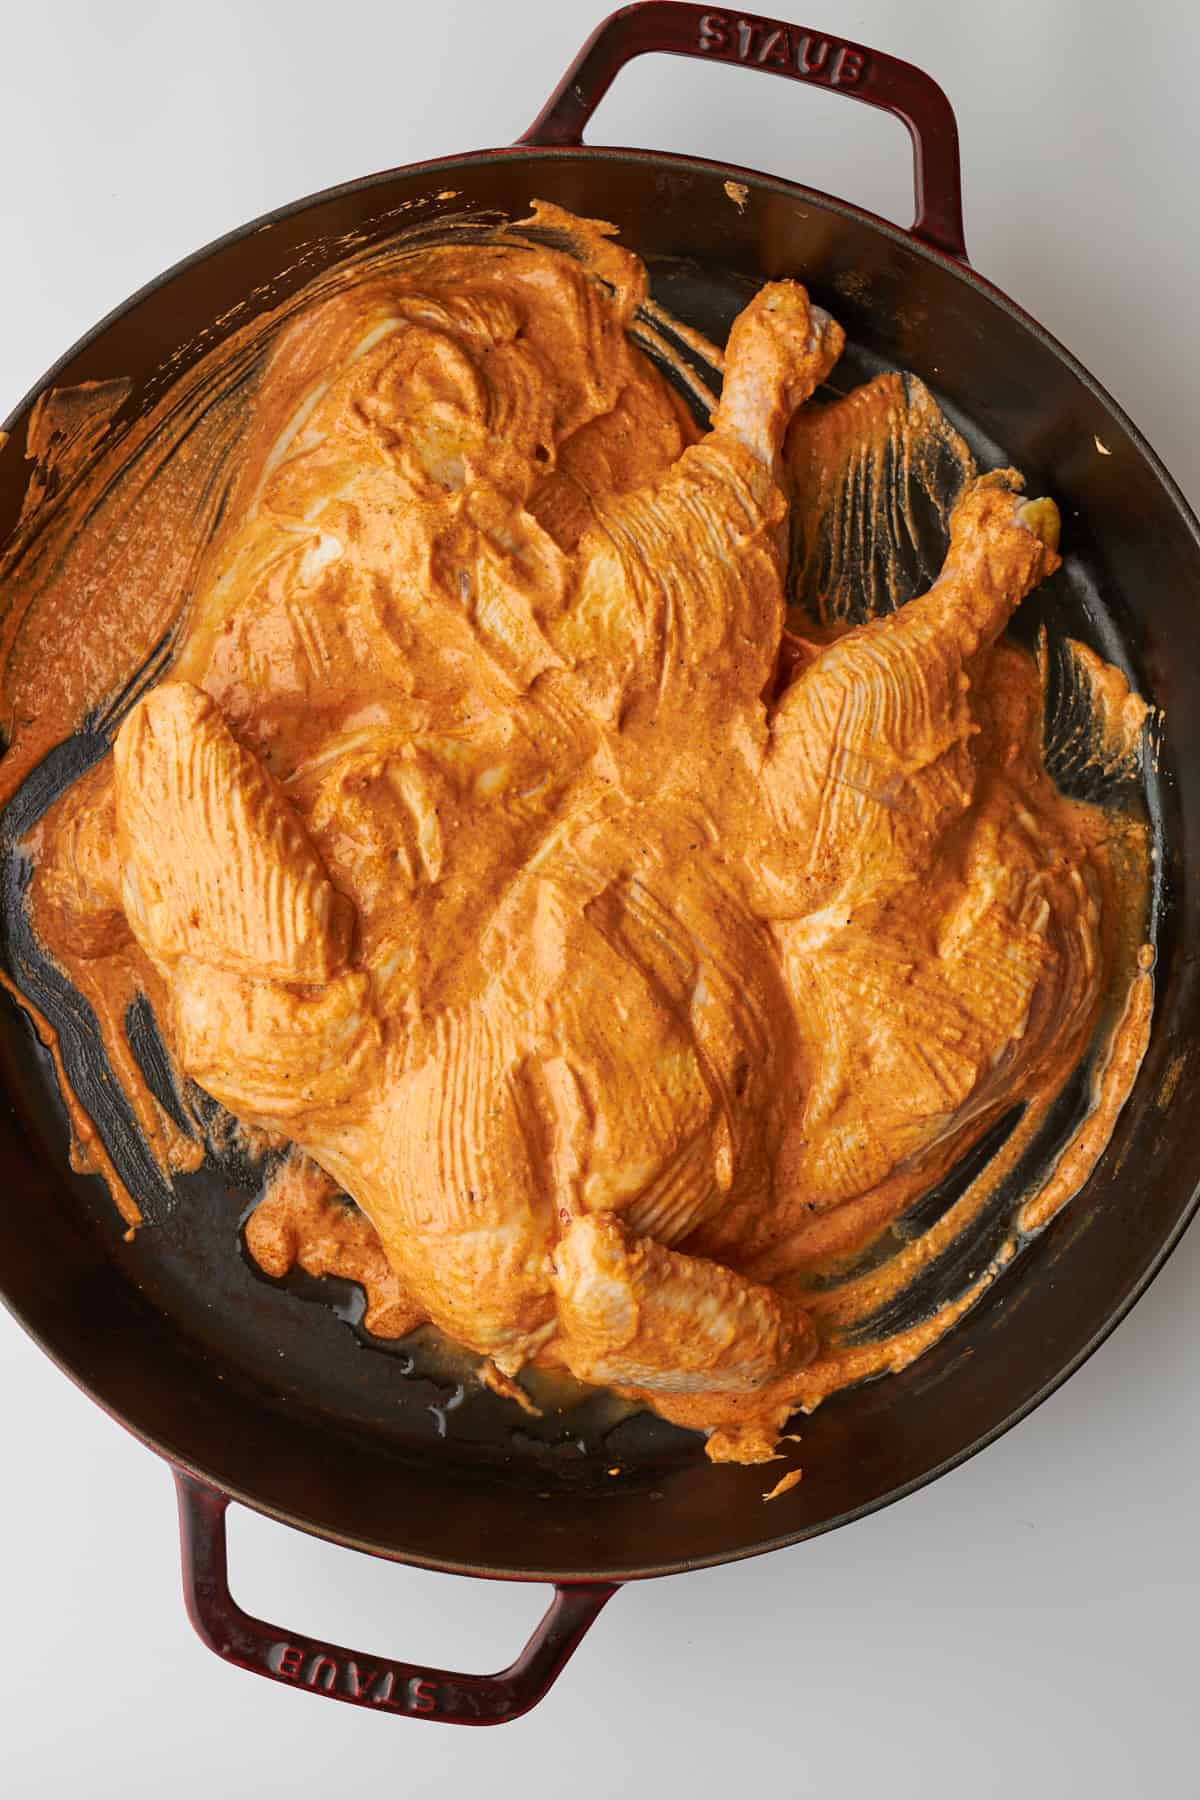
    Spatchcock chicken in a skillet covered with tikka sauce.
  • Cover the dish or seal the bag, and marinate the chicken in the refrigerator overnight, allowing the flavors to meld.
  • Season with a 1/2 teaspoon salt and 1/2 teaspoon pepper to taste.

Cooking:

  • Preheat the oven to 400 degrees Fahrenheit (200 degrees Celsius).
  • Remove the marinated chicken from the refrigerator, and let it come to room temperature for about 30 minutes.
  • Heat a grill pan or skillet over high heat. Once hot, place the chicken skin-side down and cook for a few minutes until nicely charred.
  • Flip the chicken over and sear the other side for a few minutes.
  • Transfer the chicken to a baking dish or oven-safe skillet. Cover the dish tightly with foil.
  • Place the covered chicken in the preheated oven and bake for 50-60 minutes, or until the internal temperature reaches 165 degrees Fahrenheit (75 degrees Celsius) and the juices run clear.
  • Remove the foil, and switch the oven to broil. Broil the chicken for a few minutes until the skin is crisp and browned, watching carefully to prevent burning.

Serve:

  • Once done, remove the chicken from the oven and let it rest for a few minutes before carving.
    Four pieces of chicken tikka on a plate.
  • Serve the spatchcocked tikka chicken with sides of choice, and enjoy!