The post Eve’s Pudding appeared first on Izy Hossack - Top With Cinnamon.
Eve’s Pudding
The post Eve’s Pudding appeared first on Izy Hossack – Top With Cinnamon.
all things food
The post Eve’s Pudding appeared first on Izy Hossack – Top With Cinnamon.
The post Eve’s Pudding appeared first on Izy Hossack - Top With Cinnamon.
Hi friends. It feels good to be back in this blog space. Since the beginning of this year, I’ve been focusing my attention on my latest project, My New Roots Grow – an online universe of wellness education – which will launch soon. Grow…
The post White Chocolate Peppermint Torte appeared first on My New Roots.

It feels good to be back in this blog space. Since the beginning of this year, I’ve been focusing my attention on my latest project, My New Roots Grow – an online universe of wellness education – which will launch soon. Grow is the most energy-intensive and large-scale project since my cookbooks, and once again it feels like birthing something major. The blog has been on the back burner giving more space for Grow to, well, grow, but I thought I’d pop in with this stellar holiday dessert because ’tis the season for a White Chocolate Peppermint Torte!
I actually developed this recipe last winter, but wasn’t sure what to do with it. I thought about keeping it exclusively on Grow (since that is where a lot of my recipe content will live from now on!), but because it is so special and delicious, I felt that it should just be out in the world. Inspired by the Spiced Chocolate Torte that I make on the retreats in Mexico (remember places?!), I wanted to make a festive holiday version with white chocolate and peppermint… enter the White Chocolate Peppermint Torte.
The crust is dark chocolate and pecan, so rich and delicious with just the right amount of salt. The interior is velvety smooth and beguilingly creamy, made with cashews, coconut oil, and white chocolate. I love the kiss of peppermint in the filling, which is definitely present but not overwhelming. I didn’t want anyone to feel like they were eating dessert and brushing your teeth at the same time!


If you’re using peppermint essential oil to flavour the filling, I find it helpful to measure it out on a spoon first, just in case the bottle is in a giving mood – one too many drops of this stuff will ruin a good torte with too much minty-ness! I like to use about 6 or 7 drops total, but if it comes out too fast, I have no way of controlling the amount. If you’re using peppermint extract, start at a quarter of a teaspoon and work your way up to the flavour that suits you.
If you eat a vegan diet, you can use maple syrup instead of honey in the filling, but the colour is going to be more brown / beige than creamy. Also, make sure to find dairy-free white chocolate, since the vast majority of commercially-made white chocolate contains milk solids. And then, if you do find vegan white chocolate, read the ingredient list to make sure that is doesn’t contain any hydrogenated oils or weird emulsifiers (or just pick your battles!).


The torte decorating is entirely up to you, although pomegranate seeds create a striking display of holiday cheer! Other options include fresh mint leaves, cacao nibs, or shaved dark chocolate. You could even include them all, if you’re feeling extra festive.
Store the torte in the freezer until you’re ready to enjoy it, then bring it out about 15-20 minutes before serving so that it’s not rock hard. It’s easier to slice and eat when it’s warmed up a tad. Use a smooth, very sharp chef’s knife, and run it under hot water before cutting into the torte to make it glide.
If you’re not in the mood to make a crust, you can turn this dessert into freezer fudge by preparing only the filling. Pour the filling into an 8-inch / 20 cm square pan lined with plastic wrap; top with ½ cup / 65g toasted pecans, cacao nibs, or chocolate shards, and freeze until solid (about 2 hours). Slice into squares and enjoy straight from the freezer!

I hope that wherever you are and whatever you’re celebrating this month, you are safe, healthy, and grateful. This year has thrown us all for the biggest loop of our lives, and finding the small joys and tiny triumphs (like getting out for some fresh air, putting dinner on the table) is enough to make me feel proud, anyway. The holidays will undoubtedly look different this year, but I know that I am just thankful to have a roof over my head and a torte to share with the ones I love. I hope the same for you, dear friend.
In light and love, best wishes for the season ahead.
Sarah B
The post White Chocolate Peppermint Torte appeared first on My New Roots.
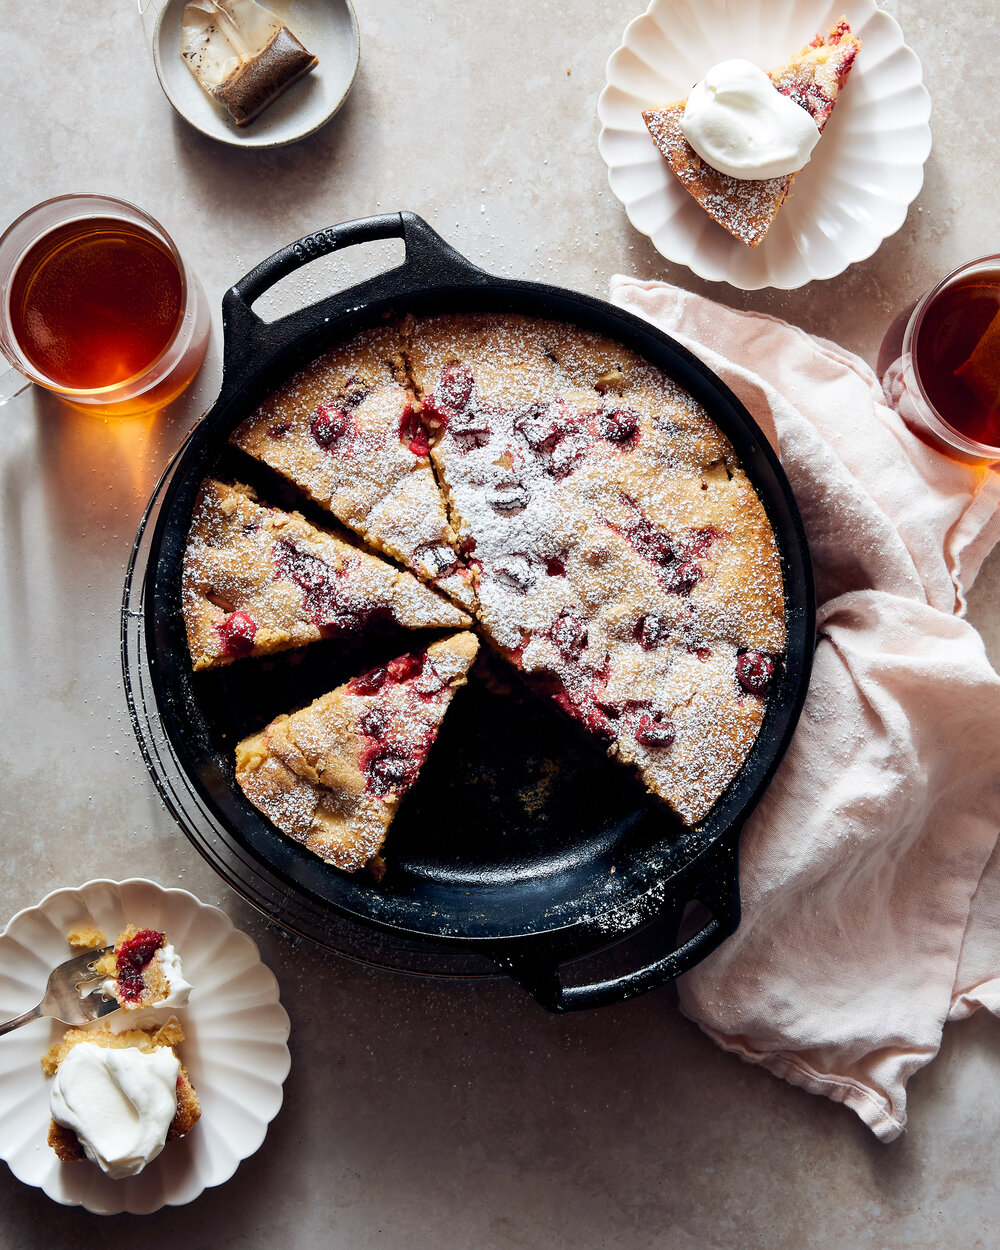
This easy skillet cake with cranberries and apples highlights some of my favorite fall flavors – in a lightly spiced batter.
…
This easy skillet cake with cranberries and apples highlights some of my favorite fall flavors – in a lightly spiced batter.

Fall and winter are such cozy seasons for baking that I find myself with something in the oven at least a few times a week. This skillet cake is a wonderfully versatile recipe that you can really serve any time of day.

This post is sponsored by Lodge Cast Iron. Their new bakeware line is gorgeous, sturdy, super versatile (hello, stove to oven to table!) and sure to become some of your favorites. I’ve used Lodge Cast Iron for years in my kitchen and I was very excited to learn about their new line of bakeware including this Baker’s Skillet which is perfect for everything from a savory quiche to a simple and comforting cake like this one.


Have a slice with tea or coffee in the afternoon, but make sure to save a bit for breakfast the next day too. Or, you can dress it up with a little bit of confectioner’s sugar and whipped crème fraiche for a gorgeous, low lift dessert.

The addition of rye flour here makes the cake exceptionally tender and I love the addition of tart cranberries for both color and a little pop of bright flavor that offsets the sweet and spice. If you don’t keep rye flour you can substitute and equal amount of all purpose or whole wheat flour, and feel free to sub pears for the apples too.
Makes one 9 or 10-inch cake
3/4 cup (150g) light brown sugar
2 large eggs
1/2 cup (115g) unsalted butter, melted
2/3 cup (160g) crème fraiche
1 teaspoon cinnamon
1/4 teaspoon nutmeg
1 cup (130g) all purpose flour
1/2 cup (65g) light rye flour
2 teaspoons baking powder
3/4 teaspoon kosher salt
1 1/2 cups peeled and chopped apple, from 1 large apple
3/4 cup (75g) fresh or frozen cranberries
4 teaspoons crunchy sugar like turbinado
Confectioners sugar and whipped crème fraiche to serve, if desired
1. Position a rack in the center of your oven and preheat the oven to 350°F. Generously butter the Lodge Bakers’s Skillet or 9-inch cake pan
2. In a large bowl, whisk the brown sugar and eggs until pale and foamy, about 1 minute. Add the melted butter, crème fraiche, and spices. Whisk until smooth and emulsified.
3. Add the flour, baking powder, and salt and whisk until almost combined.
4. Switch to a rubber spatula and add the cranberries and apples. Fold to combine making sure no streaks of flour remain.
4. Spoon the batter into the prepared pan and smooth the top of the batter with an offset spatula. Sprinkle the sugar over the top.
5. Bake until puffed and golden, and a tester inserted into the center comes out clean, 25 to 35 minutes. Set the pan on a rack to cool. Serve warm or room temperature with a dusting of confectioners sugar and whipped crème fraiche if desired.

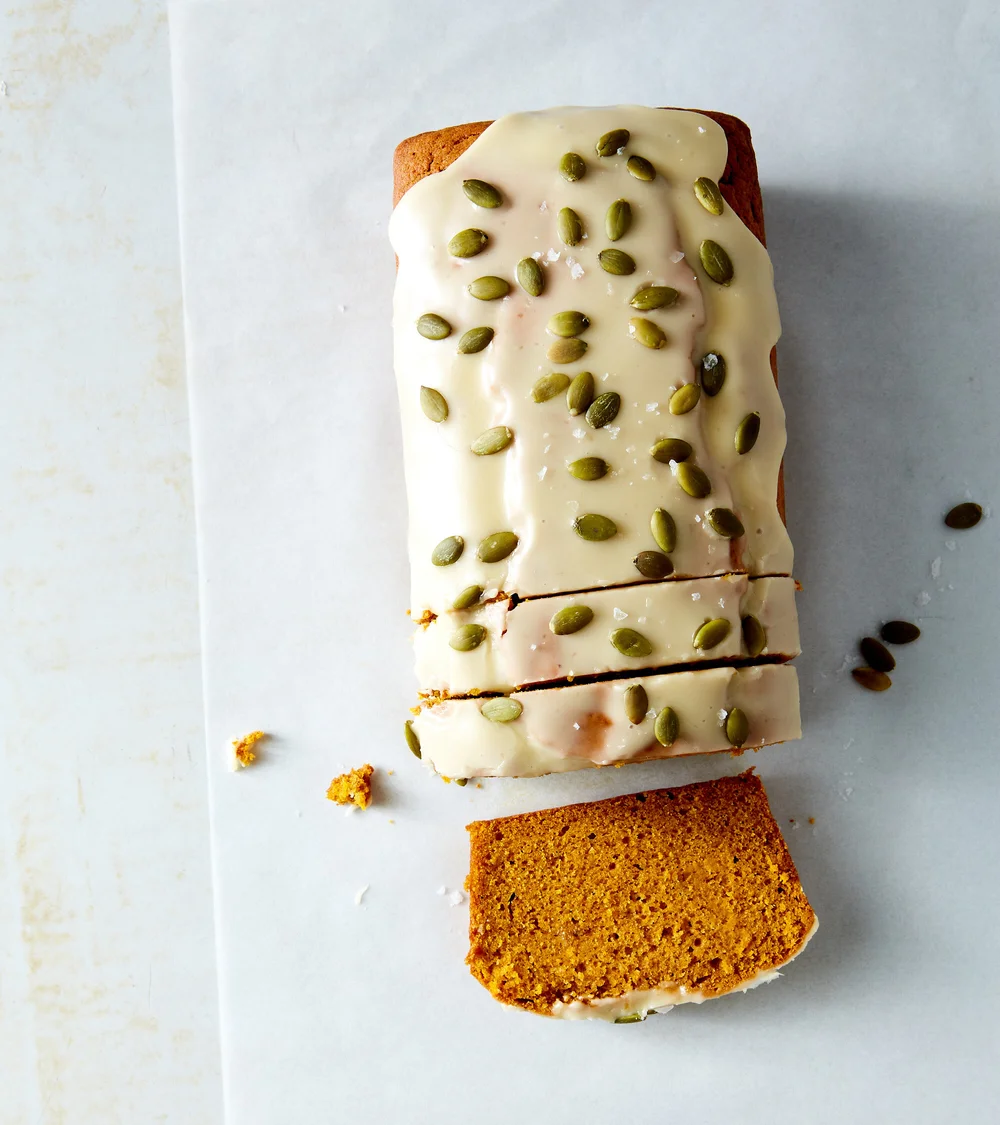
This one-bowl Pumpkin Olive Oil Cake with Maple Olive Oil Glaze is as easy as can be. It’s a great alternative to pie for Thanksgiving too. The maple olive oil glaze is sweet and savory all at once and has the most velvety texture.
…
This one-bowl Pumpkin Olive Oil Cake with Maple Olive Oil Glaze is as easy as can be. It’s a great alternative to pie for Thanksgiving too. The maple olive oil glaze is sweet and savory all at once and has the most velvety texture.

If you’re feeling to tired or to stressed for pie this Thanksgiving, or maybe you just don’t like pie (I know you’re out there!) - let me humbly suggest this Pumpkin Olive Oil Cake that comes together in one bowl without much fuss. You have probably guessed this already, but it’s a recipe from my new book Snacking Cakes!
It has all of the warm spices you could possibly want, and is topped with maple olive oil glaze and a pinch of sea salt for a sweet and savory vibe that makes it a great snack for anytime of day. You might even want to make one now to snack on as you’re cooking today and tomorrow…Just a thought!

It’s the perfect size for the small gatherings we are all having this year, and if you have leftovers they make an excellent breakfast the next day. We baked it as a loaf for the book, but you can certainly bake it in a round or square pan too.
Stay safe out there everyone. Happy Thanksgiving!
Pumpkin cake isn’t just for the fall, and this version, spiked with a bit of allspice and black pepper, has a hit of warmth that makes it more exciting than your average pumpkin spice mix. The glaze has a sweet and savory thing going on that pairs beautifully with the spices. If you prefer your pumpkin cake unadorned, feel free to skip the glaze and just sprinkle a few tablespoons of untoasted pepitas over the top of the cake batter before it goes into the oven.
Pumpkin Olive Oil Cake
1 cup (200g) light brown sugar
2 large eggs
1 cup (230g) pumpkin puree
½ cup (120ml) olive oil
1 teaspoon ground cinnamon
½ teaspoon ground cardamom
1/8 teaspoon ground allspice
A few grinds of black pepper
½ teaspoon kosher salt
1½ cups (190g) all-purpose our
1 teaspoon baking powder
½ teaspoon baking soda
2 tablespoons chopped toasted pepitas (optional)
Maple Olive Oil Glaze
1 cup (100g) confectioners’ sugar
2 tablespoons olive oil
2 tablespoons maple syrup
1 to 2 tablespoons hot water
Pinch of kosher salt
Chopped pepitas (optional)
Flaky salt (optional)
1. Position a rack in the center of your oven and preheat the oven to 350°F. Butter or coat an 8-inch square baking pan with nonstick spray. Line the pan with a strip of parchment paper that hangs over two of the edges.
2. MAKE THE CAKE: In a large bowl, whisk the brown sugar and eggs until pale and foamy, about 1 minute. Add the pumpkin puree, olive oil, cinnamon, cardamom, allspice, pepper, and kosher salt. Whisk until smooth and emulsified.
3. Add the flour, baking powder, and baking soda and whisk until well-combined and smooth.
4. Pour the batter into the prepared pan, tap the pan gently on the counter to release any air bubbles, and smooth the top of the batter with an offset spatula. Sprinkle the pepitas over the top if you are not going to glaze the cake.
5. Bake until puffed and golden, and a tester inserted into the center comes out clean, 25 to 35 minutes. Set the pan on a rack to cool for about 15 minutes. Then use the parchment paper to lift the cake out of the pan and set it on the rack to cool completely.
6. MAKE THE GLAZE: Combine the confectioners’ sugar, olive oil, maple syrup, 1 tablespoon of the hot water, and a pinch of kosher salt in a medium bowl. Whisk until smooth, adding more water as necessary to make a thick but pourable glaze.
7. Pour the glaze over the cooled cake and sprinkle with the pepitas and flaky salt, if desired. Let the glaze set for about 20 minutes before slicing the cake. (Store the cake, well wrapped, at room temperature for up to three days.)
Use Another Pan
LOAF: Bake in a 9 x 5 x 3-inch loaf pan until puffed and golden, and a skewer inserted into the center comes out clean, 50 to 60 minutes. You’ll need a half batch of glaze to coat the cake in a thin layer.
ROUND: Bake in a 9-inch round pan until puffed and golden, and a tester inserted into the center comes out clean, 25 to 35 minutes.
SHEET: Double the ingredients for the cake and bake in a 9 x 13-inch pan until puffed and golden, and a tester inserted into the center comes out clean, 30 to 40 minutes. Double the ingredients for the glaze, too.
Dress It Up
Add a dollop of Brown Sugar Whip (page 180) or a scoop of ice cream (or both!) to slices of cake before serving.
Flavor Variations
PUMPKIN CHOCOLATE CHIP CAKE: Prepare the cake as directed, then fold in ½ cup (85g) chopped bittersweet chocolate just before pouring the batter into the pan. Top with Cocoa Glaze (page 135).
RYE PUMPKIN CAKE: Substitute ½ cup (65g) light rye flour for the all-purpose flour. This version is also quite nice with a bit of chocolate folded into the batter.
…


It’s birthday season in Apartment 2 (we lost the B in our move, years ago) and you all know I love a big ol birthday cake. I have to admit that I have been a chocolate cake/vanilla frosting devotee for many years but after trying this yellow cake recipe my preference just may be flipping upside down. It is straight from King Arthur so you can head on over to their site to check it out.
The method for mixing the cake is a little unusual, but it gives this cake a really nice crumb and moist texture. I find yellow/white cakes can be kind of bland and dry, but not this one! Make sure to use high quality cocoa powder in the frosting, it makes a huge difference.
…


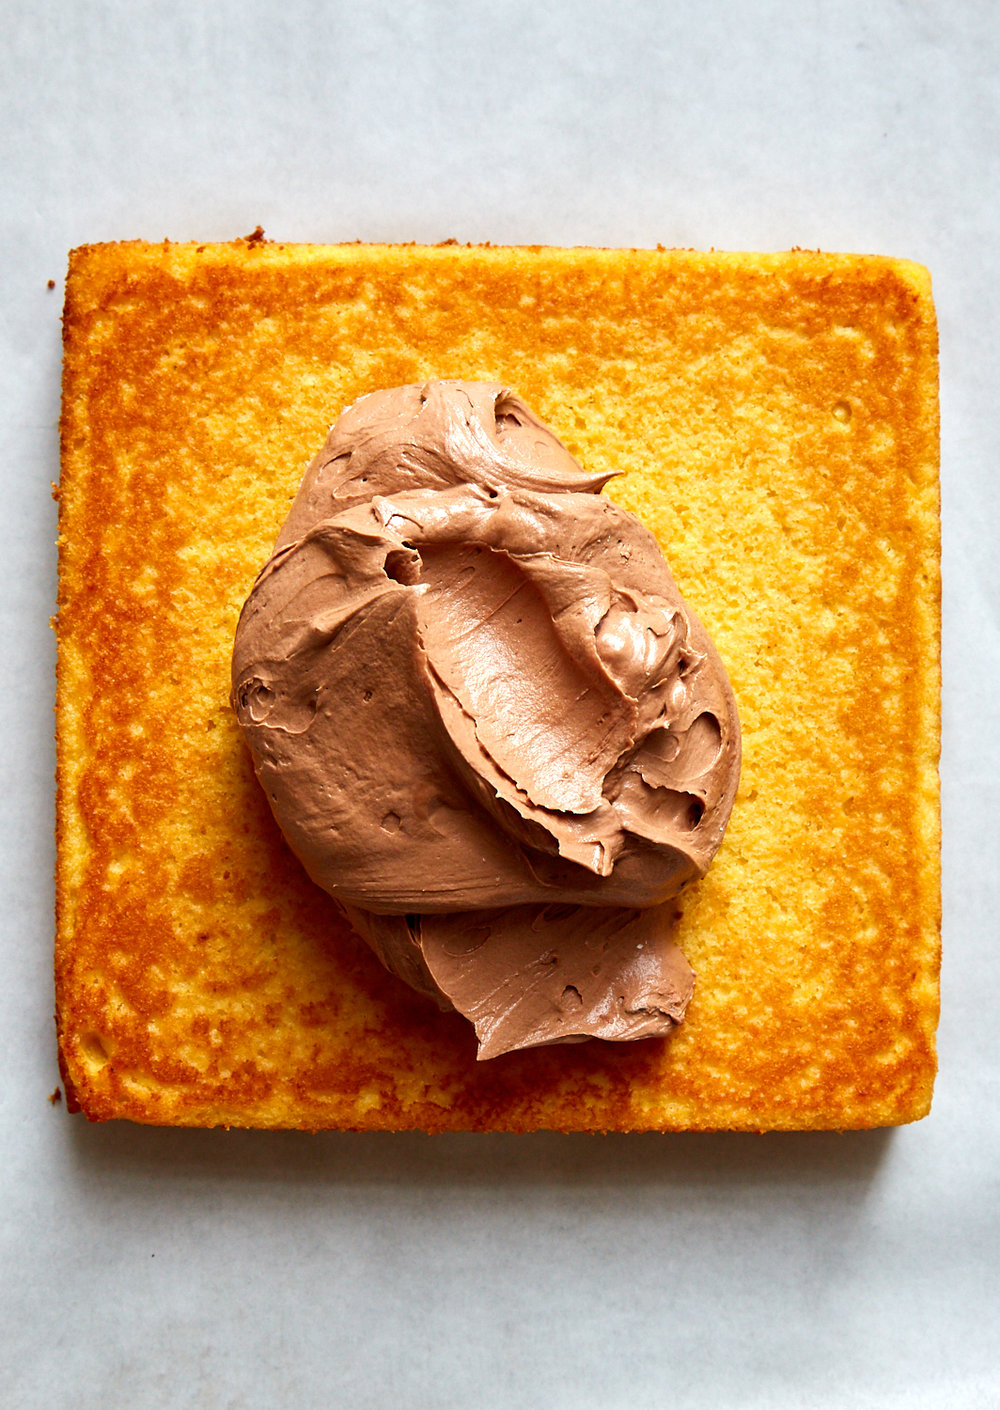
I love a cake that you can stir together in one bowl, and this passionfruit cake fits the bill. It is packed with passionfruit flavor and is mouth-puckering tart, but the *ahem generous* swoops of chocolate frosting balance it quite nicely. You could also add an additional 1/4 cup (50g) sugar for a sweeter cake, but I’m a fan of the contrast. If you aren’t a huge frosting fan you may want to hold a little back when you are topping the cake. The cake is also delicious - tart, floral, and tropical - on its own. If you’d prefer to skip the frosting all together, make a little bit of glaze made from passionfruit and confectioners sugar and drizzle it over the top instead.
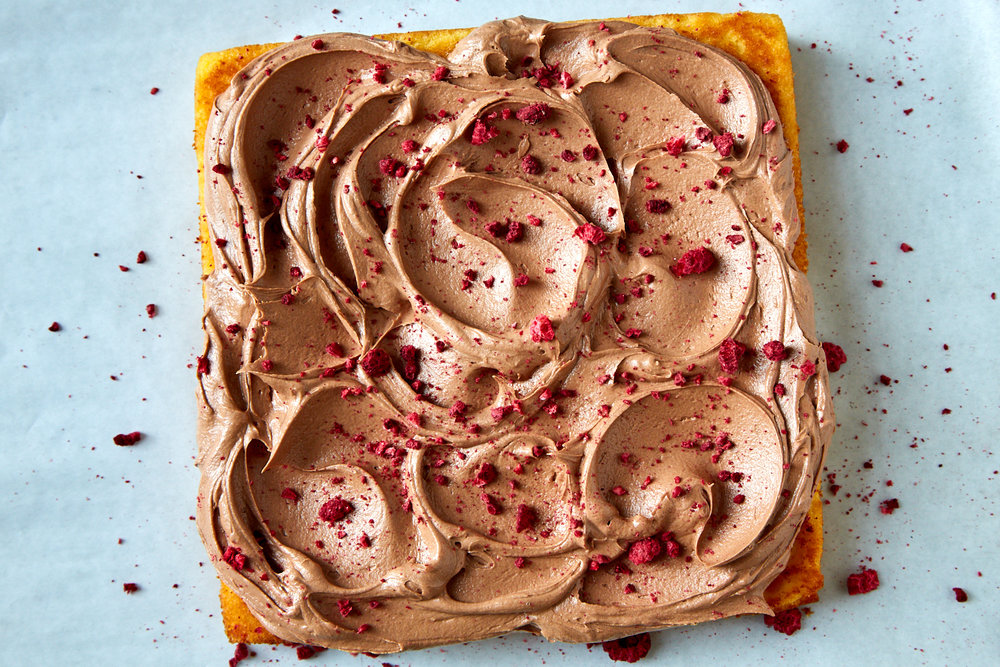
Would you believe that I have misplaced my sprinkles? I’m not sure how it happened, but after my Christmas cookie bonanza I managed to hide ALL OF MY SPRINKLES from myself and I didn’t discover it until I went their normal storage spot to grab some to sprinkle this beaut. In the end it was a blessing because I crushed up a handful of dehydrated raspberries for decor instead and they added a nice tart punch to the topping.
p.s. I use a spoon, instead of an offset spatula, to get these deep swoops and swirls.
makes one 8-inch square cake
Frosting recipe from Smitten Kitchen’s “I want chocolate cake cake”
I used Goya brand passionfruit puree for this cake which I can find easily at most of the supermarkets in my area. Its also very inexpensive and runs about 3 bucks for 7 ounces. You can certainly make your own puree or use a higher end brand, but I’m here to tell you that the inexpensive stuff works just fine. Choose your own adventure. Although, if you can find fresh passionfruit, a few of the seeds and pulp sprinkled over the top would make a beautiful, crunchy garnish. This cake tastes best the day that it is baked, but holds up for a couple of days at room temperature. If you use dehydrated fruit as a garnish it will soften as it sits.
For a less tart cake use 1 cup (200g) sugar.
One Bowl Passionfruit Cake
3/4 cup (150 grams) granulated sugar
2/3 cup passionfruit puree
1/3 cup (75g) sour cream
4 tablespoons (55g) melted unsalted butter
2 large eggs
1 teaspoon vanilla extract
1/2 teaspoon kosher salt
1 1/4 cups (140g) cake flour
2 teaspoons baking powder
Chocolate Frosting
2 ounces (55 grams) unsweetened (or bittersweet) chocolate, melted and cooled
1 1/2 cups (180 grams) powdered sugar
1/2 cup (115 grams) unsalted butter, at room temperature
1 tablespoons milk, plus more if necessary
1/2 teaspoon vanilla extract
fat pinch of salt
Heat oven to 350ºF and butter and flour or spray an 8x8 inch baking pan with non-stick spray.
In a large bowl, whisk the sugar, passionfruit puree, sour cream, melted butter, eggs, vanilla extract, and salt until combined and smooth.
Combine the flour and baking powder in a fine mesh sieve and sift it into the large bowl. Whisk the batter until smooth and pour into the prepared pan. Slide the pan into the oven and bake until a cake tester inserted into the center comes out clean 20-25 minutes.
Cool the cake in the pan on a rack.
While the cake is cooling make the frosting.
Add all of the frosting ingredients to a large bowl and beat until smooth and fluffy, add a bit more milk if necessary. Alternately, Deb makes the frosting in a food processor.
Spread the frosting evenly over the cooled cake and decorate with a shit-ton of sprinkles. Enjoy immediately! This cake keeps is best the day it’s baked, but will keep for a couple of days, covered at room temperature. The dehydrated raspberries will soften over time.
