Thousand Island Dressing
The best Thousand Island dressing is super creamy & sweet with a bit of tang. Not only does it make for a great dressing on tossed salad, but it’s also an amazing condiment for burgers and even a dip for French fries!
all things food
The best Thousand Island dressing is super creamy & sweet with a bit of tang. Not only does it make for a great dressing on tossed salad, but it’s also an amazing condiment for burgers and even a dip for French fries!
This cucumber salad with vinegar is perfect for barbecues and picnics, a refreshing mix of tangy and salty sliced cucumbers…
This cucumber salad with vinegar is perfect for barbecues and picnics, a refreshing mix of tangy and salty sliced cucumbers and onions.

This cucumber salad with vinegar is everything summer! Did you grow up with the tradition of eating it? It’s perfect for everything from summer potlucks to patio barbecues to picnics. It accessorizes perfectly with everything from salmon to a grilled burger.
The thinly sliced cucumbers and onions are salty, tangy, and lightly sweet all at once, and totally addicting. This cucumber salad is vegan, plant-based, and gluten-free, so it works for lots of diets too. Keep reading for how to make it!
Or, try it creamy! Try our Cucumber Salad with Sour Cream.
There are only a few ingredients you need to whip up this cucumber salad with vinegar.
This cucumber salad with vinegar is incredibly easy to make: the only hard part is waiting while it marinates in the refrigerator! The trick to mastering this cucumber salad is to slice the onions and cucumbers as thinly as possible. Slicing the cucumber and onion thinly allows the salt to draw out most of the moisture, and gives this salad the most incredible texture.

Step 1: Thinly slice the cucumbers and onions. If you have a mandolin, it works well for slicing the cucumbers: but it’s not needed at all: a simple knife will do the trick!

Step 2: Whisk together the white vinegar, sugar, and salt.

Step 3: Once the cucumbers and onions are mixed with the vinegar, salt and sugar (they’re basically quick pickles!), they need to marinate in the refrigerator. Wait 1 hour while time does its magic!
After 1 hour marinating time, you can enjoy your cucumber salad with vinegar salad anytime over the next 7 days. The flavor just gets better with time!

There are so many ways to accessorize this cucumber salad with vinegar! We eat it primarily in as a summer side dish, so naturally we think of meals full of summer produce. Of course you can eat this salad all year long. Here some ideas to get your wheels turning:
Want more with cucumbers? See Top Cool Cucumber Recipes.
This cucumber salad with vinegar recipe is vegetarian, gluten-free, vegan, plant-based, and dairy-free.
Yes! The flavors will meld and develop over time, making it even more delicious.
Stored in an airtight container, cucumber salad can last 7 days in the refrigerator. The cucumbers will soften slightly over time.
White distilled vinegar is a classic choice. We recommend using it if at all possible.
English cucumbers are ideal for their thin skin and fewer seeds, but regular cucumbers work too. Just peel them first if the skin is thick or waxed.

This cucumber salad with vinegar is perfect for barbecues and picnics, a refreshing mix of tangy and salty sliced cucumbers and onions.
*You can also omit the dill, or use ½ teaspoon dried in place of fresh.
**If you’re pressed for time you can serve immediately, but it’s best after 1 hour marinating time.
Outside of this salad, here are a few of our best salad recipes:
Make restaurant-quality Italian dressing at home with this simple recipe! This zesty dressing is full of flavor and perfect for…
Make restaurant-quality Italian dressing at home with this simple recipe! This zesty dressing is full of flavor and perfect for salads, pasta salads, and more.

One of the top salad dressing recipes to make homemade: Italian dressing! This zingy Italian American vinaigrette is a staple that many of us have grown up with. Ever tried making it at home instead of opting for bottled?
As two cookbook authors, we’ve found the key to a great salad is a homemade salad dressing: they don’t have preservatives or added ingredients, are extremely tasty, and are quick to make! This zesty Italian dressing recipe is a fan-favorite recipe from our popular chopped salad, and it’s become our go-to easy vinaigrette for all types of salads.
Jump to the recipe—now.
This Italian dressing recipe is a standby recipe we’ve been making for over a decade. It all started with our famous chopped salad, which is always a hit with friends and family. Every time we serve it, people ask us for the recipe! Over the years, readers have constantly given us feedback they love it to. Here’s what we love about this recipe:

Turns out, Italian dressing is actually an Italian American creation, not a traditional Italian food! It’s a vinaigrette type dressing used in American and Canadian cuisine. In Italy, salads are dressed with olive oil, vinegar, lemon juice and salt at the table, not typically with a pre-mixed salad dressing. Italian dressing is an American creation that approximates the flavors and herbs in Italian food, like olive oil, garlic, basil, oregano and thyme.
The ingredients you’ll need for this Italian dressing are:
This homemade Italian dressing recipe is incredibly simple. The flavor is zesty and bright, full of garlic, white wine vinegar, maple syrup or sugar, Dijon mustard, and olive oil. Add to that a mix of Italian-style dried herbs: basil, thyme, and oregano, which bring in earthy flair. To make an emulsion for this homemade Italian salad dressing recipe, simply whisk it by hand. Here are a few tips:

This homemade Italian dressing recipe is perfect on any type of salad that you throw together! We’ve made it for years and have lots of readers who use it as a go-to salad dressing. It works well on many types of salad recipes, like a chopped salad, kale salad, or any green salad with flavors that would go with an Italian-style vinaigrette. Here are a few ideas of how to use it:
How would you serve this Italian salad dressing recipe? Let us know in the comments below!
Homemade dressings have big, bold flavor and are easy to whip up! In fact, we rarely buy bottled dressing. Outside of this homemade Italian dressing recipe, here are a few of our other favorite salad dressing recipes:
Vegetarian, gluten-free, vegan, plant-based, and dairy-free.
Print
This zesty homemade Italian dressing recipe is full of flavor and easy to make at home! This one will become a go-to on first taste.
Keywords: Italian dressing, Italian dressing recipe, Homemade italian dressing, How to make italian dressing,
This easy balsamic vinaigrette recipe uses only 4 ingredients and whips up in minutes! With its balance of sweet, tangy,…
This easy balsamic vinaigrette recipe uses only 4 ingredients and whips up in minutes! With its balance of sweet, tangy, and savory, it will become your go-to salad dressing. Ditch store bought dressing for good!

Looking for a simple salad dressing to make at home? There’s really nothing better than this balsamic vinaigrette recipe. It’s creamy, tangy, a little bit sweet, and has that “something” that keeps you coming back for another bite. It’s extremely versatile, perfect on everything from a classic strawberry salad to a simple green salad. It has a short ingredient list and it comes together in less than 5 minutes. So why ever buy it again?
This balsamic vinaigrette recipe is very simple to whip up, especially because you might already have the ingredients on hand in your pantry. For this recipe you’ll need:

This balsamic vinaigrette recipe is incredibly simple. The flavor is zesty and bright, tangy from the vinegar, balanced with a touch of maple syrup. Then it’s mixed together with extra virgin olive oil to form a creamy emulsion. We’ve also added a touch of Dijon mustard to give a little more zing and to help the creamy dressing stay emulsified. Here’s how to make this balsamic vinaigrette:

There are lots of types of balsamic vinegar at the store, and they vary widely in quality. There are three categories of balsamic vinegar:
A good rule of thumb for buying a good balsamic: look for a mid-priced bottle. Price is typically indicative of quality!
This balsamic vinaigrette recipe is perfect on any type of salad that you throw together, especially salads with a sweet element like apples, berries, or sweet potatoes! Here are a few ideas of how to use it:
How would you serve this balsamic vinaigrette recipe? Let us know in the comments below!

There are so many delicious salad dressing recipes to try! After this homemade balsamic vinaigrette recipe, here some favorites to try:
Vegetarian, gluten-free, vegan, plant-based, and dairy-free.
Print
This easy balsamic vinaigrette recipe uses only 4 ingredients (plus salt) and whips up in minutes! With its balance of sweet, tangy, and savory, it will become your go-to salad dressing. Ditch store bought dressing for good!
Taste, and if you prefer a sweeter balsamic vinaigrette, you can add up to 1 tablespoon additional maple syrup.
Keywords: Balsamic vinaigrette recipe, Balsamic vinaigrette dressing, How to make balsamic vinaigrette
Have you ever gone away for a few weeks and found out that you’d left the freezer door ajar? Well, I did. And let me tell you, it wasn’t pretty. Before traveling, since I’m anti-gaspillage (against food waste), I jammed whatever I could into my already-stuffed freezer, including a half-eaten tomato tart, which I thought would be nice to have ready-and-waiting upon my arrival home,…
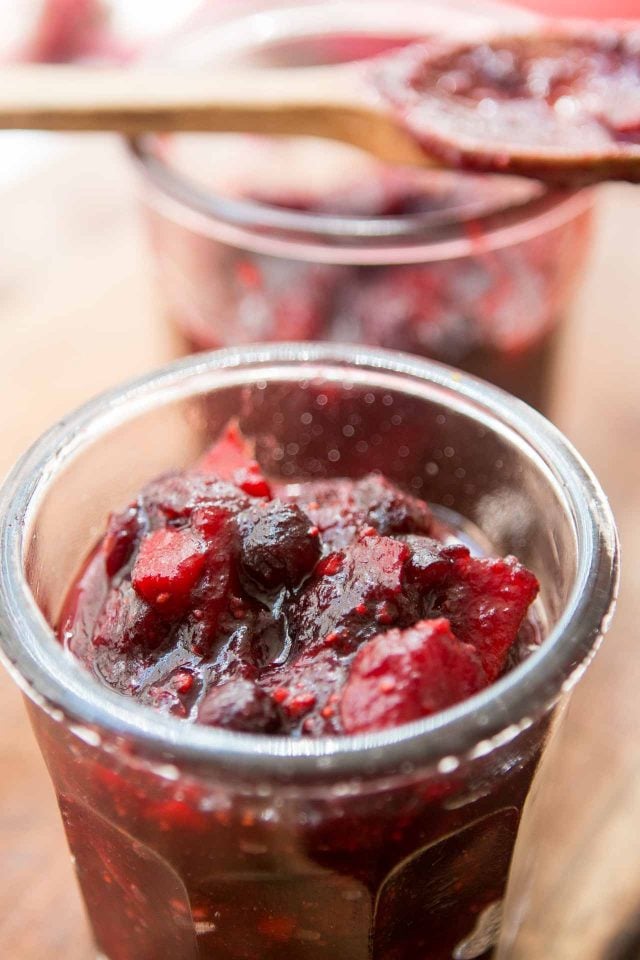
Have you ever gone away for a few weeks and found out that you’d left the freezer door ajar? Well, I did. And let me tell you, it wasn’t pretty.
Before traveling, since I’m anti-gaspillage (against food waste), I jammed whatever I could into my already-stuffed freezer, including a half-eaten tomato tart, which I thought would be nice to have ready-and-waiting upon my arrival home, partially-used blocks of butter, and the miscellaneous leftover ends of bread that one collects when one constantly buys too much bread. When I returned, I realized that one of those bread pieces had been caught in the door and kept it from sealing closed.
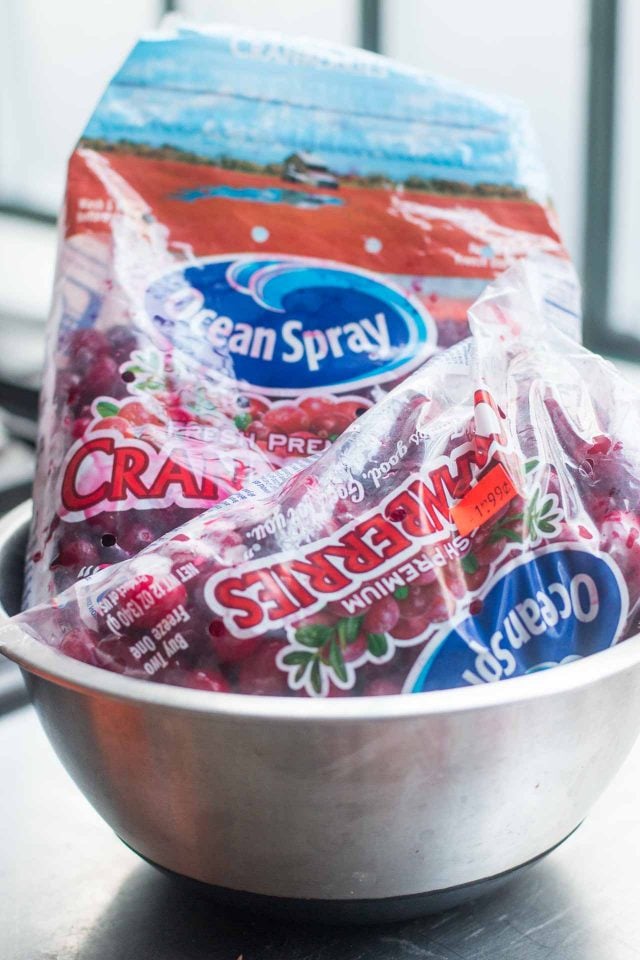
Oddly, the fridge doors have an alarm, which beeps if they’re not completely shut, but the freezer door doesn’t. Coming home to an array of items that were half-frozen, half-defrosted (with gloopy liquid oozing out of them), possibly defrosted and then refrozen, and a few that were unidentifiable, was a bummer.
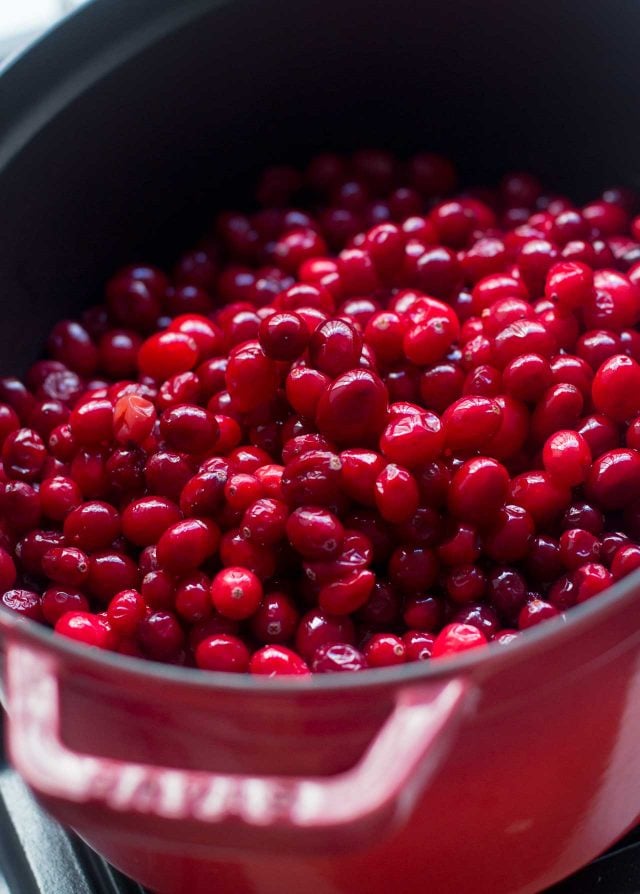
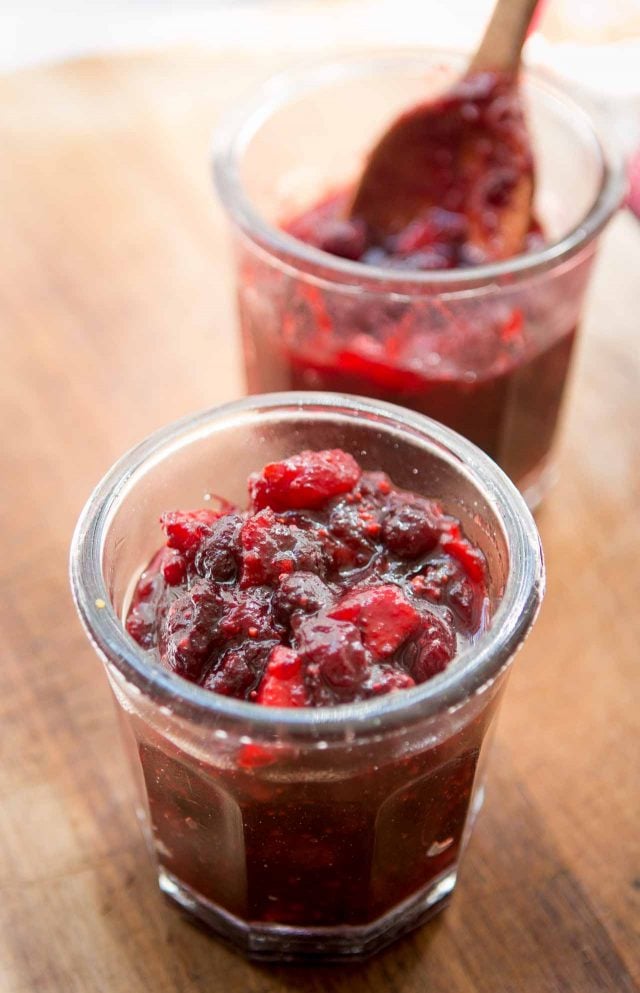
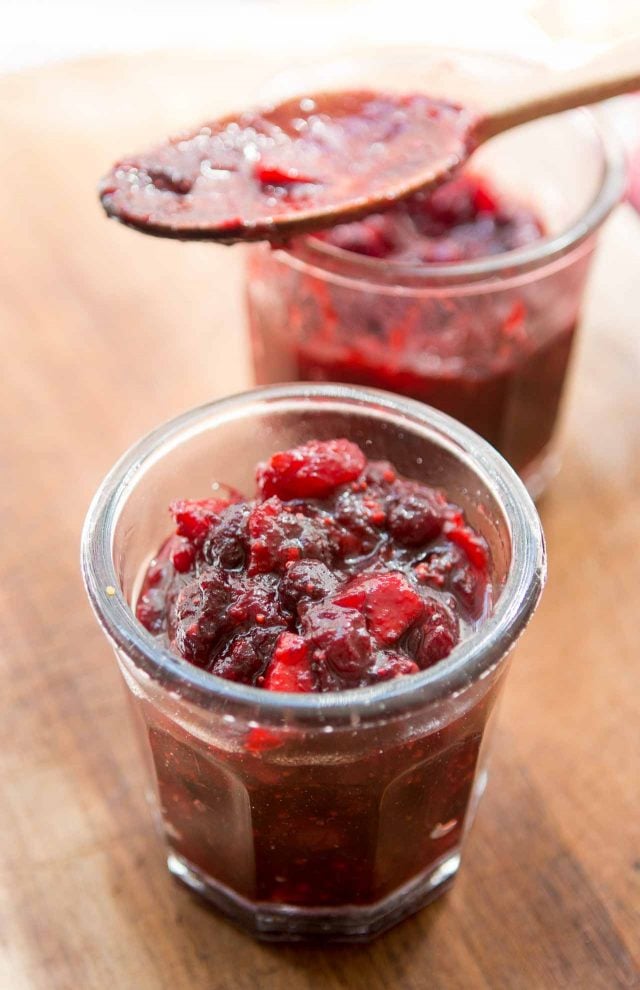
Some things I knew had to go – like sausages, stock, and a rather moldy half-eaten tomato tart, that I was sure could be reheated when I returned from my travels. (I won’t share a picture of that, but it looked like it needed a good shave.) But I also had several precious bags of cranberries that I’d stashed away for Thanksgiving and while they weren’t completely defrosted, I didn’t want to (or know if I could) refreeze them, so I decided to make chutney…and a whole lotta it.

Fortunately, all my candied and dried fruits were in fine condition and since I was cleaning my freezer, I also did a little purge of my drawers of things that weren’t sparking joy in my kitchen, and cooked them all up with some spices, some honey, orange juice, and vinegar, to make this tangy-tangy condiment.
(Just a note that dried fruits always spark joy in me. But a drawerful of little crinkled up cellophane bags with thirteen raisins or two dried apricots in them, don’t.)
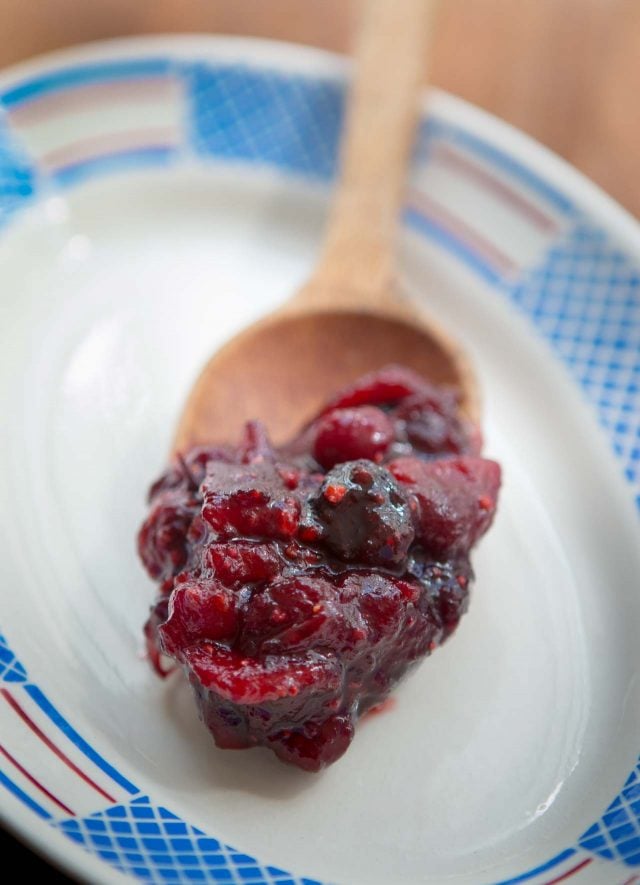
To share my joy with you, I whittled my catastrophe-size recipe down to a reasonable recipe, but you’re welcome to double, triple, or quadruple it. Although it’ll keep for a few weeks in the refrigerator, I had so much that tightly sealed the overload into freezer bags and placed them back in the congélateur. However next time I’m headed out of town, I’m going to make sure my freezer is tightly sealed, because I’d be a bummer to lose those.

These quick pickled jalapeños are the perfect way to top all of your favorite foods, including nachos, sandwiches, pizza, chili, and more.
The post Pickled Jalapeños appeared first on Budget Bytes.
O.M.G. I thought I was obsessed with pickled red onions, but then I made these pickled jalapeños and I literally can’t stop eating them. Every time I go in the fridge I have to pop one or two in my mouth, in addition to adding a few on top of everything I’ve been eating. 😅 These little guys are addictive! So, if you’ve got a pepper plant that is still producing or are looking for a way to use up some leftover jalapeños from another recipe, trust me, you NEED to make these pickled jalapeños.
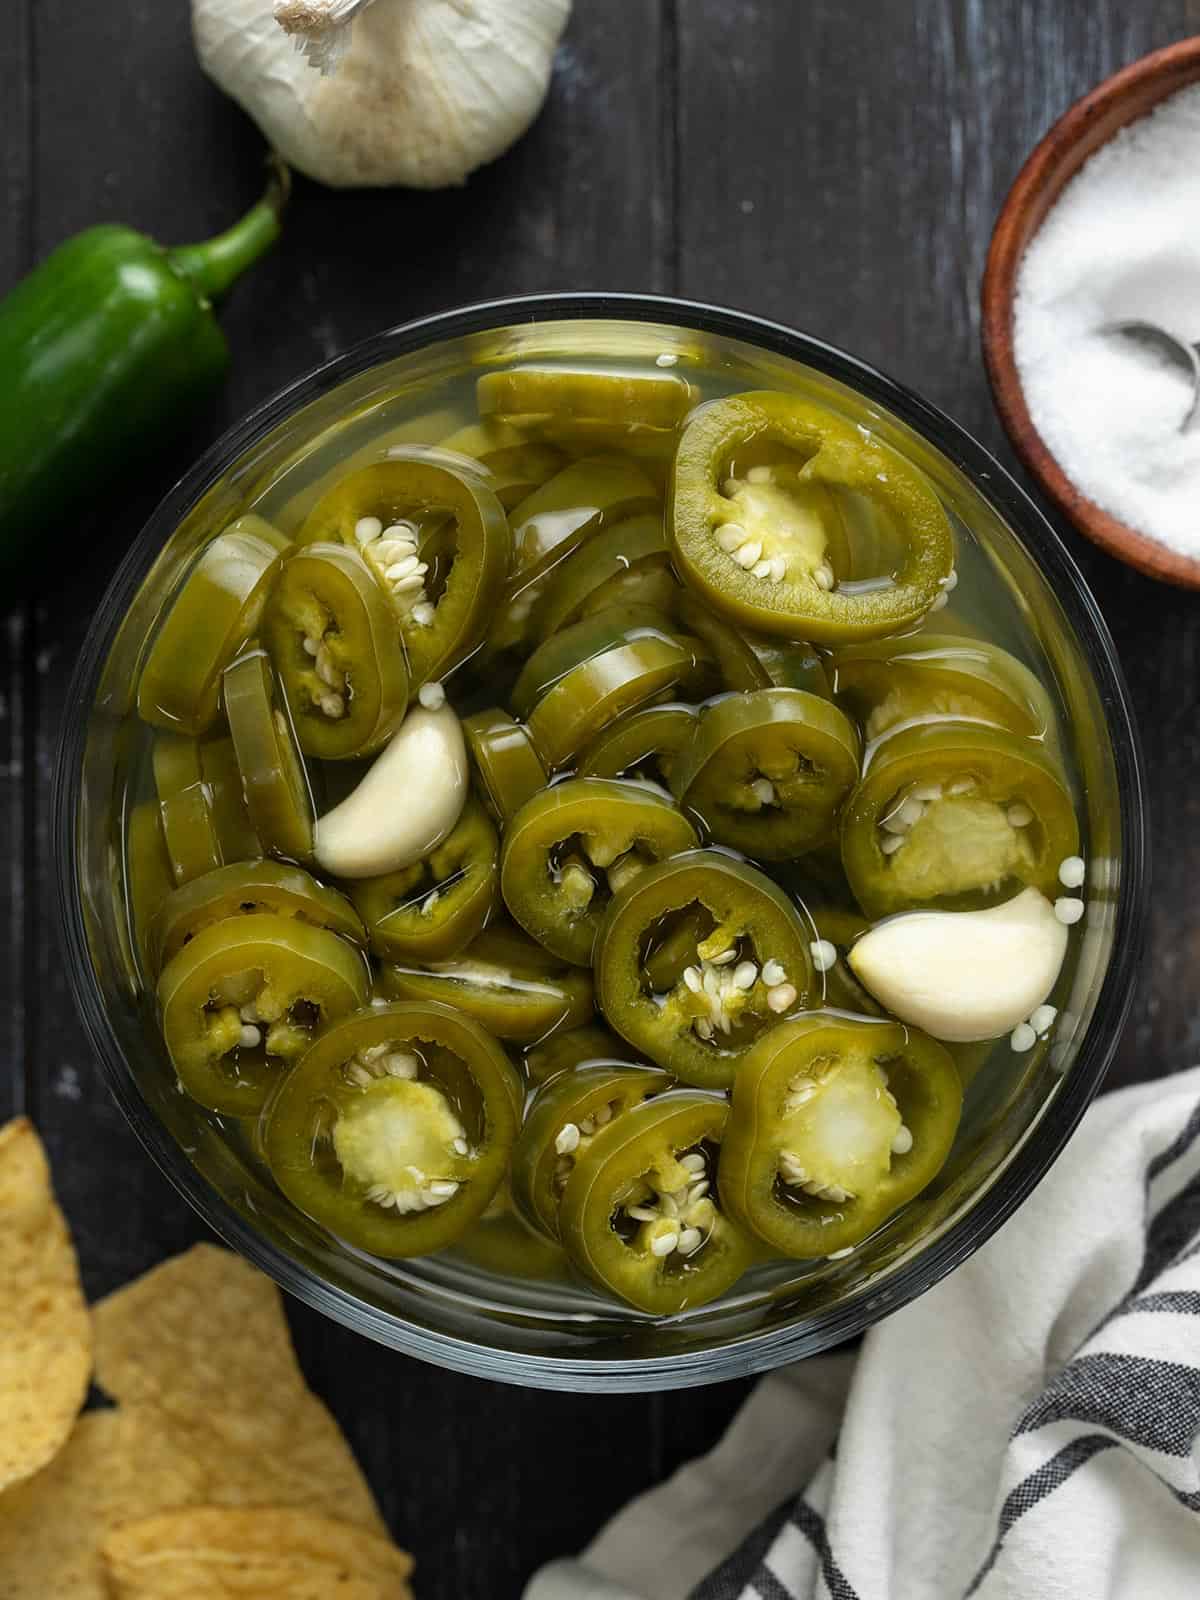
There are two main ways to pickle vegetables: fermentation and quick pickling in a vinegar-based brine. Fermentation pickling takes days to weeks to accomplish, as natural bacteria produce acid that combines with added salt to create a brine. Quick pickles only take minutes because they start with a pre-made acidic brine made with vinegar and salt. The method I used for these pickled jalapeños is quick pickling, which I love because it’s so fast and convenient. Just keep in mind that quick pickles do not contain live cultures.
Here’s what you’ll need to make quick pickled jalapeńos:
If you want to experiment with your pickled jalapeños, you can try adding some of the following ingredients: a sliced carrot, whole peppercorns, ground cumin or cumin seeds, sliced shallots, or oregano.
Aside from just sneaking one or two slices from the jar, here are some of my favorite foods to top with pickled jalapeños:
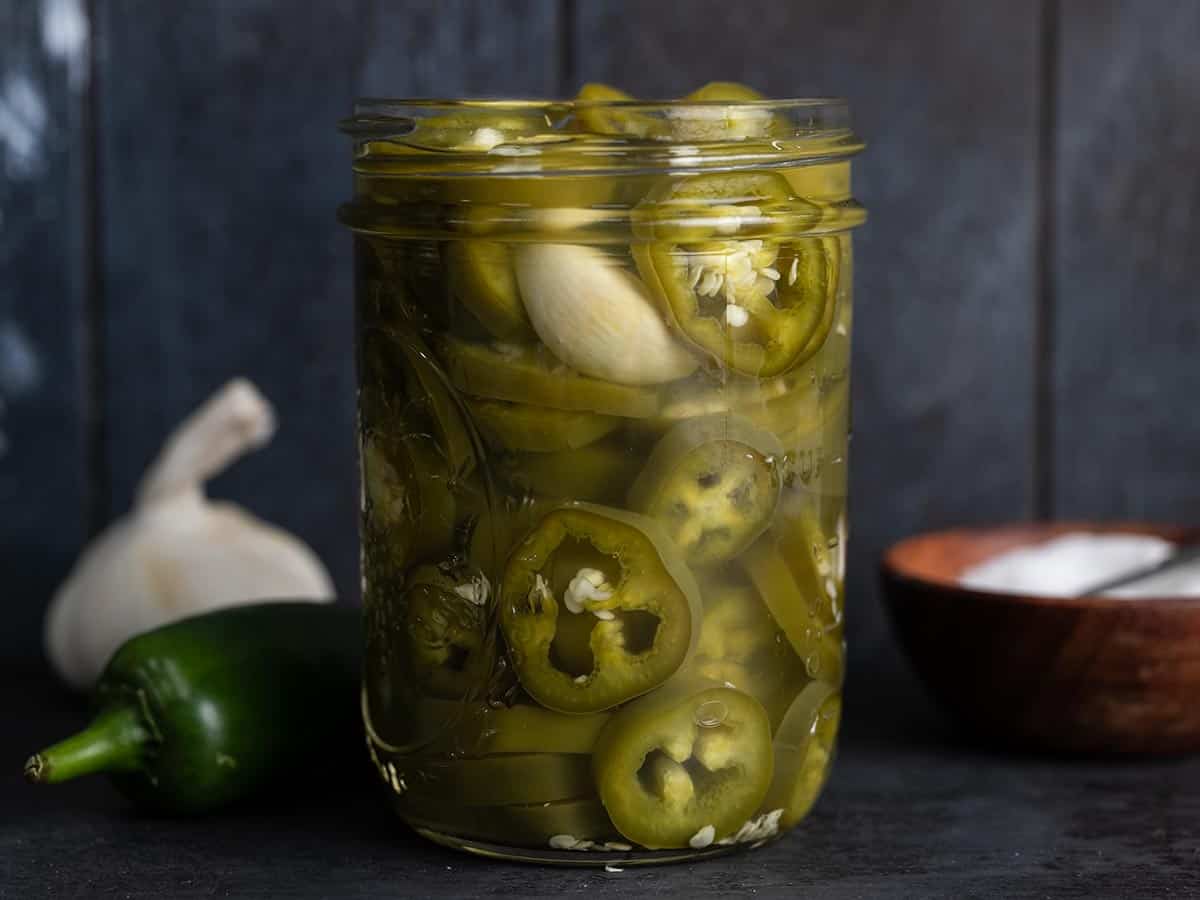
Keep these pickled jalapeños in an air-tight glass or plastic container in the refrigerator for up to two months (if you don’t eat them all first!). Use a fork or tongs to remove the jalapeños from the container to keep the brine as sterile as possible.
See how we calculate recipe costs here.
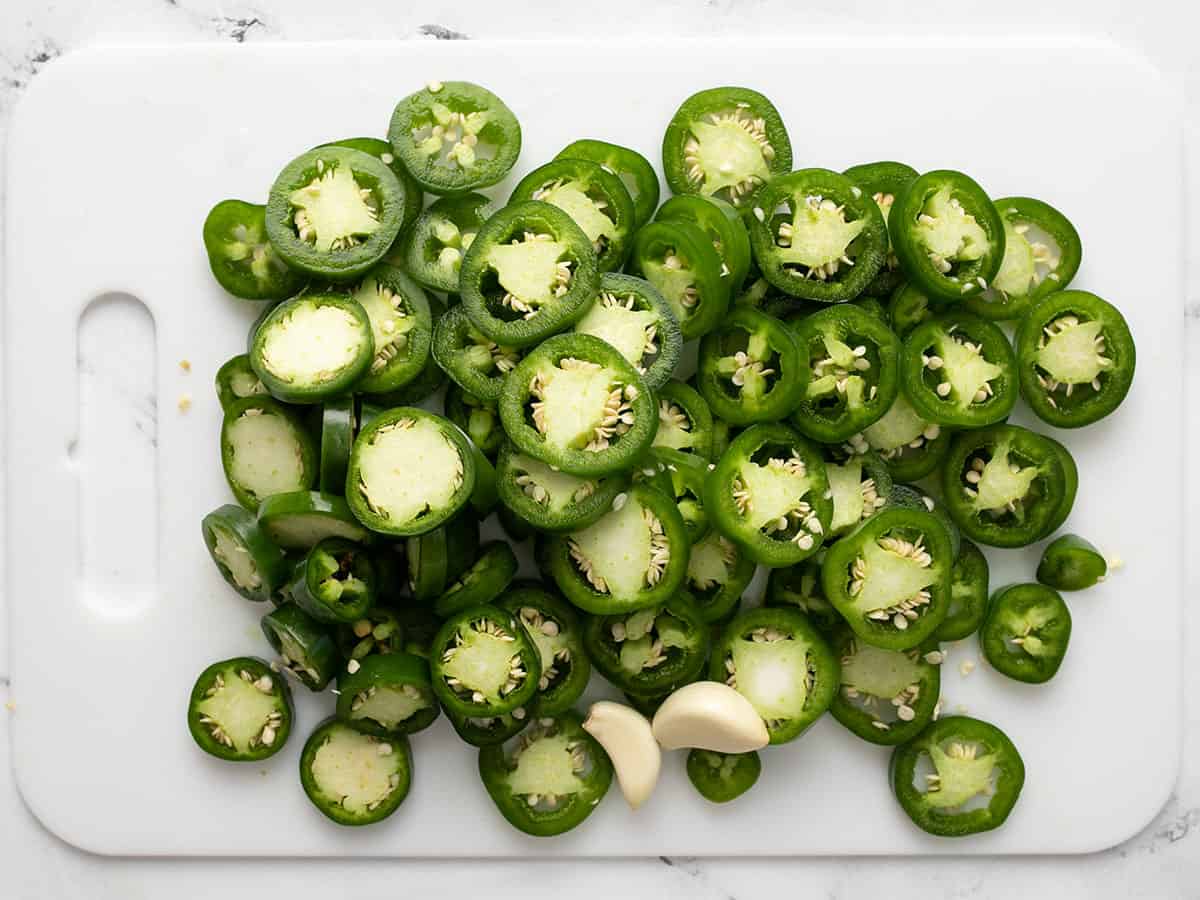
Wash then slice one pound of fresh jalapeños. Peel two (or more) cloves of garlic. Feel free to measure with your heart when it comes to the garlic!
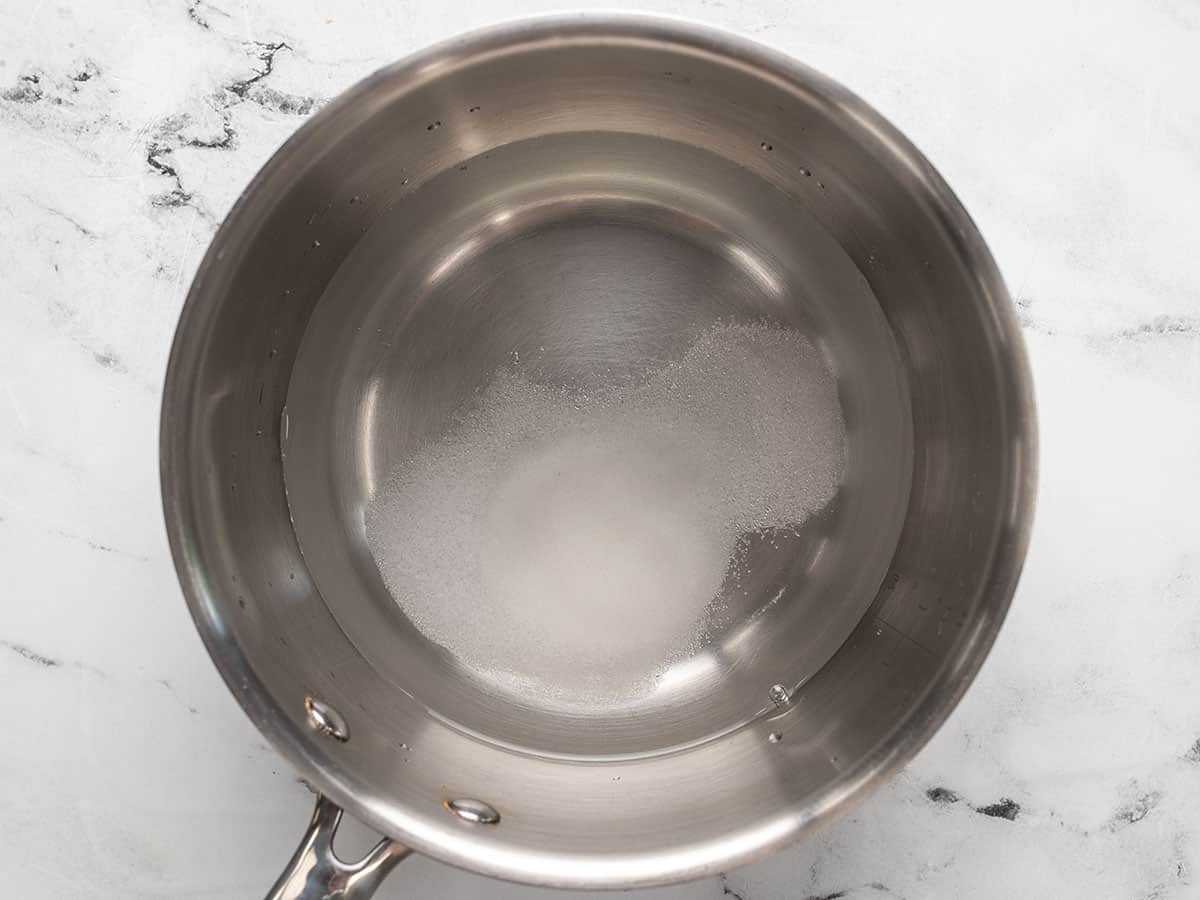
Add 1.5 cups white vinegar, ½ cup water, 1 Tbsp salt, and 1 Tbsp sugar to a medium saucepot. Bring the mixture up to a boil over medium-high heat, stirring to dissolve the salt and sugar.
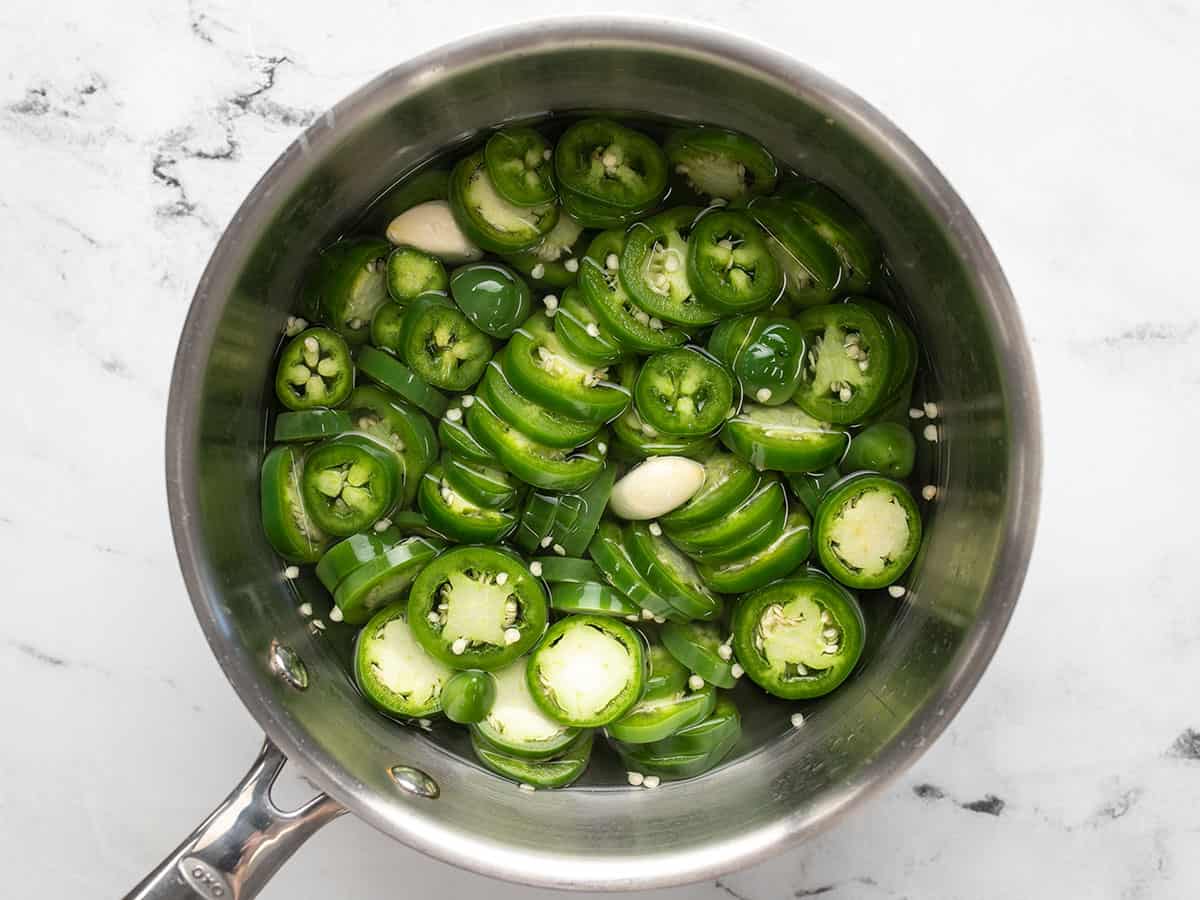
When the brine reaches a full boil, add the sliced jalapeños and peeled garlic. Turn the heat off, place a lid on the pot, and let the jalapeños marinate in the brine for 30 minutes, stirring occasionally to make sure all of the peppers get submerged. Try to resist tasting them until they’ve soaked for at least 30 minutes!
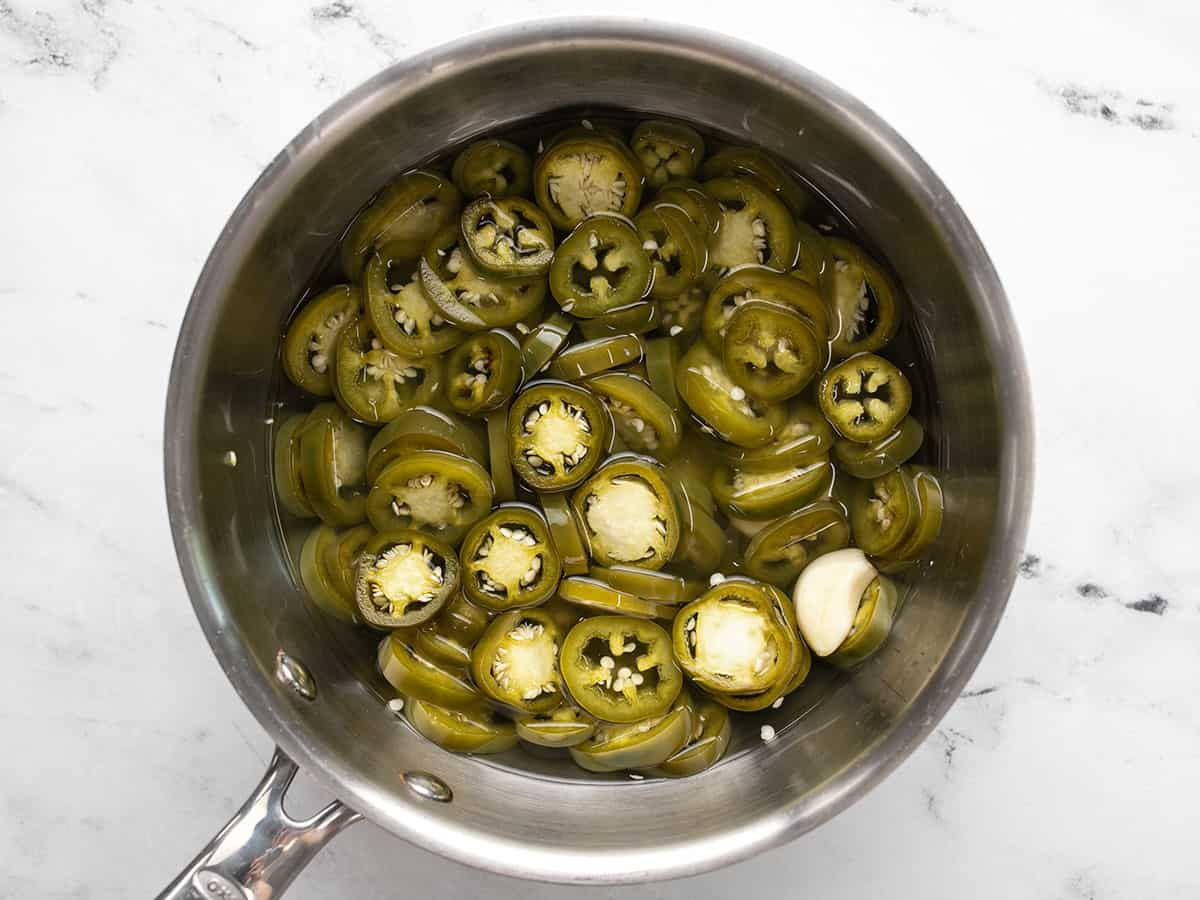
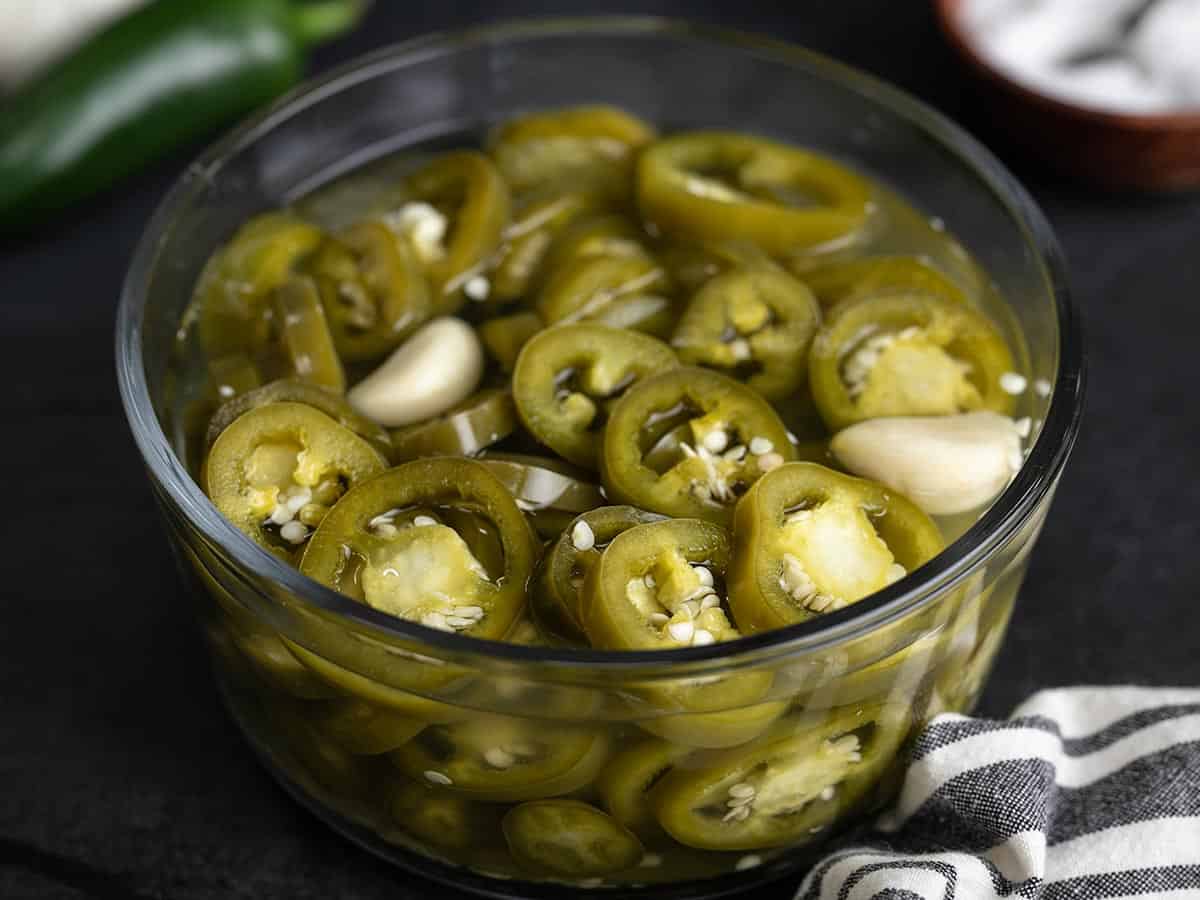
As the peppers soak in the hot brine they will change in color from bright green to the familiar olive green color of pickled jalapeños. Once they’ve marinated in the brine for 30 minutes, transfer the peppers and all of the brine to a non-reactive (glass or plastic) air-tight container, then transfer to the refrigerator for storage.
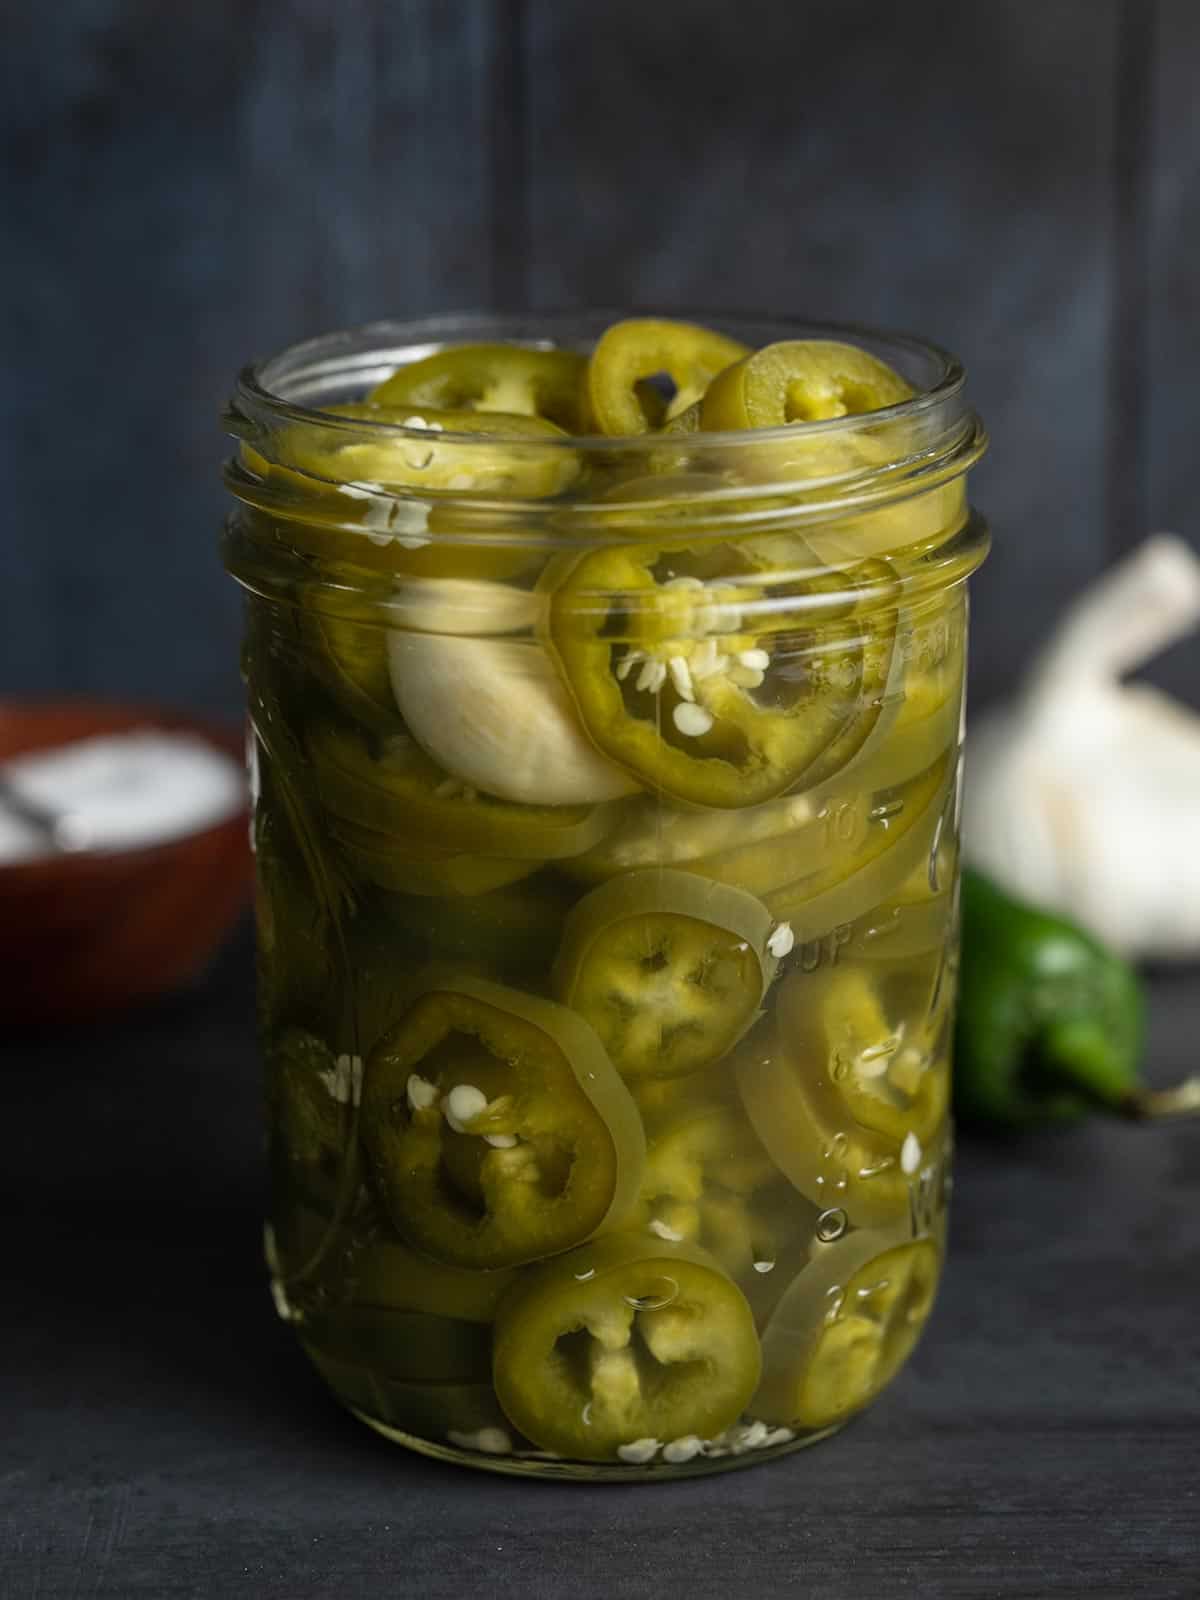
Store the jalapeños in the refrigerator for up to two months and enjoy them on all of your favorite foods! …Or just straight from the jar. 😏
The post Pickled Jalapeños appeared first on Budget Bytes.