Italian Wedding Soup

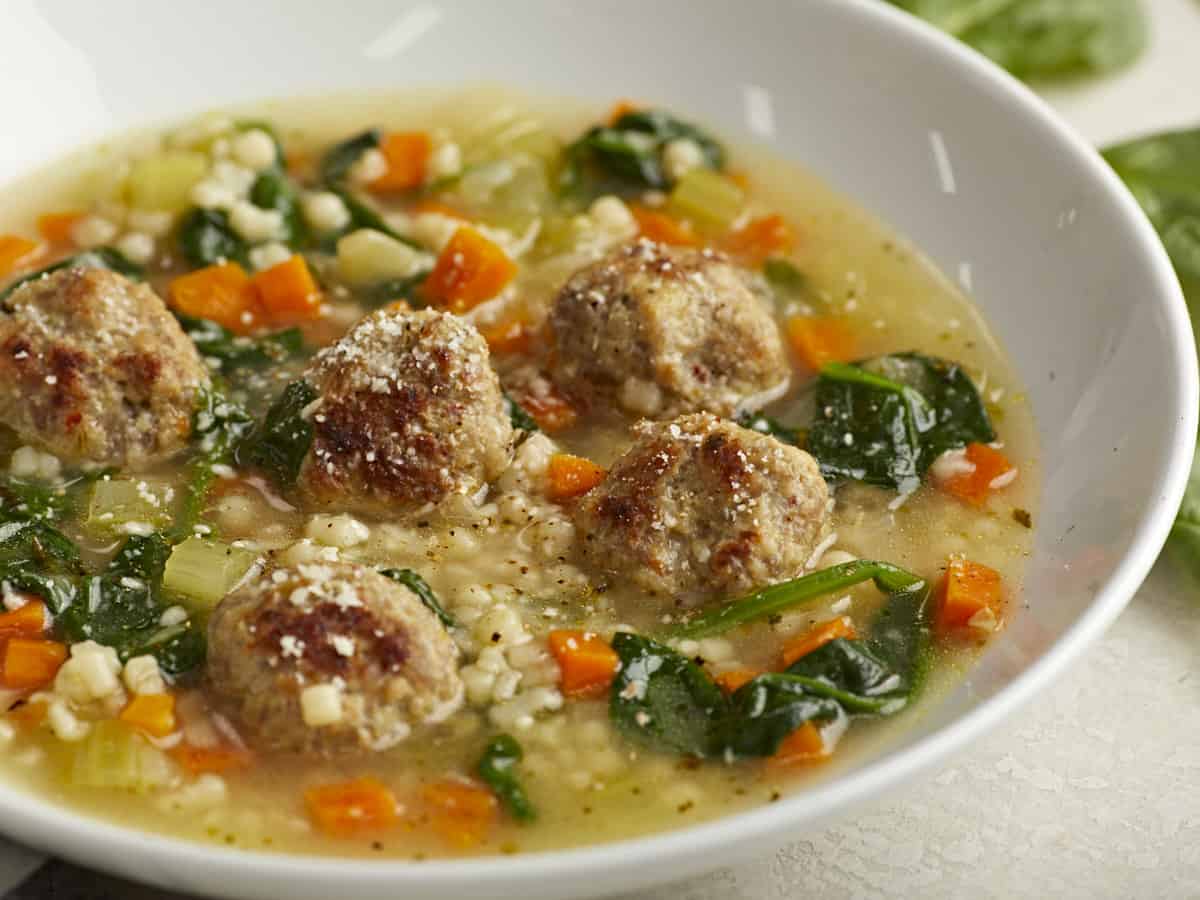
This cozy Italian Wedding Soup recipe features tender and flavorful meatballs, vegetables, and pasta in a delicious chicken broth.

The post Italian Wedding Soup appeared first on Budget Bytes.

Chicken noodle soup is great and all, but have you tried Italian Wedding Soup?? This classic soup shares a lot of the same cozy ingredients as chicken noodle soup, but with one huge advantage: tender and flavorful homemade meatballs! The meatballs are packed with herbs and spices that flavor the soup and make this Italian Wedding Soup recipe extra special. So if you want to change up your winter soup game, give this Italian Wedding Soup a try! I think you’re really going to like it.
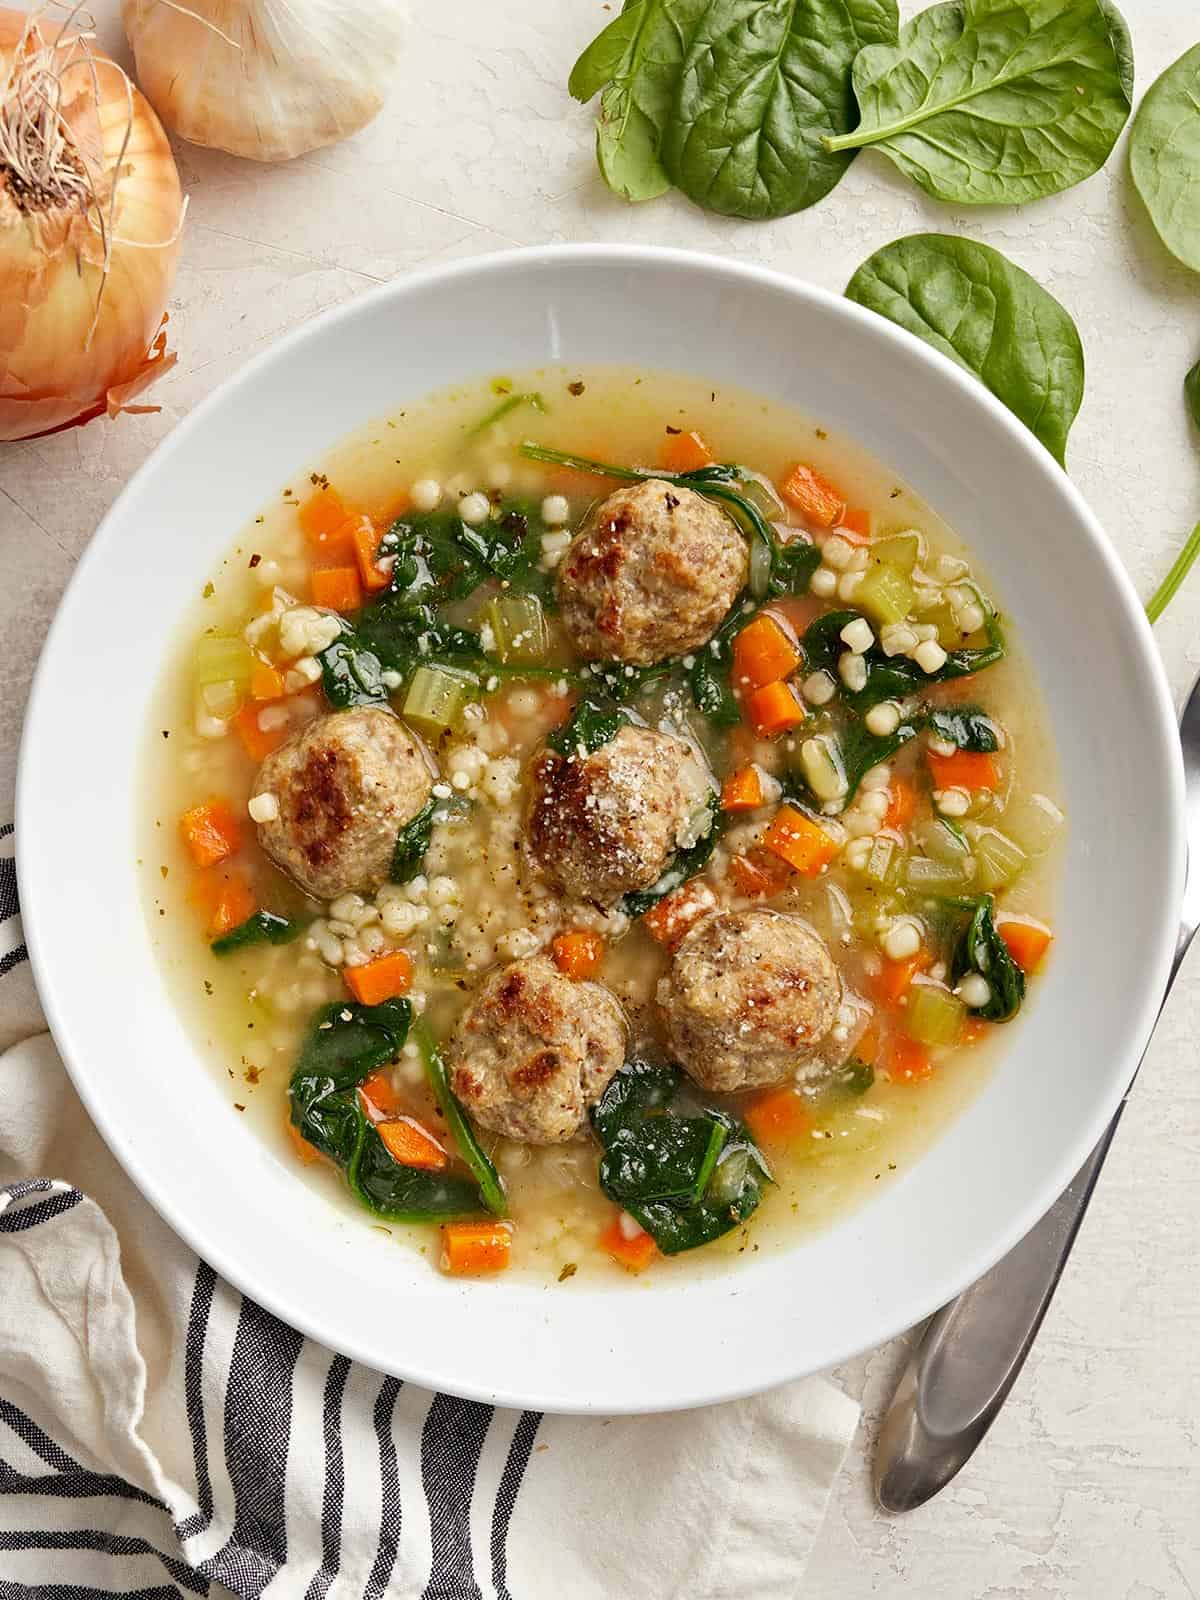
Overhead view of a bowl full of Italian Wedding Soup with bread on the side.

What Is Italian Wedding Soup?

This hearty soup is a combination of vegetables, greens, meatballs, and pasta all simmered in chicken broth to make an incredibly flavorful and filling soup. And, contrary to how it may sound, Italian Wedding Soup is not named so because it’s typically served at weddings. The name is actually a mistranslation of its Italian name, minestra maritata, which translates directly to “marriage soup,” referring to the marriage of ingredients in the soup.

There’s also some disagreement over whether this dish originated in Italy or Spain, as it is popular in both regions of the world. As with most dishes that have been around for generations, there are many different variations, and today we’re making my interpretation based on what I have available, but if you’d like to make an authentic Italian Wedding Soup, check out this version from The Kitchen Whisperer.

Ingredients for Italian Wedding Soup

Here’s what you’ll need to make a big cozy pot of Italian Wedding Soup:

  • Vegetables: This soup starts with a classic mix of soup vegetables like onion, garlic, carrots, and celery. Later I add in some fresh spinach, although traditional Italian wedding soup usually uses escarole as the green element.
  • Chicken Broth: Chicken broth makes up the bulk of this soup, so make sure you’re using a good quality broth or stock that has a lot of flavor. We like to use Better Than Bouillon to make broth because it’s inexpensive and has tons of flavor.
  • Pasta: You can use any small-shaped pasta here. We had some leftover pearl couscous in the studio that I wanted to use up, so I used that, but you could also use acini de pepe (very similar to large pearl couscous), orzo, ditalini, pastina, or any other tiny-shaped pasta.
  • Italian Sausage: I use Italian sausage as the base for my meatballs because it’s already pre-seasoned and makes every meatball super flavorful.
  • Breadcrumbs: Breadcrumbs help bind the meatballs and keep them moist and tender.
  • Egg: Egg combines with the breadcrumbs to act as a binder for the meatballs.
  • Parmesan: Parmesan gives extra umami and flavor to the meatballs.
  • Seasoning: To keep things simple, we season both the meatballs and soup with a pre-made Italian seasoning blend, plus a little extra salt and pepper as needed!

What Else Can I Add?

If you want to “soup up” your Italian Wedding Soup and take it to the next level, try adding a few Parmesan rinds to the soup as it simmers for extra umami in the broth, or top each bowl with a heaping dose of freshly grated Parmesan. Use homemade chicken stock for the broth to make this soup extra special, or you can also experiment with thickening the broth with a whisked egg. One final twist that I love doing with a lot of soups is adding a squeeze of fresh lemon at the end to brighten it all up!

How to Cook the Meatballs

You have a few options when it comes to cooking the meatballs for this soup. The easiest method, and the method that I think creates the juiciest meatballs, is to simply add the raw meatballs to the simmering soup and allow them to simmer in the liquid until cooked through (about 10-15 min.).

The only drawback to boiling the meatballs in the soup is that this method does not create any pretty browned color on the surface of the meatballs. If the appearance of the meatballs is important to you, you can sauté the meatballs in a hot skillet with some butter until browned on the outside, then add them to the soup and simmer until cooked through.
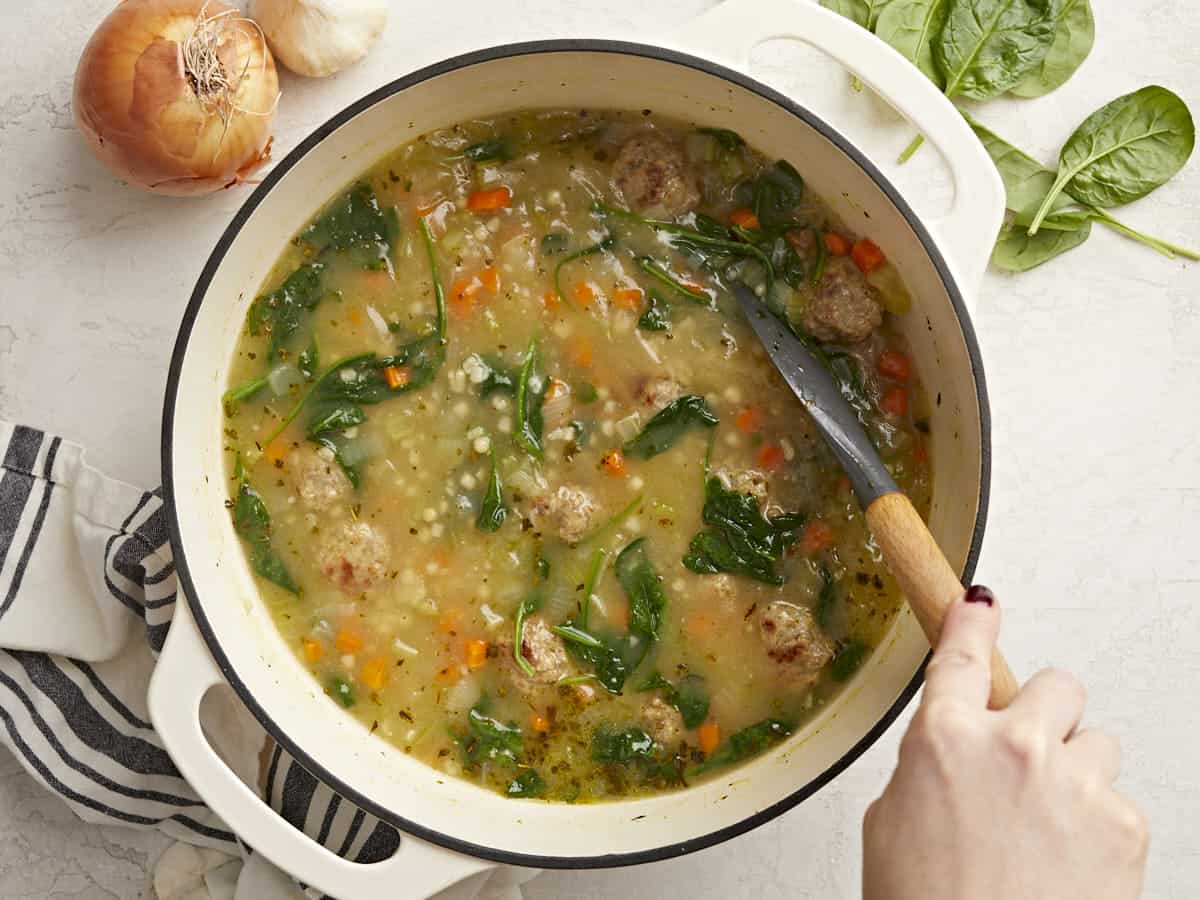
Overhead view of a pot of Italian Wedding Soup being stirred.
Overhead view of a bowl full of Italian Wedding Soup.
Print

Italian Wedding Soup

This cozy Italian Wedding Soup recipe features tender and flavorful meatballs, vegetables, and pasta in a delicious chicken broth. 
Course Dinner, Lunch
Cuisine Italian
Total Cost $8.89 Recipe / $1.48 serving
Prep Time 30 minutes
Cook Time 30 minutes
Total Time 1 hour
Servings 6 (1.5 cups each)
Calories 448kcal

Equipment

Ingredients

Meatballs

  • 1/4 cup plain breadcrumbs $0.30
  • 1/4 cup grated Parmesan $0.44
  • 1/2 tsp Italian seasoning $0.05
  • 1/8 tsp salt $0.01
  • 1/8 tsp black pepper $0.01
  • 1 lb. ground Italian sausage (hot, mild, or sweet) $3.99
  • 1 large egg $0.11

Soup

  • 1 yellow onion $0.32
  • 2 cloves garlic $0.16
  • 3 carrots $0.47
  • 3 stalks celery $0.67
  • 2 Tbsp olive oil $0.32
  • 1 tsp Italian seasoning $0.10
  • 6 cups chicken broth $0.63
  • 1/2 cup small pasta* $0.16
  • 4 cups fresh spinach $1.15

Instructions

  • Begin by making the meatballs. Combine the breadcrumbs, Parmesan, Italian seasoning, salt, and pepper in a bowl.
  • Add the Italian sausage, breadcrumb mixture, and egg to a large bowl and use your hands to mix them together until evenly combined. Divide and shape the mixture into 32 small meatballs, about 1 Tbsp each. Set the meatballs aside.
  • Finely dice the onion, carrots, and celery, and mince the garlic. Add the olive oil to a large soup pot and heat over medium. Add the onion and garlic and sauté until the onion is soft. Add the carrot and celery and continue to sauté for a few minutes more, or until the celery begins to soften.
  • Add the Italian seasoning and chicken broth to the soup, stir to combine, then place a lid on top and bring it up to a boil.
  • Once the soup is boiling, add the meatballs to the soup and continue to boil until the meatballs are cooked through (about 10 minutes). Or, if you prefer browned meatballs, you can cook them in a skillet with butter first over medium heat until browned on the outside, then transfer to the boiling soup to finish cooking.
  • Add the pasta to the soup and continue to boil until the pasta is tender (about 7 minutes).
  • Finally, stir in the fresh spinach until wilted. Give the soup a taste and adjust the seasonings to your liking. Serve hot and enjoy!

See how we calculate recipe costs here.

Notes

*Use any very small-shaped pasta like acini de pepe, pearl couscous, orzo, ditalini, pastina, or any other tiny-shaped pasta. If using a slightly larger pasta, you may want to increase the quantity to one cup. 

Nutrition

Serving: 1.5cups | Calories: 448kcal | Carbohydrates: 23g | Protein: 18g | Fat: 31g | Sodium: 1646mg | Fiber: 3g
Side view of Italian Wedding Soup in a bowl.

How to Make Italian Wedding Soup – Step by Step Photos
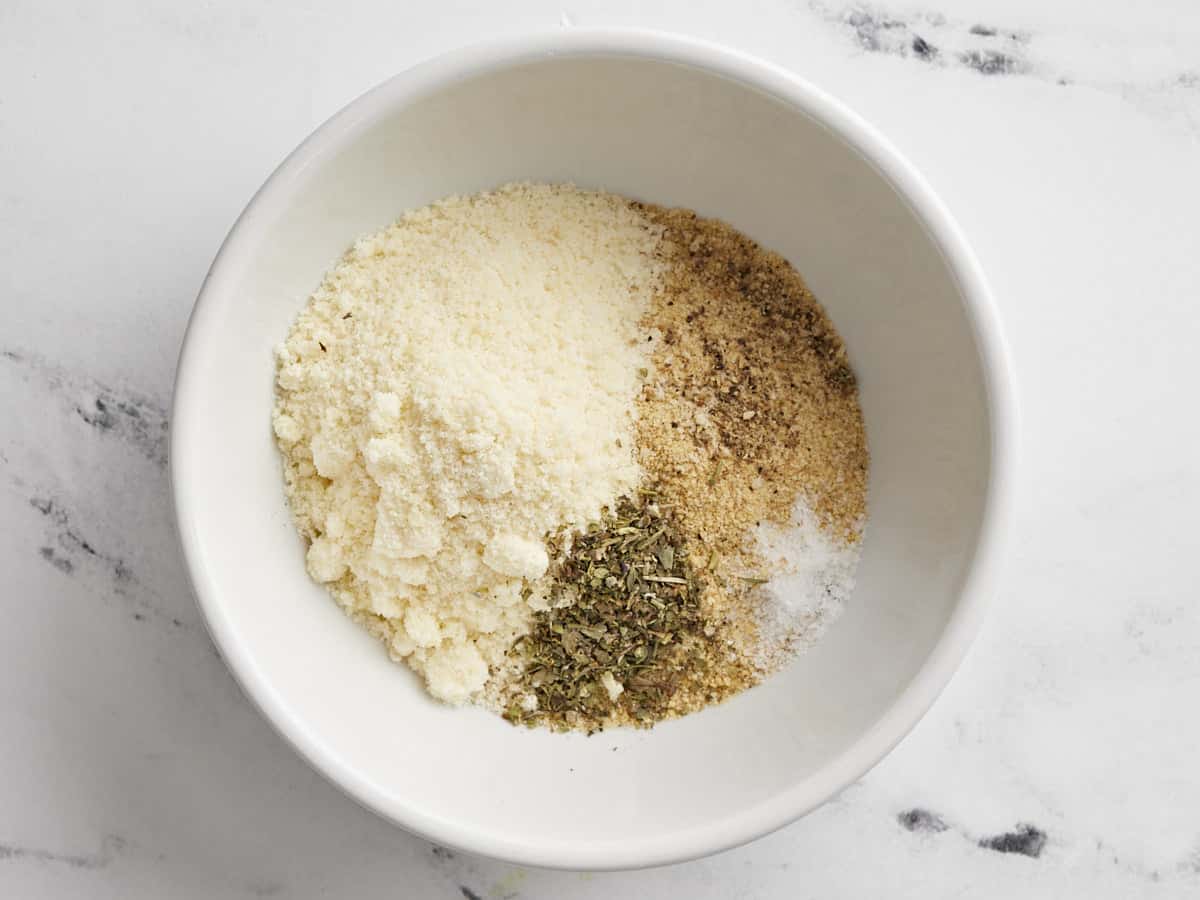
Meatball dry ingredients in a bowl.

Prepare the meatballs first. In a bowl, combine ¼ cup plain breadcrumbs, ¼ grated Parmesan cheese, ½ tsp Italian seasoning, ⅛ tsp salt, and ⅛ tsp pepper.
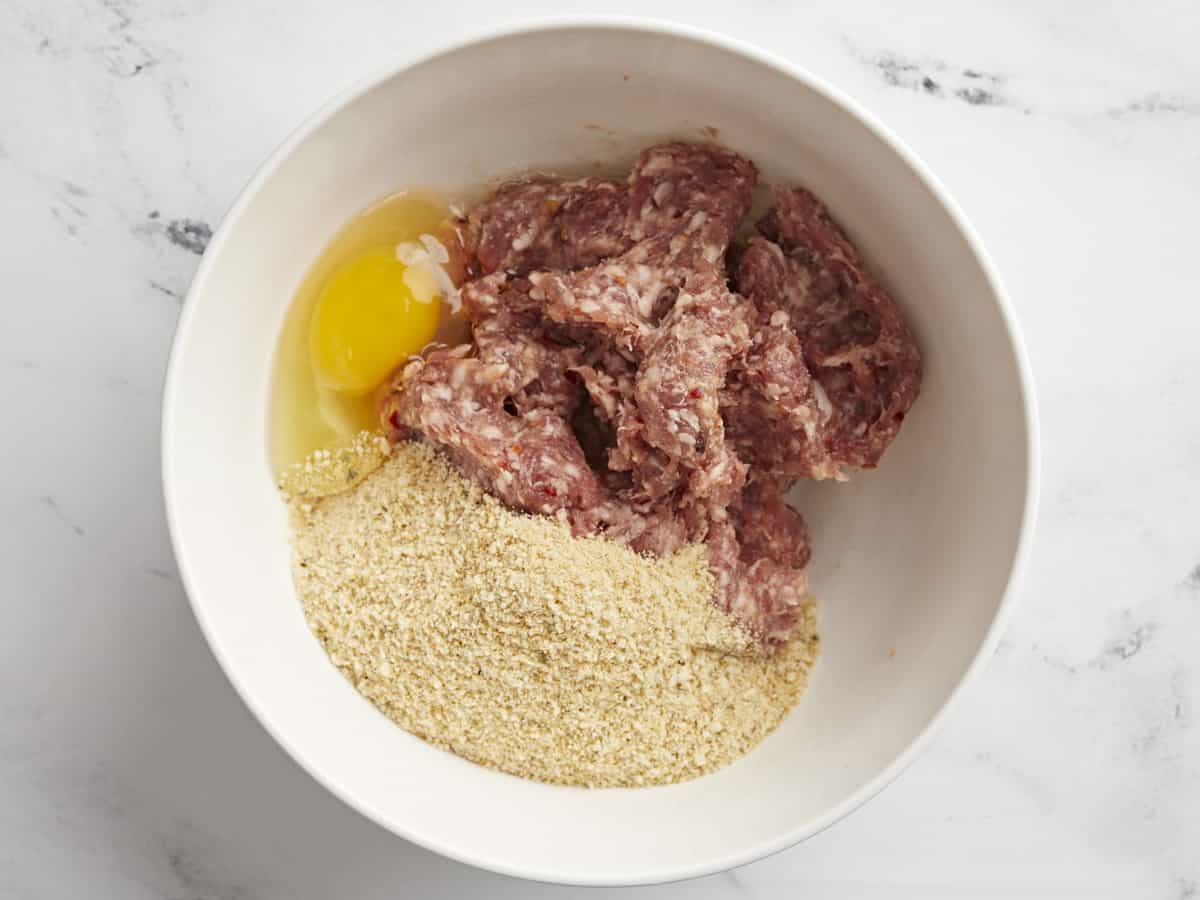
Bowl with meat, breadcrumbs, and egg.

Add one pound of ground Italian sausage (hot, sweet, or mild) to a large bowl along with the breadcrumb mixture, and one large egg. Use your hands to mix these ingredients until evenly combined.
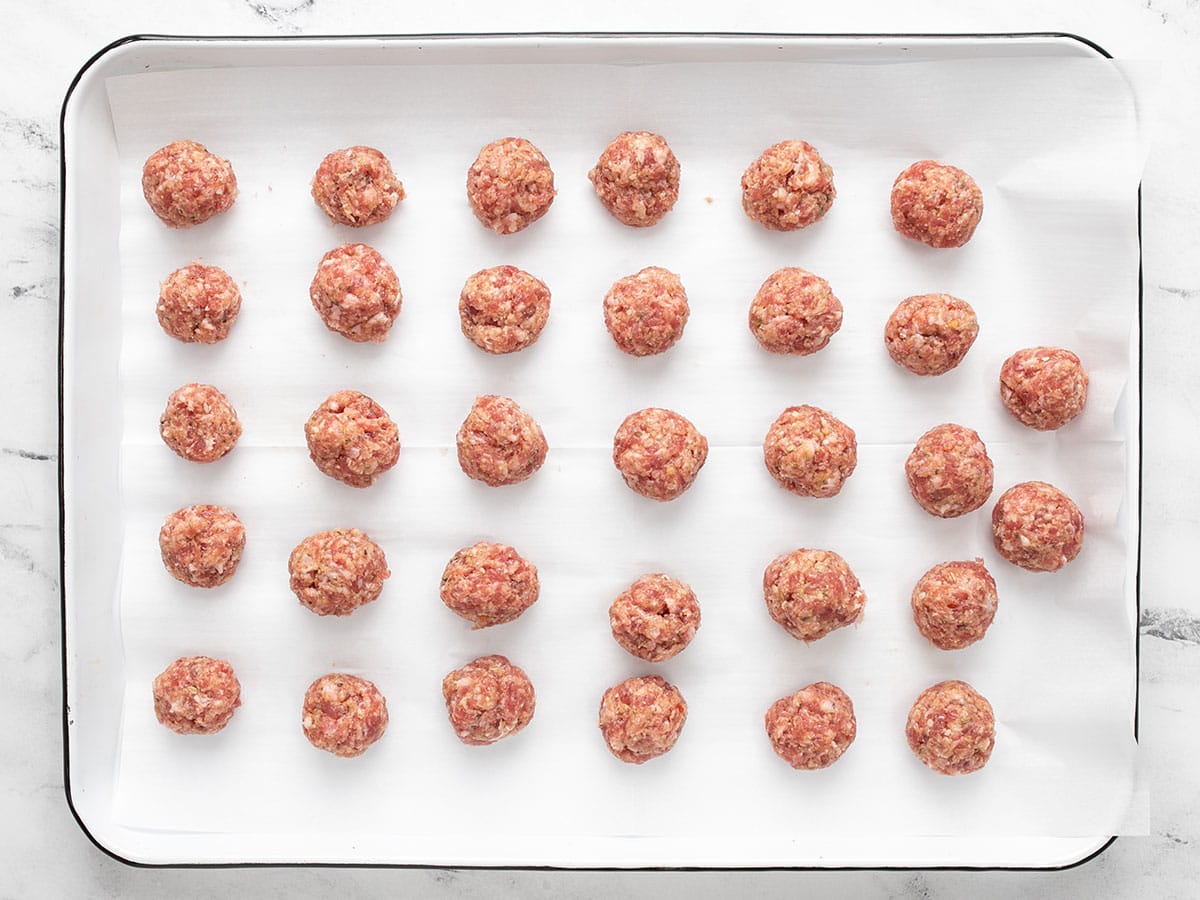
Shaped meatballs on a baking sheet lined with parchment paper.

Divide and shape the mixture into 32 small meatballs, about 1 Tbsp each. Set the meatballs aside.
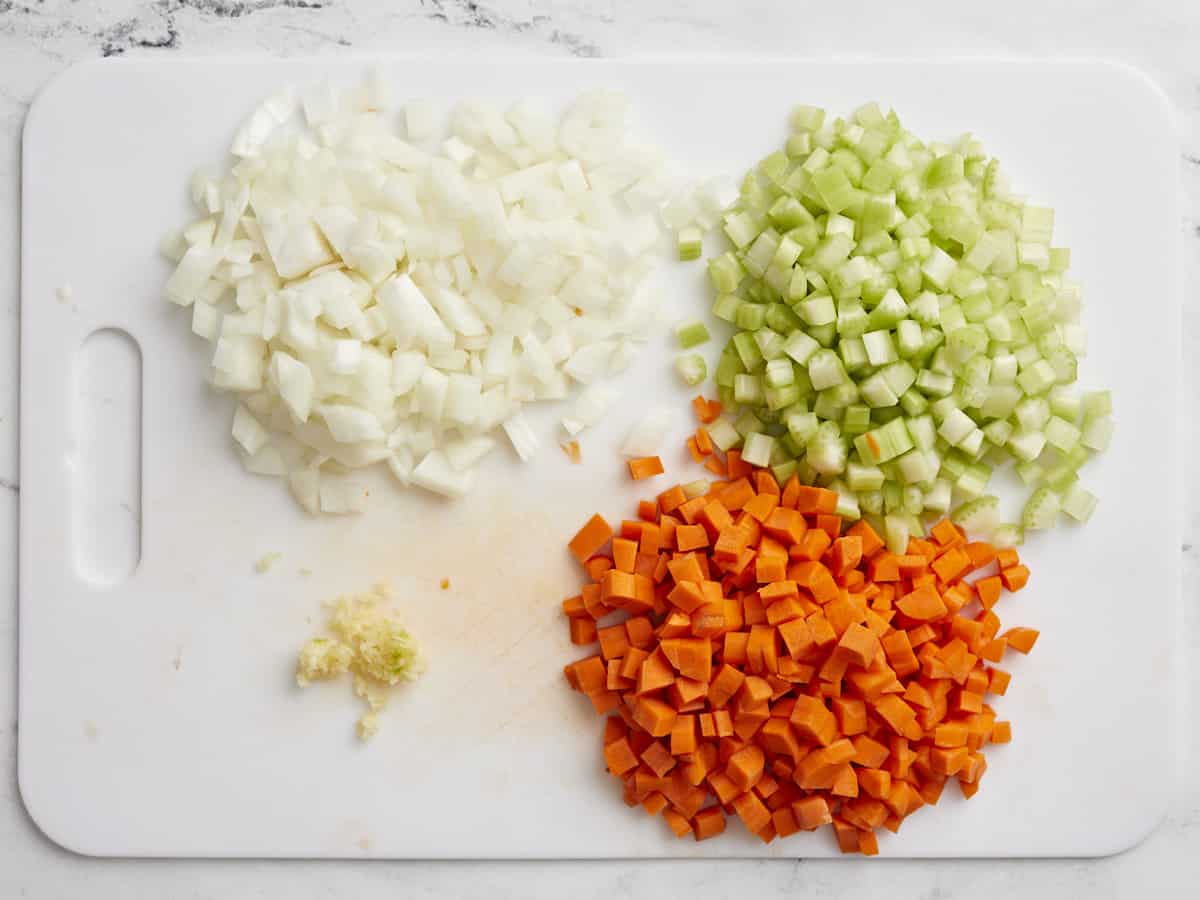
Chopped Vegetables for Italian Wedding Soup on a cutting board.

Chop one yellow onion, finely dice three stalks of celery and three carrots, and mince two cloves of garlic
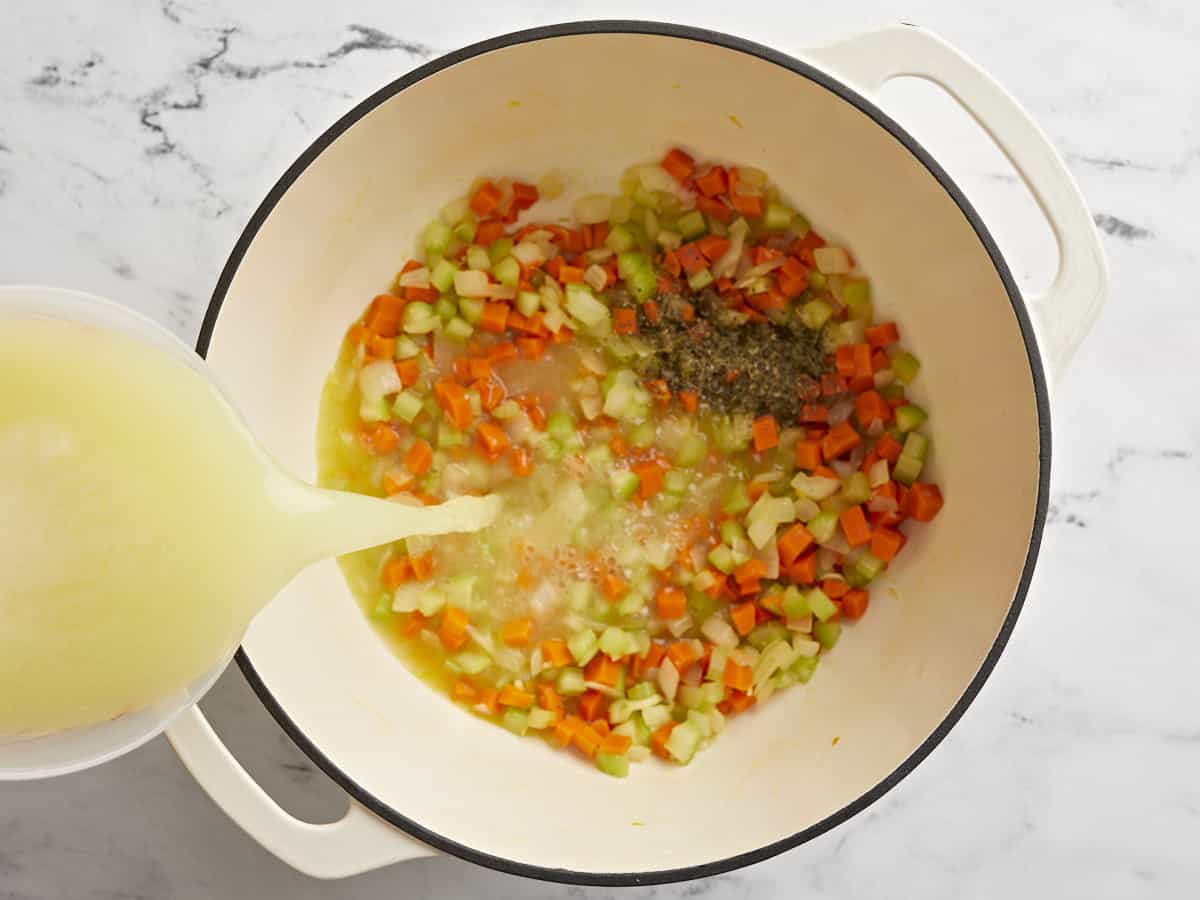
Cooked vegetables in the soup pot with Italian seasoning and chicken broth being poured in.

Add the onion and garlic to a large soup pot with 2 Tbsp olive oil. Sauté over medium heat until the onions are soft. Add the carrot and celery and continue to sauté for a few minutes more, or just until the celery begins to soften. Add one tsp of Italian seasoning and six cups of chicken broth, then stir to combine. Place a lid on top and allow the soup to come up to a boil.
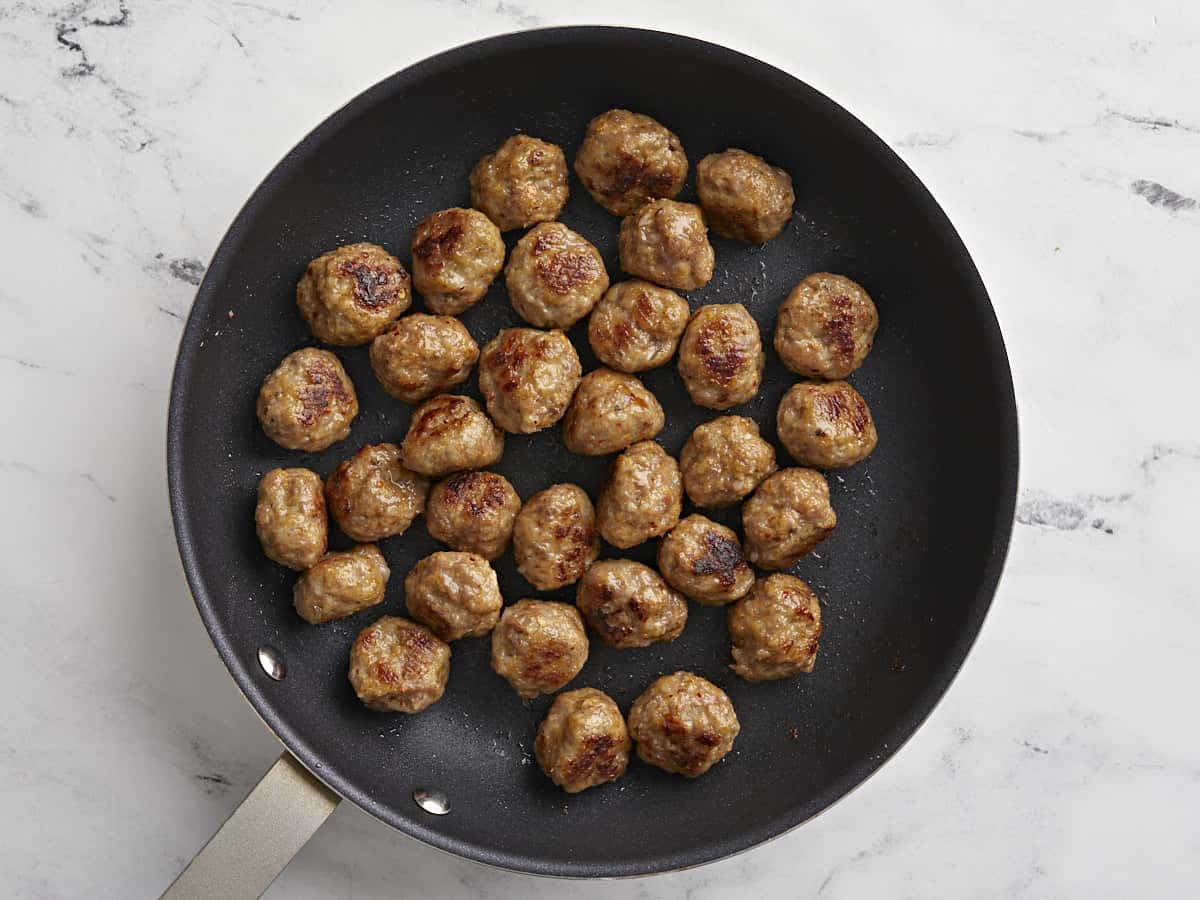
Browned meatballs in a skillet.

Add the meatballs to the boiling soup and boil for about 10 minutes, or until cooked through. Or, if you want browned meatballs, melt a tablespoon of butter in a large skillet over medium heat, then add the meatballs and brown them on each side. It’s okay if they’re not cooked through, you can add them to the simmering soup to finish cooking.
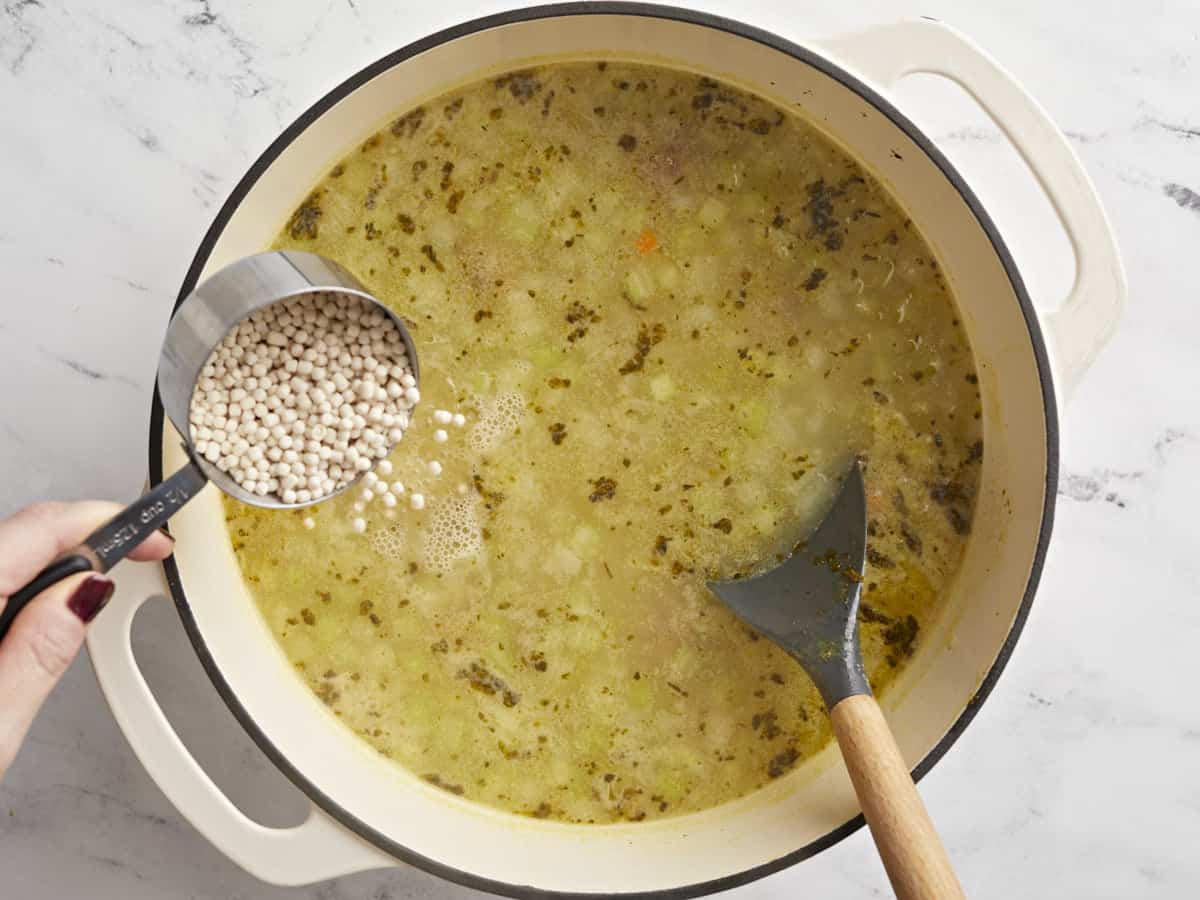
Pasta being added to the soup.

Make sure the soup is still boiling, then add ½ cup of a tiny-shaped pasta like acini de pepe, pearled couscous, ditalini, pastina, or orzo. Simmer the pasta in the soup until tender (about 7 minutes).
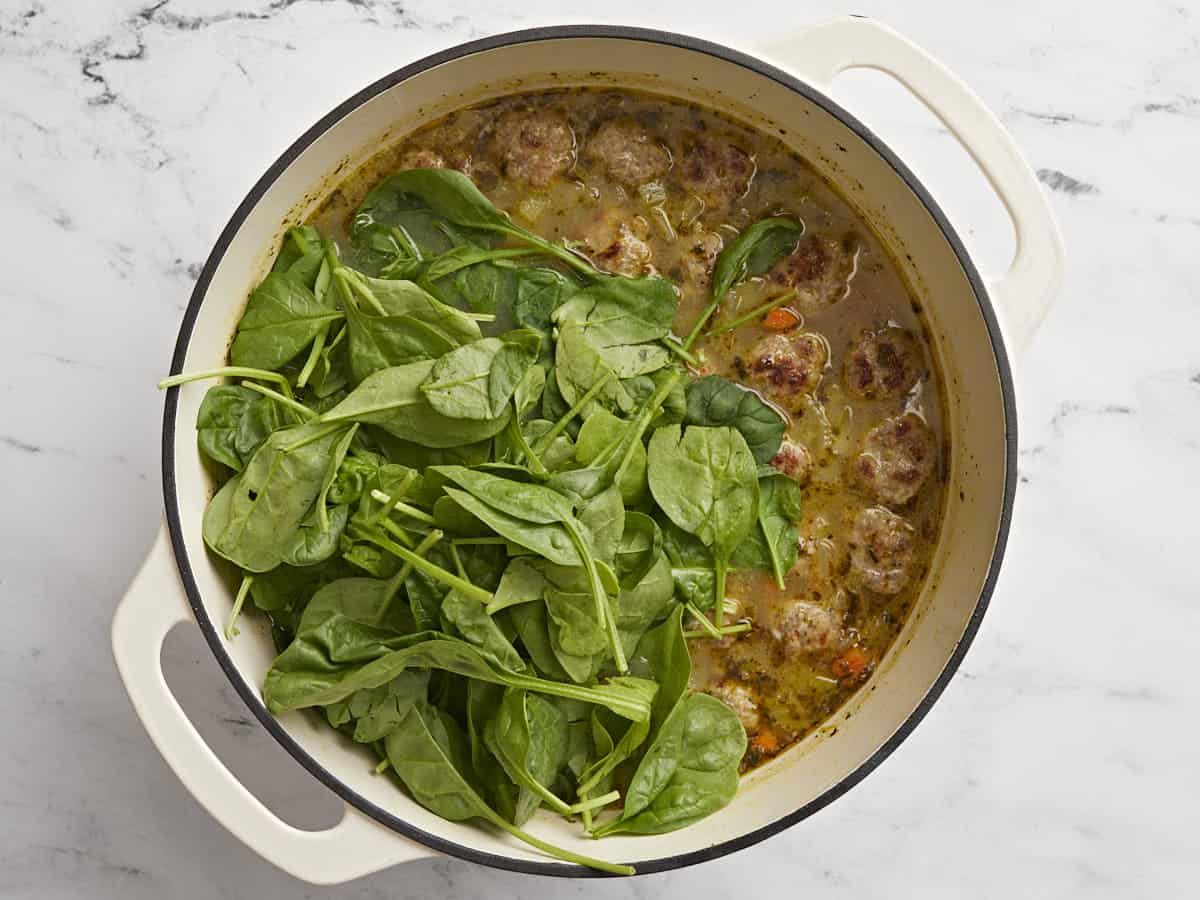
Spinach added to the soup pot.

Finally, add about 4 cups of fresh spinach to the soup and stir it in until wilted (this should only take about a minute).
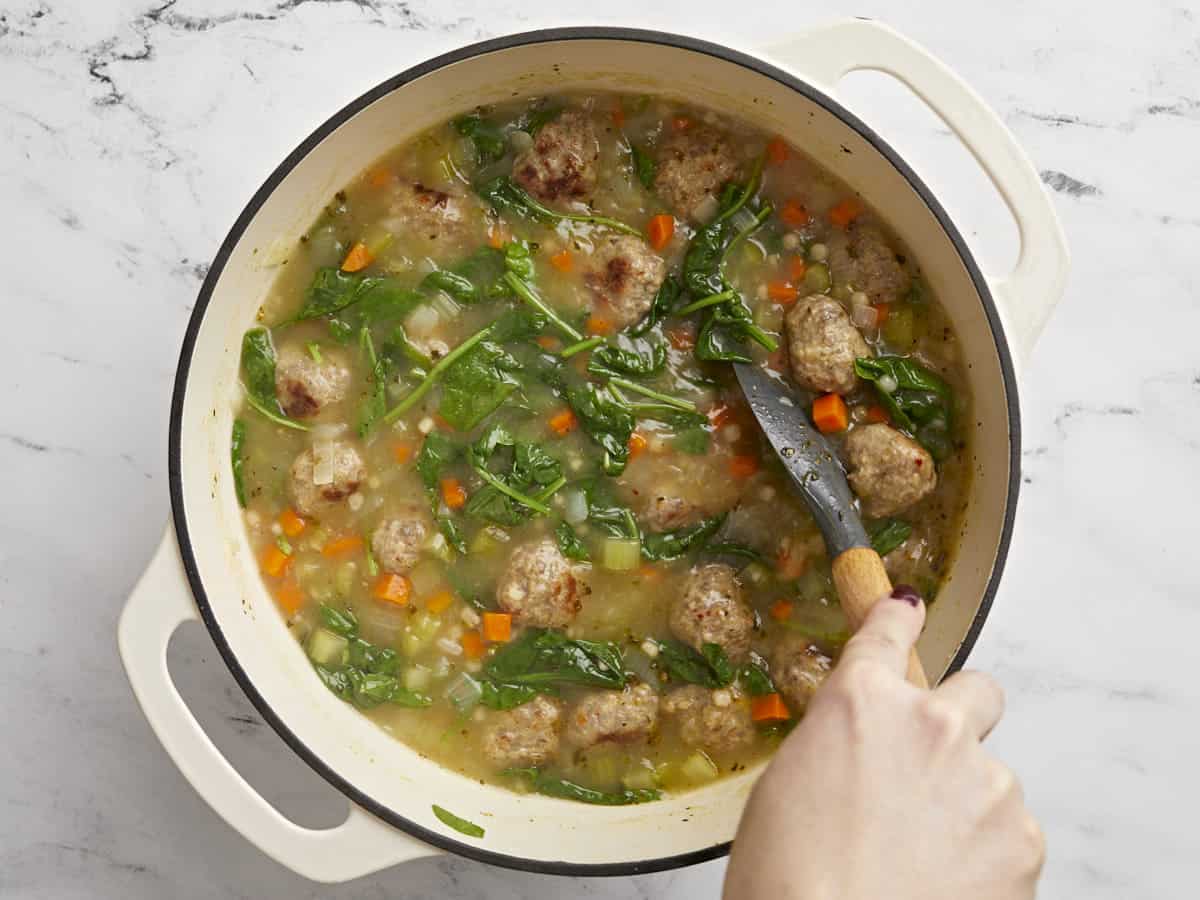
Finished Italian Wedding Soup in the pot being stirred.

Give the soup a final taste and adjust the salt or other seasonings to your liking.
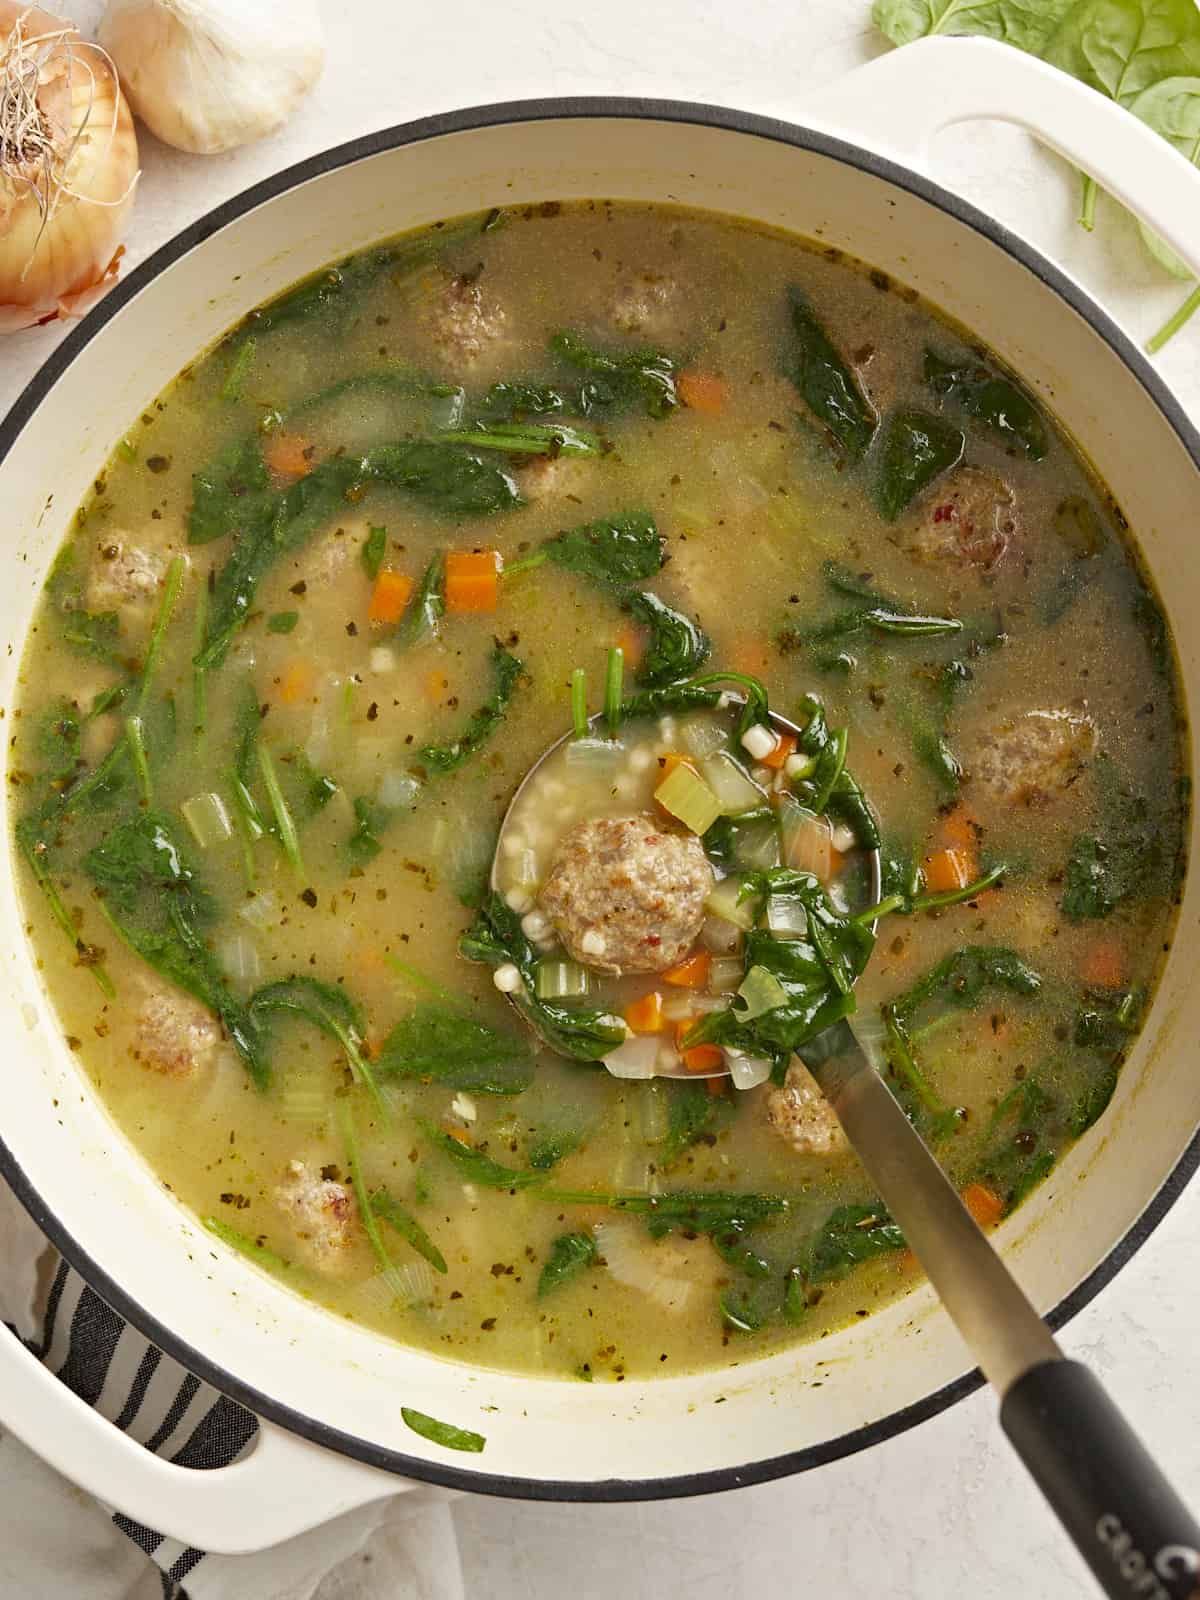
Overhead view of Italian Wedding Soup in the pot with a ladle.

Serve hot and enjoy every cozy and hearty spoonful!

The post Italian Wedding Soup appeared first on Budget Bytes.

Cabbage Stir Fry with Mushrooms and Lentils

This cabbage stir fry is like a tasty symphony of flavors in your mouth. You get that crispy cabbage, a little kick from sriracha, a touch of sweetness from maple syrup, and the savory umaminess from soy sauce. Plus, it’s super quick to make! If …

This cabbage stir fry is like a tasty symphony of flavors in your mouth. You get that crispy cabbage, a little kick from sriracha, a touch of sweetness from maple syrup, and the savory umaminess from soy sauce. Plus, it’s super quick to make! If you’d like to explore quick and easy stir fry entrees,...

Read More

The post Cabbage Stir Fry with Mushrooms and Lentils appeared first on My Pure Plants.

Slow Cooker Potato Soup

This creamy Slow Cooker Potato Soup is rich, comforting and hearty, plus the slow cooker does all the heavy lifting for you!

The post Slow Cooker Potato Soup appeared first on Budget Bytes.
I could literally eat a bowl of creamy potato soup every single day. There was a time when I would call my favorite lunch spots each week just to see if the “soup of the day” was potato soup! Yes, I was that hooked. But nothing, I mean absolutely nothing, beats the taste of homemade potato soup! Even better when the slow cooker does all the work for you. This Slow Cooker Potato Soup is rich, creamy, comforting, and absolutely delicious!

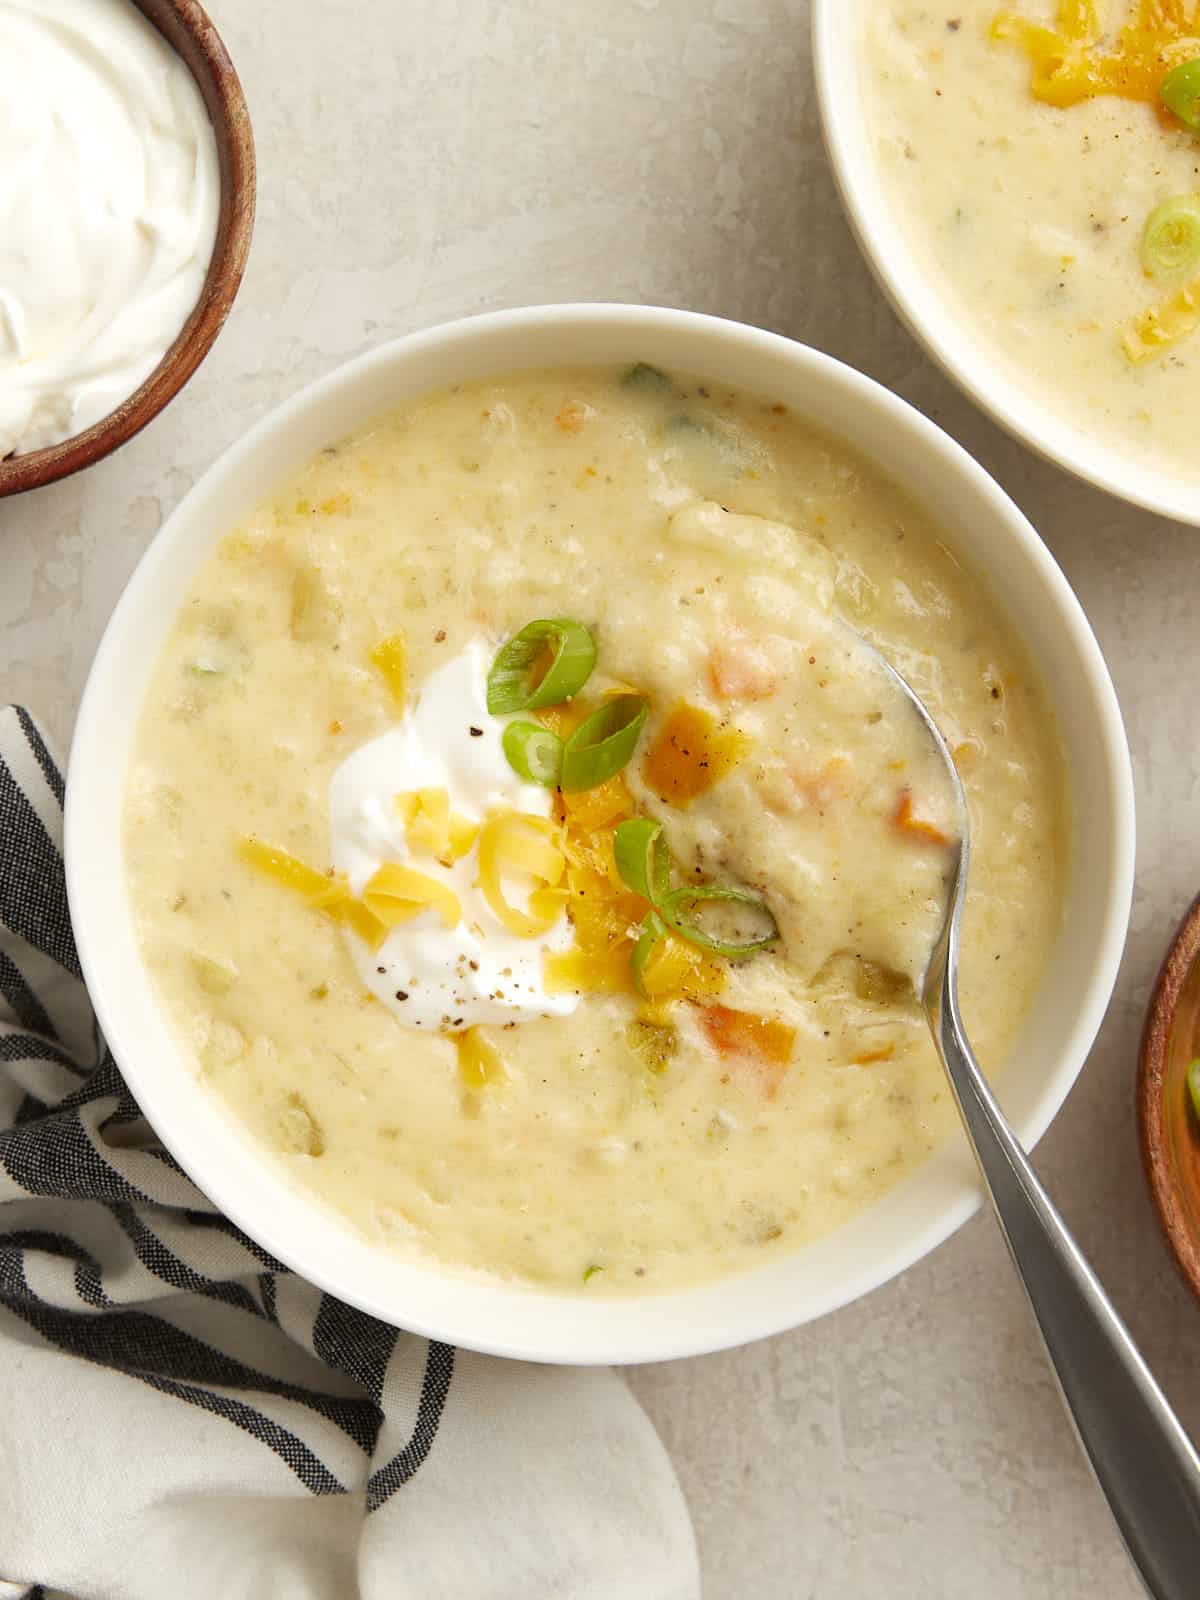
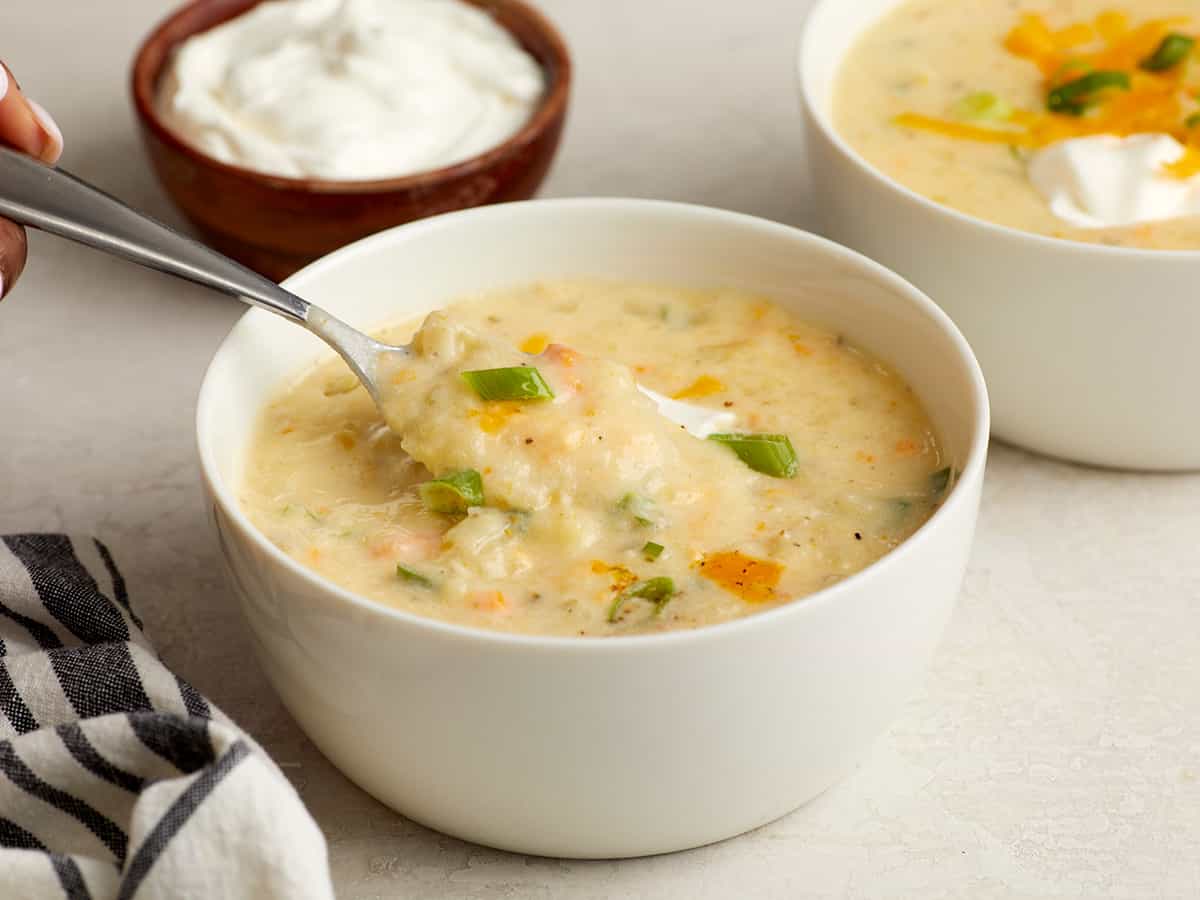
Overhead photo of slow cooker potato soup in a white bowl with sour cream, green onions, and shredded cheese on top.

If you don’t have a slow cooker you can still enjoy a warm bowl of potato soup by making our stovetop Loaded Potato Soup recipe.

Ingredients For Slow Cooker Potato Soup

Here are the ingredients you need to make this delicious, velvety potato soup recipe!

  • Vegetables: A combination of carrots, celery, onion and garlic were used to add depth, flavor, and texture to the soup.
  • Potatoes: Potatoes are of course the foundation for this soup. We used Yukon gold potatoes because we love their creamy texture and they hold up well in the slow cooker. Russet potatoes are also a great option.
  • Seasoning: A simple combination of Italian seasoning, salt and pepper seasons the soup.
  • Chicken Broth: Make sure to use a very flavorful chicken broth as a LOT of the soup flavor will come from the broth. We use Better than Bouillon to make our broth.
  • Flour: A quick and simple slurry with all-purpose flour and water is needed to thicken the soup. We tested the recipe without the slurry and it makes a BIG difference.
  • Heavy Cream & Sour Cream: Heavy cream also helps thicken the soup and gives it a creamy texture. Sour cream adds even more flavor and creaminess to the soup!
  • Cheddar Cheese & Green Onions: We finished the soup with a final pop of extra flavor and color with some fresh shredded cheddar cheese and sliced green onions.

Topping Options

There are several different toppings you can choose from to finish your creamy potato soup. Try any of these options: shredded cheddar cheese, sliced green onions or chives, sour cream, greek yogurt, chopped bacon, homemade croutons, or extra fresh cracked black pepper.

What To Serve With Potato Soup

Just like many soup recipes, this slow cooker potato soup pairs well with a simple side salad, a Caesar salad, or even a fresh pasta salad like our Broccoli Pasta Salad with Tomato Vinaigrette. Soups and sandwiches are also a great combination. Try serving this potato soup with a Chicken Caesar Wrap or a gourmet Spinach and Feta Grilled Cheese!

Storing Leftovers

Store any leftover potato soup in an airtight container in the refrigerator for up to five days. We would not recommend freezing this potato soup recipe. All the dairy and anything thickened with flour or cornstarch tends to separate upon thawing.

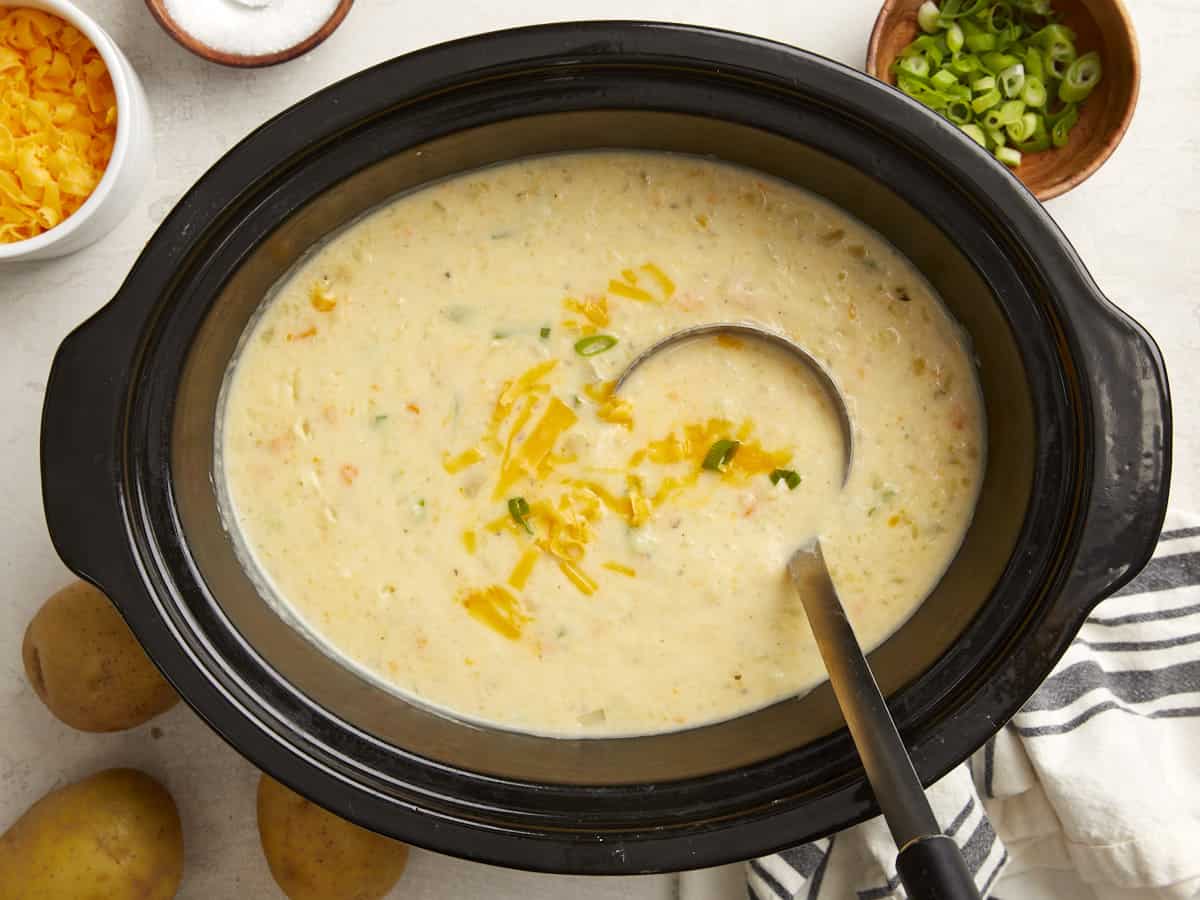
Potato soup in a slow cooker with shredded cheese, sliced green onions and a napkin on the side.
Overhead photo of slow cooker potato soup in a white bowl with sour cream, green onions, and shredded cheese on top.
Print

Slow Cooker Potato Soup

This creamy Slow Cooker Potato Soup is rich, comforting and hearty, plus the slow cooker does all the heavy lifting for you!
Course Dinner, Lunch
Cuisine American
Total Cost $8.10 recipe / $1.35 serving
Prep Time 20 minutes
Cook Time 3 hours 10 minutes
Total Time 3 hours 30 minutes
Servings 6 1.5 cups each
Calories 394kcal

Ingredients

  • 2 stalks celery $0.50
  • 2 carrots $0.30
  • 1 yellow onion $0.32
  • 3 cloves garlic $0.24
  • 3 lbs Yukon gold potatoes $3.29
  • 1 tsp Italian seasoning $0.10
  • 1 1/4 tsp salt $0.05
  • 1/2 tsp freshly cracked black pepper $0.02
  • 3 cups chicken broth $0.51
  • 2 Tbsp all-purpose flour $0.04
  • 2 Tbsp water $0.00
  • 1/2 cup heavy cream $0.68
  • 1/2 cup sour cream $0.53
  • 1 cup shredded cheddar cheese, divided $1.16
  • 3 green onions, sliced & divided $0.36

Instructions

  • Wash and dice the celery stalks, peel and dice the carrots, dice the onion, and mince the garlic. Wash, peel, and chop the potatoes into ½ – ¾ inch chunks.
  • Add the potatoes, carrots, celery, onion, and the garlic to a 5 or 6 quart slow cooker or crock pot. Then add the Italian seasoning, salt, and freshly cracked black pepper to the slow cooker.
  • Pour the chicken broth over the vegetables and spices in the slow cooker. Stir all the ingredients together so that everything is evenly distributed. Place the lid on the slow cooker and cook on high for 3 hours.
  • Once the potatoes are almost finished cooking, make a quick flour slurry by adding the flour and water to a small bowl and whisking together until smooth and there are no lumps.
  • After the potato soup has cooked for 3 hours, check to make sure the potatoes are tender and can be easily pierced with a fork. Now add the slurry, heavy cream, and sour cream to the slow cooker. Stir well to combine, replace the lid, and continue to cook on high for an additional 10 minutes.
  • During the last 10 minutes of cooking, while the slurry and heavy cream are thickening the soup, shred the cheddar cheese and slice the green onions.
  • Remove the slow cooker lid then use a potato masher to mash the potato chunks into smaller pieces. Add ½ cup of the shredded cheese and half of the sliced green onions. Stir until the cheese has melted into the soup.
  • Taste the soup and adjust the salt or black pepper to your liking. Use the remaining shredded cheese and green onions to garnish individual bowls. Serve hot and enjoy!

See how we calculate recipe costs here.

Nutrition

Serving: 1.5cups | Calories: 394kcal | Carbohydrates: 49g | Protein: 12g | Fat: 18g | Sodium: 1086mg | Fiber: 6g
A spoonful of soup being lifted from the bowl.

How To Make Slow COoker Potato Soup – Step By Step PHotos

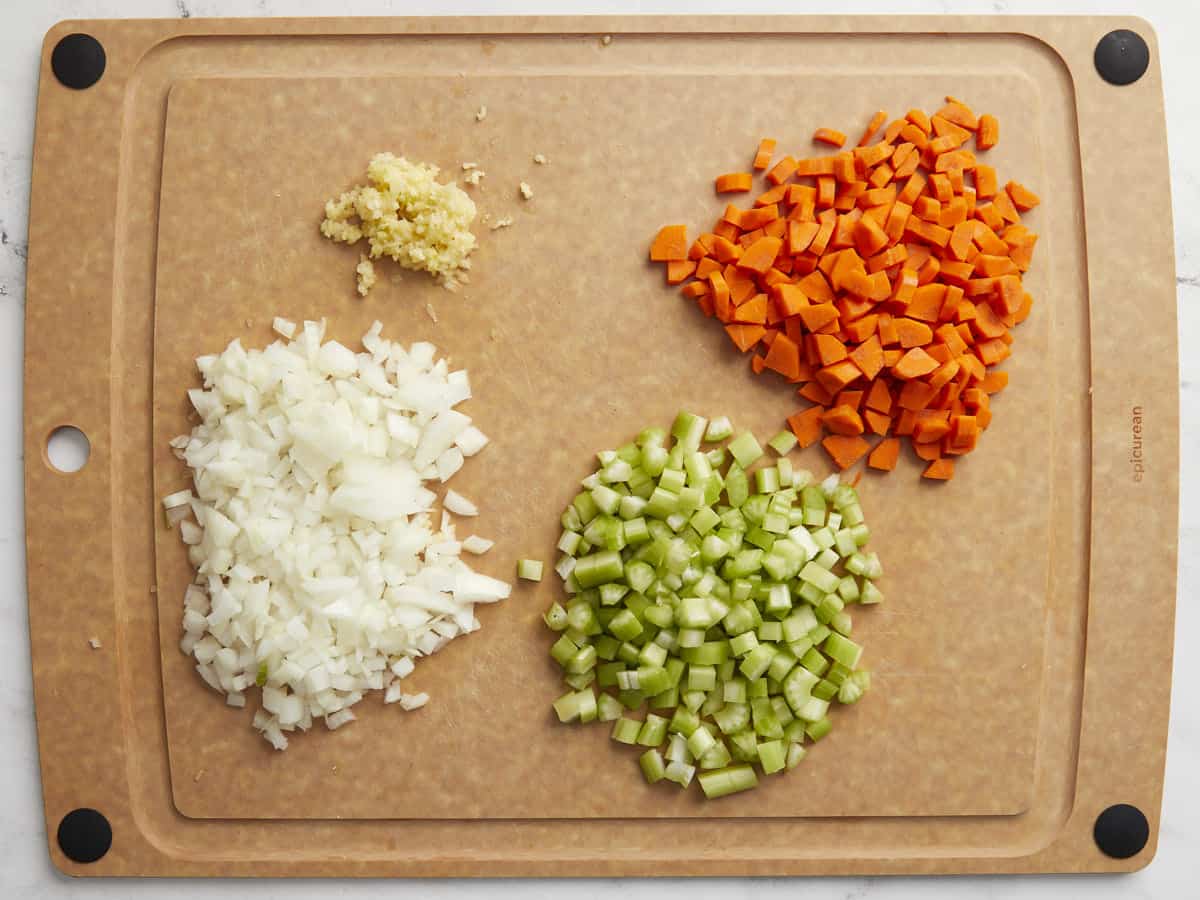
Diced carrots, diced onion, diced celery, and minced garlic on a cutting board.

Wash and dice 2 celery stalks, peel and dice 2 carrots, dice 1 onion, and mince 3 garlic cloves.

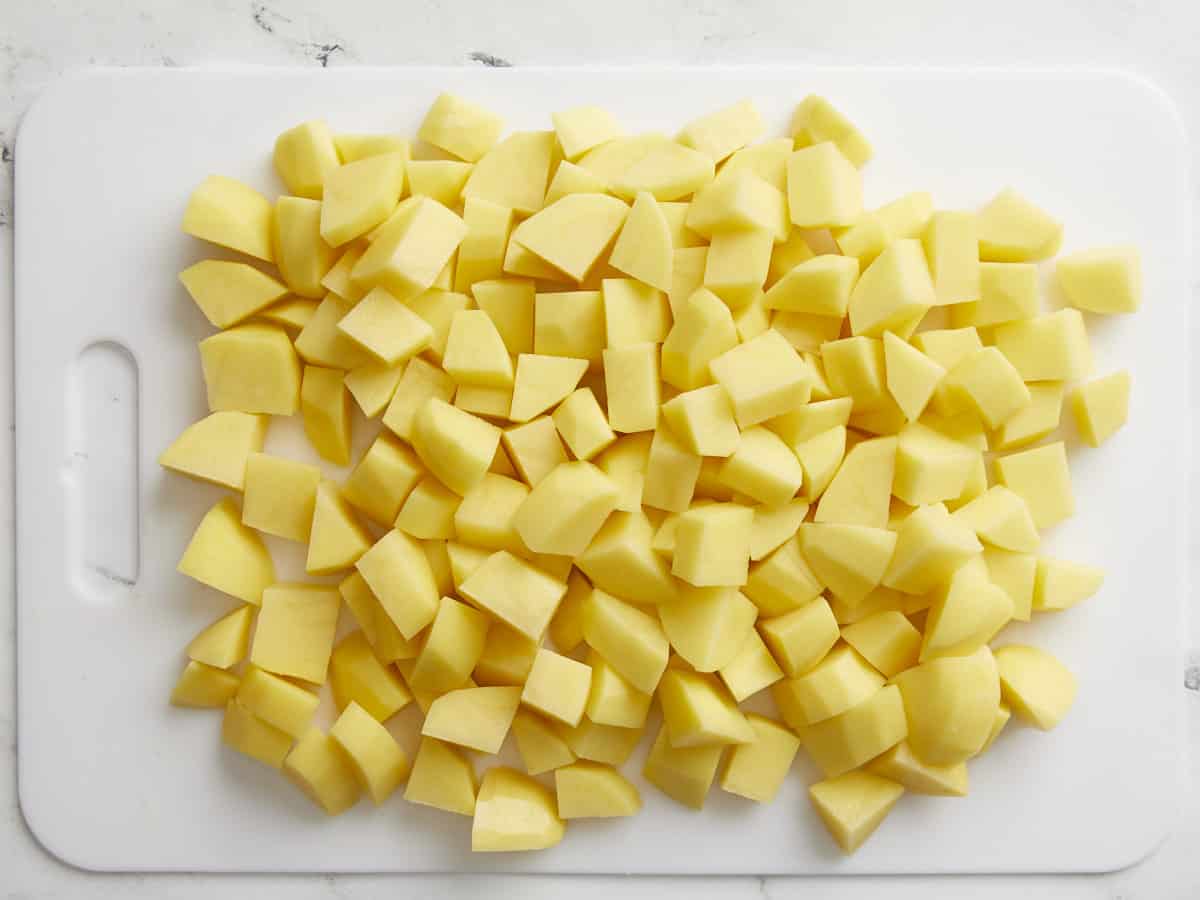
Yukon gold potatoes peeled and chopped on a cutting board.

Wash, peel, and chop 3 lbs. of Yukon gold potatoes into roughly ½ – ¾ inch chunks.

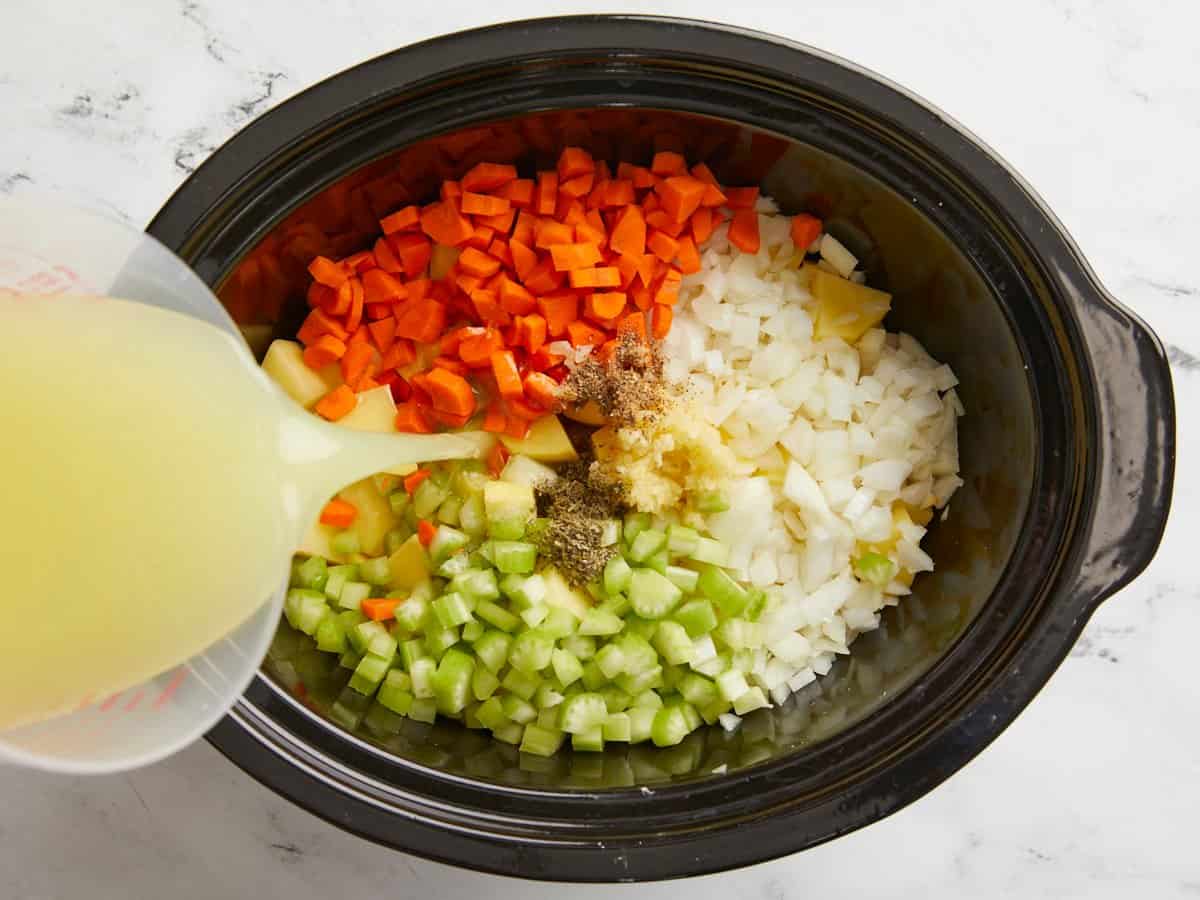
Diced vegetables, potatoes, seasoning and chicken broth added to a slow cooker.

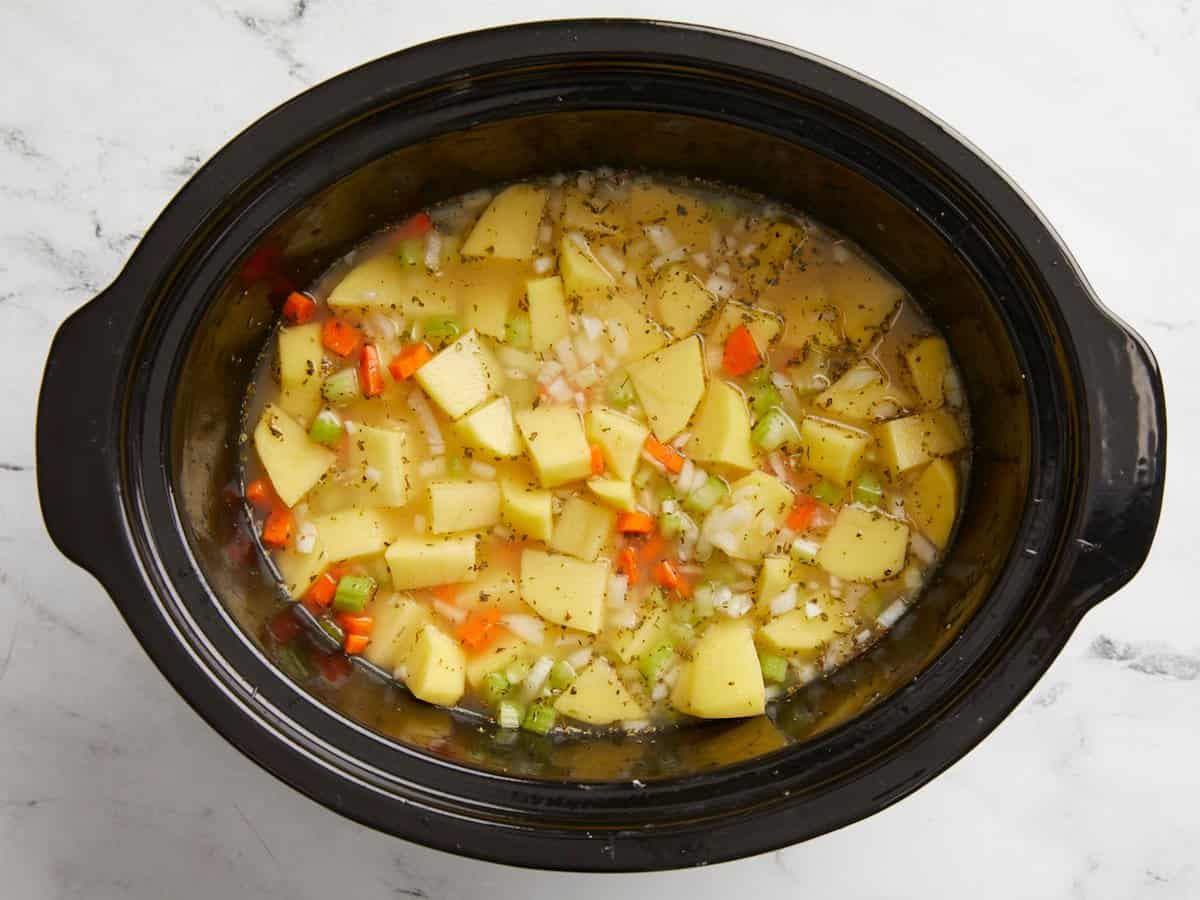
Add the potatoes, carrots, celery, onion, and the garlic to a 5 or 6 quart slow cooker or crock pot. Then add 1 tsp of Italian seasoning, 1 1/4 tsp of salt, and 1/2 tsp of freshly cracked black pepper to the slow cooker. Next pour 3 cups of chicken broth over the vegetables and spices in the slow cooker.

Potato soup ingredients added to a slow cooker and mixed.

Stir all the ingredients together so that everything is evenly distributed. Place the lid on the slow cooker and cook on high for 3 hours. Once the potatoes are almost finished cooking, make a quick flour slurry by adding 2 Tbsp of flour and 2 Tbsp of water to a small bowl and whisking together until smooth and there are no lumps.

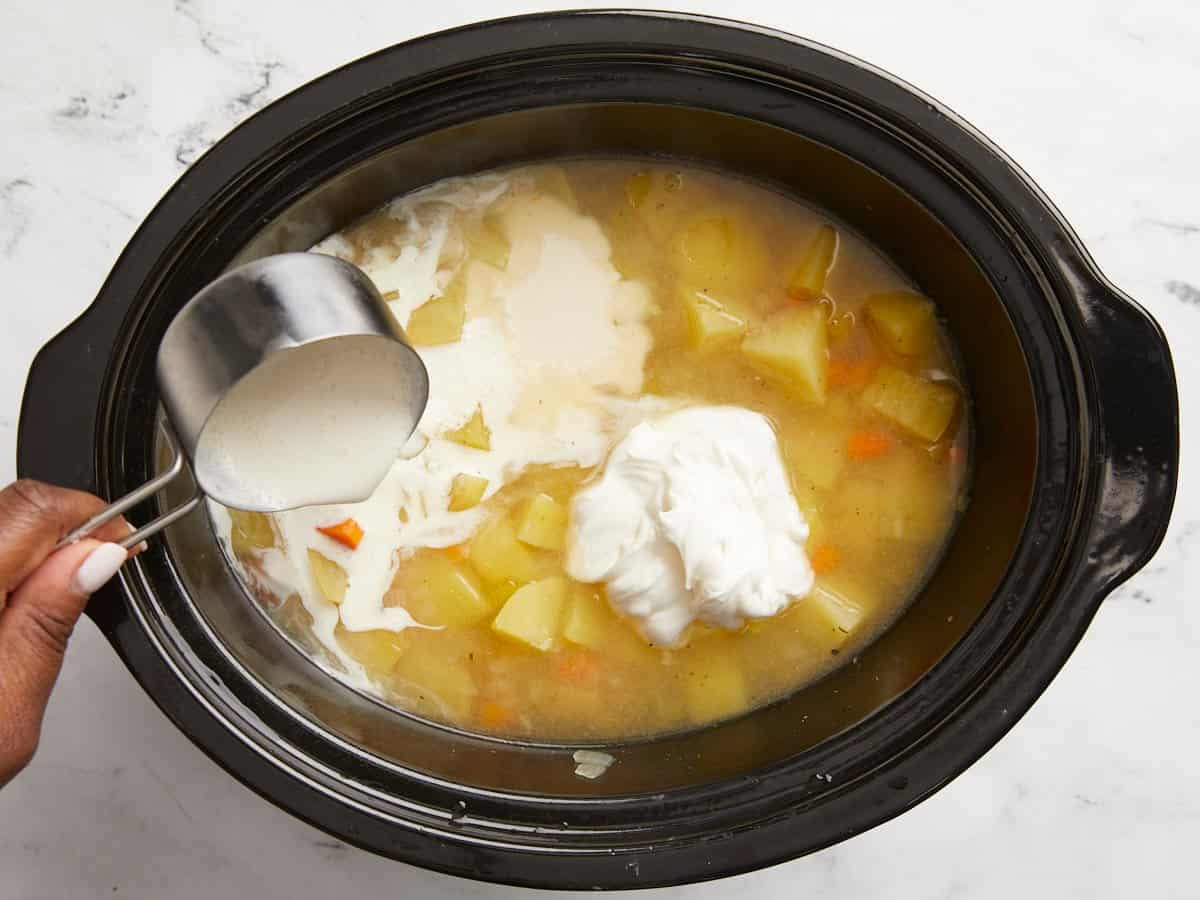
Heavy cream and sour cream added to potato soup in a slow cooker.

After the potato soup has cooked for 3 hours, check to make sure the potatoes are tender and can be easily pierced with a fork. Now add the flour slurry, 1/2 cup of heavy cream, and 1/2 cup of sour cream to the slow cooker. Stir well to combine, replace the lid, and continue to cook on high for an additional 10 minutes. During the last 10 minutes of cooking, while the slurry and heavy cream are thickening the soup, shred the cheddar cheese and slice 3 green onions.

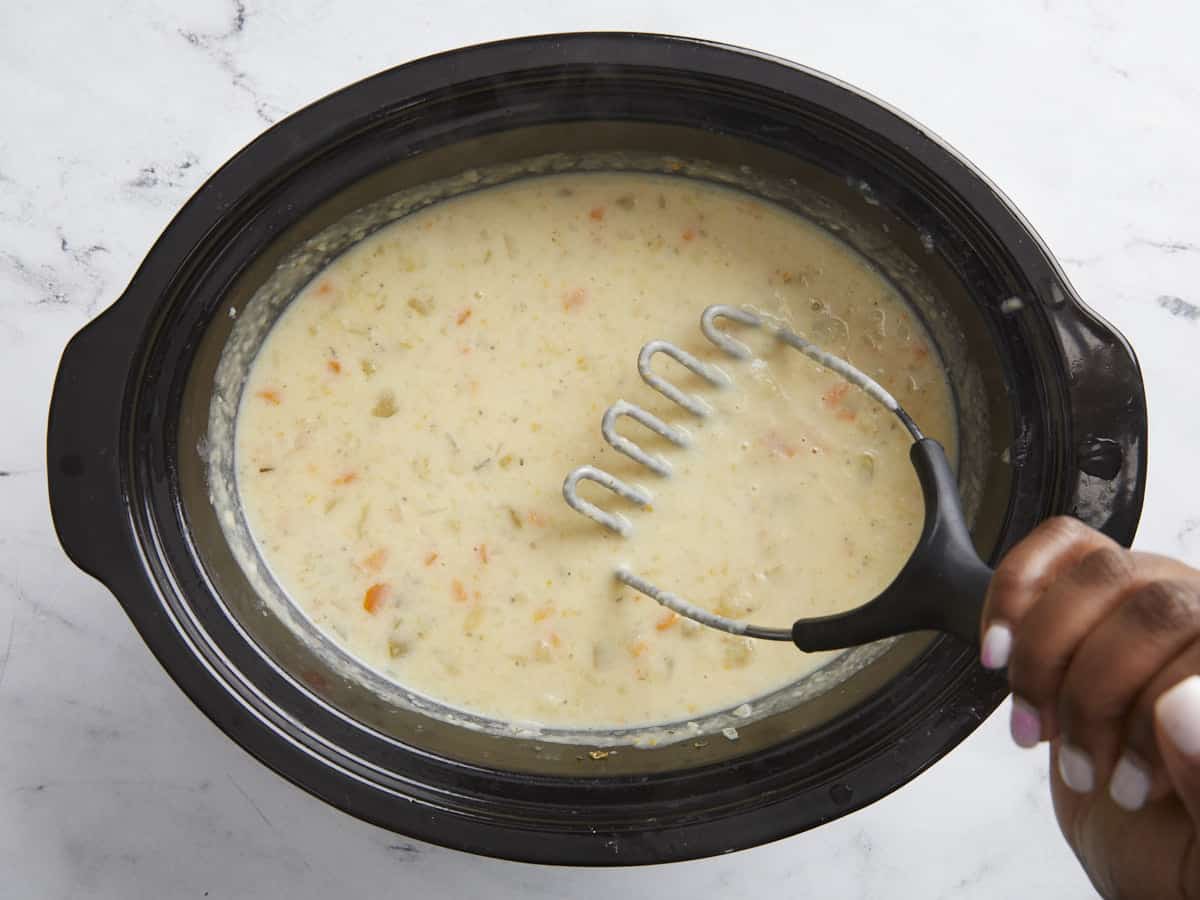
Potato soup ingredients being mashed with a potato masher in a slow cooker.

Remove the slow cooker lid then use a potato masher to mash the potato chunks into smaller pieces.

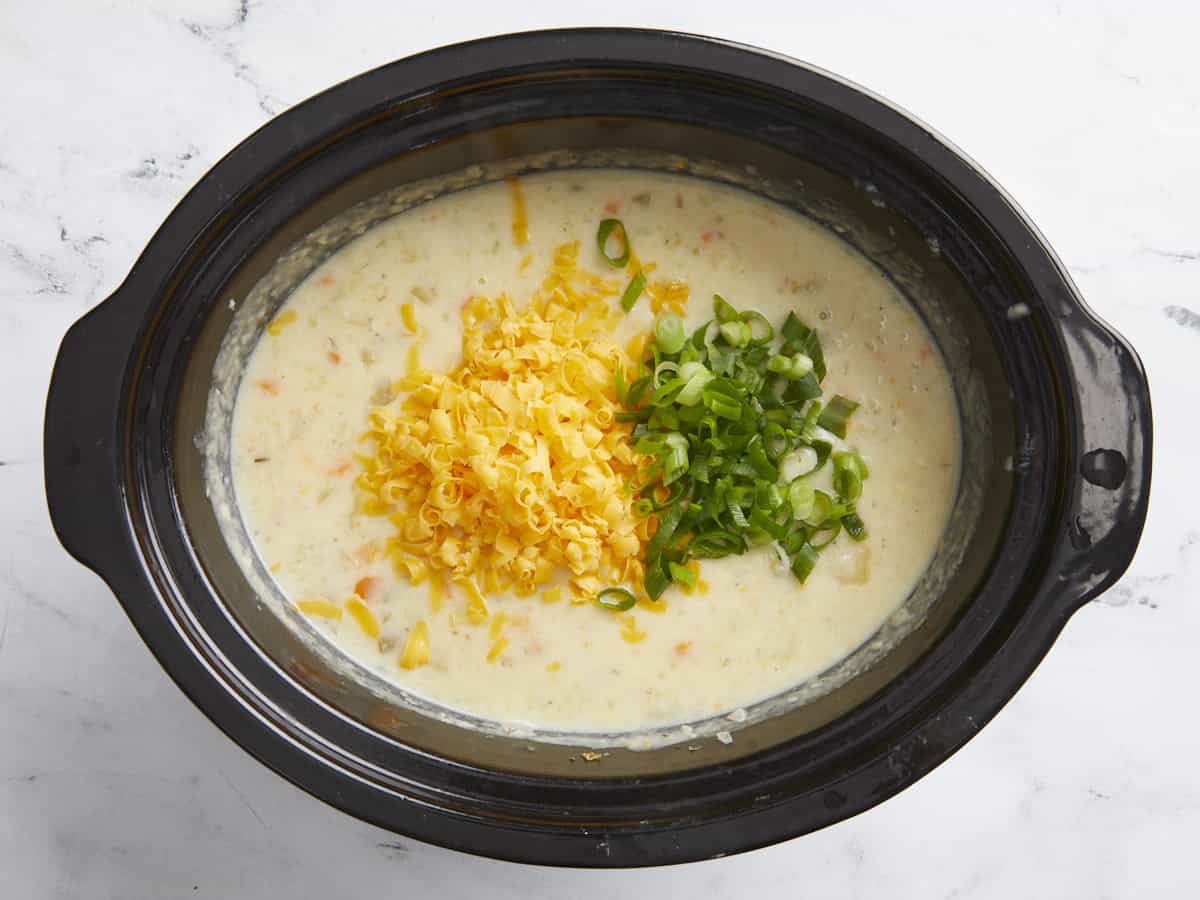
Shredded cheese and green onions being added to potato soup in a slow cooker.

Add ½ cup of the shredded cheese and half of the sliced green onions. Stir until the cheese has melted into the soup.

Potato soup in a slow cooker with shredded cheese, sliced green onions and a napkin on the side.

Taste the soup and adjust the salt or black pepper to your liking.

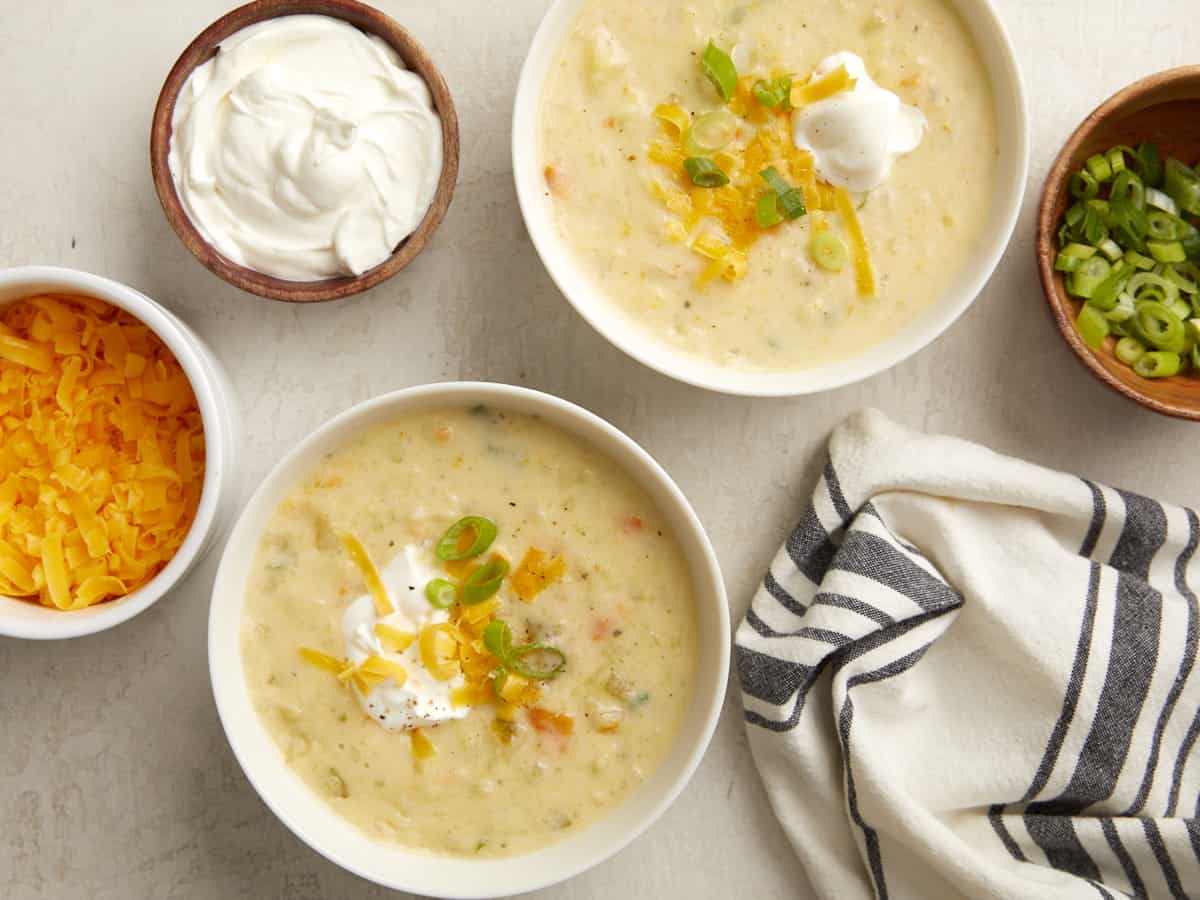
Overhead view of two bowls of slow cooker potato soup.

Use the remaining shredded cheese and green onions to garnish individual bowls. We also topped ours with a little soup cream and some freshly cracked black pepper. Simple, creamy, delicious, and SO GOOD!

The post Slow Cooker Potato Soup appeared first on Budget Bytes.

Navy Bean Soup

This Navy Bean Soup with ham is hearty, cozy, super flavorful, and perfect on a chilly day. Easy to make and absolutely delicious!

The post Navy Bean Soup appeared first on Budget Bytes.
Y’all, I’m on a roll with these simple, cozy, soup recipes! I had one extra ham hock left over from making Split Pea Soup a few weeks ago, so I decided to test a simple Navy Bean Soup recipe. I used dry, uncooked navy beans because they’re more economical than canned beans and you can infuse a lot of flavor into them. Then I just paired the navy beans with some vegetables, a smoked ham hock, and lots of herbs and spices. The results…a hearty, creamy, and absolutely delicious navy bean soup! Trust me, you’ll be blown away by how flavorful this soup is and just how easy it is to make!

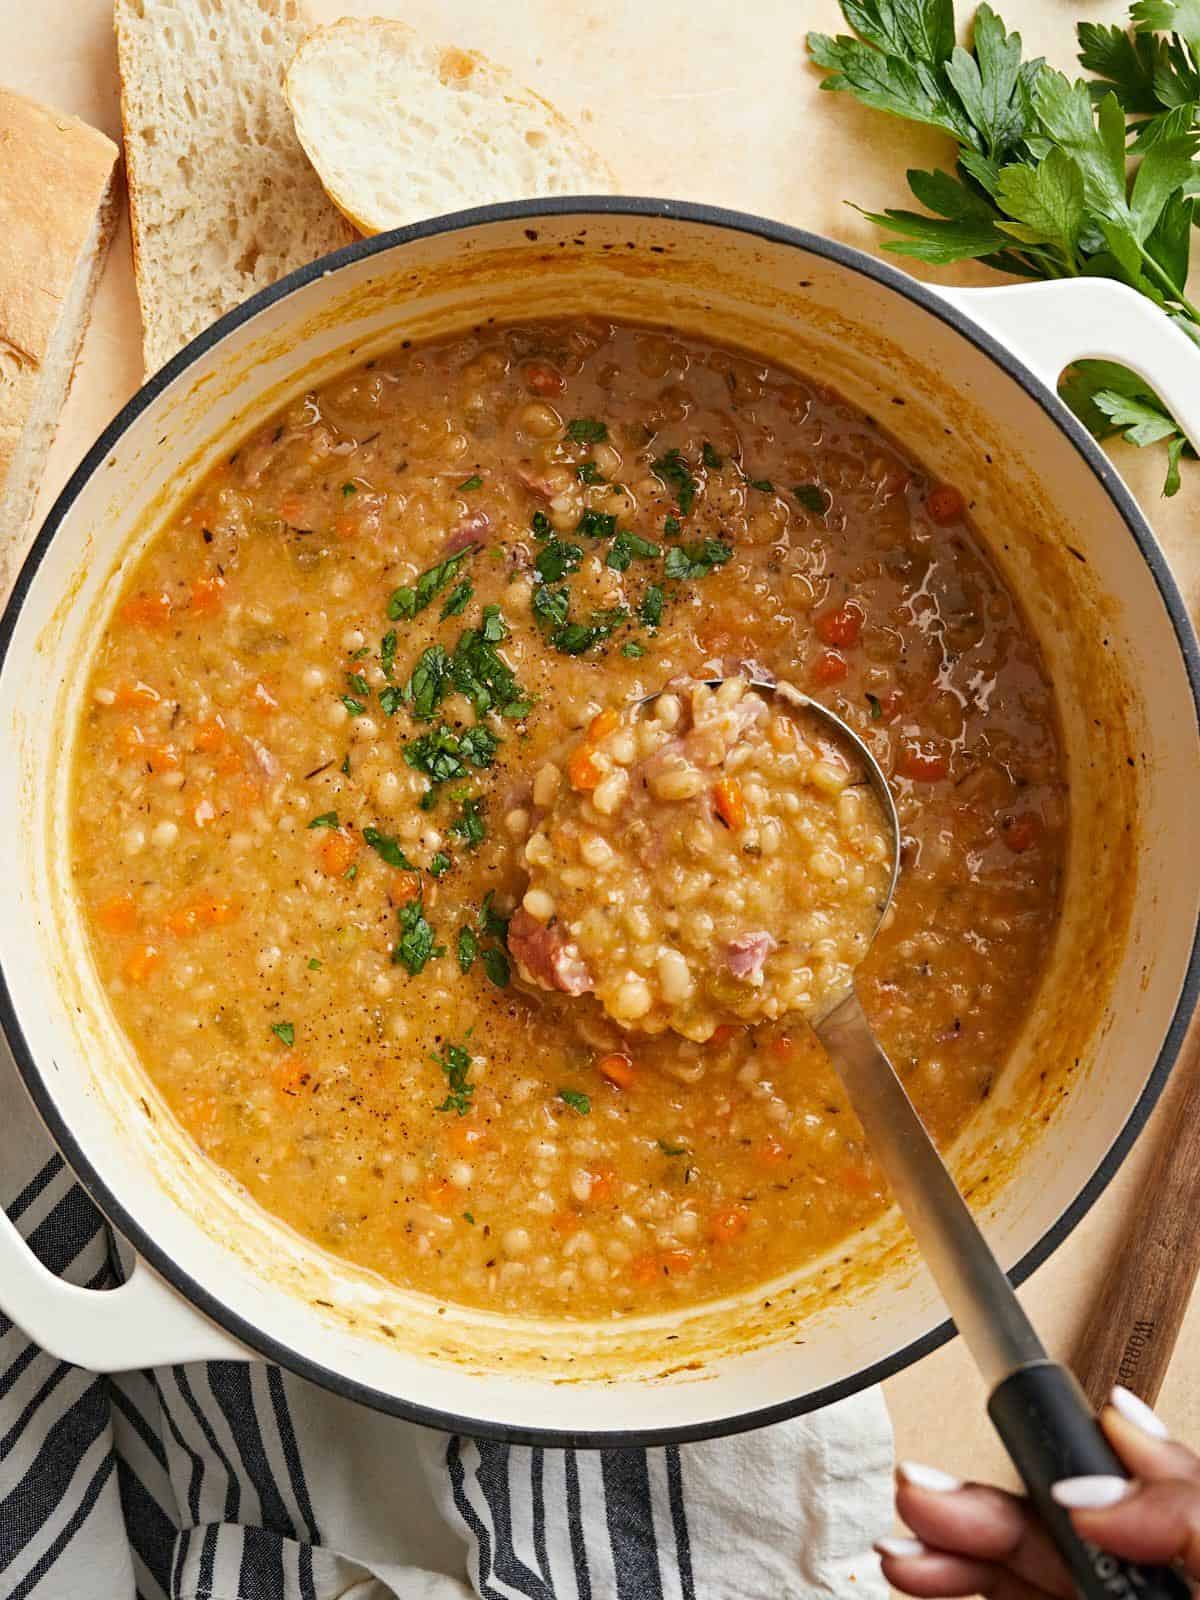
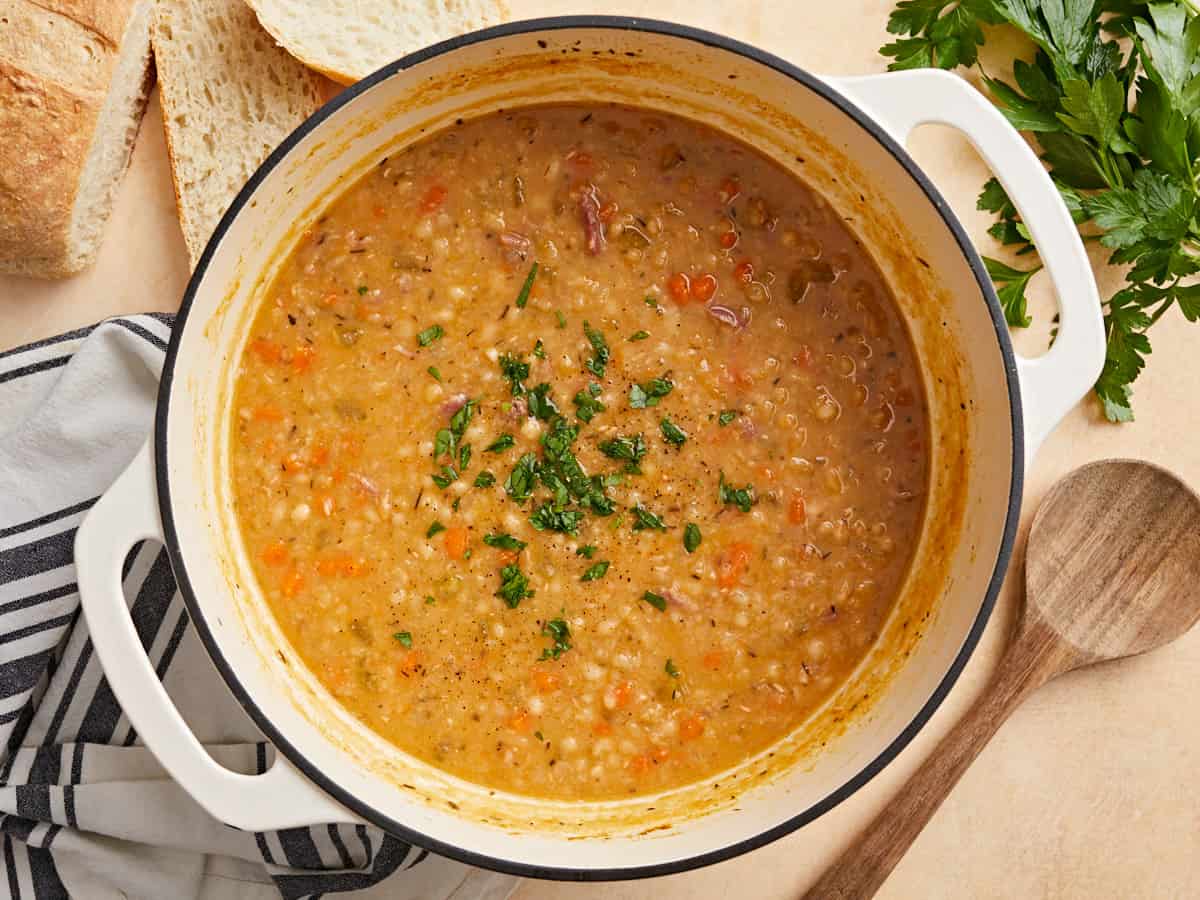
Overhead view of a pot of Navy Bean Soup with a ladle scooping some out.

INGREDIENTS FOR NAVY BEAN SOUP

Here are the ingredients you’ll need to make this comforting & delicious navy bean soup:

  • Navy Beans – We start things off with dry, uncooked navy beans. Navy beans are creamy and break down easily in the soup.
  • Vegetables – A combination of aromatics like onion, celery, carrots, and garlic are sautéed with a little bit of olive oil to add a great base layer of flavor and depth to the soup.
  • Ham Hock – Ham and beans just go together like peanut butter and jelly!😄 The smoked ham hock we used infused a ton of smoky, salty, flavor into the navy beans! We also tested this recipe with just regular diced ham, but it did not provide the same type of rich flavor as a ham bone. However, smoked turkey wings are a great alternative to use if you don’t want to use ham.
  • Spices – A combination of dried spices like thyme, oregano, and smoked paprika adds a rich color and wonderful flavor to the soup.
  • Chicken Broth – Make sure you use a good quality chicken broth as a lot of the soup flavor will come from the broth. We use Better than Bouillon for our broth.

Do I Need To Soak Navy Beans Overnight?

Although it’s not mandatory, we did soak the navy beans overnight to help soften the beans and speed up the cooking process. You could also do a quick soak method if you are pressed for time.

To do the “quick soak method” start by giving the dry beans a quick rinse with cold water in a colander. Remove any stones or debris that you see. Next add the navy beans to a large pot and cover with water. Bring the pot to a boil over high heat. Once boiling, continue to cook, uncovered, for 2 minutes. After 2 minutes, remove the pot from the heat, cover the pot with a lid, and allow the beans to soak in the hot water for 1 hour. Drain and rinse the beans well before cooking!

Storing Leftovers

This navy bean soup recipe makes a big batch, so save the leftovers for lunch the next day or freeze for later. You can store the soup in an airtight container in the refrigerator for up to 4-5 days. Or freeze in freezer-safe containers for up to 3 months.

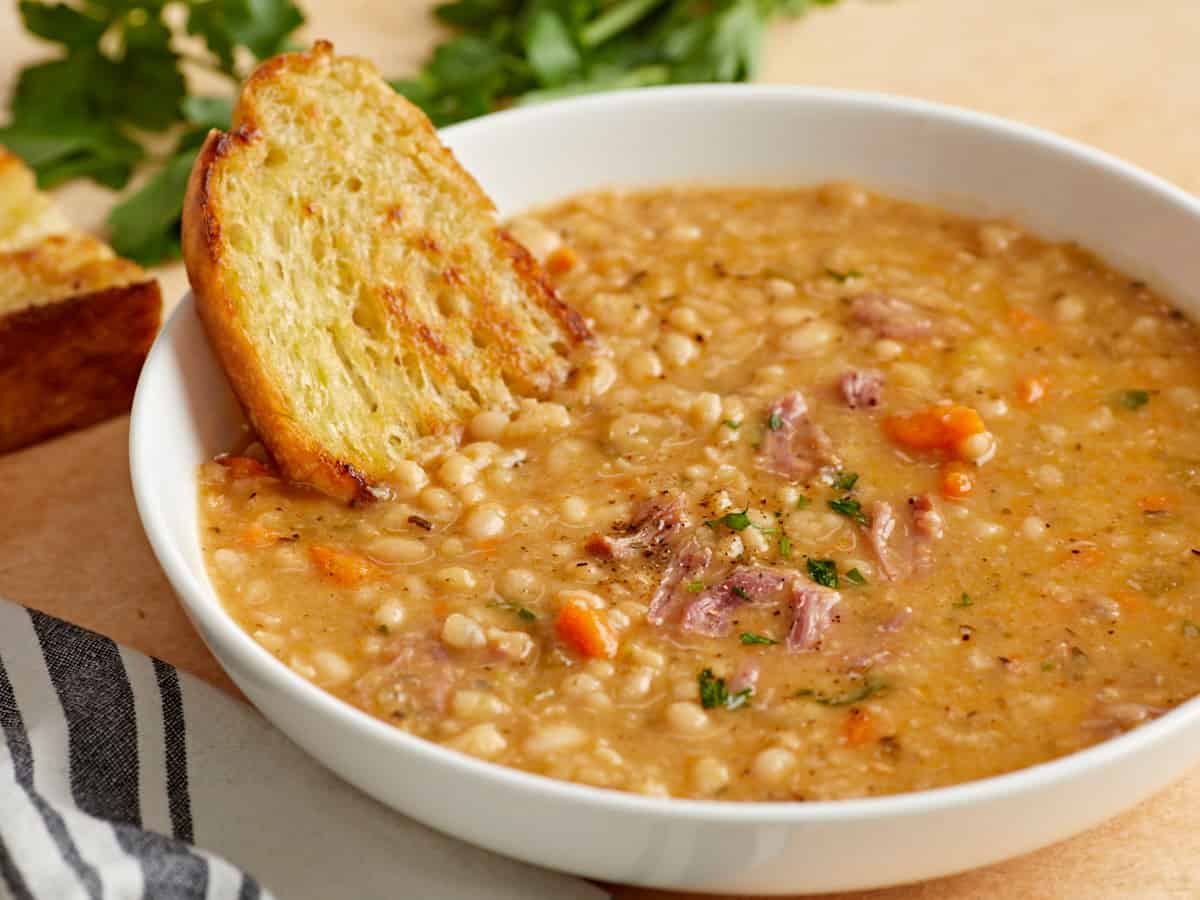
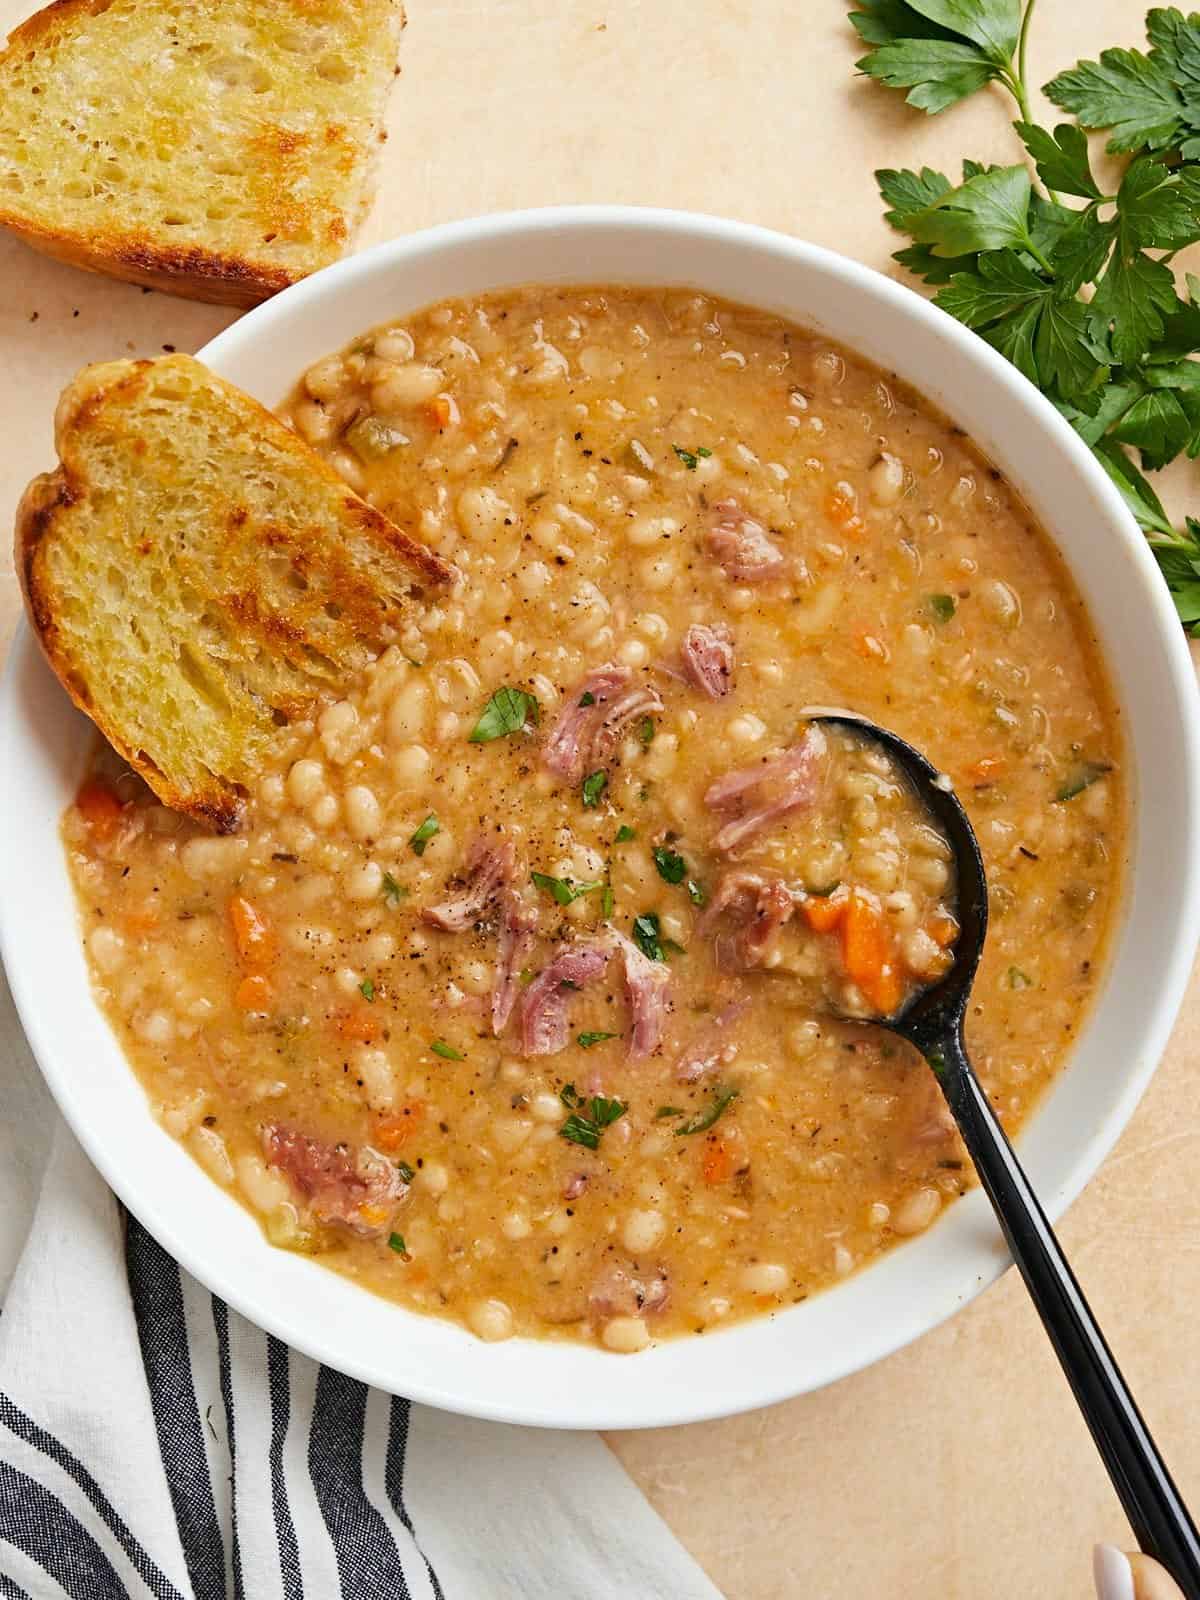
Side view of a bowl full of navy bean soup with crusty bread on the side of the bowl.
Overhead view of a dutch oven pot full of navy bean soup with a ladle scooping some out.
Print

Navy Bean Soup

This Navy Bean Soup with ham is hearty, cozy, super flavorful, and perfect on a chilly day. Easy to make and absolutely delicious!
Course Dinner, Lunch
Cuisine American
Total Cost $7.32 recipe / $1.22 serving
Prep Time 15 minutes
Cook Time 2 hours 10 minutes
Total Time 2 hours 25 minutes
Servings 6 (1 1/3 cups each)
Calories

Equipment

Ingredients

  • 1 lb. dry navy beans $1.29
  • 2 Tbsp olive oil $0.24
  • 1 yellow onion $0.32
  • 1 carrot $0.15
  • 1 celery stalk $0.25
  • 2 cloves garlic $0.16
  • 1 ham hock $3.65
  • 1/2 tsp dried thyme $0.05
  • 1/2 tsp dried oregano $0.05
  • 1/2 tsp dried rosemary $0.05
  • 1/2 tsp smoked paprika $0.05
  • 1/4 tsp freshly cracked black pepper $0.02
  • 6 cups chicken broth $1.02
  • 1/4 tsp salt (or to taste) $0.02

Instructions

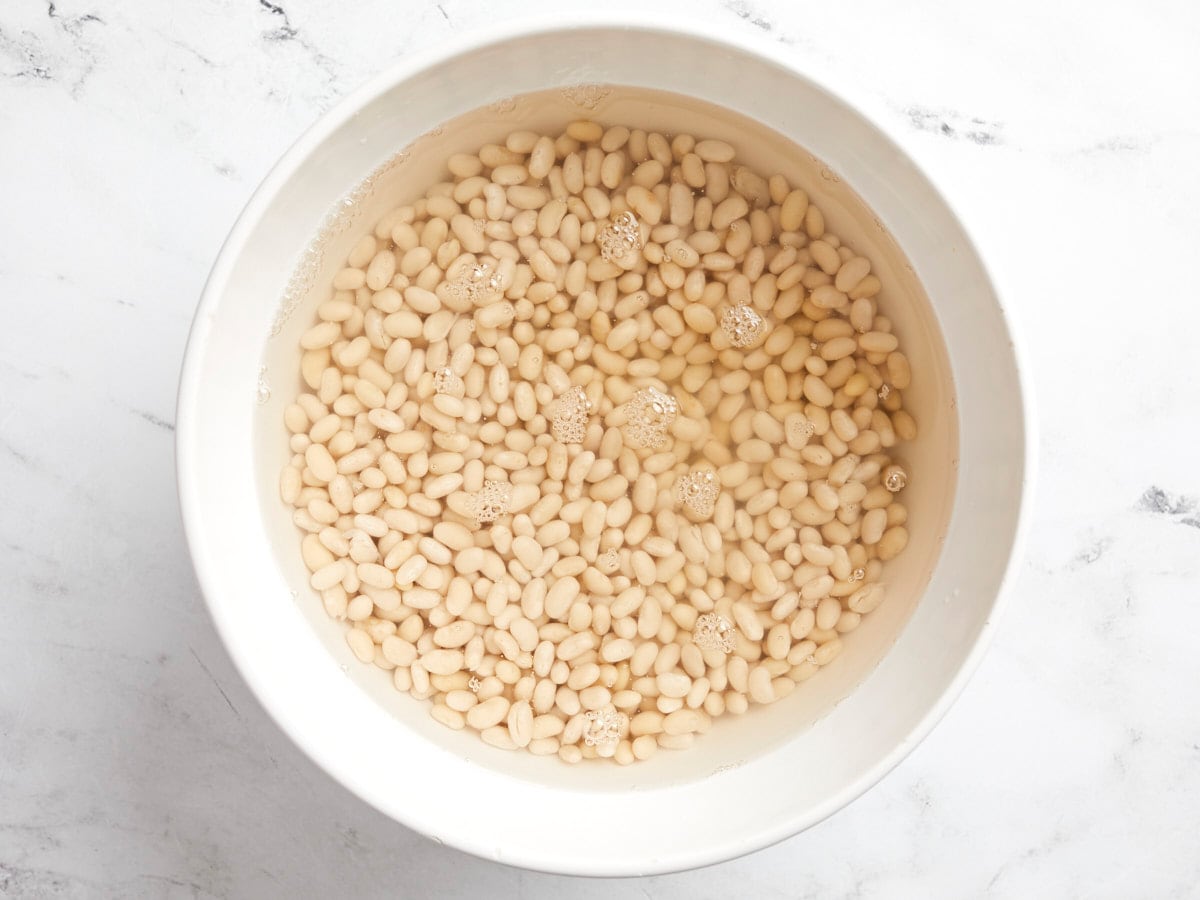
  • Start by soaking the dry navy beans overnight. Place the beans in a bowl, cover them with cold water, and place the bowl in the refrigerator. The next day, drain and rinse the beans.
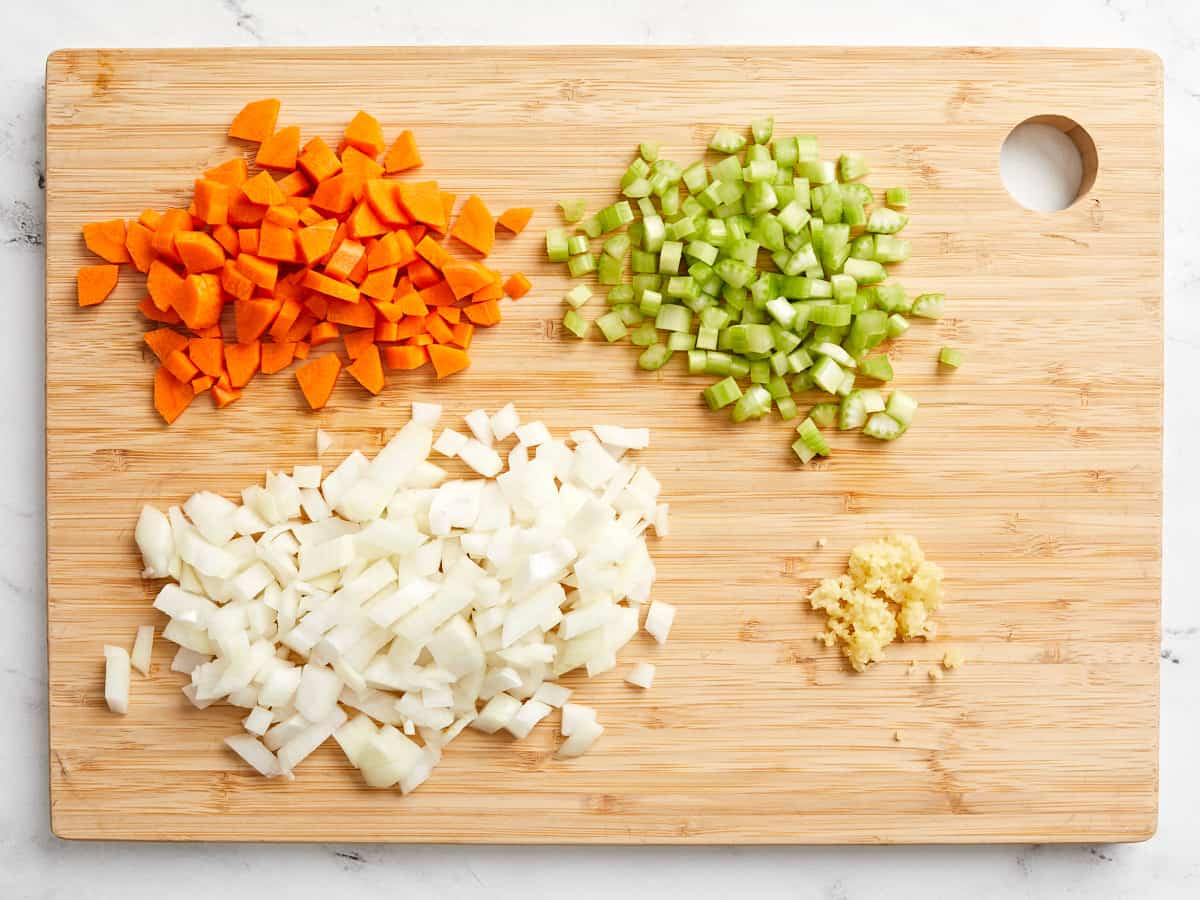
  • Dice the onion, the carrot, and the celery stalk. Mince the garlic cloves.
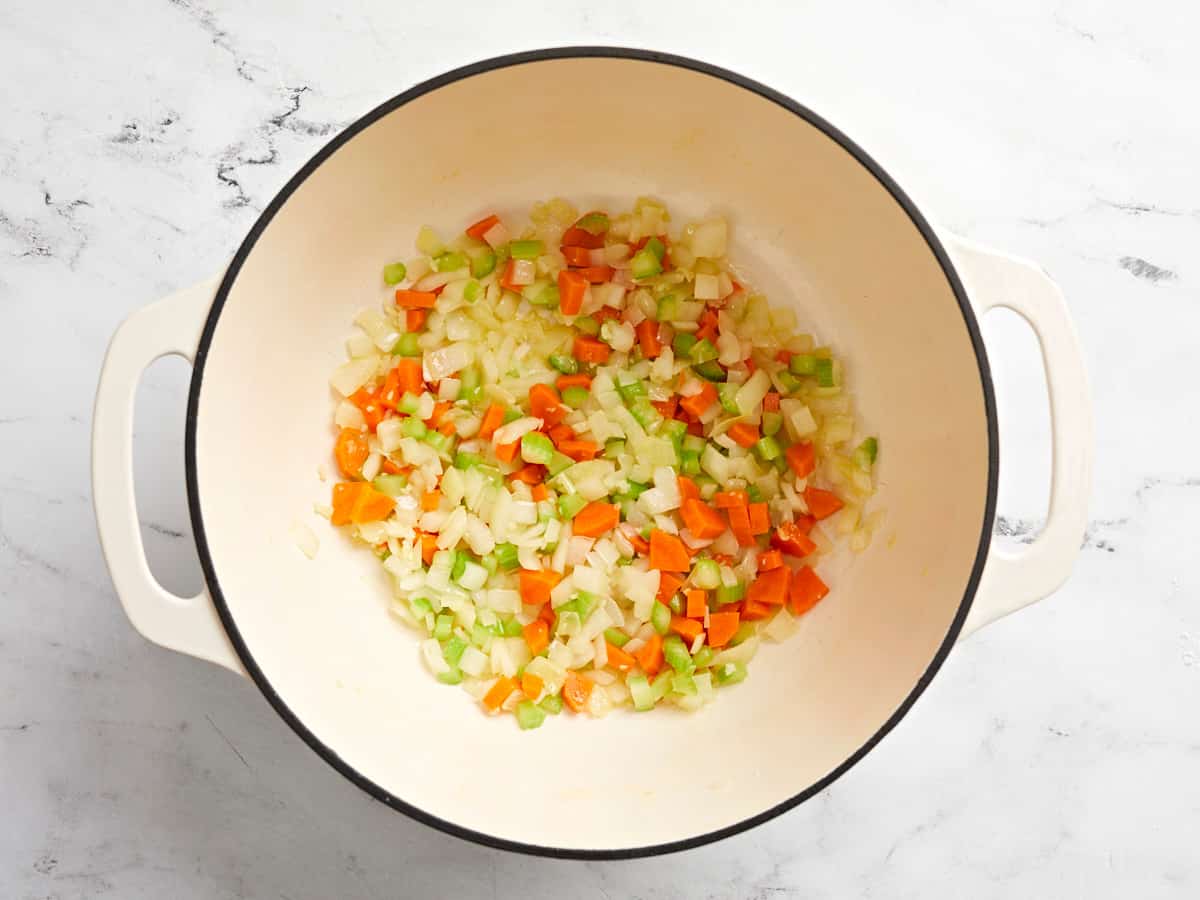
  • Sauté the onion, carrot, celery, and garlic in a large soup pot or Dutch oven with olive oil over medium heat, until the onions are soft and translucent.
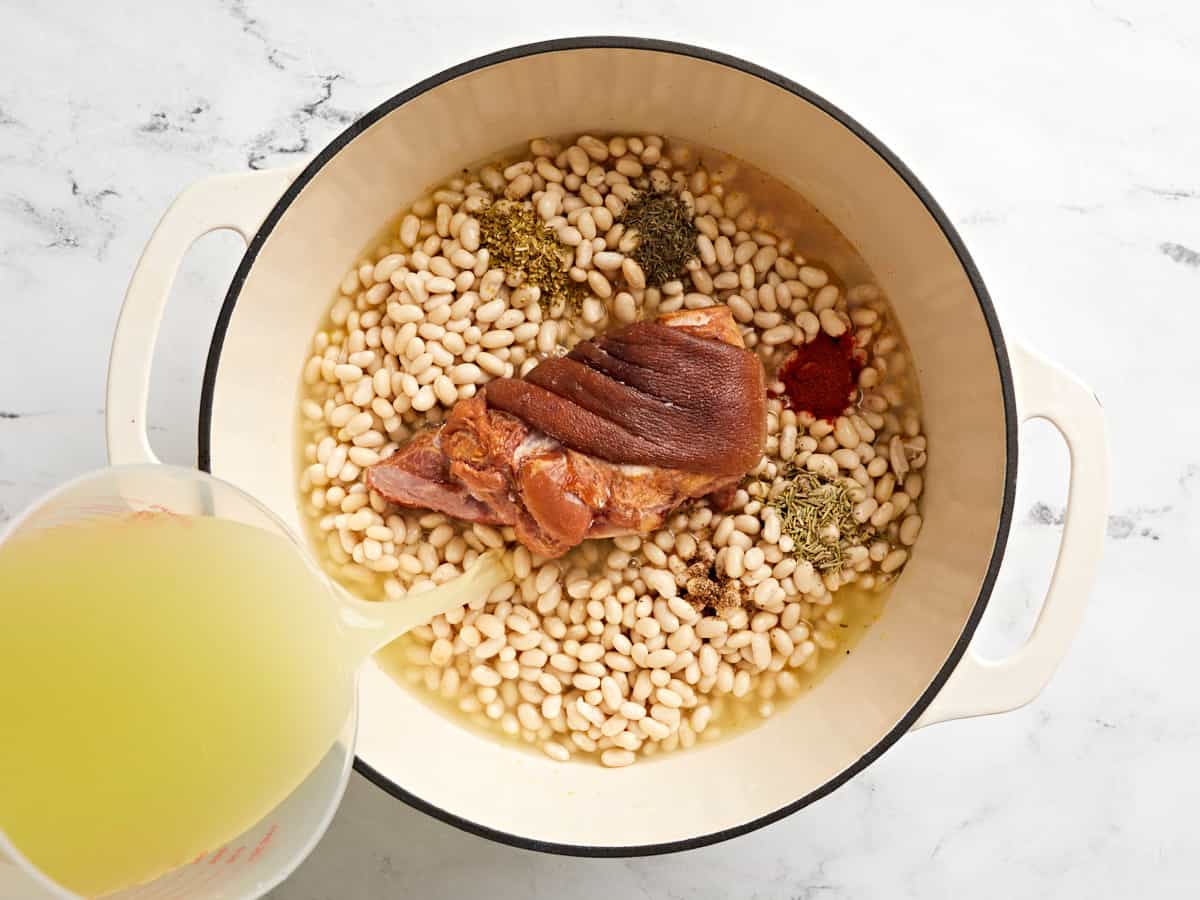
  • Add the soaked & drained beans, ham hock, dried thyme, dried oregano, dried rosemary, smoked paprika, black pepper, and chicken broth to the pot. Gently stir to combine all the ingredients.
  • Place a lid on the pot and bring it up to a boil. Once boiling, turn the heat down to medium-low and let the soup simmer, stirring occasionally, until the beans are tender and begin to break down (approximately 1.5 hours). Flip the ham hock over once or twice, while the soup is simmering, so that it gets even exposure to the hot liquid.
  • Once the beans are tender, remove the ham hock and pull the meat from the bone, then add the ham meat back to the soup.
  • Now mash some of the beans against the side of the pot and stir the mashed beans back into the soup. Continue to simmer the soup uncovered for about 30 minutes to reduce some of the liquid and to thicken the soup further.
  • Taste the soup and add salt, if needed. I ended up adding 1/4 tsp of salt after tasting. The amount of salt needed will depend highly on the type of broth used. Serve hot with some crusty bread for dipping and enjoy!

See how we calculate recipe costs here.

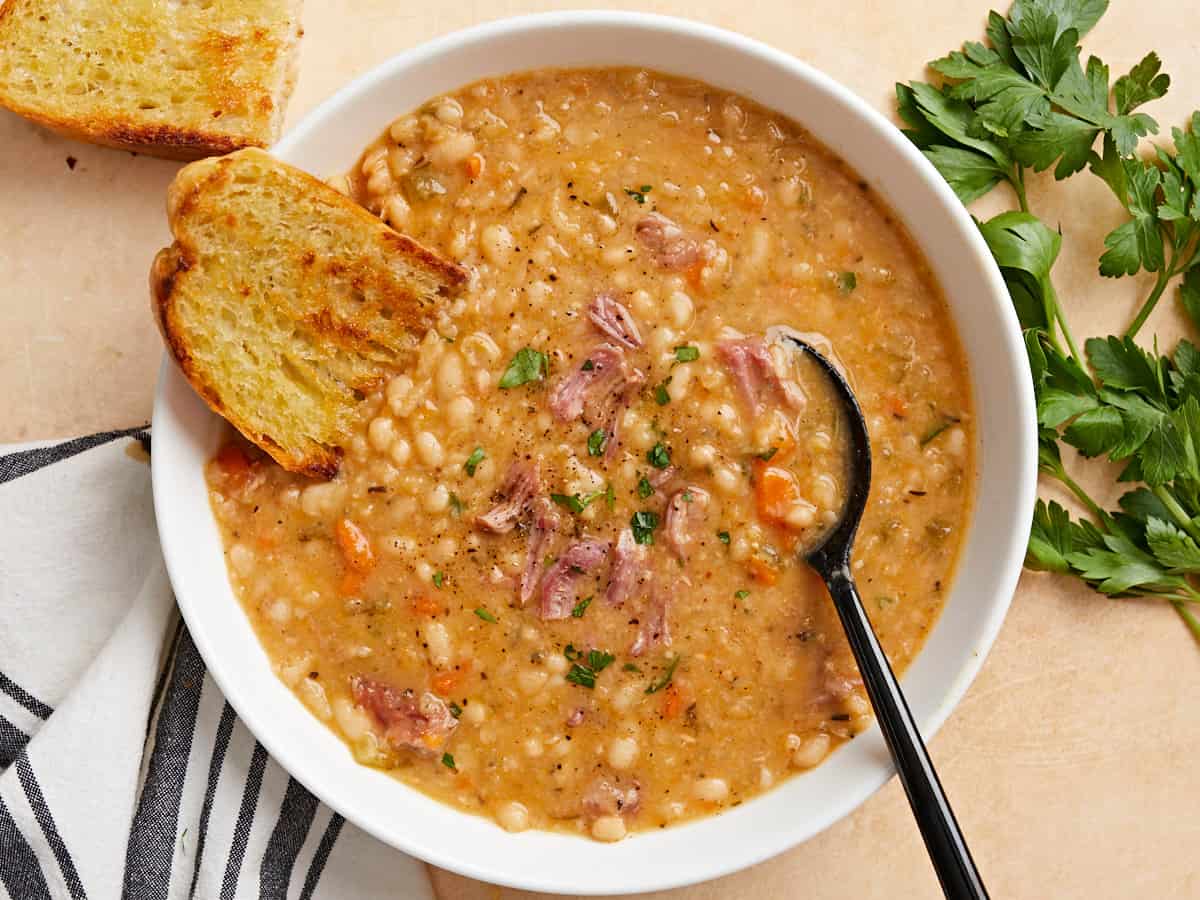
Overhead view of a bowl full of Navy bean soup with crusty bread and a black spoon on the side of the bowl.

How to Make Navy Bean Soup – Step by Step Photos

Overhead view of Navy Beans being soaked in water in a bowl.

Start by soaking the navy beans overnight. Place 1 lb. of dry navy beans in a bowl, cover them with cold water, and place the bowl in the refrigerator. The next day, drain and rinse the beans.

Overhead view of chopped vegetables on a cutting board.

Dice one onion, one carrot, and one celery stalk. And mince two garlic cloves.

Overhead view of veggies being sauteed in a dutch oven pot.

Sauté the onion, carrot, celery, and garlic in a large soup pot or dutch oven with 2 Tbsp olive oil over medium heat, until the onions are soft and translucent.

Overhead view of navy beans, hamhock, spices, and chicken broth being added to the pot.

Now add the soaked & drained beans, 1 ham hock, 1/2 tsp dried thyme, 1/2 tsp dried oregano, 1/2 tsp dried rosemary, 1/2 tsp smoked paprika, 1/4 tsp freshly ground black pepper, and 6 cups of chicken broth to the pot. Gently stir to combine all the ingredients.

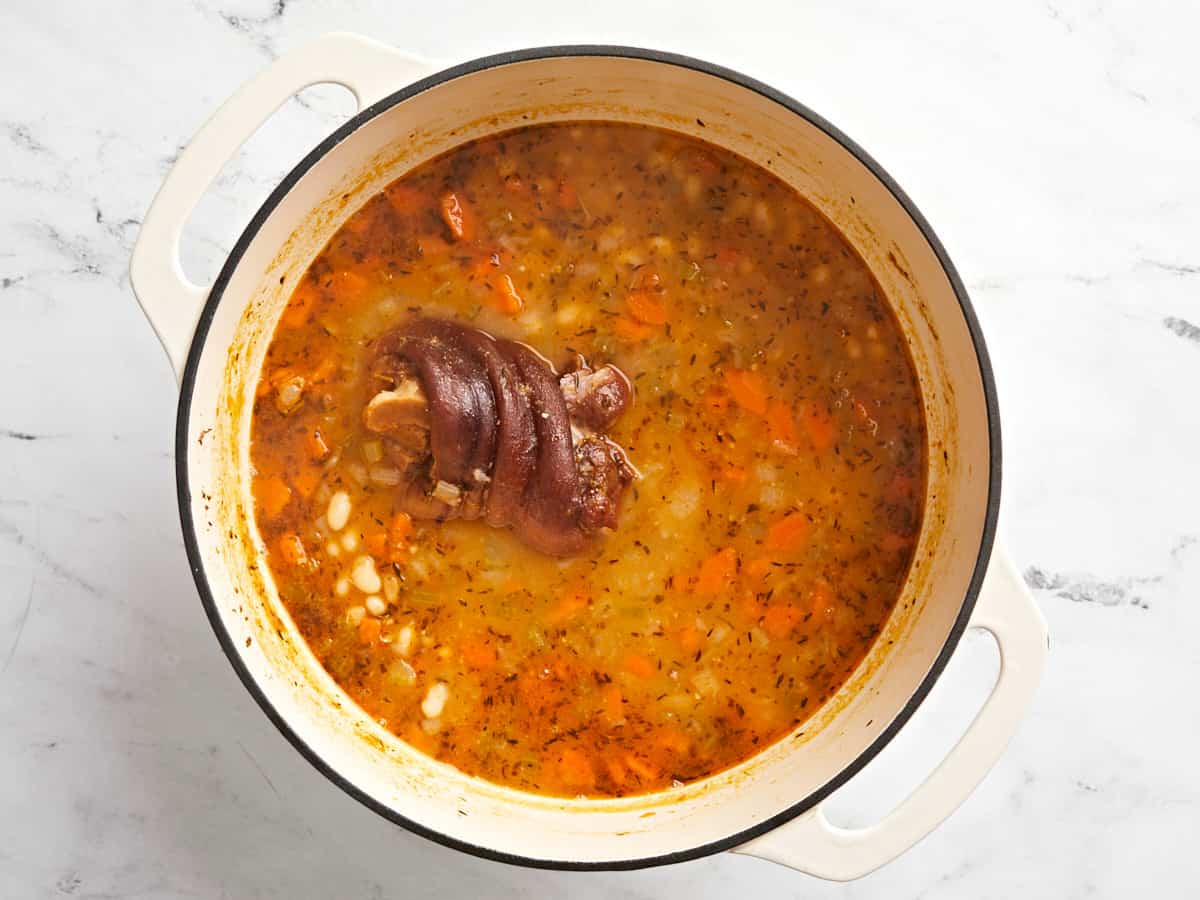
Overhead view of cooked soup.

Place a lid on the pot and bring it up to a boil. Once boiling, turn the heat down to medium-low and let the soup simmer, stirring occasionally, until the beans are tender and begin to break down (approximately 1.5 hours).

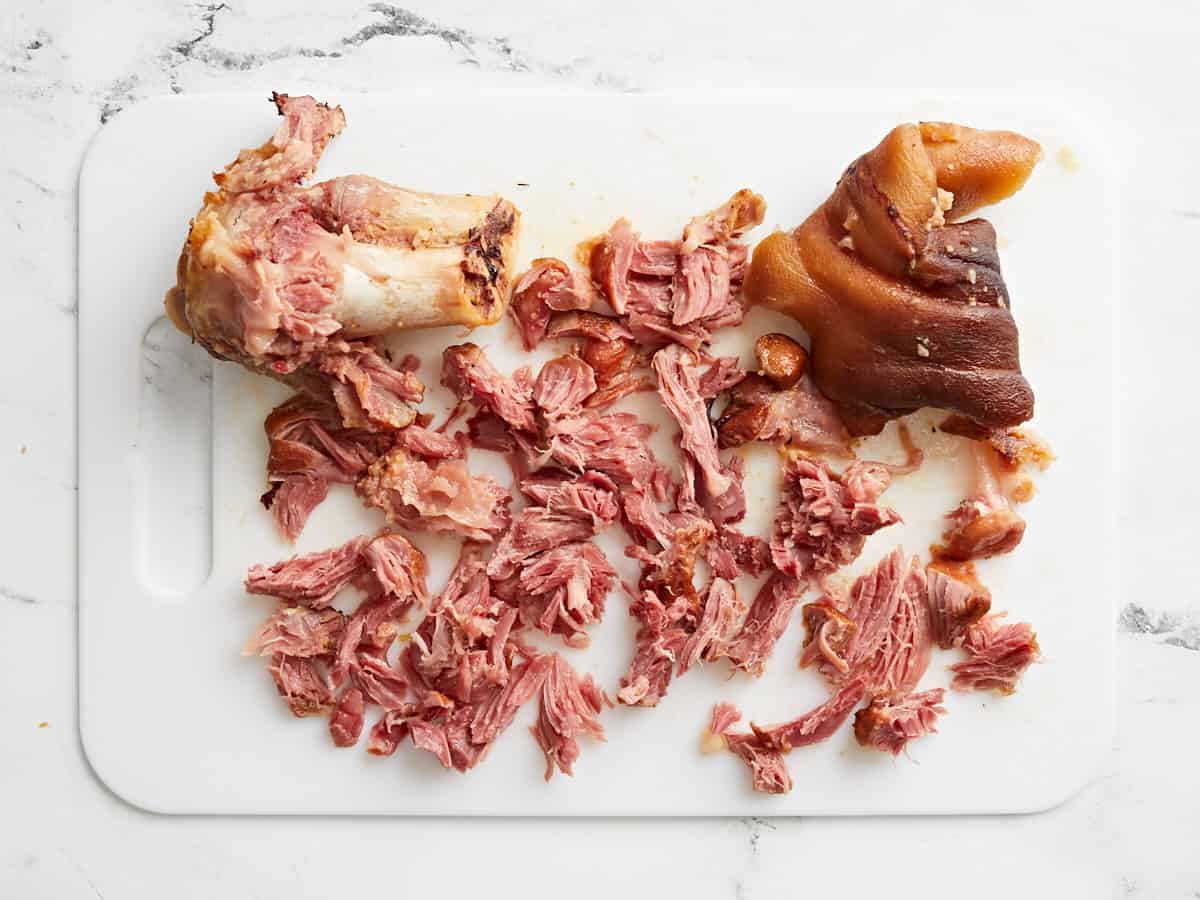
Hamhock meat being removed from the bone on a cutting board.

Once the beans are tender, remove the ham hock and pull the meat from the bone.

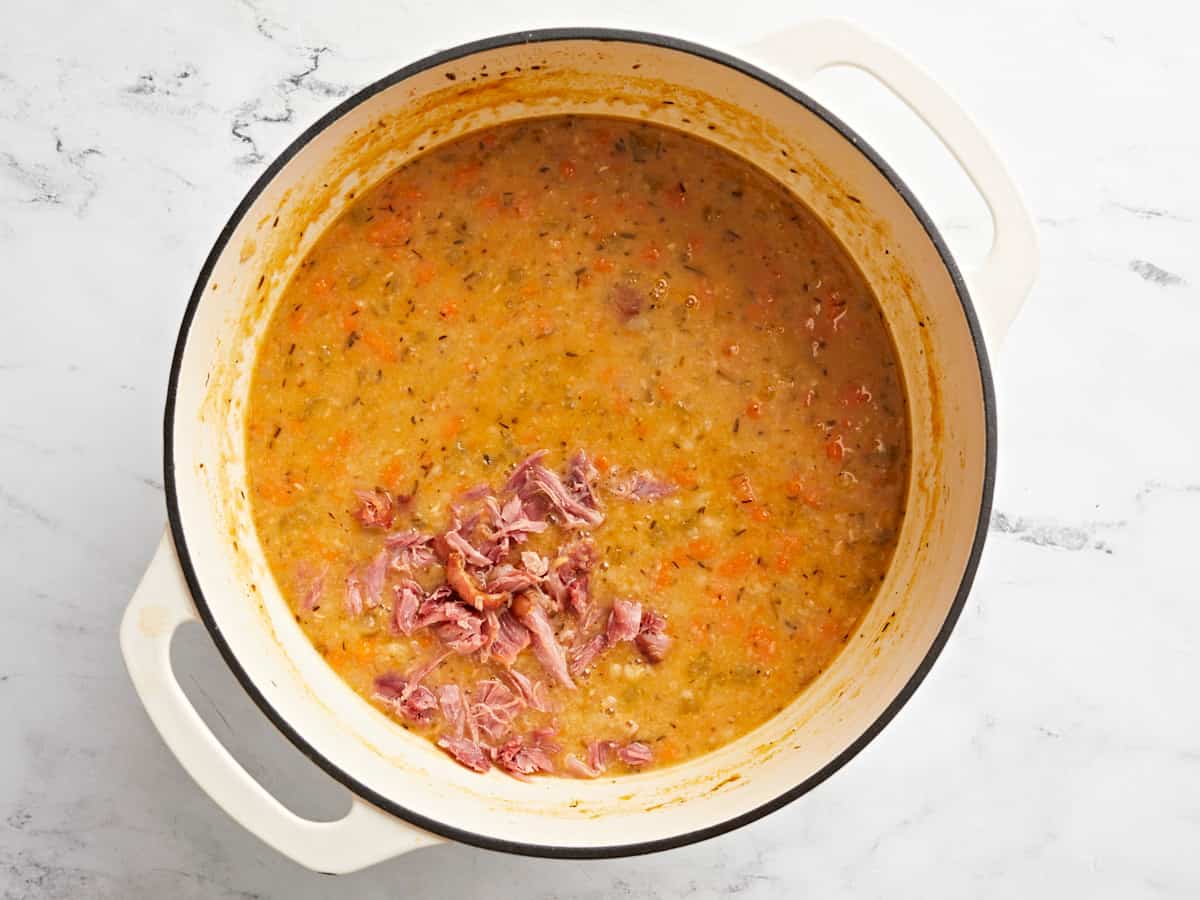
Overhead view of hamhock meat being added back to the pot.

Then add the ham meat back to the soup.

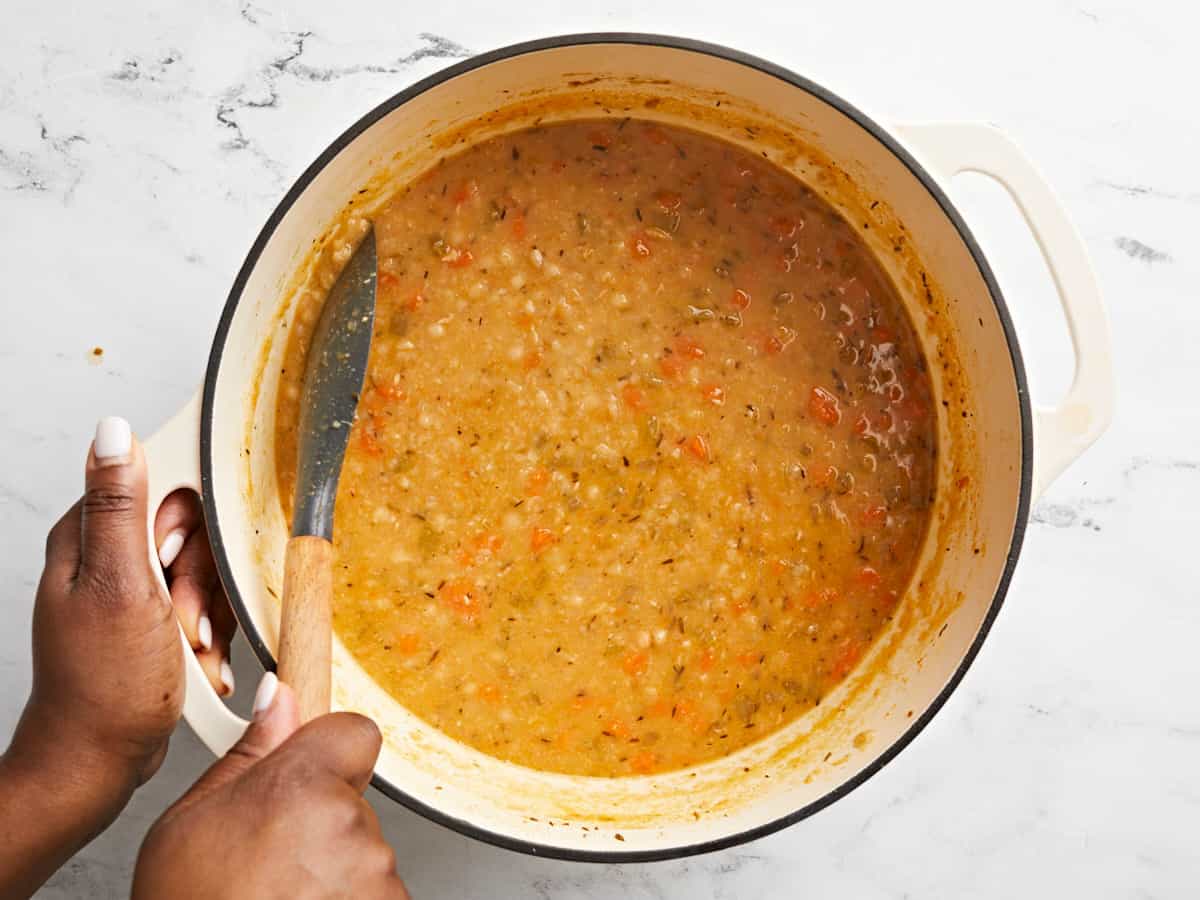
Overhead view of a few Navy Beans being smashed on the side of the pot.

Now mash some of the beans against the side of the pot and stir the mashed beans back into the soup. Continue to simmer the soup uncovered for about 30 minutes to reduce some of the liquid and to thicken the soup further.

Overhead view of Navy Bean Soup with parsley sprinkled on top.

Taste the soup and add salt, if needed. I ended up adding 1/4 tsp of salt after tasting. The amount of salt needed will depend highly on the type of broth used. Garnish with some fresh chopped parsley (optional). Now the only thing left to do is enjoy a big bowl of this cozy navy bean soup with some crusty bread for dipping and soaking up all that yumminess! Enjoy!

Overhead view of a bowl full of navy bean soup with crusty bread and a black spoon on the side.

The post Navy Bean Soup appeared first on Budget Bytes.
Split Pea Soup

This cozy Split Pea Soup will fill you up and warm you through on those cold winter days. Super satisfying and oh so delicious!

The post Split Pea Soup appeared first on Budget Bytes.

The cold weather has finally creeped into my neck of the woods and all I’ve been craving lately is a big, warm bowl of soup! Lucky for me this easy Split Pea Soup recipe hits the spot! It has lots of veggies and the added ham gives it sooo much flavor! It’s thick, filling, and like most soup recipes it makes a big batch. Perfect to freeze any leftovers for later! Trust me, I’ll definitely be keeping this soup in rotation this season!

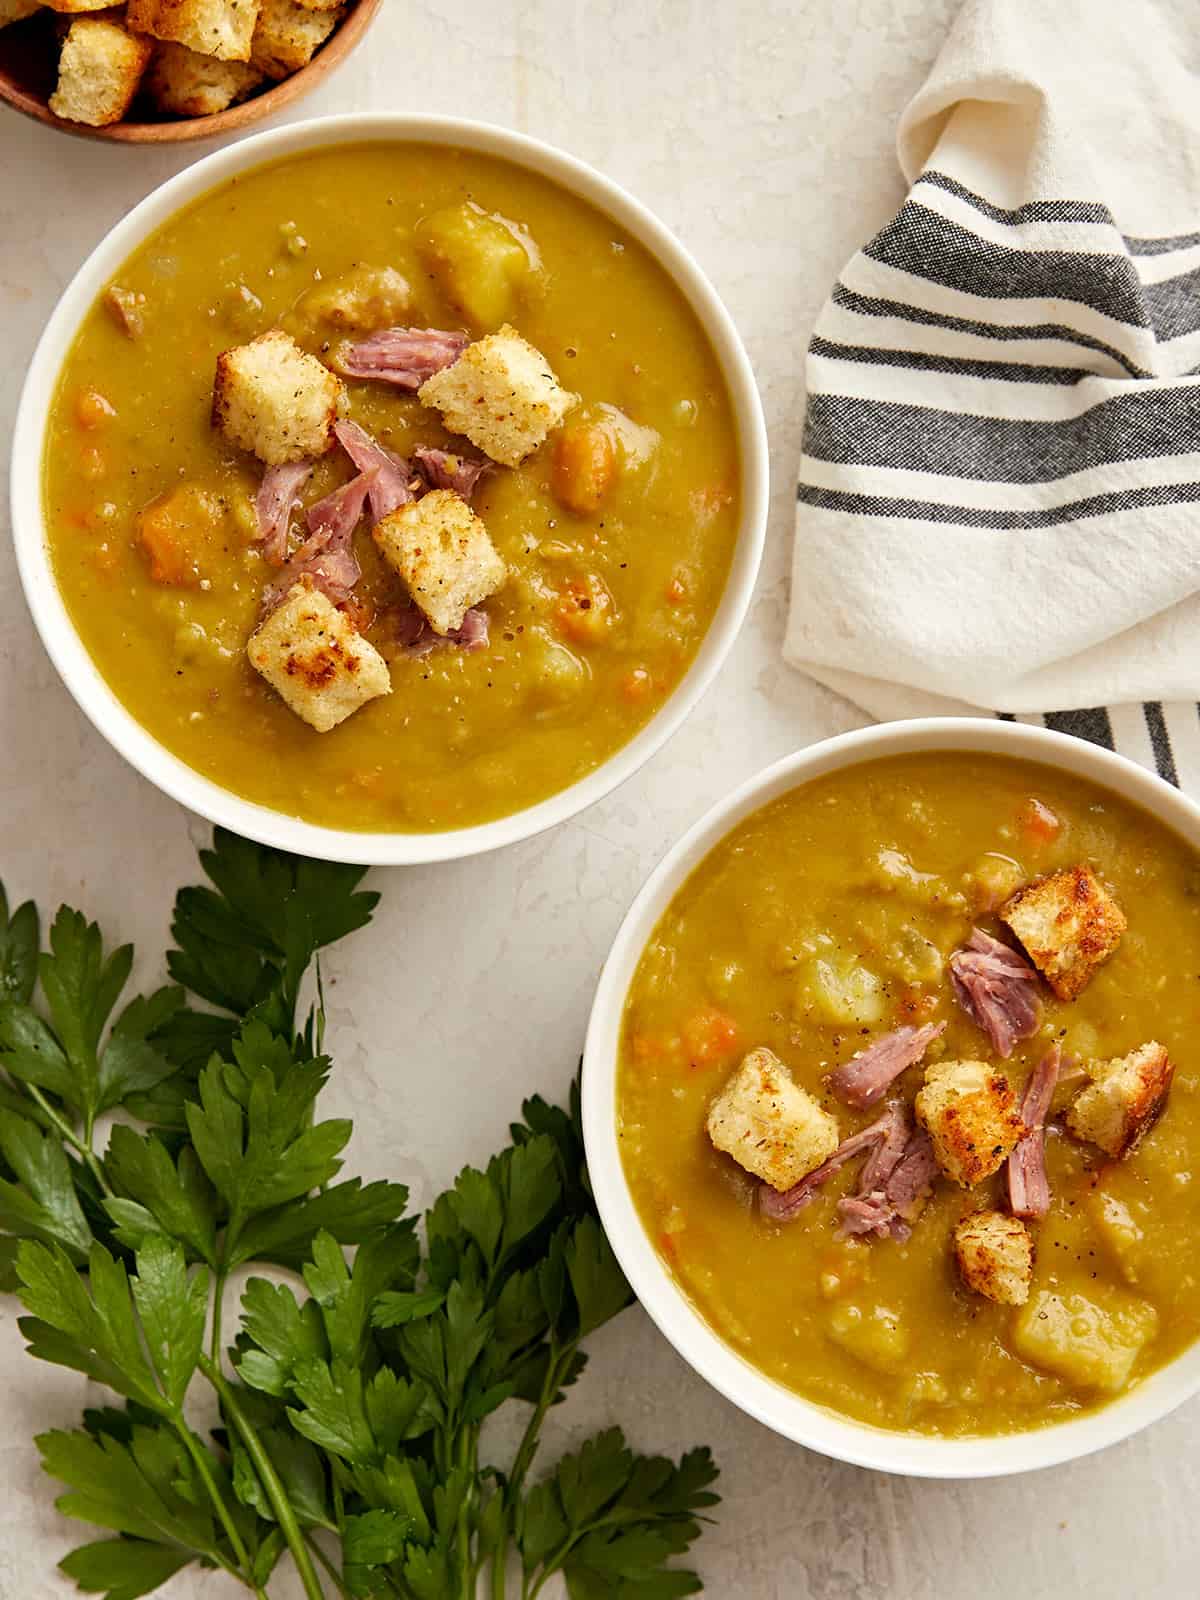
Overhead view of two bowls of split pea soup with parsley and a napkin on the side.

What Are Split Peas?

Split peas are just like they sound, peas that have been dried and split in half. They’re part of the legume family and are often found in both green and yellow varieties. Both can be used to make this easy, comforting split pea soup. We’ll be using green split peas for this recipe. You can find split peas in the dry bean aisle, next to bags of other types of dry beans.

Ingredients for Split Pea Soup

You won’t need much to make this thick and chunky split pea soup recipe. Here’s a quick rundown of the ingredients you’ll need:

  • Split Peas  – Split peas are the star of the show for this simple soup recipe. We’re using dry, uncooked green split peas.
  • Aromatics – Onion, celery, carrots, and garlic provide a wonderful flavor base for the soup.
  • Ham Hock – The ham hock provides lots of smoky, salty flavor to the soup. It also gives you a little bit of meat to enjoy with every other bite :)
  • Bay Leaf – Adds an extra subtle layer of flavor and depth to the soup.
  • Chicken Broth – Make sure you use a good quality chicken broth as a lot of the soup flavor will come from the broth. We use Better than Bouillon to make our broth. It’s economical and has great flavor!
  • Russet Potato – To make this an even more filling and hearty soup, we added one diced russet potato. It also helps to thicken the soup.
  • Salt and Pepper – You’ll be surprised how much salt and flavor comes from the ham hock and chicken broth. So taste the soup towards the end, then add any salt and freshly cracked black pepper to taste.

Do Split Peas Need To Be Soaked Before Cooking?

Nope! That’s what makes this soup so simple to make. Split peas cook quickly without any pre-soaking, and because they’re already split open, they break down well to thicken soups. I like to give the split peas just a quick rinse when I take them out of the package, but other than that you can add the peas directly to your pot (without soaking) with the rest of your ingredients.

How To Store Split Pea Soup

Split pea soup stores very well in the fridge or freezer. You can store any leftovers in an airtight container in the refrigerator for up to 5 days. If you don’t think you can eat all 6 servings in about 5 days, then freeze the rest in freezer-safe containers for up to 3 months.

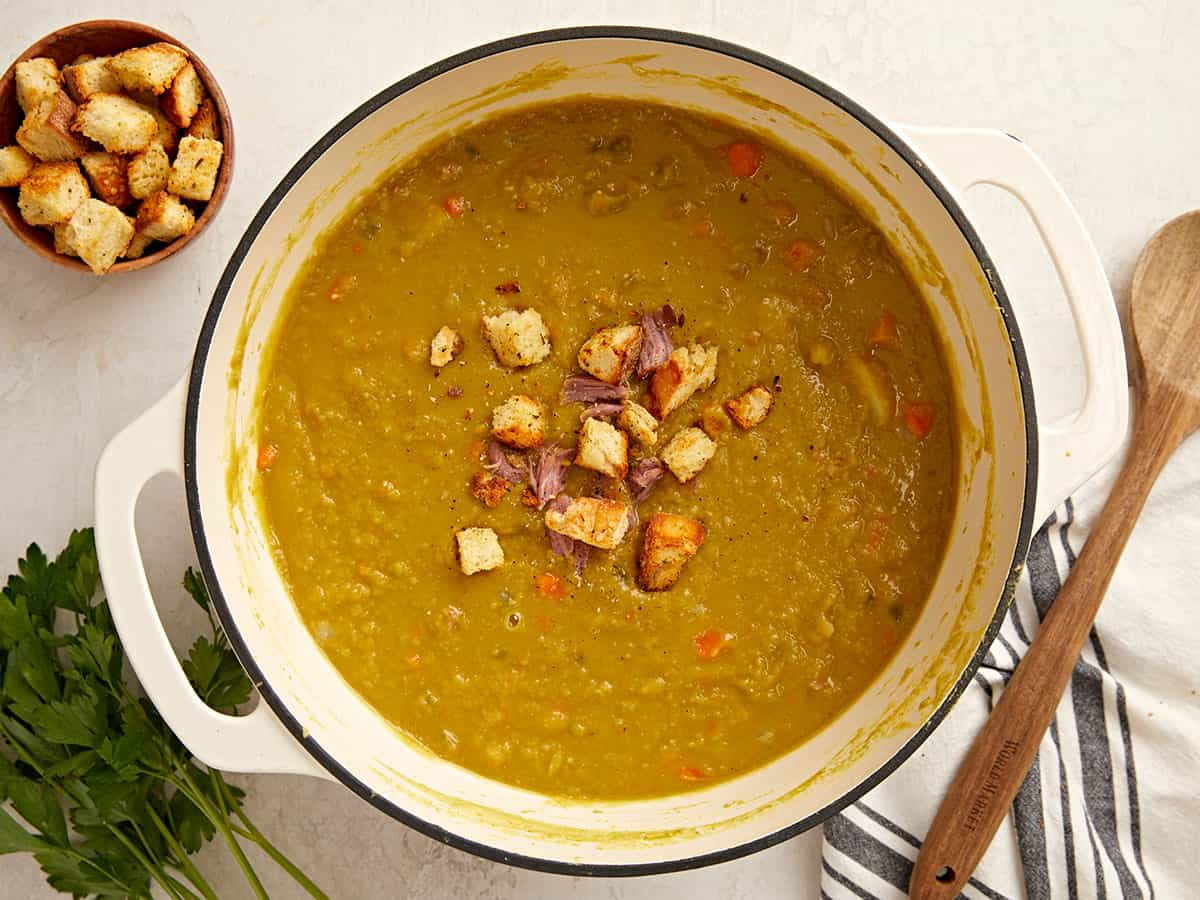
Side view of two bowls of split pea soup with homemade croutons on top.

Pictured with Homemade Croutons on top!

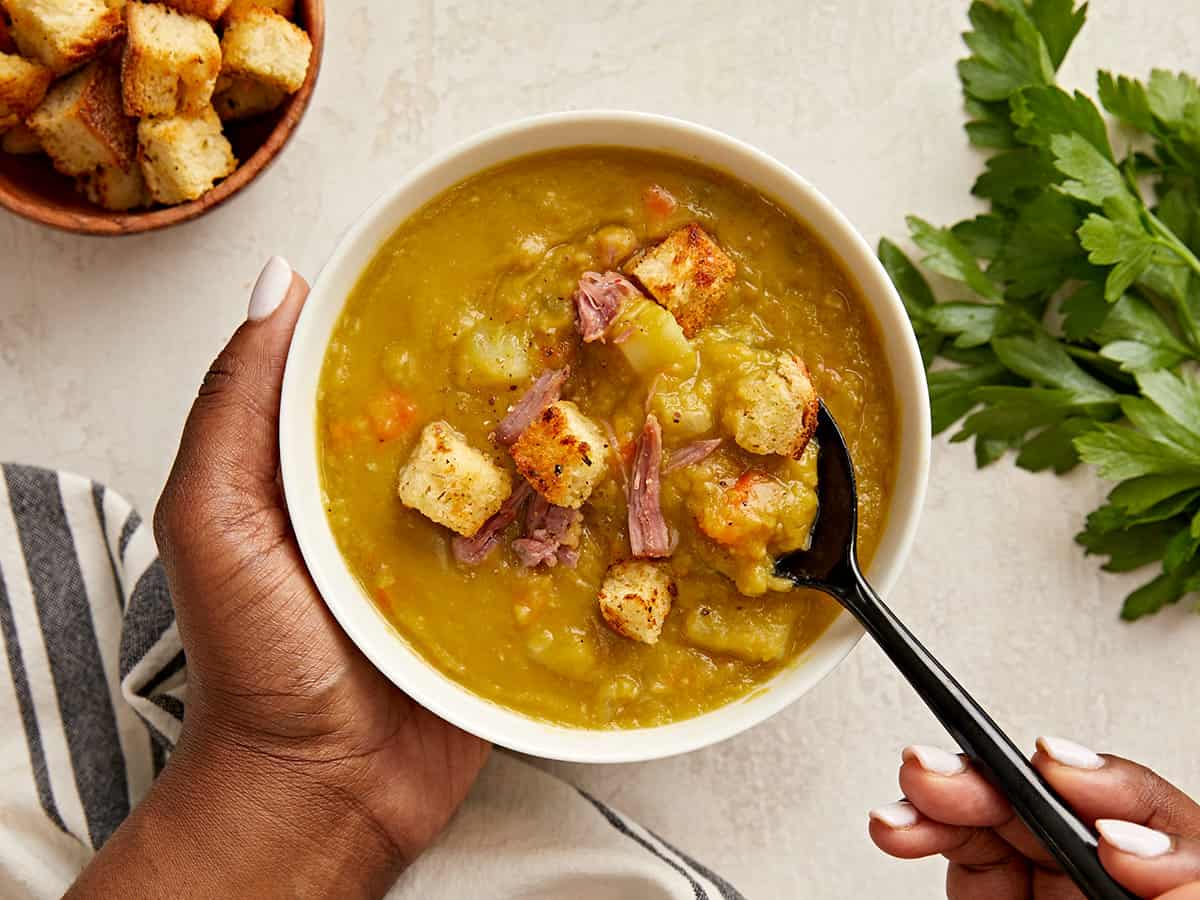
Overhead view of a single bowl of split pea soup with one hand holding the bowl and another hand spooning some of the soup out.
Print

Split Pea Soup

This cozy Split Pea Soup will fill you up and warm you through on those cold winter days. Super satisfying and oh so delicious!
Course Dinner, Lunch
Cuisine American
Total Cost $9.51 recipe / $1.58 serving
Prep Time 10 minutes
Cook Time 1 hour 30 minutes
Total Time 1 hour 40 minutes
Servings 6 (1 1/3 cups each)
Calories 458kcal

Equipment

Ingredients

  • 2 Tbsp olive oil $0.24
  • 1 yellow onion, diced $0.32
  • 3 stalks of celery, diced $0.75
  • 3 carrots, diced $0.46
  • 2 cloves garlic, minced $0.16
  • 1 smoked ham hock $3.65
  • 1 lb split peas $1.69
  • 6 cups chicken broth 1.02
  • 1 bay leaf $0.10
  • 1 russet potato, peeled & diced $1.12

Instructions

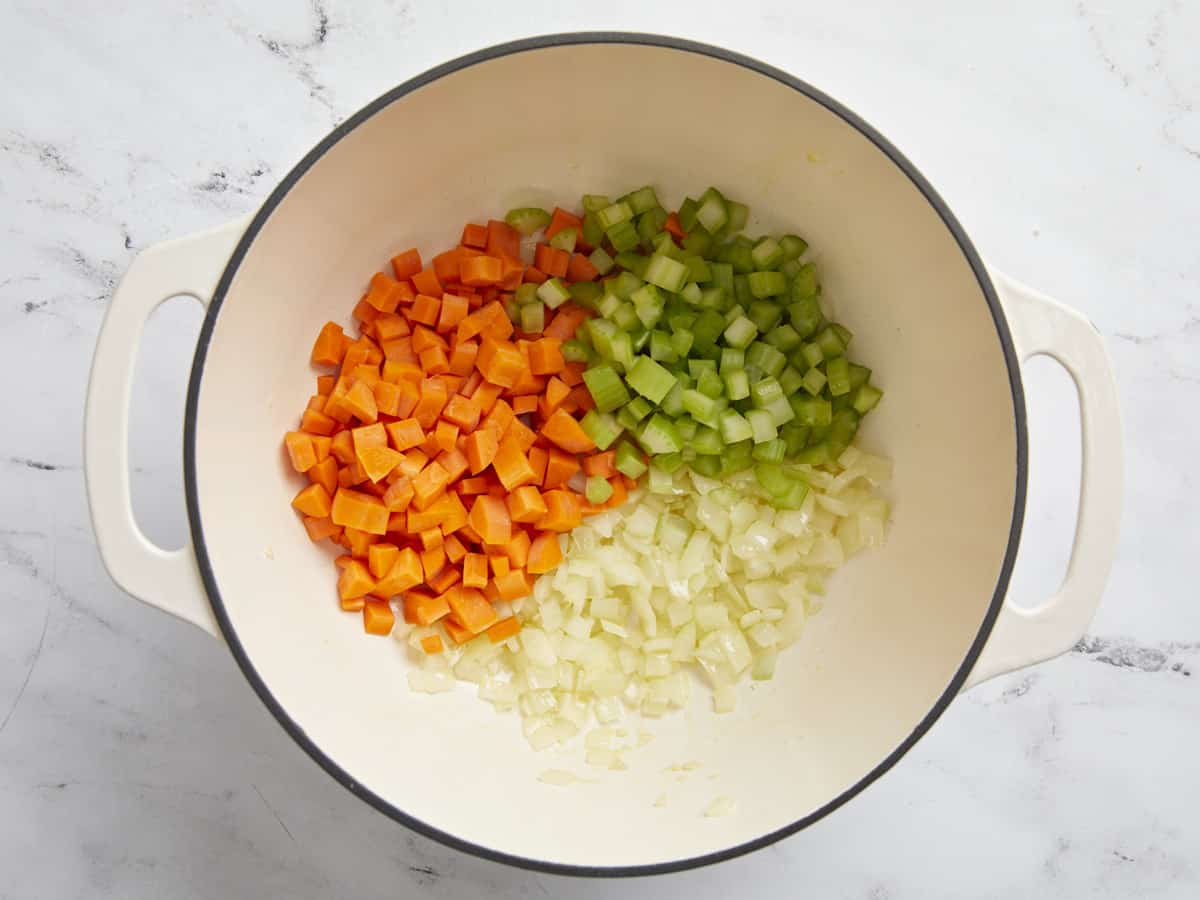
  • Heat a large pot or dutch oven over medium-high heat. Add the olive oil, diced onion, diced celery, and diced carrots. Saute for about 4 minutes or until vegetables have softened. Stir in the minced garlic and saute for an additional 30 seconds.
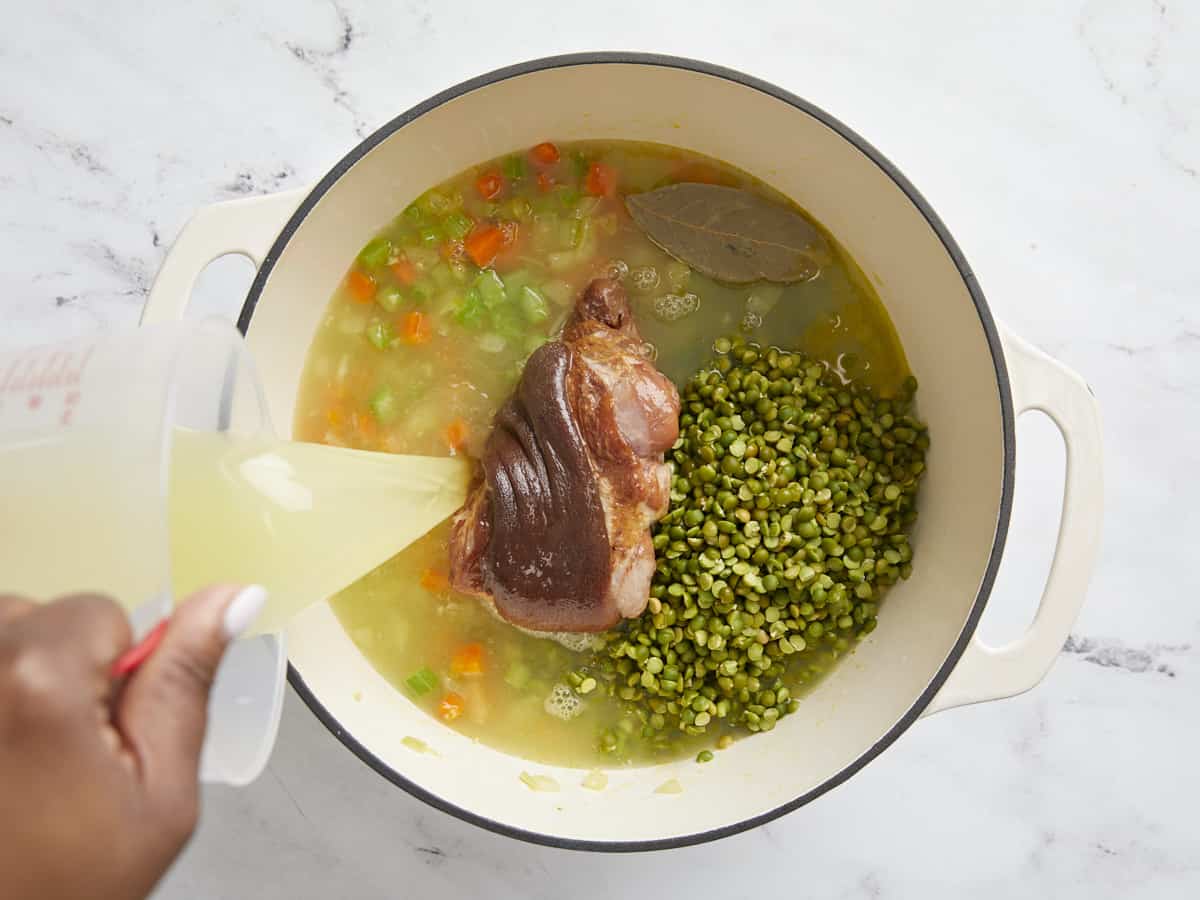
  • Add the split peas, ham hock, bay leaf, and chicken broth to the pot and gently stir.
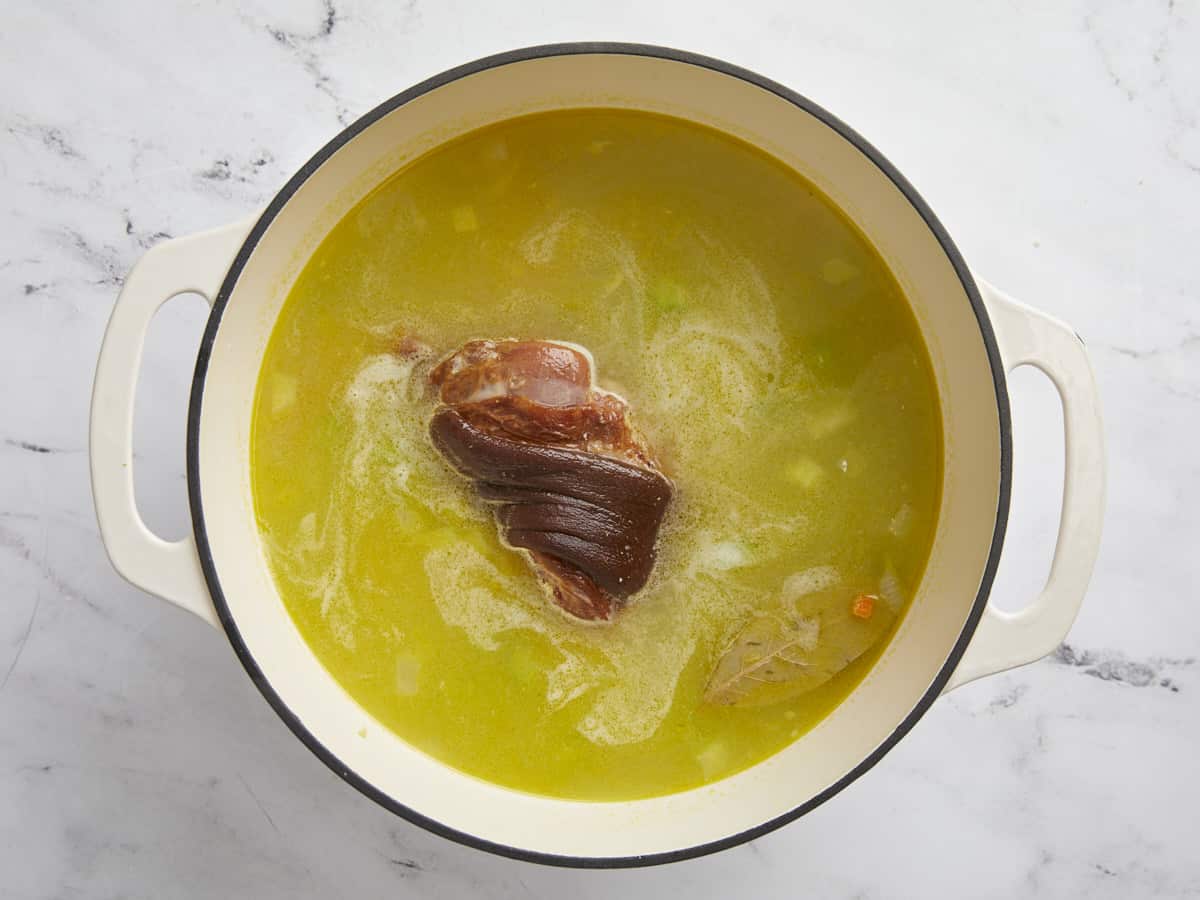
  • Add a lid and bring the pot to a gentle boil. Once boiling, reduce the heat to medium-low and simmer for 1 hour. Give the soup a stir periodically and flip the ham hock over once or twice, while the soup is simmering, so that it gets even exposure to the hot liquid.
  • After 1 hour the peas should have completely broken down almost to a mush. If they are still retaining their shape, continue to simmer for 10 more minutes.
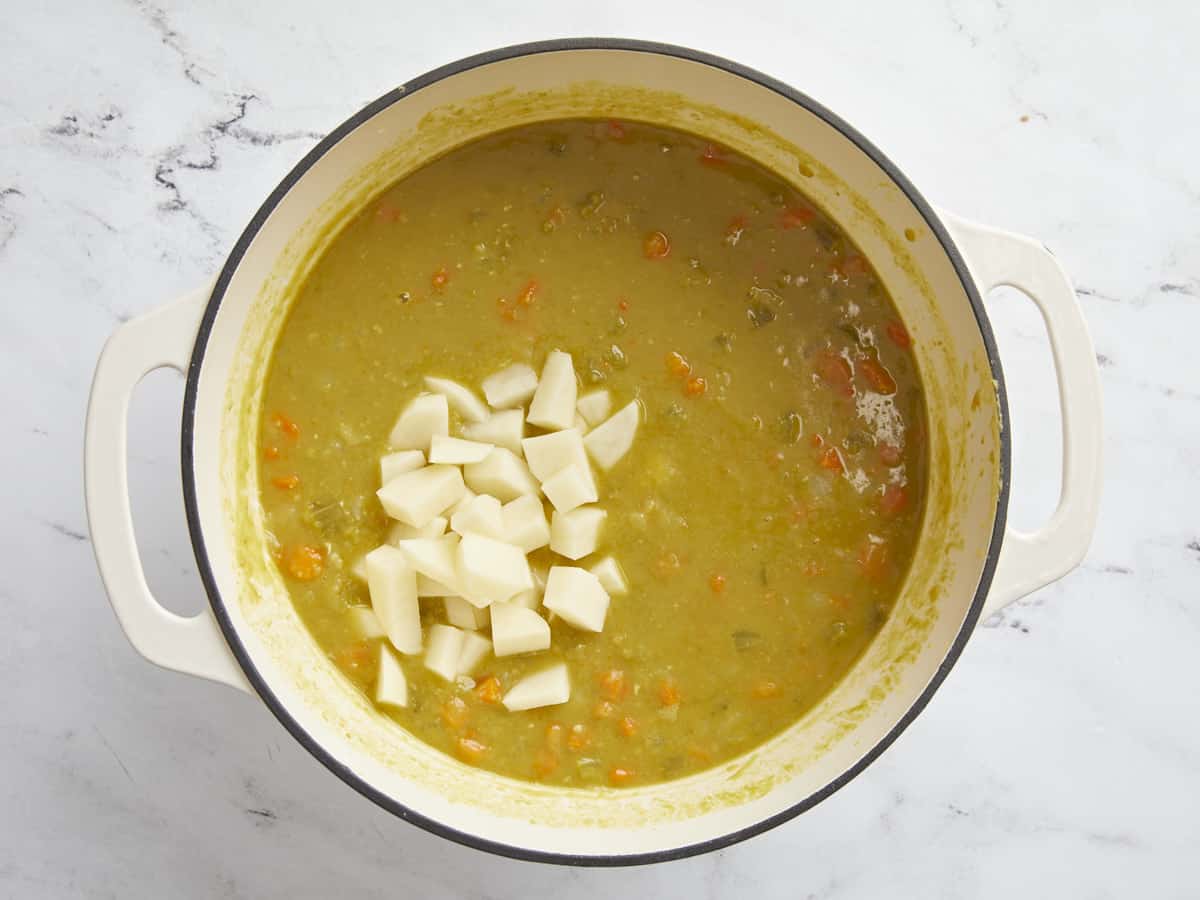
  • Next remove the ham hock from the pot and set it aside to cool. Add the diced potato to the soup and stir to combine. Continue to simmer for about 12 more minutes or until potatoes are tender.
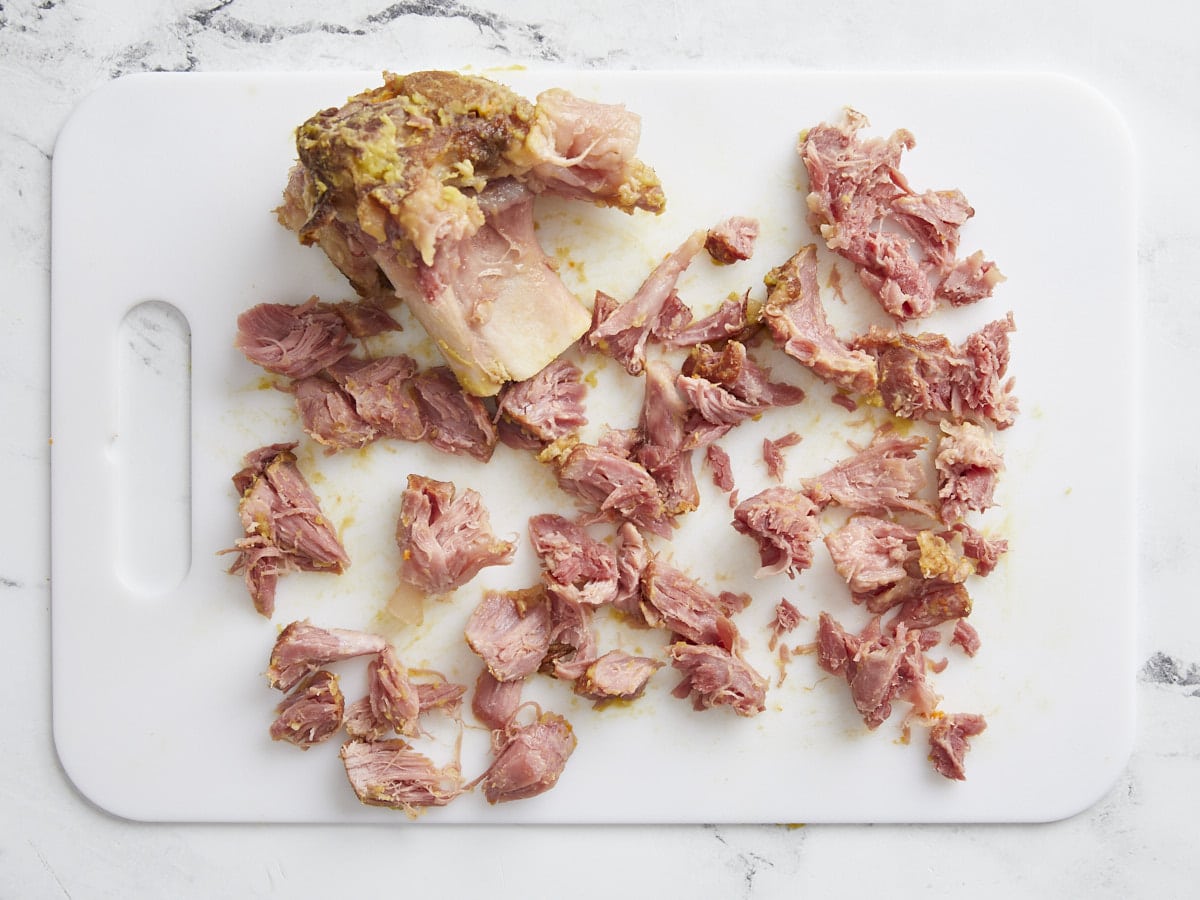
  • While the potatoes are simmering, and once the ham hock is cool enough to handle, remove the meat from the bone and shred into small pieces.
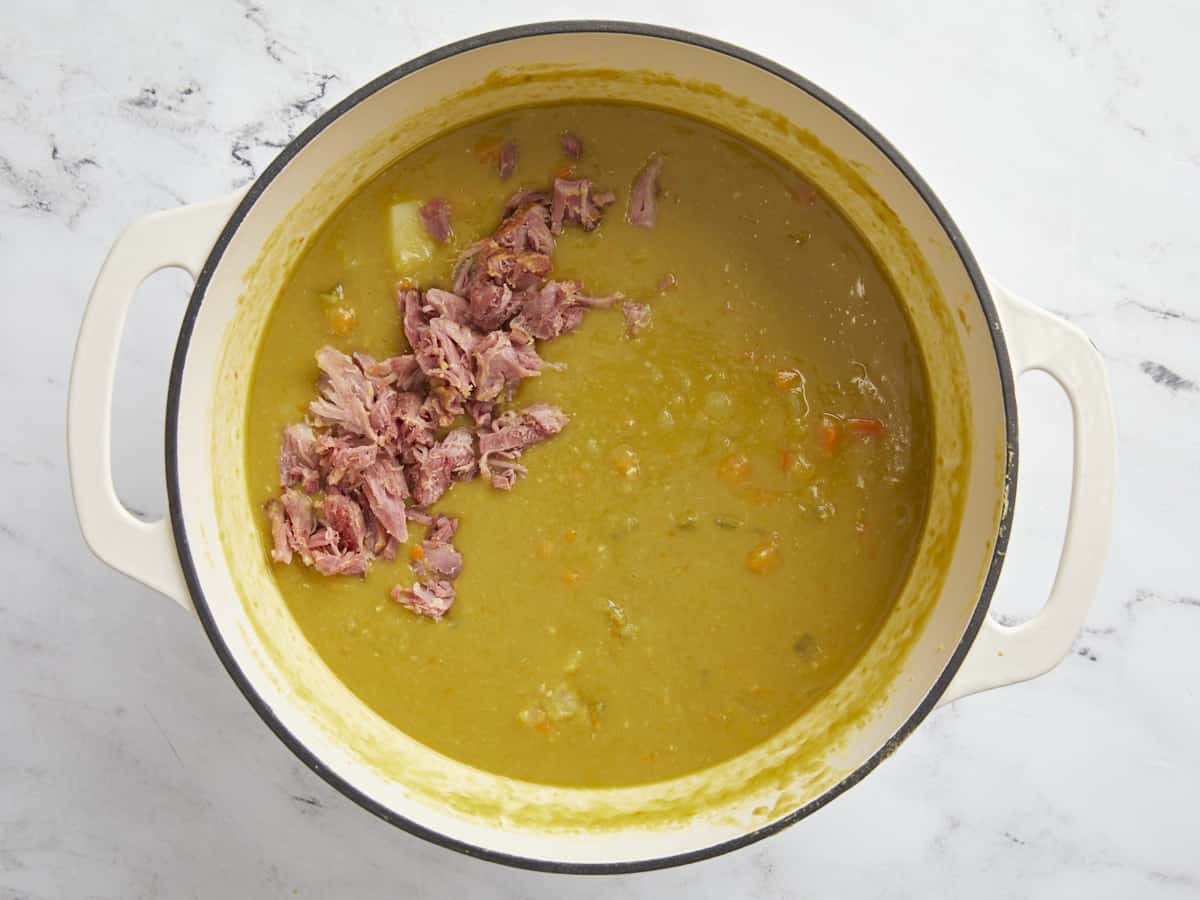
  • Add the ham meat back to the pot with the soup and gently stir to combine.
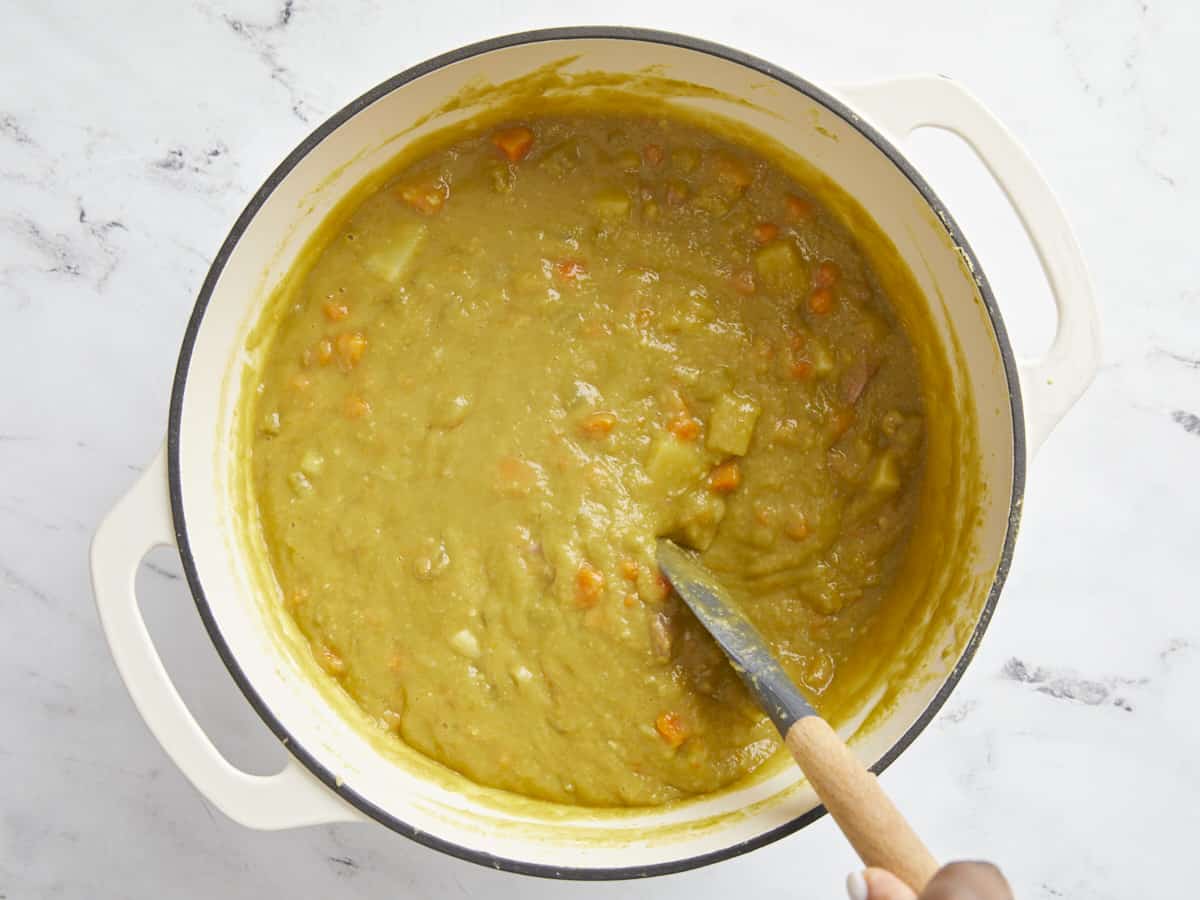
  • Feel free to season the soup with salt and freshly cracked black pepper to taste. Enjoy with crackers, homemade croutons, or crusty bread!

See how we calculate recipe costs here.

Nutrition

Serving: 1serving | Calories: 458kcal | Carbohydrates: 59g | Protein: 29g | Fat: 13g | Sodium: 994mg | Fiber: 21g

More Split Pea Soup Variations

Overhead view of a single bowl of split pea soup with one hand holding the bowl and another hand spooning some of the soup out.

How To Make Split Pea Soup – Step By Step Photos

Overhead view of diced onion, diced carrots, and diced celery in a dutch oven pot.

Heat a large pot or dutch oven over medium-high heat. Add 2 Tbsp olive oil, one diced yellow onion, three diced celery stalks, and three diced carrots. Sauté for about 4 minutes or until vegetables have softened. Stir in two minced garlic cloves and sauté for an additional 30 seconds.

Split peas, ham hock, bay leaf, and chicken broth added to the pot.

Add one pound of split peas, one ham hock, one bay leaf, and 6 cups of chicken broth to the pot and gently stir.

Overhead picture of the soup before it's cooked.

Add a lid and bring the pot to a gentle boil. Once boiling, reduce the heat to medium-low and simmer for 1 hour. Give the soup a stir periodically and flip the ham hock over once or twice, while the soup is simmering, so that it gets even exposure to the hot liquid.

Overhead picture of soup pot with diced potatoes being added and ham hock being removed.

After 1 hour the peas should have completely broken down almost to a mush. If they are still retaining their shape, continue to simmer for 10 more minutes. Next remove the ham hock from the pot and set it aside to cool. Add the diced potato to the soup and stir to combine. Continue to simmer for about 12 more minutes or until potatoes are tender.

Ham hock being pulled off the bone on a cutting board.

While the potatoes are simmering, and once the ham hock is cool enough to handle, remove the meat from the bone and shred into small pieces.

Add ham hock meat back to the soup pot.

Add the ham meat back to the pot with the soup and gently stir to combine.

Overhead view of finished split pea soup with ham.

Season the soup with salt and freshly cracked black pepper to taste.

Overhead view of a dutch oven pot full of split pea soup with homemade croutons on top.

Time to enjoy a warm, satisfying bowl of Split Pea Soup with some homemade croutons, crackers, or crusty bread! Yum!

The post Split Pea Soup appeared first on Budget Bytes.
Chicken and Dumplings

Tender chicken thighs simmered in a rich gravy and topped with fluffy dumplings makes these chicken and dumplings the perfect comfort food for cold nights.

The post Chicken and Dumplings appeared first on Budget Bytes.
I’m thoroughly obsessed with this chicken and dumplings recipe. This is some serious comfort food and I’m all about comfort food. 😅 We’re talking tender chicken thighs cooked in a rich gravy with a medley of colorful vegetables and then topped with tender, fluffy, and flavorful dumplings. This recipe is so cozy that eating a bowl of these chicken and dumplings feels like being wrapped up in a big warm hug. And the best part? They’re made 100% from scratch. 🙌 Ugh, brb, I need to go make another batch because my mouth is WATERING.

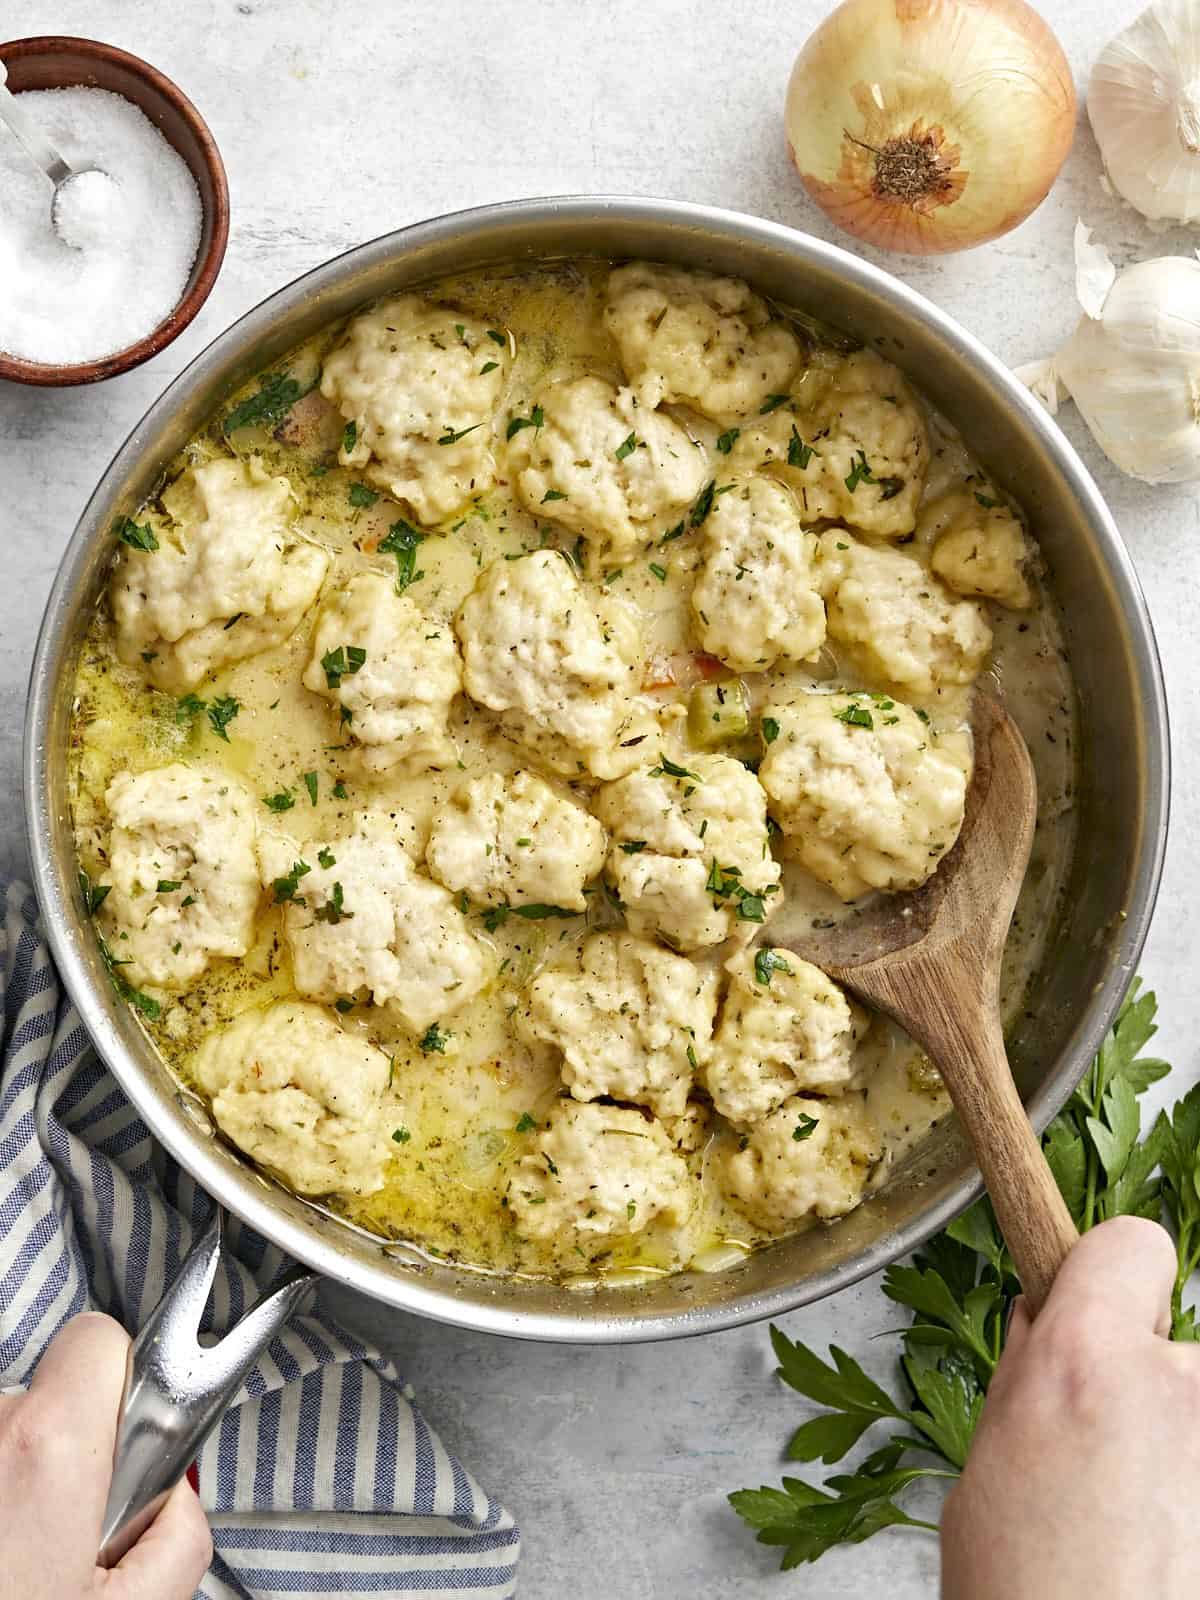
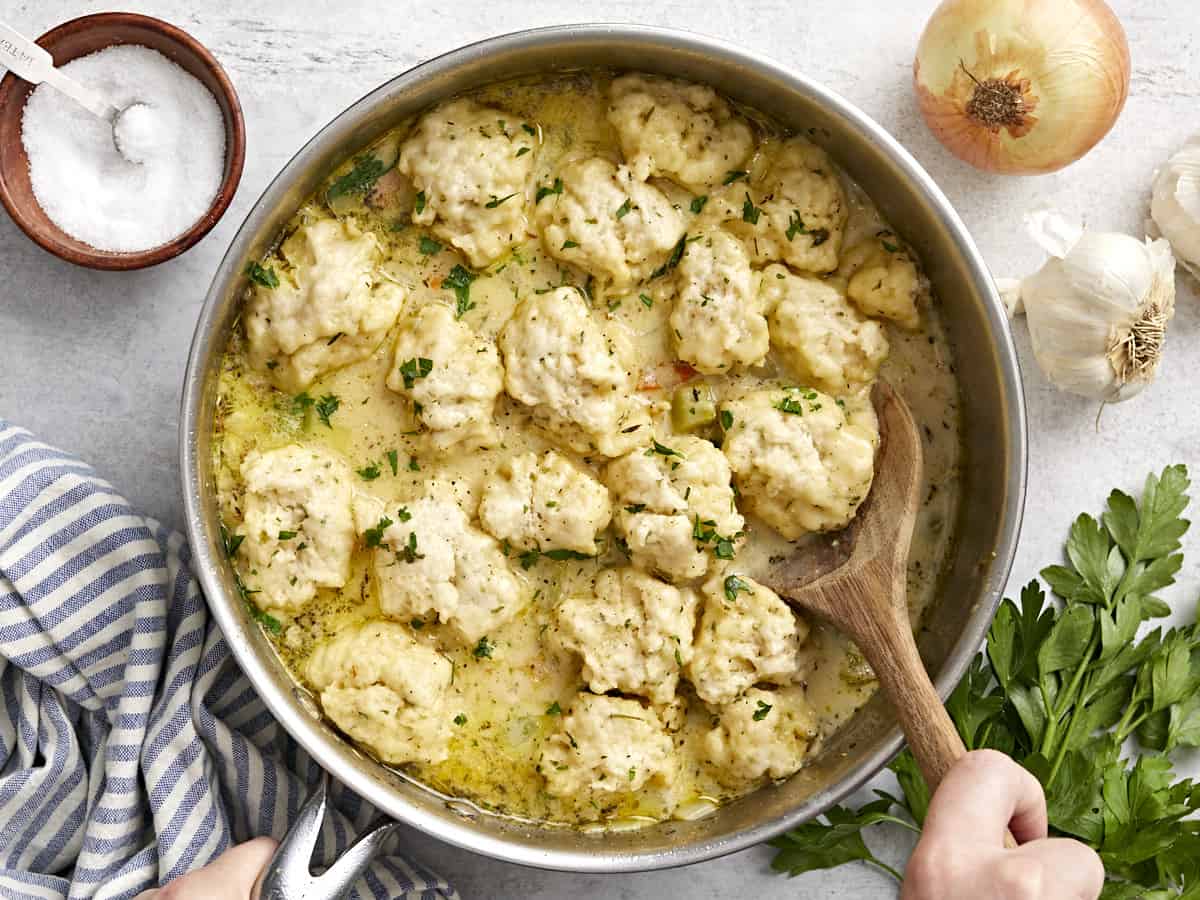
Overhead view of a skillet full of chicken and dumplings with a wooden spoon in the side.

What Are Chicken and Dumplings?

Chicken and dumplings can mean different things depending on where you live, but they’re always super cozy, filling, and comforting. While they usually always have tender chicken smothered in a savory gravy as their base, the dumplings can either be a thick noodle, or a pillowy biscuit steamed on top of the gravy. I love both versions, but today we’re making the pillowy cloud dumplings!

Ingredients for Chicken and Dumplings

Here’s what you’ll need to make these delicious chicken and dumplings:

  • Chicken: I used boneless, skinless chicken thighs because they’re almost impossible to overcook and they always stay moist and tender, making this recipe foolproof. You can use chicken breast if you prefer, just be careful not to overcook the chicken.
  • Vegetables: A mix of onion, garlic, carrot, and celery provides the flavor base for the gravy, as well as adds a ton of color and texture to the dish.
  • Butter and Flour: A butter and flour roux is used to thicken the gravy and add a ton of rich flavor to the gravy.
  • Herbs: Parsley, thyme, rosemary, sage, and pepper create a classic chicken soup flavor profile that is extra warm and cozy.
  • Chicken Broth and Milk: The gravy is made with a combination of broth and milk for tons of flavor and a creamy finish.
  • Dumplings: The dumplings are made with a simple mix of flour, milk, melted butter, herbs, baking powder, salt, and sugar. They come together in minutes with very little mixing required!

How to Store the Leftovers

Leftover chicken and dumplings are SO delicious, so make sure to save some for lunch the next day! Simply divide the leftovers into single-serving containers and refrigerate. The gravy will get quite thick when refrigerated, but they’re still delicious! Chicken and dumplings will stay good in the refrigerator for about 3-4 days.

You can also freeze the chicken and dumplings. Once chilled in the refrigerator, transfer the chicken and dumplings to the freezer and store for 2-3 months. To reheat the frozen chicken and dumplings either thaw in the refrigerator overnight before microwaving until hot, or use the defrost function on the microwave.

Tips for Fluffy Dumplings

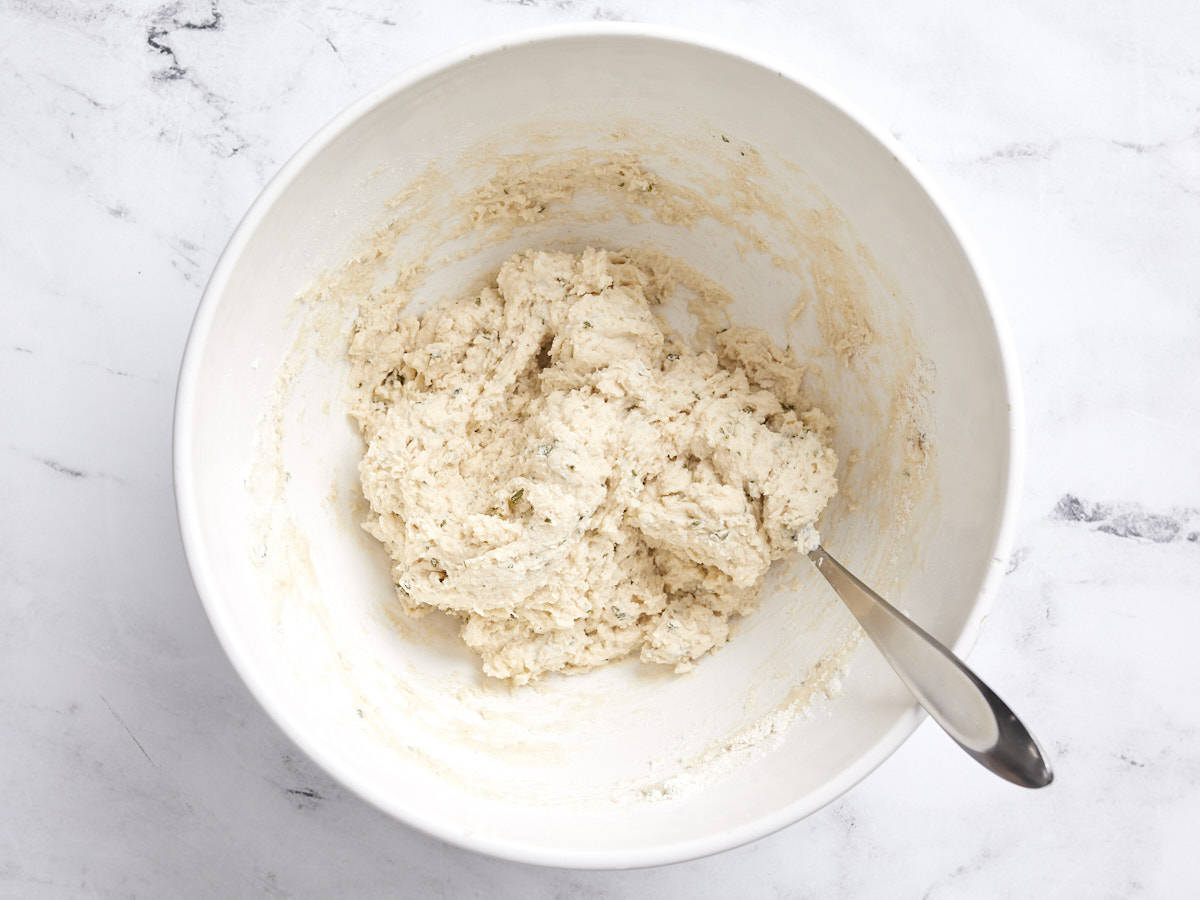
  • Make sure the dumpling batter is moist enough. It should be a soft, sticky, scoopable dough. If it’s too dry, the dumplings won’t be able to puff up as much.
  • Make sure the gravy is simmering before adding the dumplings. The dumplings need the steam action from the simmering gravy to cook and fluff up.
  • Keep the lid on the pot the entire time the dumplings are cooking (this holds in the steam and ensures they cook from all sides.
  • Don’t make the dumplings too big. They’ll double in size as they cook and larger dumplings will take much longer to cook.
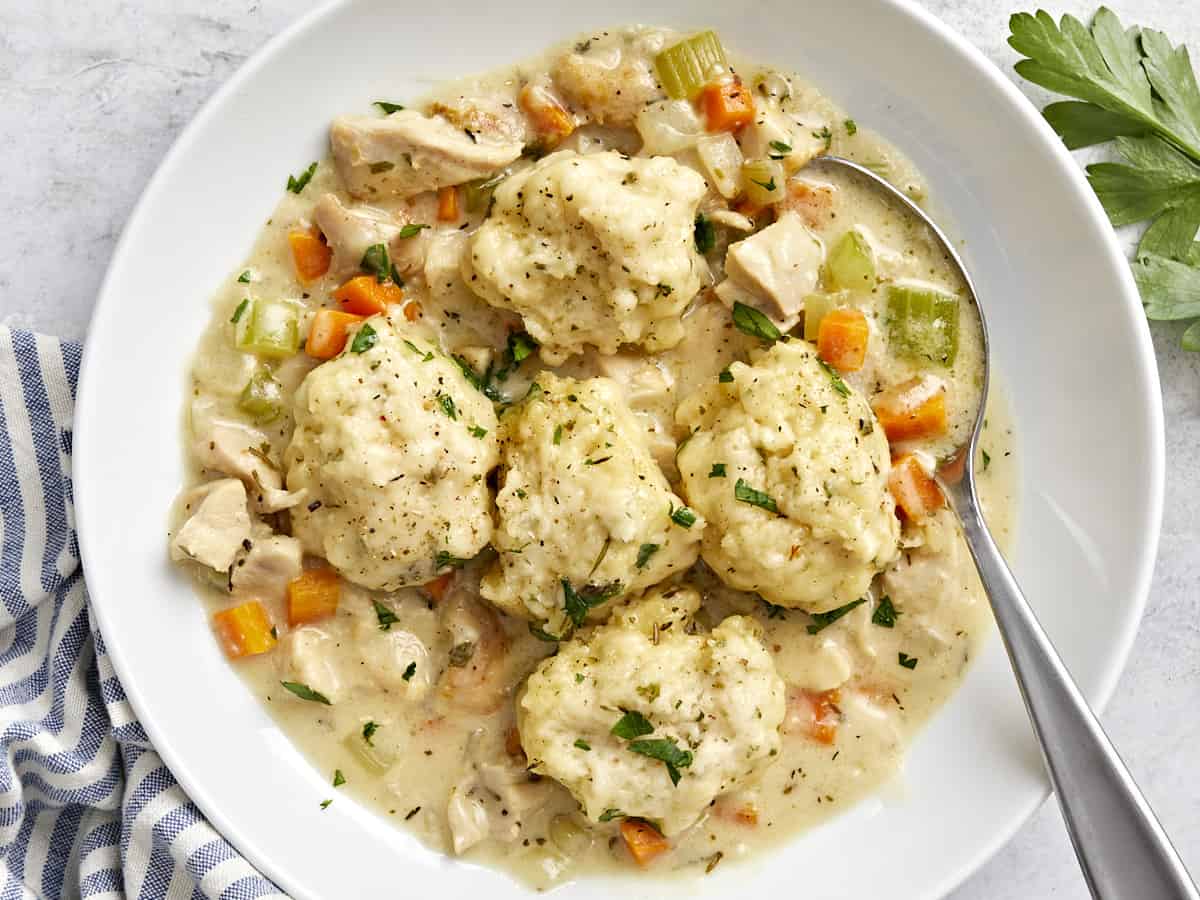
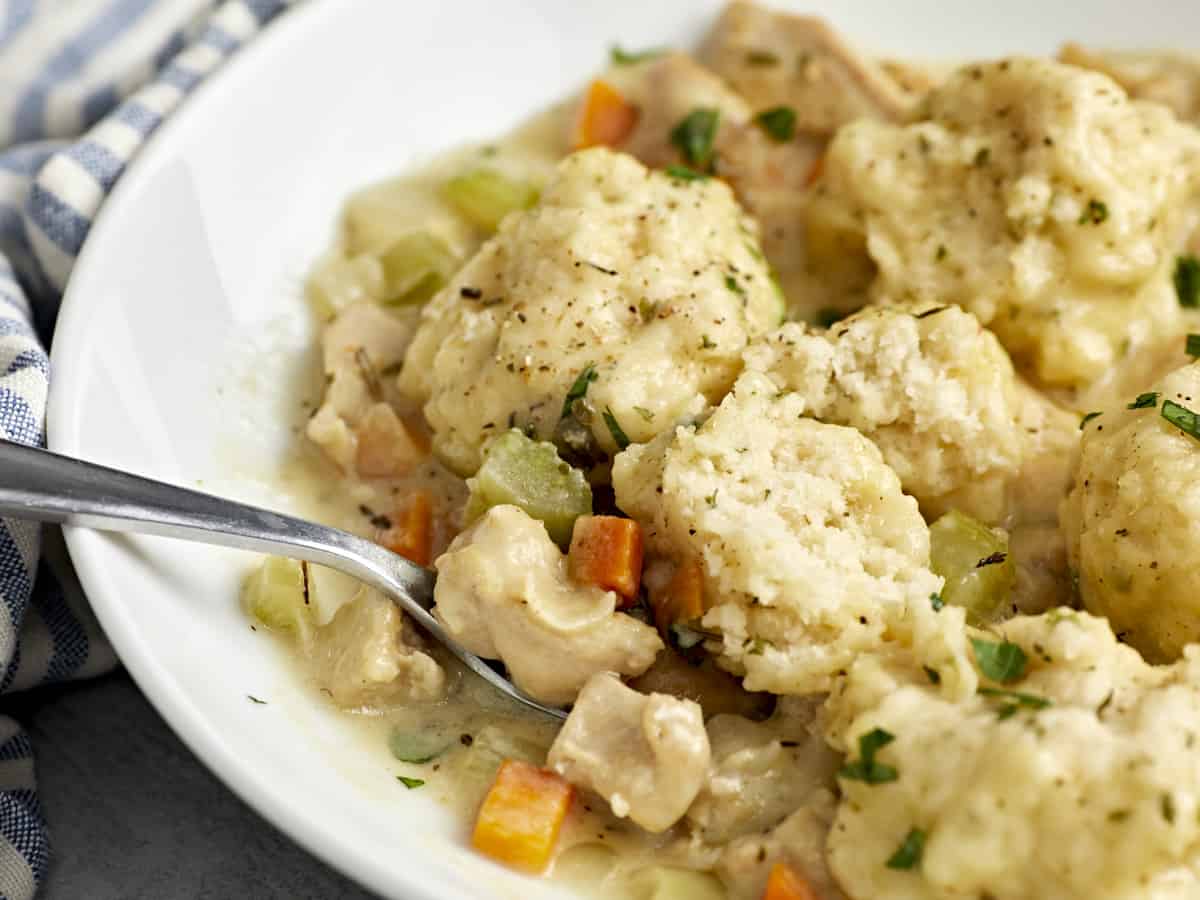
Overhead view of a bowl full of chicken and dumplings with a spoon in the side.
Overhead view of chicken and dumplings in a skillet.
Print

Chicken and Dumplings

Tender chicken simmered in a rich gravy and topped with fluffy dumplings makes these chicken and dumplings the perfect comfort food for cold nights.
Course Dinner, Main Course
Cuisine American
Total Cost $7.26 recipe / $1.21 serving
Prep Time 20 minutes
Cook Time 35 minutes
Total Time 55 minutes
Servings 6 (about 1.5 cups each)
Calories 369kcal

Ingredients

Chicken and Gravy

  • 4 boneless, skinless chicken thighs (about 1 lb.) $3.29
  • 1 Tbsp olive oil $0.12
  • 1 yellow onion, diced $0.32
  • 2 cloves garlic, minced $0.16
  • 2 stalks celery, diced $0.50
  • 2 carrots, diced $0.31
  • 1/4 cup all-purpose flour $0.04
  • 4 Tbsp butter $0.50
  • 1 tsp dried parsley $0.10
  • 1/2 tsp dried thyme $0.05
  • 1/2 tsp dried rosemary $0.05
  • 1/2 tsp dried sage $0.05
  • 1/4 tsp freshly cracked black pepper $0.02
  • 2 cups chicken broth $0.34
  • 1 cup whole milk $0.48
  • 1/2 tsp salt $0.02

Dumplings

Instructions

Chicken and Gravy

  • Heat the olive oil in a deep skillet or Dutch oven over medium heat. Once hot, add the chicken thighs and brown on each side. The chicken does not need to be cooked through at this point, just make sure they get very brown on the outside. Transfer the partially cooked chicken to a clean bowl.
  • After removing the chicken from the skillet, add the diced onion and minced garlic and sauté over medium heat until the onions have softened. Stir to dissolve the browned bits off the bottom of the skillet as the onions cook.
  • Add the diced carrot and celery to the skillet with the onion and garlic and continue to sauté for about five minutes more.
  • Add the butter and flour to the skillet and stir until the butter has melted and created a paste with the flour that coats the vegetables. Continue to cook and stir this mixture for about two minutes.
  • Add the parsley, thyme, rosemary, sage, salt, pepper, chicken broth, and milk to the skillet. Turn the heat up to medium-high and continue to stir and cook until the mixture comes up to a simmer and thickens into a gravy.
  • Dice the chicken and add it back to the skillet with the vegetables and gravy. Cover with a lid and let the chicken simmer in the gravy over medium heat while you prepare the dumplings.

Dumplings

  • To prepare the dumplings, combine the flour, parsley, sugar, salt, baking powder, garlic powder, and pepper in a bowl.
  • Pour the milk and melted butter into the flour mixture, then stir until a soft, scoopable batter is formed. Do not over stir.
  • Remove the lid from the chicken and gravy and drop the dumpling batter onto the surface of the gravy in 2 tablespoon dollops. You should get about 12 dumplings.
  • Make sure the gravy is still simmering, then place the lid back on the skillet and allow the dumplings to simmer for 15 minutes. Make sure they're simmering the entire time. After 15 minutes the dumplings should have doubled in size and will be fluffy and cooked in the center. Serve hot and enjoy!

See how we calculate recipe costs here.

Nutrition

Serving: 1.5cups | Calories: 369kcal | Carbohydrates: 28g | Protein: 20g | Fat: 19g | Sodium: 991mg | Fiber: 2g
Side view of a bowl of chicken and dumplings with a spoon cutting into a dumpling.

How to Make Chicken and Dumplings

Browned chicken thighs in a deep skillet.

Add 1 Tbsp olive oil to a large deep skillet and heat over medium. Once hot, add four boneless, skinless chicken breasts to the pan and allow them to brown very well on each side. The chicken doesn’t need to cook through at this point, just make sure it gets very brown. Remove the browned chicken to a clean cutting board and set aside.

Onion, carrot, and celery in the skillet.

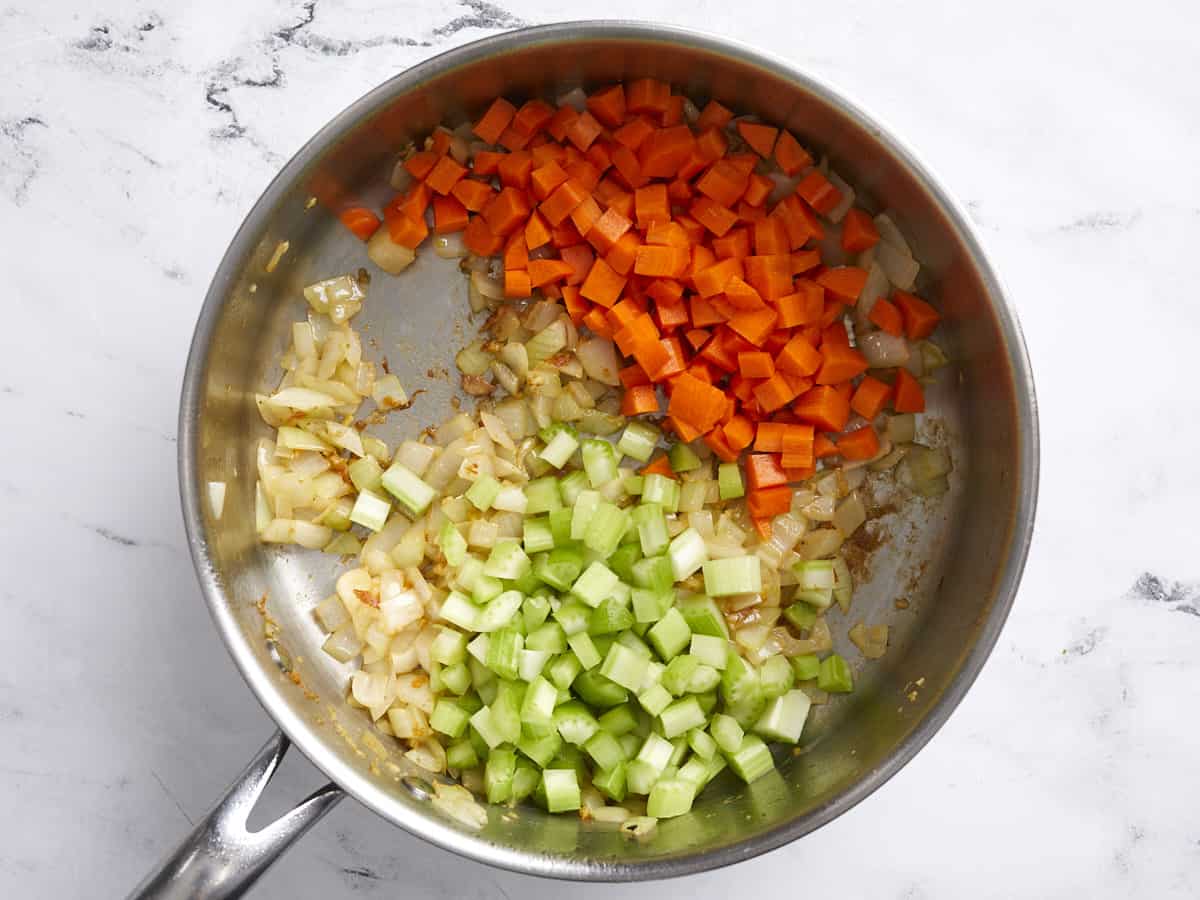
Add two minced cloves of garlic and one diced yellow onion to the skillet and sauté over medium heat until the onions are softened. Add two diced carrots and two diced celery stalks and continue to sauté over medium for 2-3 minutes more.

Butter and flour added to the skillet with the vegetables.

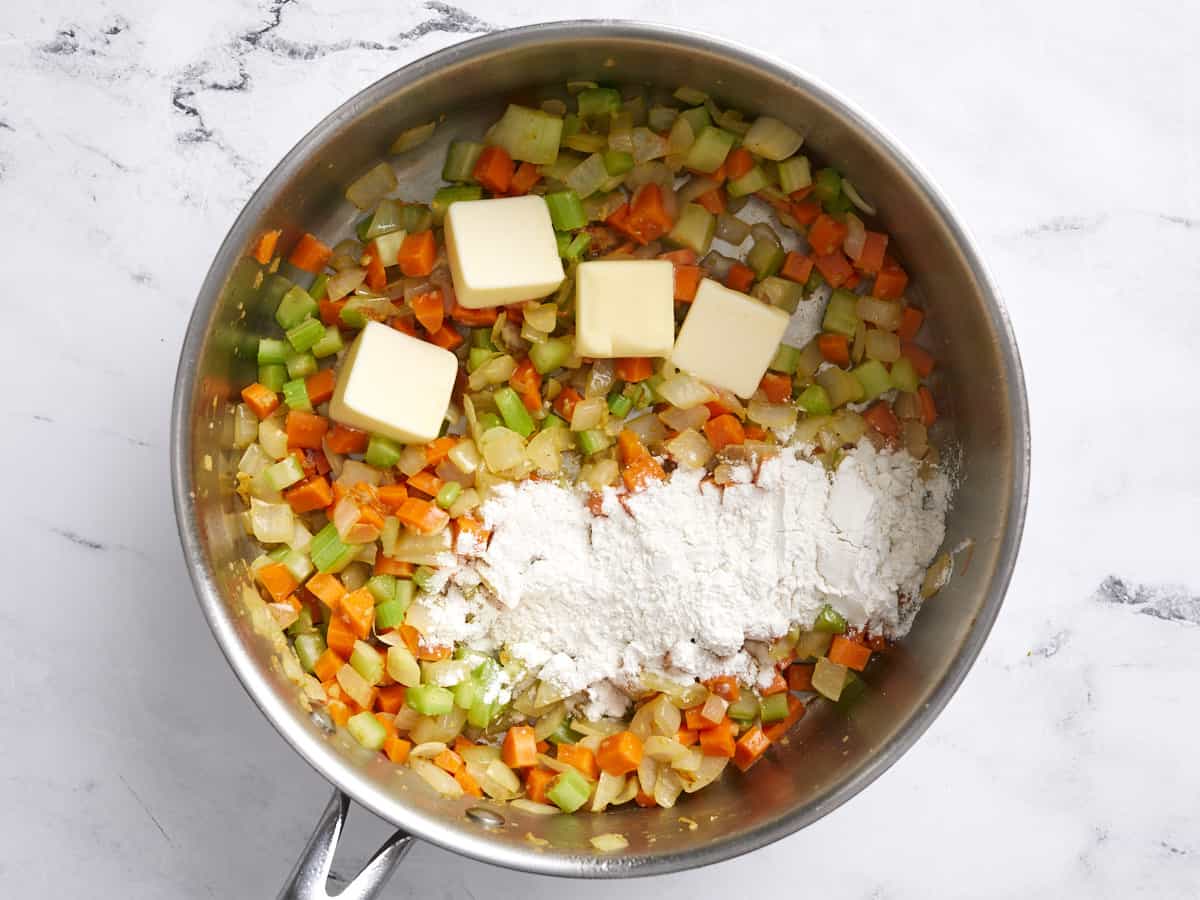
Add four tablespoons of butter and ¼ cup of all-purpose flour to the skillet. Continue to stir and cook over medium heat. The butter will melt and combine with the flour to create a sort of paste that coats the vegetables. Continue to cook this mixture for about two minutes more.

Herbs added to the skillet and broth being poured in the side.

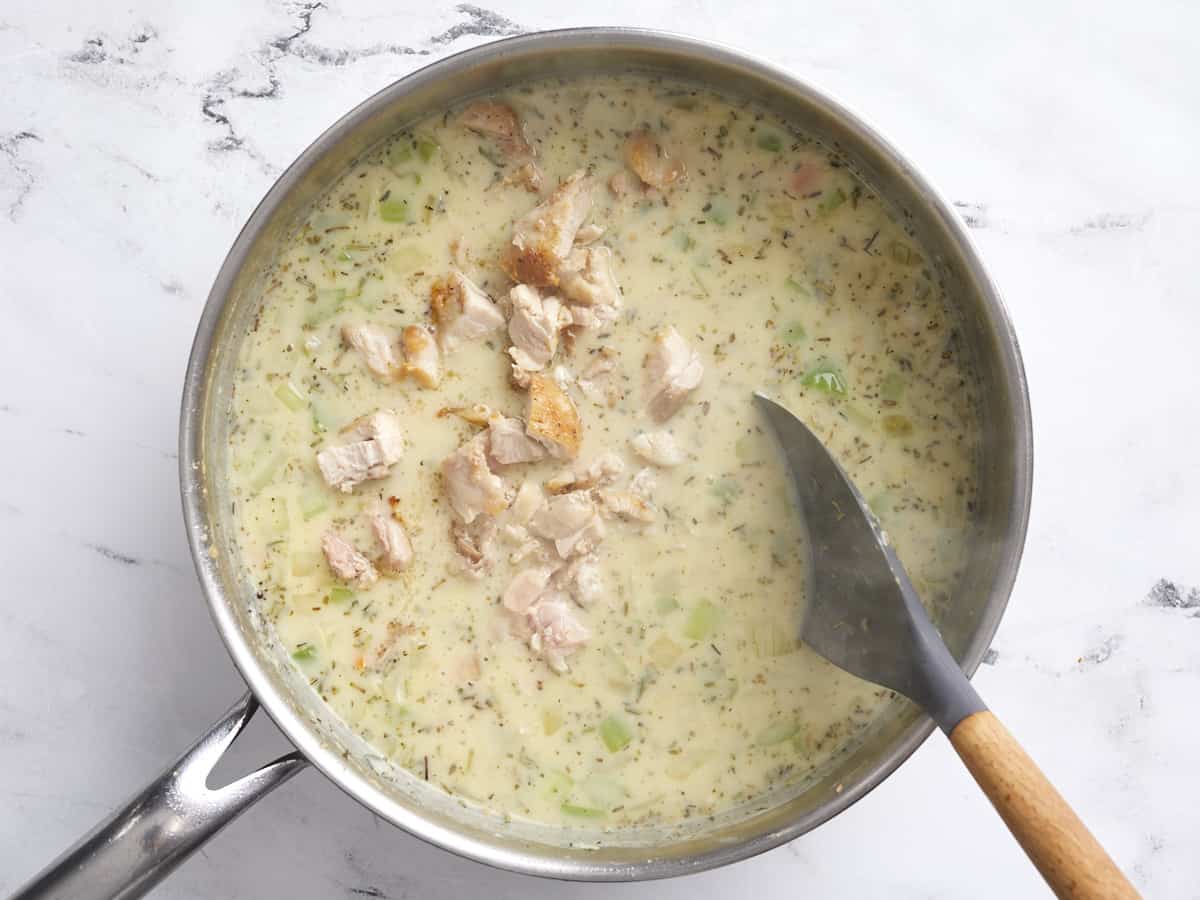
Add 1 tsp dried parsley, ½ tsp dried thyme, ½ tsp dried rosemary, ½ tsp dried sage, ½ tsp salt, ¼ tsp pepper, 2 cups chicken broth, and 1 cup milk to the skillet. Whisk the ingredients together, making sure to dissolve any browned bits from the bottom of the skillet. Turn the heat up to medium-high and allow this mixture to come back up to a simmer, at which point it will thicken into a gravy.

Diced chicken added back to the thickened gravy.

Once the mixture has thickened to a gravy, dice the chicken thighs and stir them back into the skillet. Cover with a lid and allow the chicken to simmer in the gravy while you prepare the dumplings.

Wet ingredients being poured into the dry ingredients in a bowl.

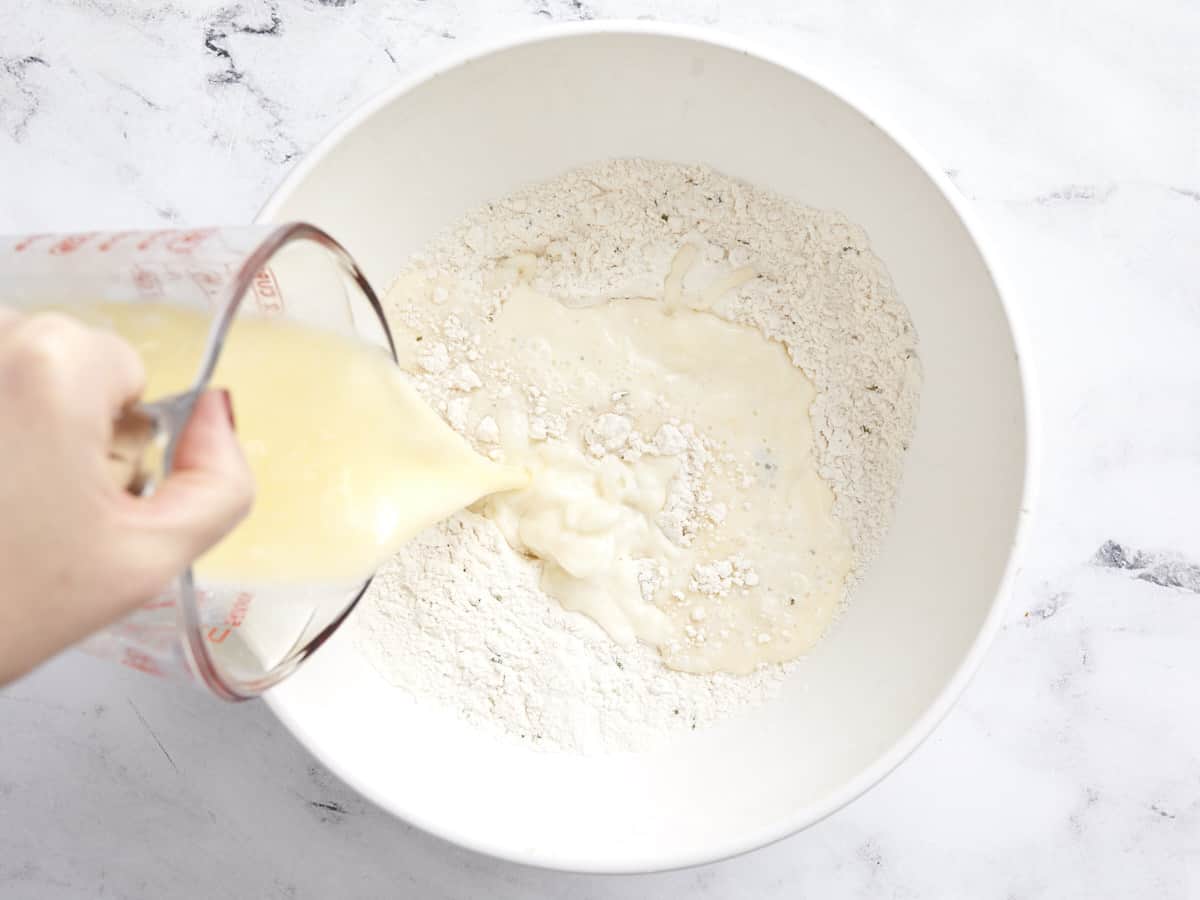
To make the dumplings, stir together 1 cup all-purpose flour, ½ tsp salt, 1.5 tsp baking powder, ⅛ tsp garlic powder, ⅛ tsp pepper, 1 tsp dried parsley, and ½ tsp sugar in a bowl. Melt 2 Tbsp butter and combine it with ½ cup milk. Pour the milk mixture into the flour mixture.

Dumpling dough in a bowl with a spoon.

Stir the wet and dry ingredients together until it forms a soft, sticky dough. It should be soft enough that you can easily scoop it with a spoon.

Dumpling dough being dropped into the skillet with the gravy.

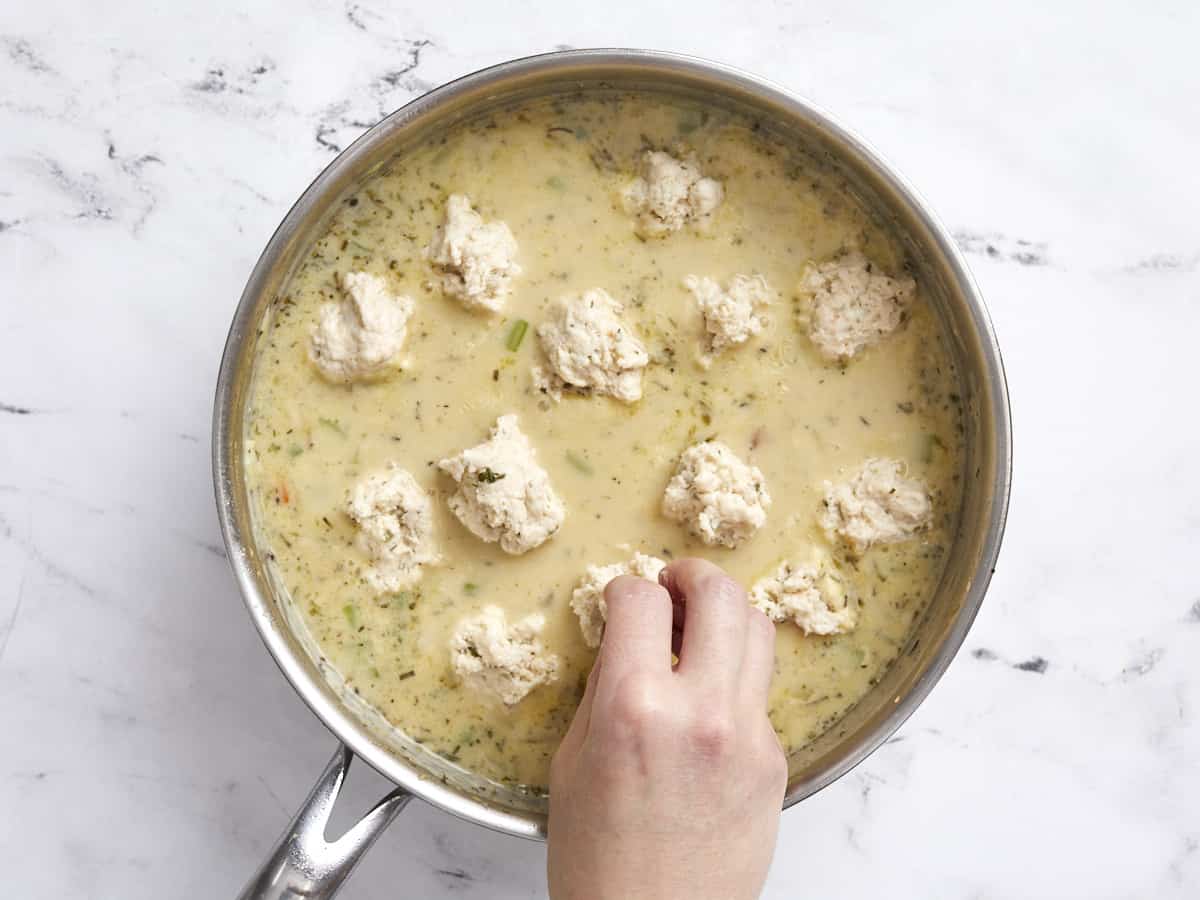
Make sure the gravy is fully simmering, then drop the dumpling dough into the gravy in 2 Tbsp portions. The dumplings will expand quite a bit as they steam, so don’t worry that they don’t fully cover the surface.

Cooked dumplings in the gravy.

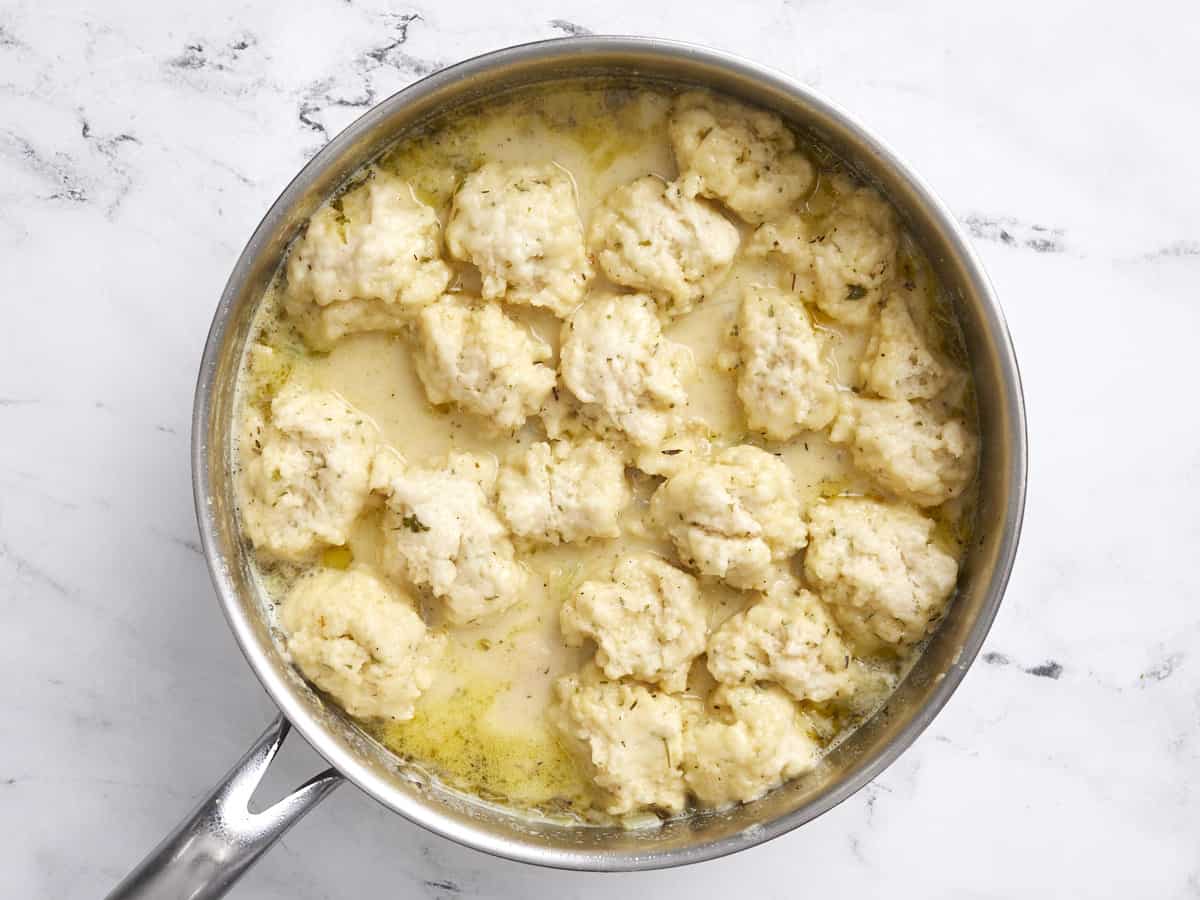
Place the lid on the skillet and allow the dumplings to steam in the simmering gravy for 15 minutes without lifting the lid. Make sure the gravy is simmering the whole time. After 15 minutes they should be about double in size. Cut one open to make sure it’s fluffy all the way through.

Chicken and dumplings in the skillet being scooped out with a spoon.

Serve the chicken and dumplings hot and enjoy! (shown garnished with parsley for color)

The post Chicken and Dumplings appeared first on Budget Bytes.
Apple Slaw

This crisp and refreshing apple slaw is the perfect easy side dish for weeknight meals or potlucks during the fall season.

The post Apple Slaw appeared first on Budget Bytes.
This light, crunchy, and refreshing Apple Slaw recipe takes just a few minutes to put together and makes a huge amount of slaw for well under a dollar a serving. It’s one of my favorite slaw recipes because it’s incredibly versatile and can be served as a main dish (I love it topped with Roasted Chicken) or as a side dish for a quick weeknight meal. It also travels really well, so it’s an excellent option for your next potluck. The best part? It holds up beautifully throughout the week. 

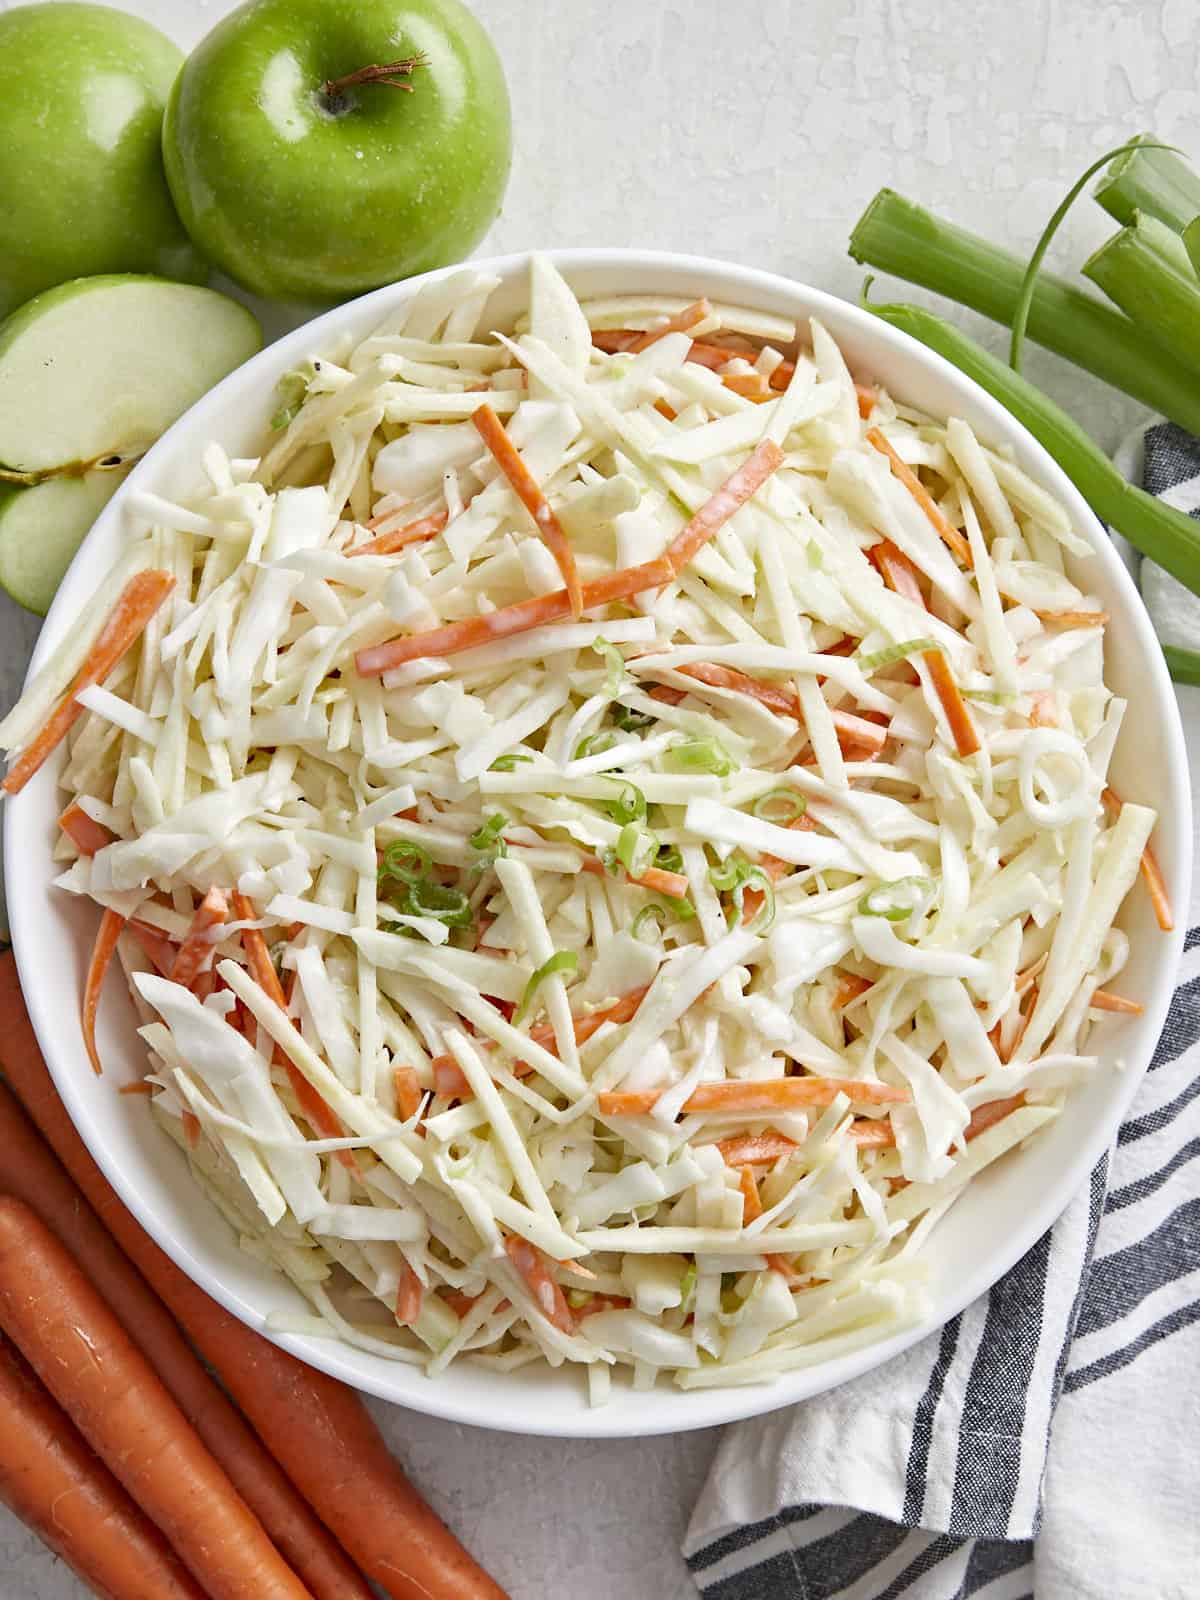
Overhead view of a bowl full of apple slaw with ingredients on the sides.

What Is Apple Slaw?

Apple Slaw is a cold chopped salad. Crunchy sliced apples, carrots, green onions, and shredded cabbage are tossed in a creamy dressing, creating the perfect addition to any weeknight meal or backyard BBQ.

Ingredients For Apple Slaw

  • Green Cabbage: Is the foundation of this slaw. Cabbage is hearty but loaded with water, so always taste your slaw before serving it and adjust the seasoning accordingly. You can substitute green cabbage with red cabbage or even kale.
  • Apples: I use Granny Smith, but if you really want to have fun with it, use a mixture of apples. My favorites to throw in are Fuji, Gala, and Honeycrisp (they’re affordable when they’re in season). Keep apples from turning brown by submerging them in water that has an acid added to it. For every cup of water, use 2 teaspoons of lemon juice or 1 teaspoon of distilled or apple cider vinegar.
  • Carrots: Bring sweetness and crunch to the salad and a pop of color. If you don’t have carrots, substitute with raw butternut squash, parsnips, or add an extra cup of cabbage to the mix.
  • Green Onions: Lends a mild onion flavor to the salad. You can substitute them with chives or sweet onions. If you only have white or red onions, soak them in water for a minute or two to help decrease their pungency. 
  • Mayonnaise: Is the backbone of the dressing and adds a tangy creaminess. Substitute it with Greek Yogurt or Sour Cream.
  • Dijon Mustard: Adds a peppery kick and a touch of color to the dressing. If you don’t have Dijon mustard, use brown or yellow mustard.
  • Honey: Creates a touch of sweetness in the dressing. If you don’t have honey, substitute it with one teaspoon of brown sugar. Just dissolve it well before adding the dressing to the salad.
  • Apple Cider Vinegar: Adds a tangy note to the dressing and keeps the apples from browning. 

What To Serve With Apple Slaw

Serve this tangy slaw topped with roasted chicken for a light lunch. Or use it as topping on a Pulled Pork or Pulled Chicken sandwich. I also love it served as a side for BBQ Ribs paired with Corn On The Cobb.

How To Store Leftovers

Store Apple Slaw in an airtight container and refrigerate up to 5 days. Do not freeze, as it will change the texture of the cabbage. Always mix the slaw a few times and taste for salt before serving.

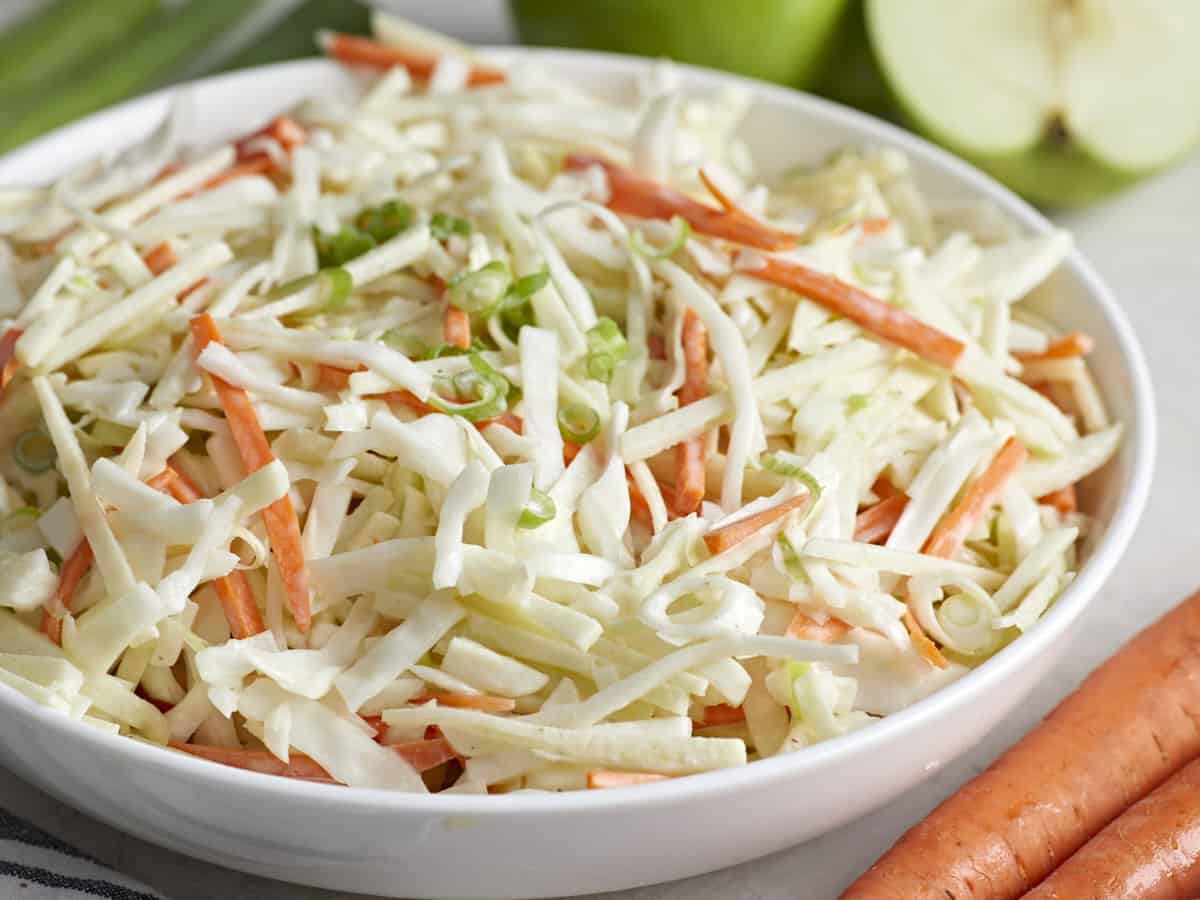
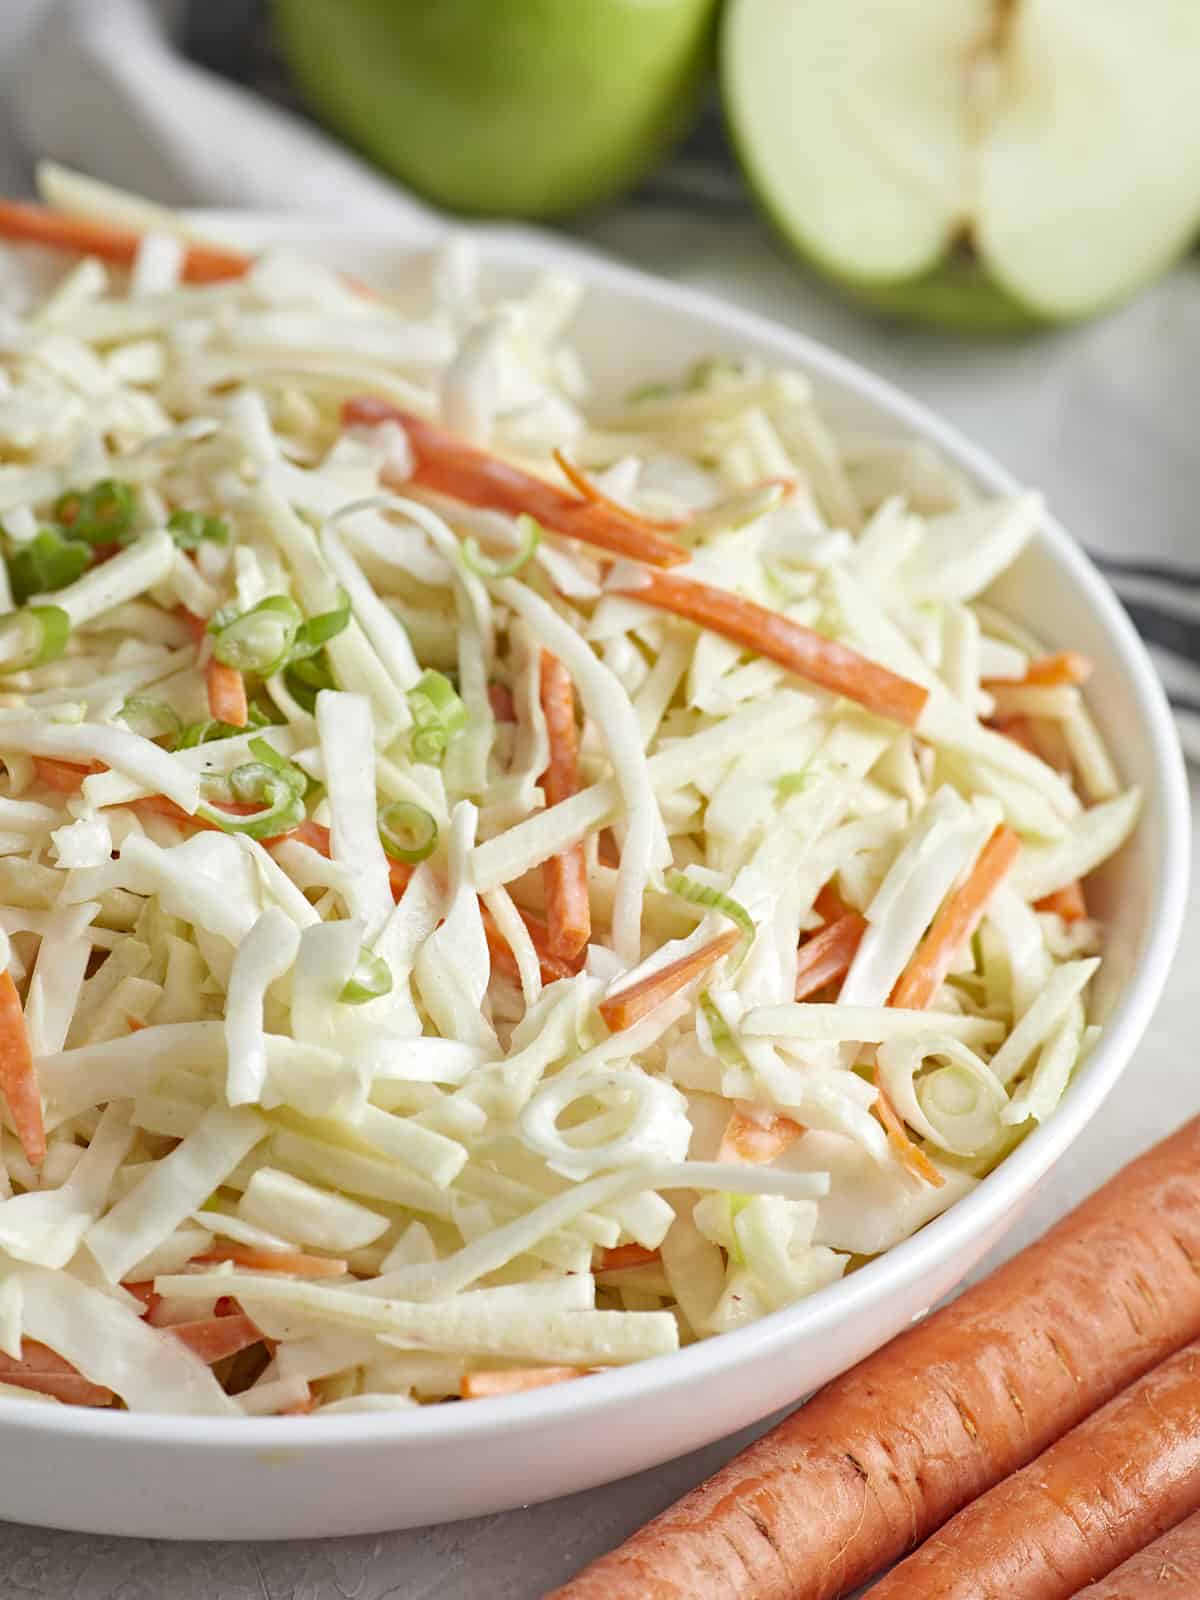
Close up side view of a bowl of apple slaw.
Overhead view of a bowl full of apple slaw with the ingredients on the sides.
Print

Apple Slaw

This crisp and refreshing apple slaw is the perfect easy side dish for weeknight meals or potlucks during the fall season.
Course Dinner, Lunch, Side Dish
Cuisine American
Total Cost $6.46 recipe / $0.65 serving
Prep Time 15 minutes
Total Time 15 minutes
Servings 10 (1 cup each)
Calories 109kcal

Ingredients

  • 1/3 cup mayonnaise $0.63
  • 2 tsp Dijon mustard $0.05
  • 2 tsp honey $0.11
  • 2 Tbsp apple cider vinegar $0.09
  • 1/4 tsp salt (plus more to taste) $0.01
  • 1/8 tsp black pepper $0.01
  • 1 small cabbage, thinly sliced (about 5 cups) $2.23
  • 3 Granny Smith apples, julienned (about 2 cups)* $2.55
  • 2 carrots, julienned (about 2 cups)* $0.42
  • 3 green onions, sliced (about 1 cup)* $0.36

Instructions

  • Mix the mayonnaise, Dijon, honey, vinegar, salt, and pepper to make a dressing.
  • Shred or thinly slice the cabbage into 2-inch by ¼-inch strips. Shred or slice the carrots into 2-inch by ⅛-inch strips. Peel and core the apples. Shred or slice them into 2-inch by ⅛-inch strips and keep them in water with lemon juice or vinegar added, so they don't brown.** Cut the green onions on the diagonal into 1/8-inch thick slices.
  • Mix the apples and vegetables with the dressing in a large bowl. If necessary, add more salt to taste.
  • Keep the salad refrigerated until ready to serve. Mix before serving, and add more salt to taste.

See how we calculate recipe costs here.

Notes

*If finely slicing vegetables is difficult for you, use the slicing or shredding attachment on a food processor, a mandoline, or a large-holed cheese grater.
**For every one cup of water add 2 tsp lemon juice or 1 tsp distilled or apple cider vinegar.

Nutrition

Serving: 1cup | Calories: 109kcal | Carbohydrates: 14g | Protein: 1g | Fat: 6g | Sodium: 139mg | Fiber: 4g

How to Make Apple Slaw – Step by Step Photos

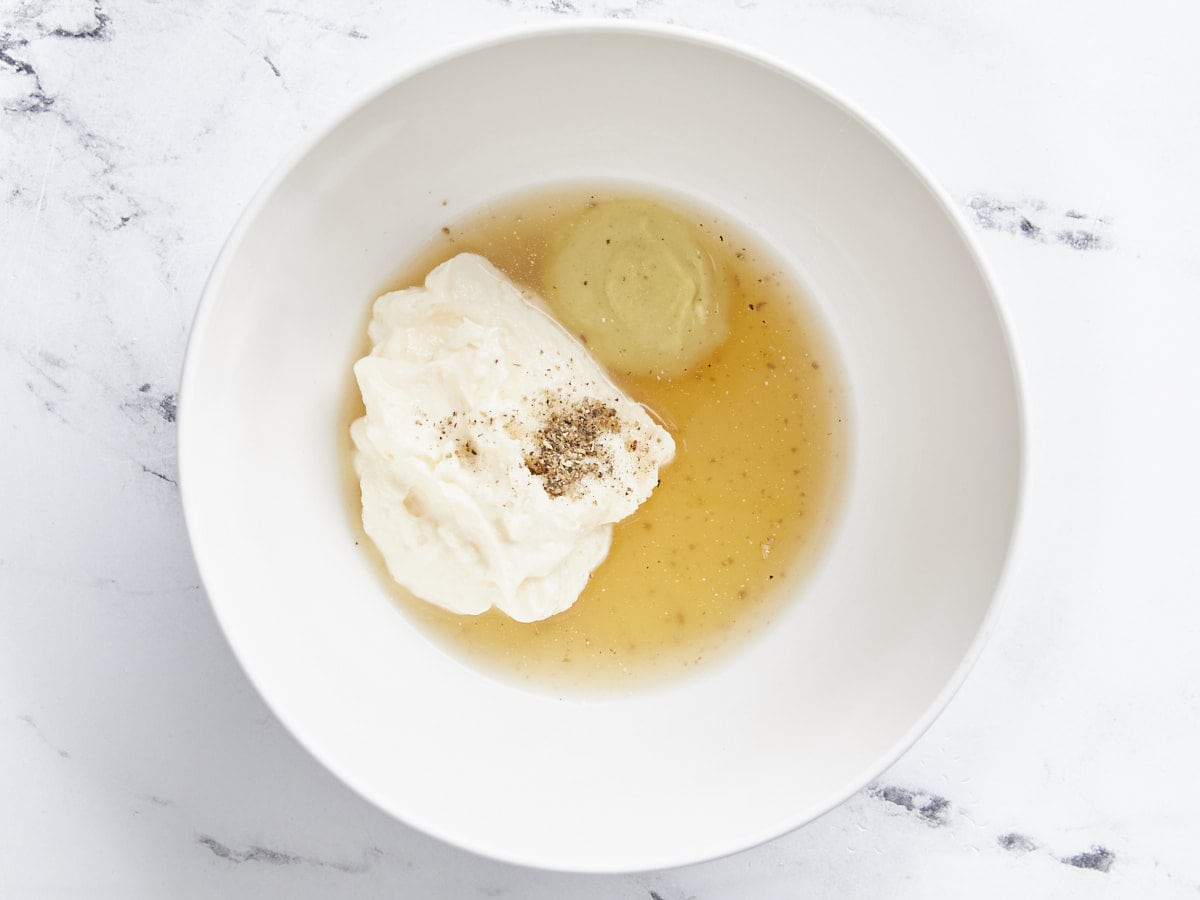
Ingredients for dressing in a bowl, not mixed.

Mix 1/3 cup mayonnaise, 2 tsp Dijon mustard, 2 tsp honey, 2 Tbsp apple cider vinegar, 1/4 tsp salt, and 1/8 tsp pepper to make a dressing.

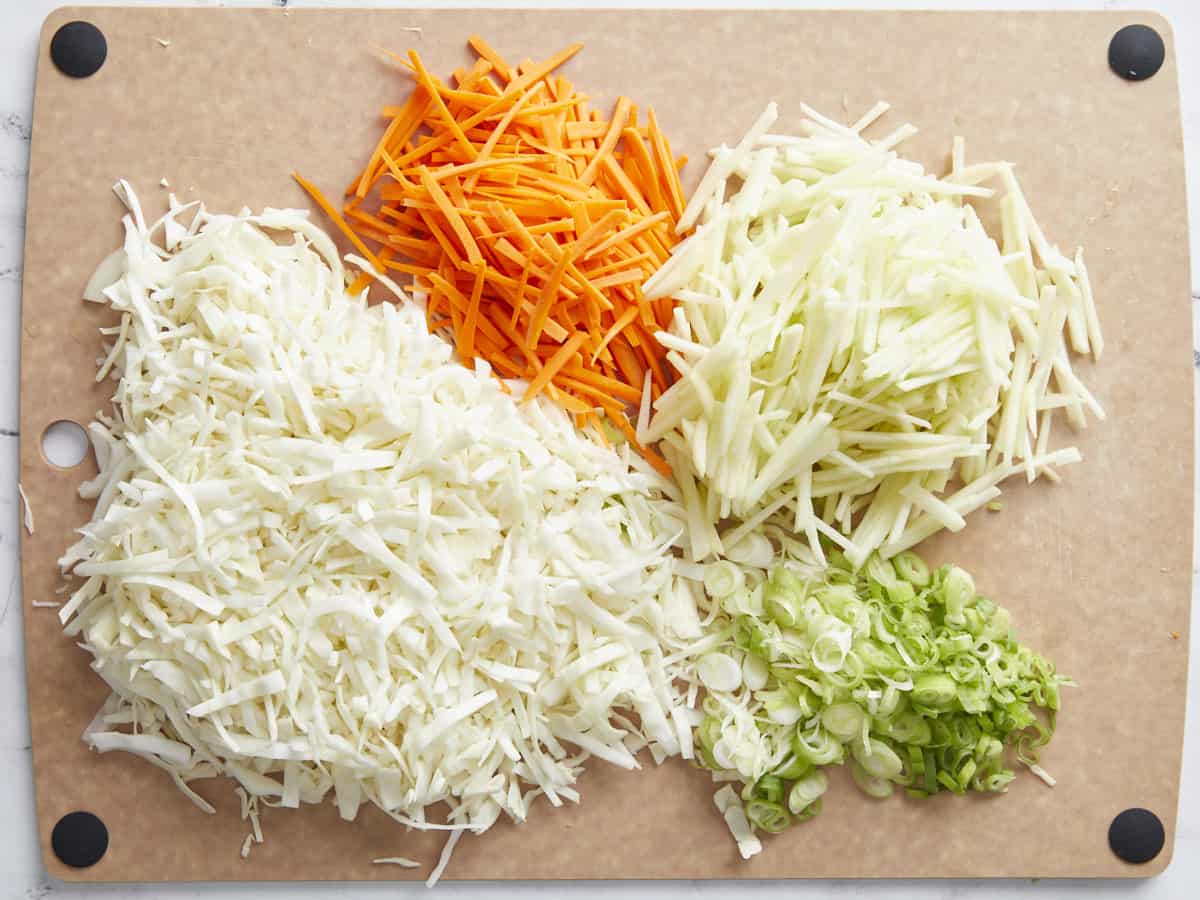
Prepared vegetables on a cutting board.

Shred or slice one small cabbage into 2 by ⅛-inch strips. Shred or slice two carrots into 2 by ¼-inch strips. Peel and core two apples, then shred or slice them into 2 by ⅛-inch strips and keep them in water with lemon juice or vinegar added, so they don’t brown. Cut three green onions on the diagonal into 1/8-inch thick slices.

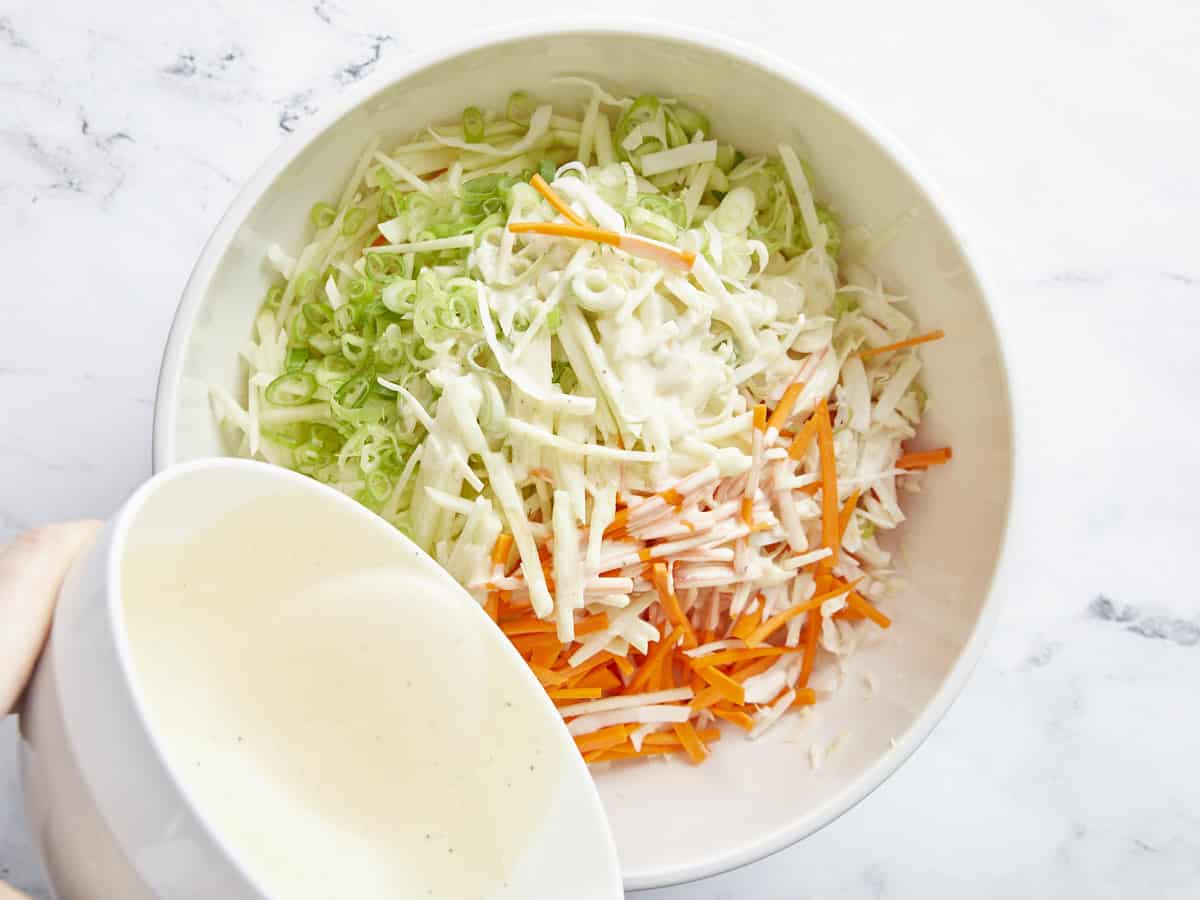
Dressing being poured over the bowl of shredded vegetables.

Mix the apples and vegetables with the dressing in a large bowl. If necessary, add more salt to taste.

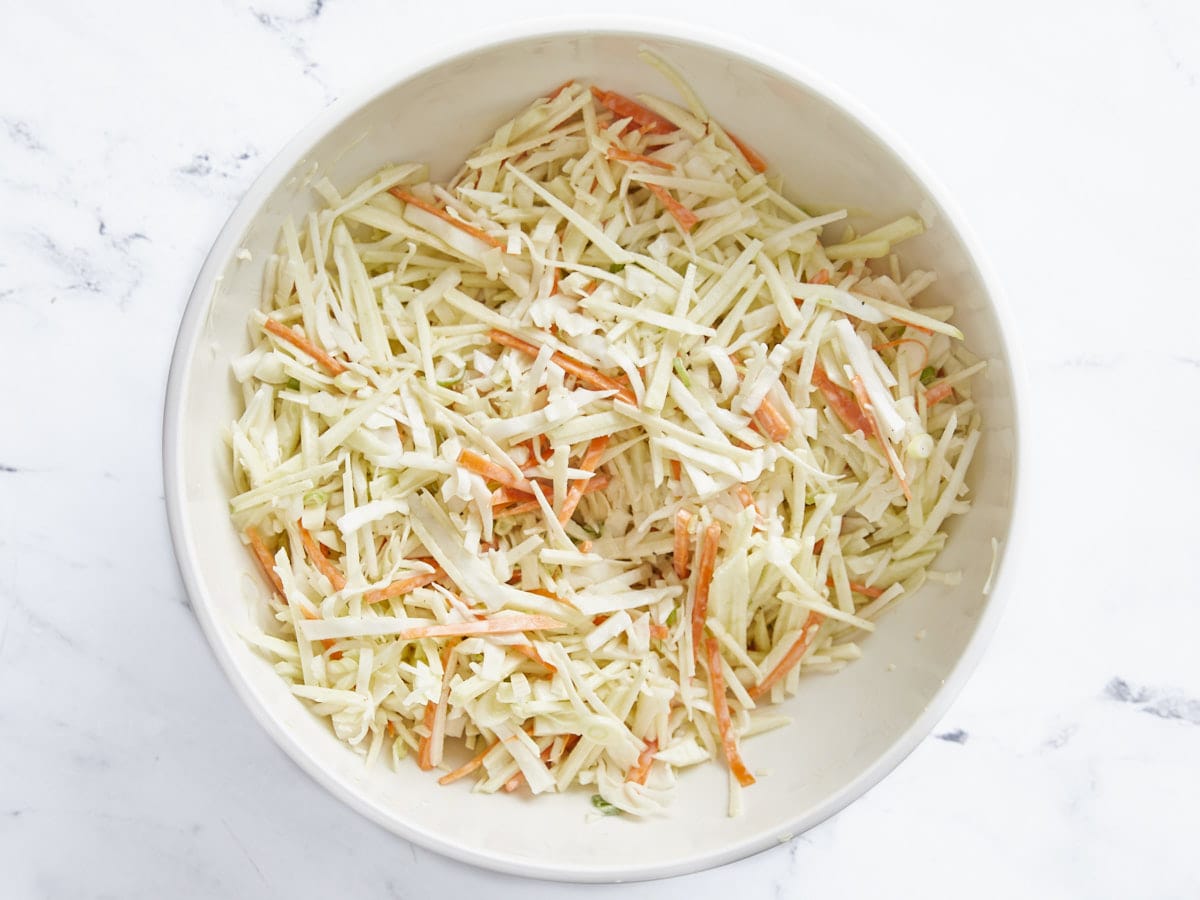
Finished apple slaw in a bowl.

Keep the apple slaw refrigerated until ready to serve. Mix before serving, and add more salt to taste.

Close up side view of a bowl of apple slaw.

The post Apple Slaw appeared first on Budget Bytes.
Lentil Bolognese

Introducing our delicious lentil bolognese – a meatless take on the beloved Italian favorite! It blends brown lentils, savory tomato sauce, veggies, and aromatic herbs to create a hearty and flavorful dish that’s a must-try. Get ready for a…
Introducing our delicious lentil bolognese – a meatless take on the beloved Italian favorite! It blends brown lentils, savory tomato sauce, veggies, and aromatic herbs to create a hearty and flavorful dish that’s a must-try. Get ready for a tasty plant-based bolognese treat that’ll leave you craving more. For more plant-based versions of the traditional...

Read More

The post Lentil Bolognese appeared first on My Pure Plants.