Sheet Pan Feta and Veggies
 Make this easy sheet pan feta and veggies recipe in about 30 minutes for a hearty, nutritious vegetarian main course full of flavor!
Make this easy sheet pan feta and veggies recipe in about 30 minutes for a hearty, nutritious vegetarian main course full of flavor!
 Skip the restaurant version, and make this easy copycat Olive Garden chicken gnocchi soup recipe in one pot in just over 30 minutes instead!
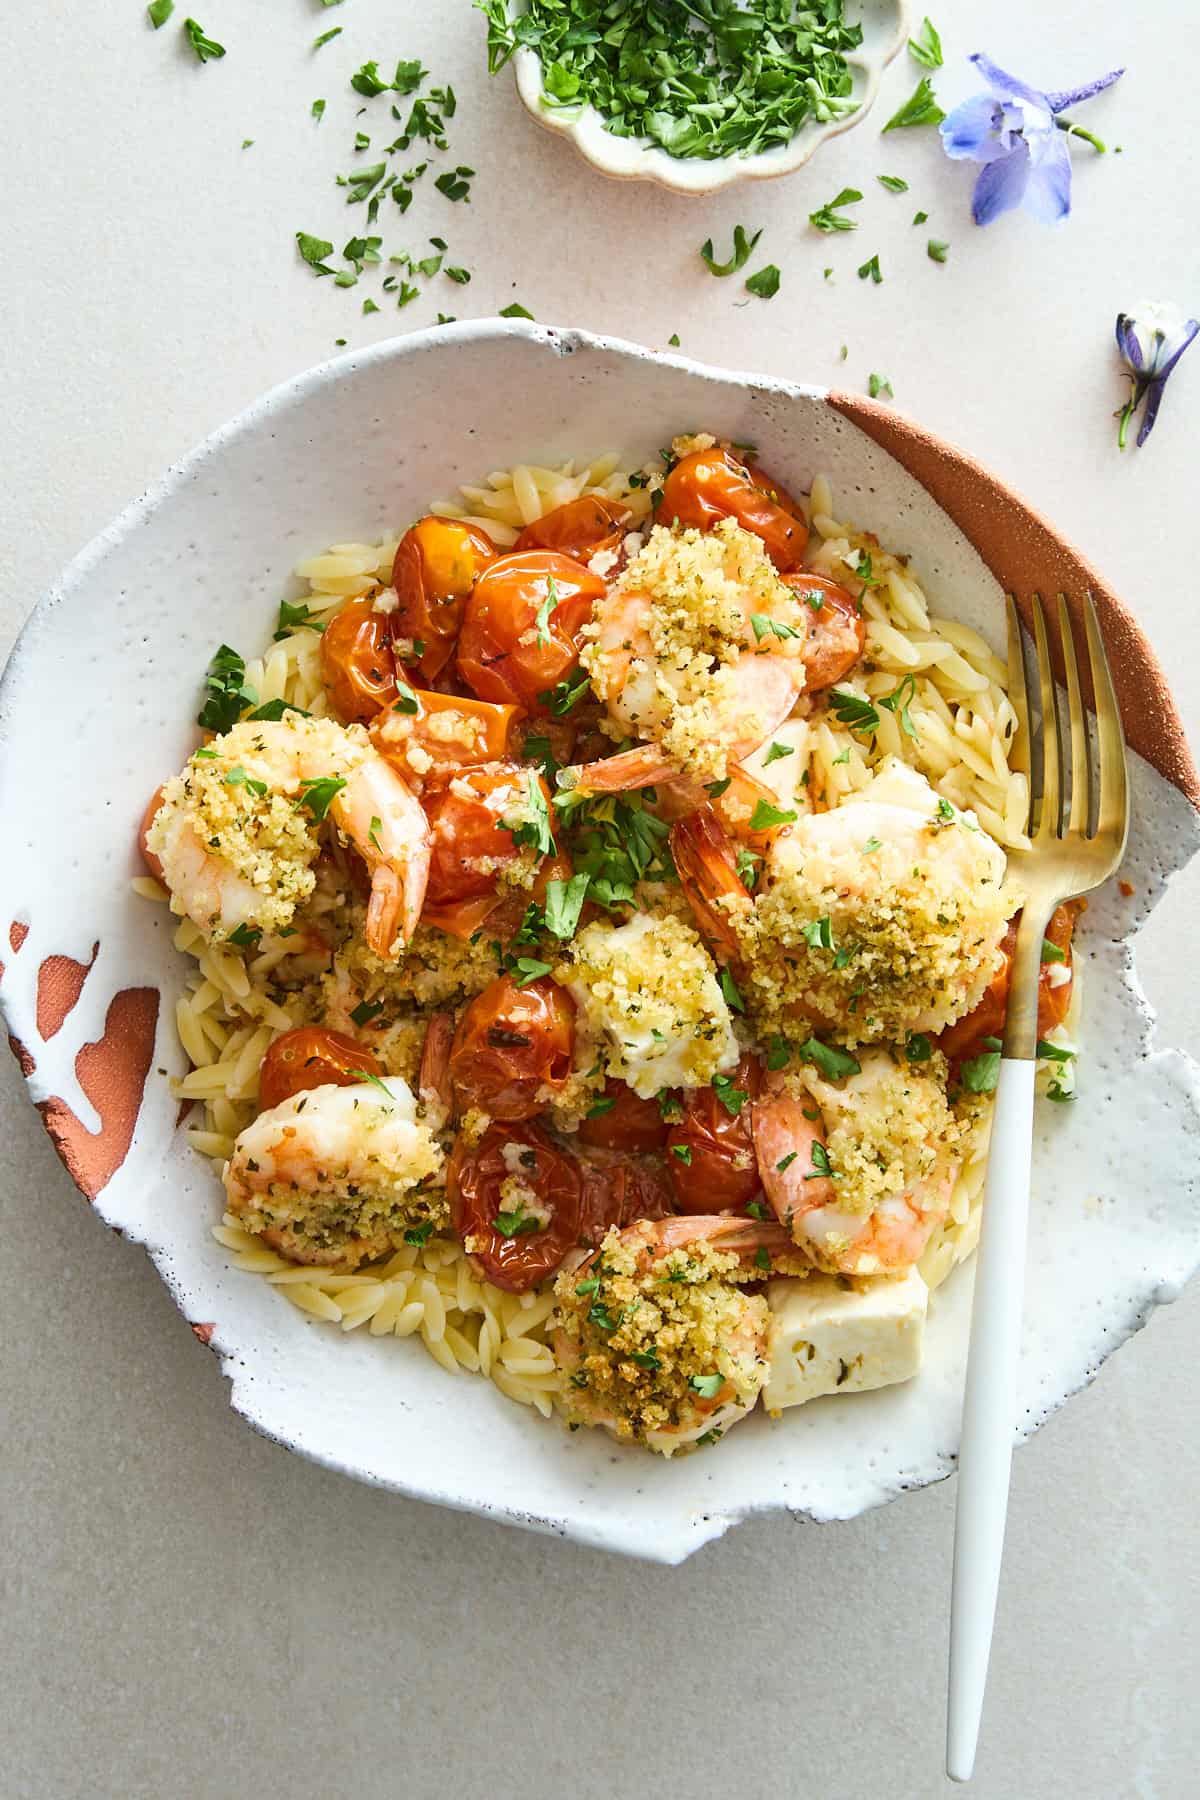 Make this flavor-packed panko shrimp and feta bake recipe in just over 30 minutes for a high-protein dish the whole family will love!
 Make this herb butter turkey recipe for a foolproof Thanksgiving turkey that’s flavorful, juicy, and so easy to prepare!
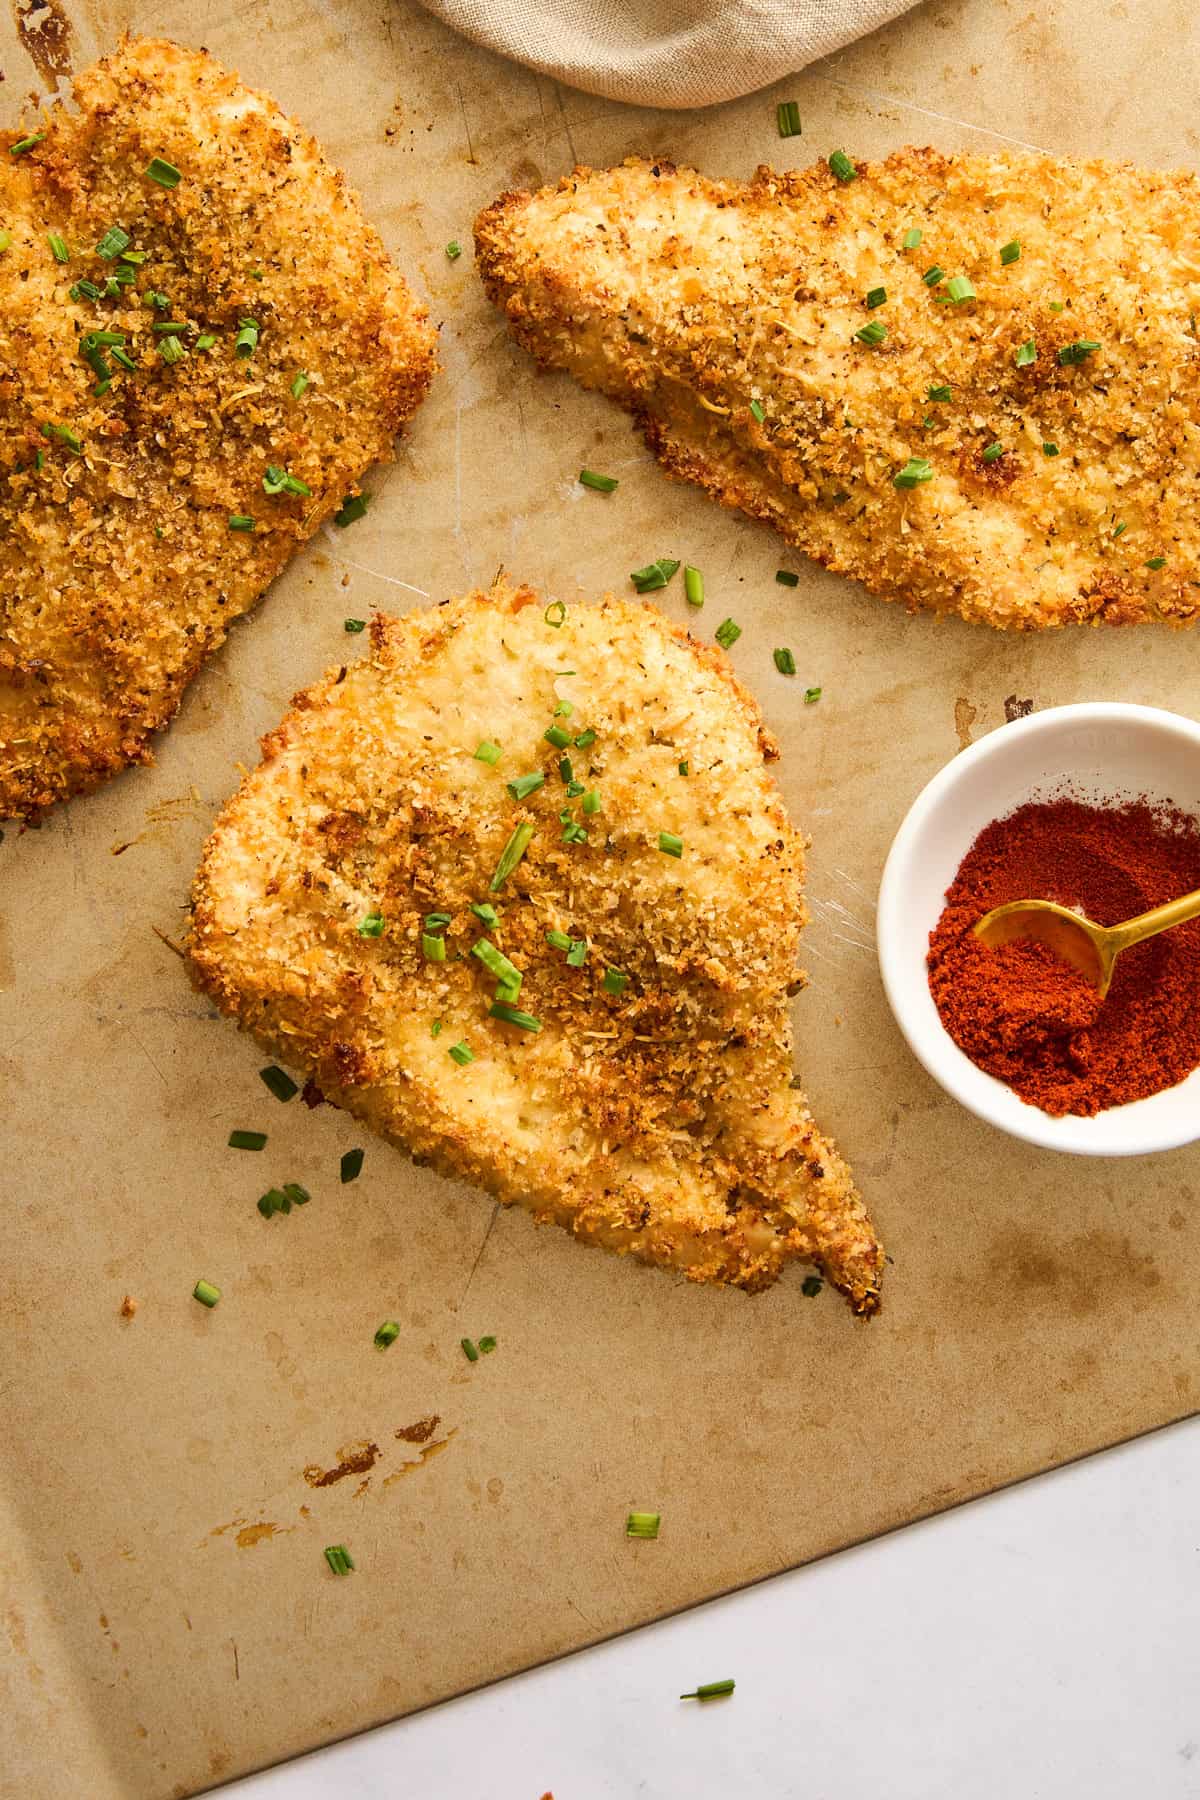 Learn how to make the best easy oven fried chicken recipe with a handful of ingredients for a healthier comfort food!
 Skip the restaurant, and make this easy baked chicken parmesan recipe at home in just over 30 minutes instead!
 This creamy cheesy potato soup is packed with warm spices, tender chunks of potatoes, and cheese for an easy comfort food you’ll love!
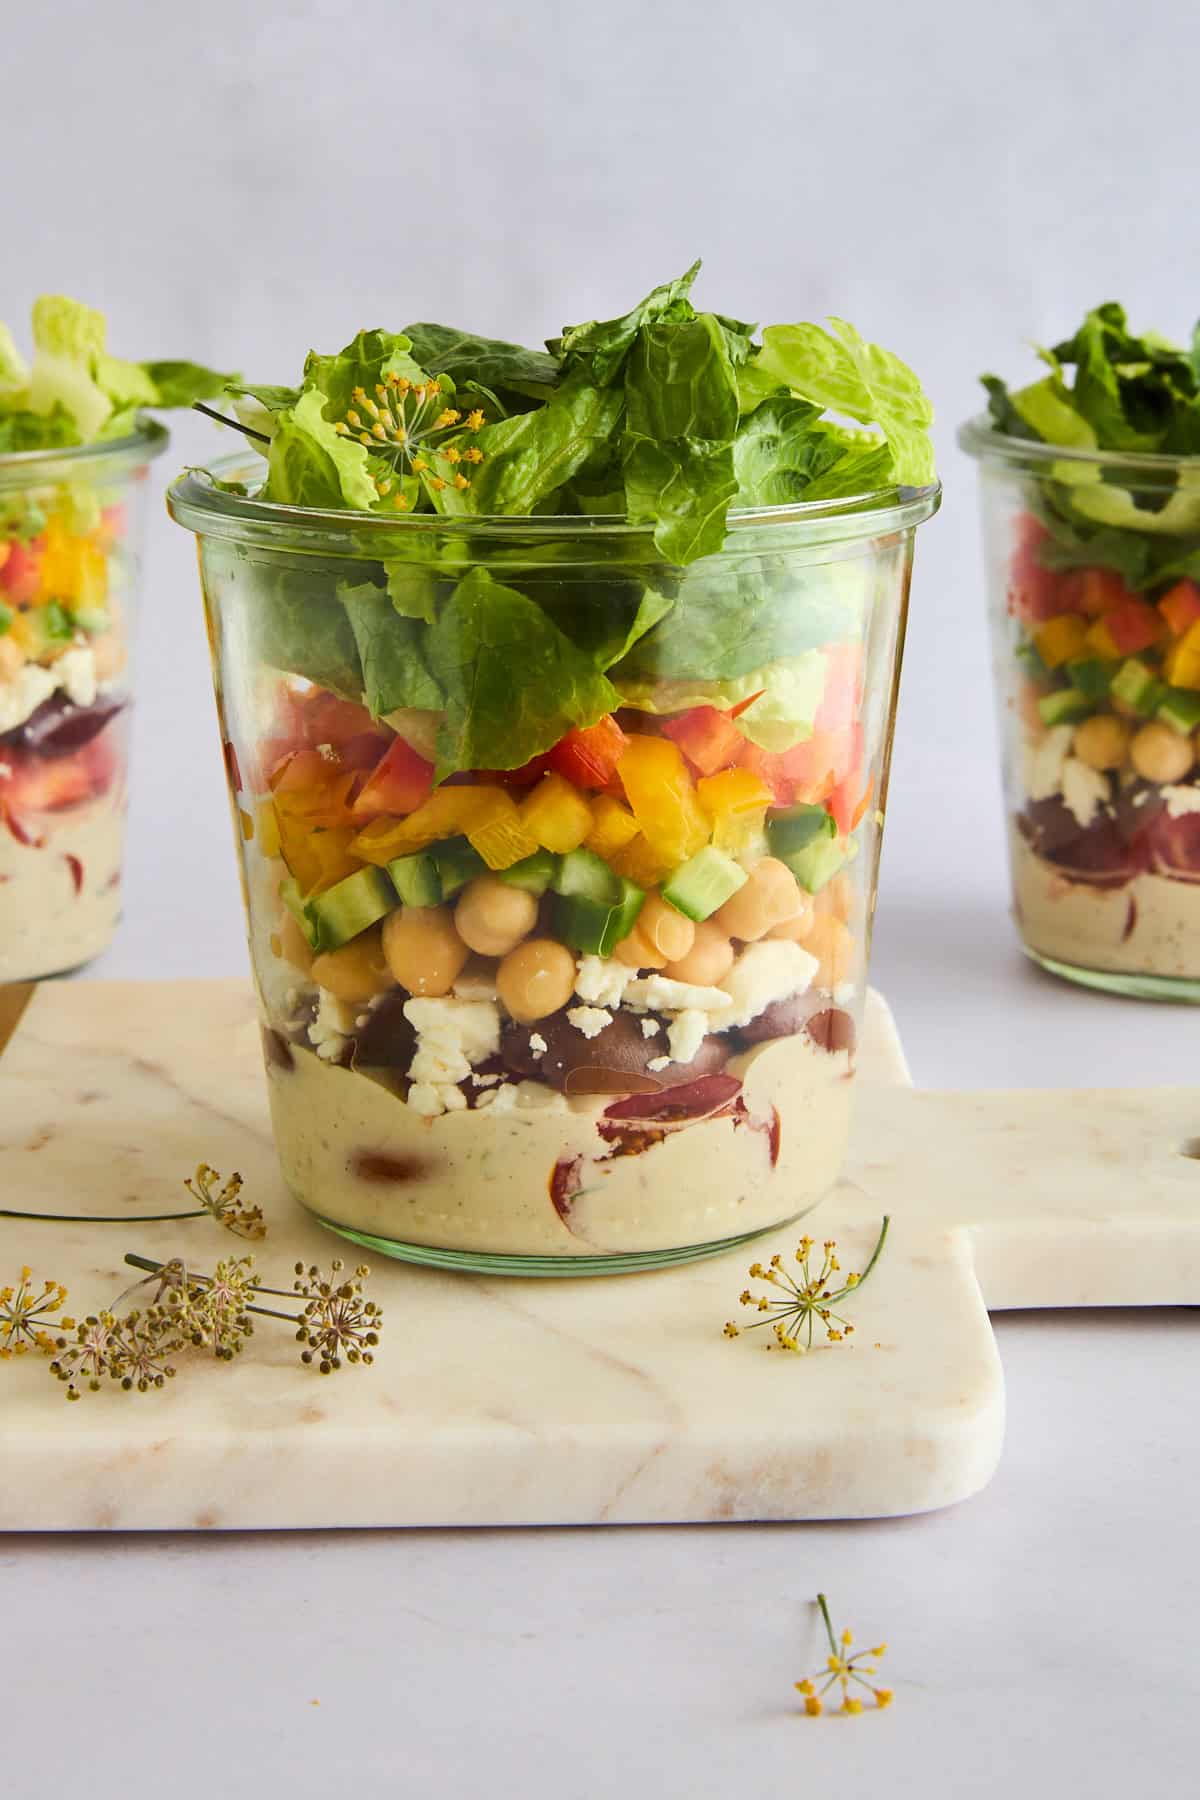 Make this mason jar Greek salad recipe with fresh veggies and creamy tahini dressing for a delicious, healthy meal prep option!
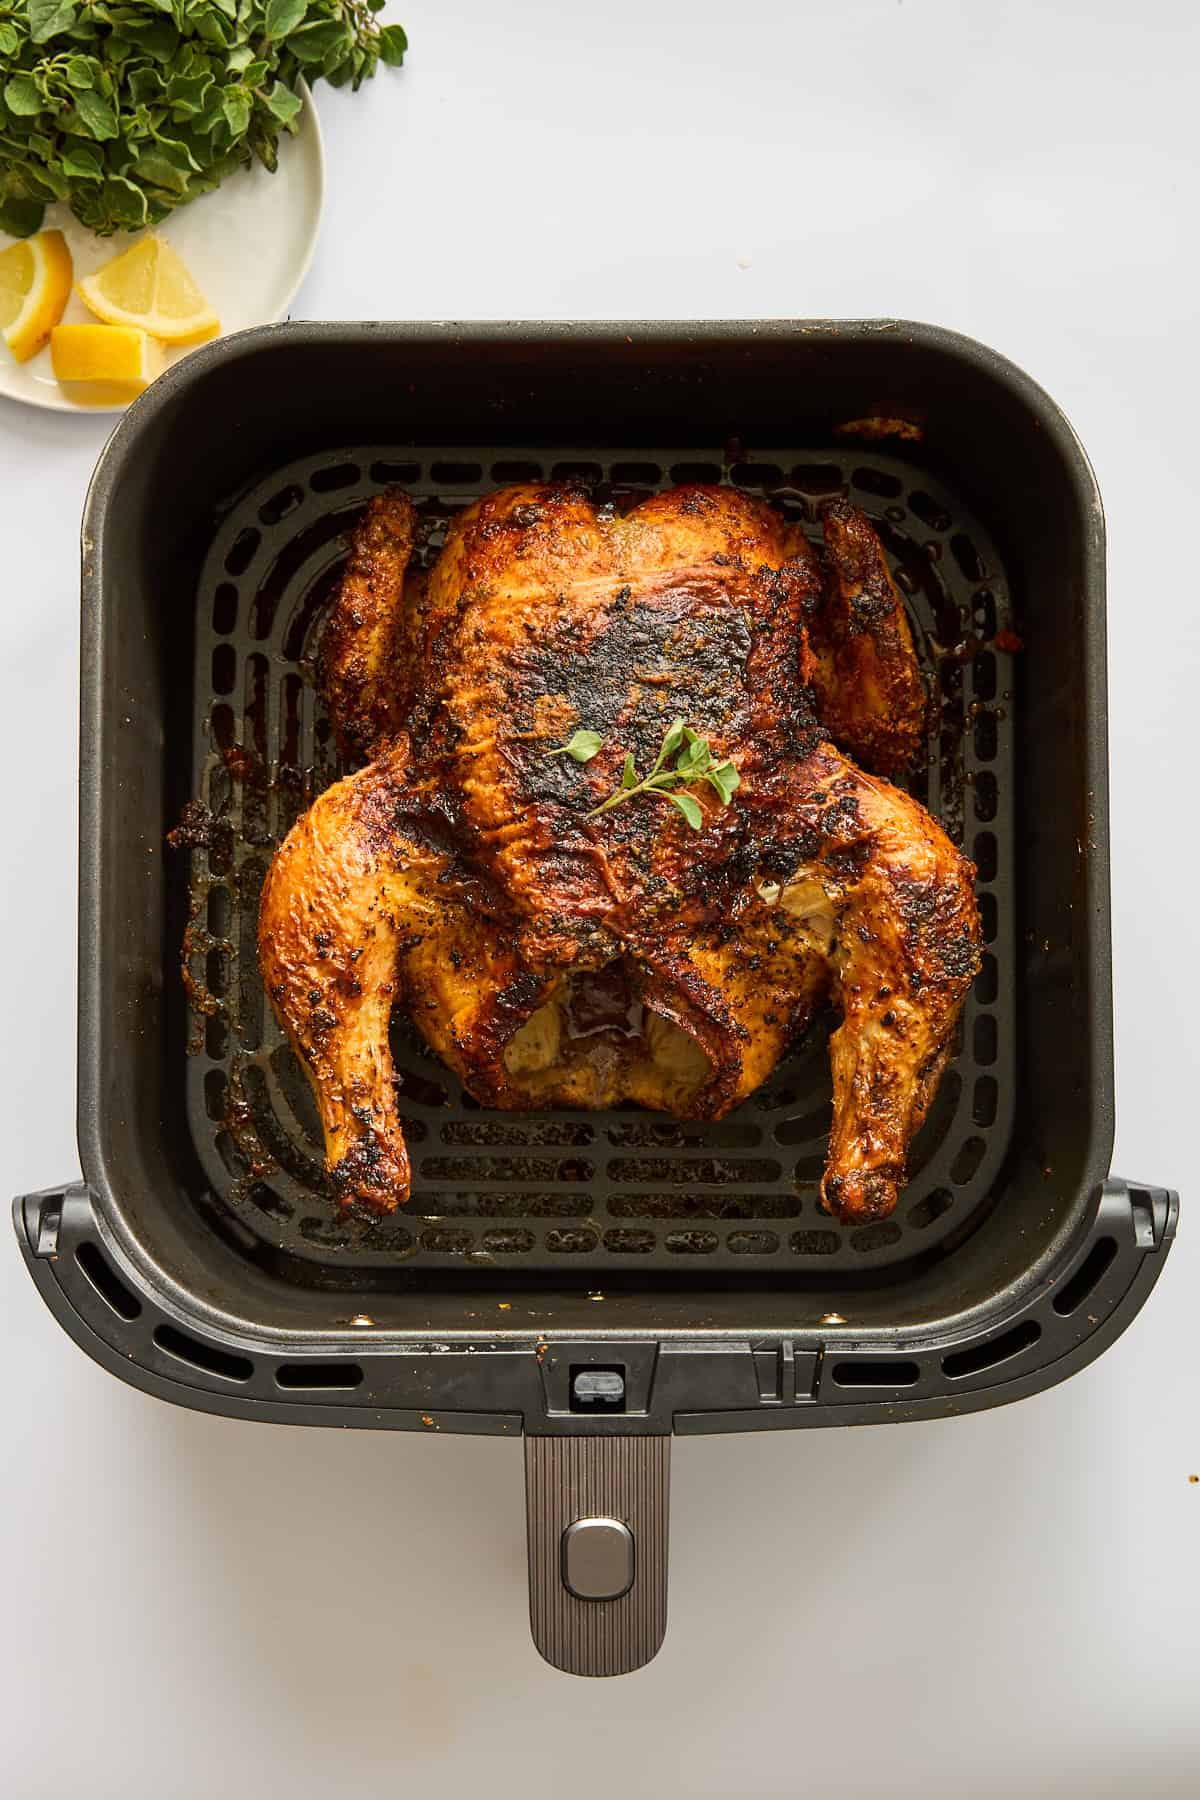 Say goodbye to bland chicken, and learn how to make a tender, juicy, flavorful air fryer whole chicken with simple steps in about an hour!
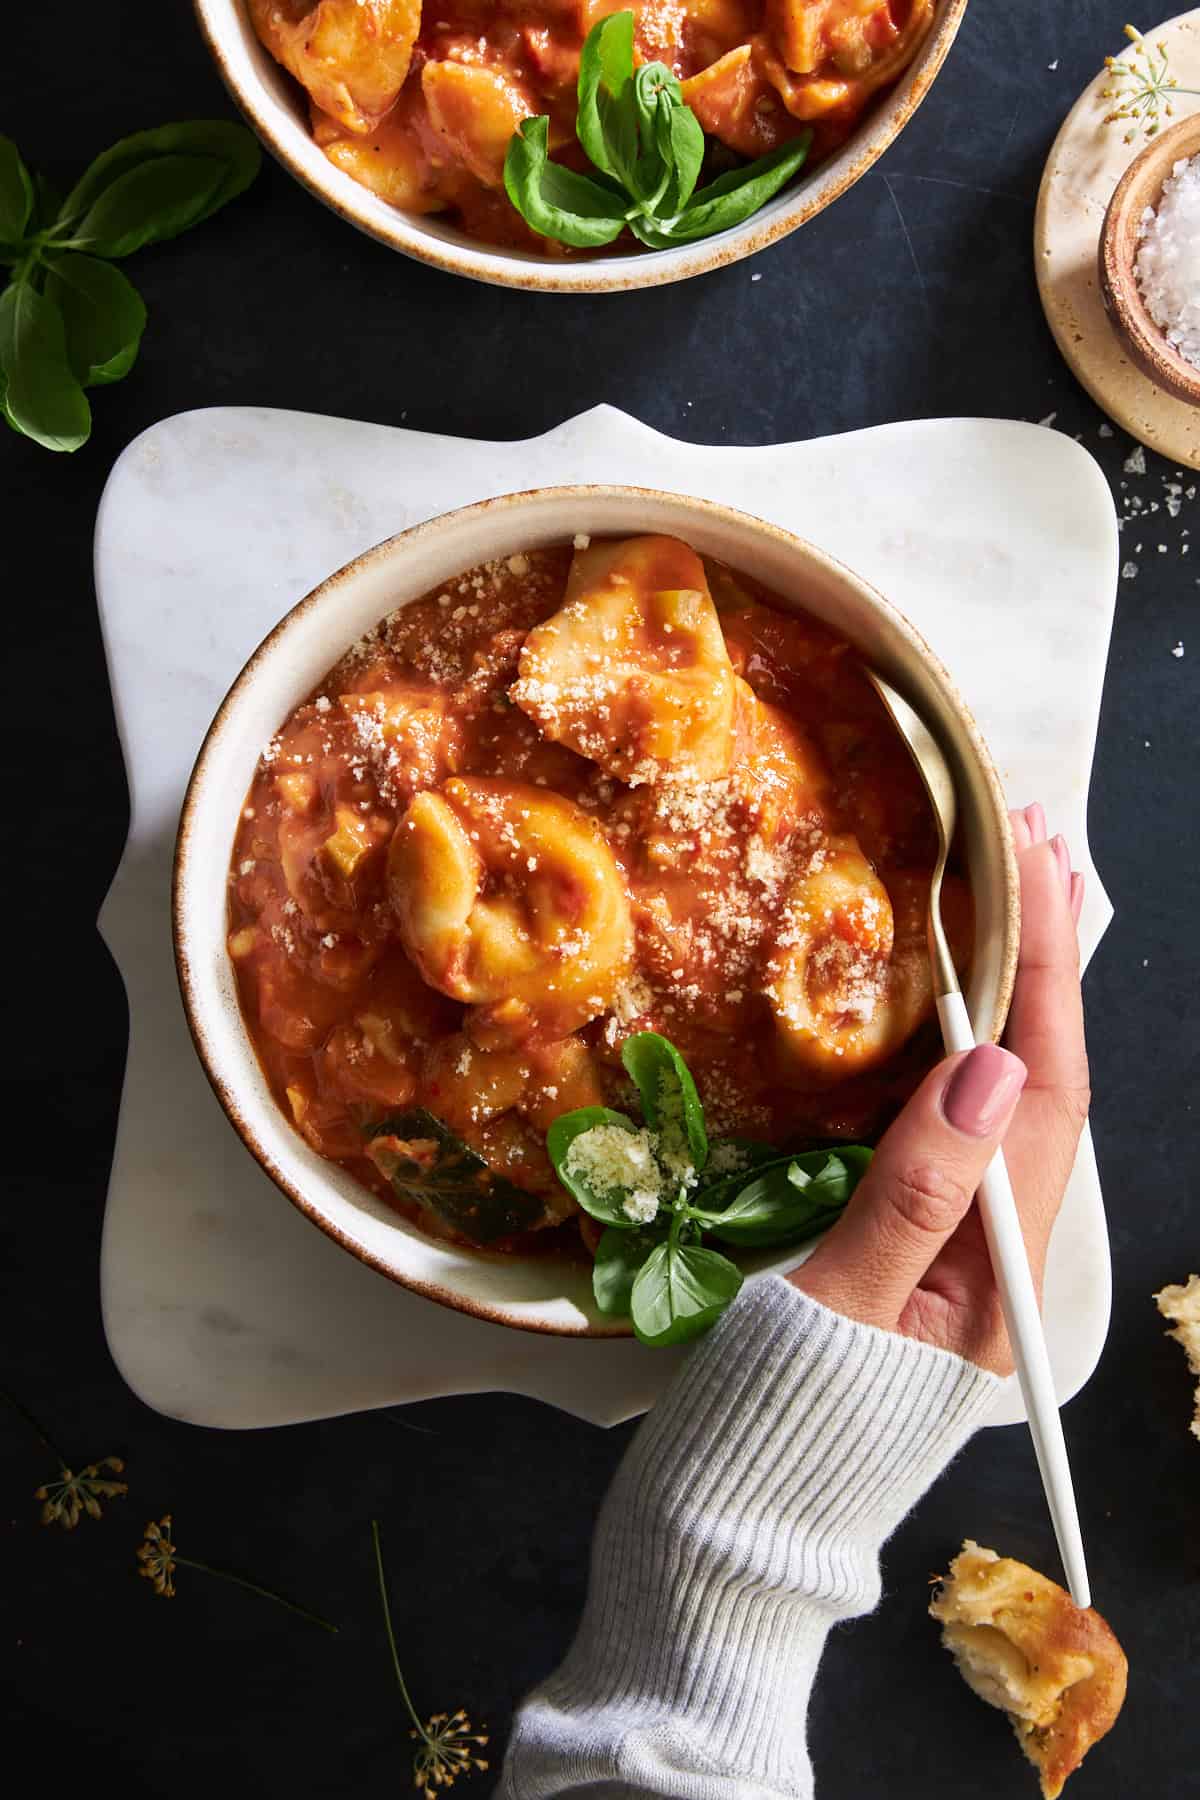 Make this cheese tortellini soup recipe in one pot for a hearty comfort food meal secretly full of veggies!
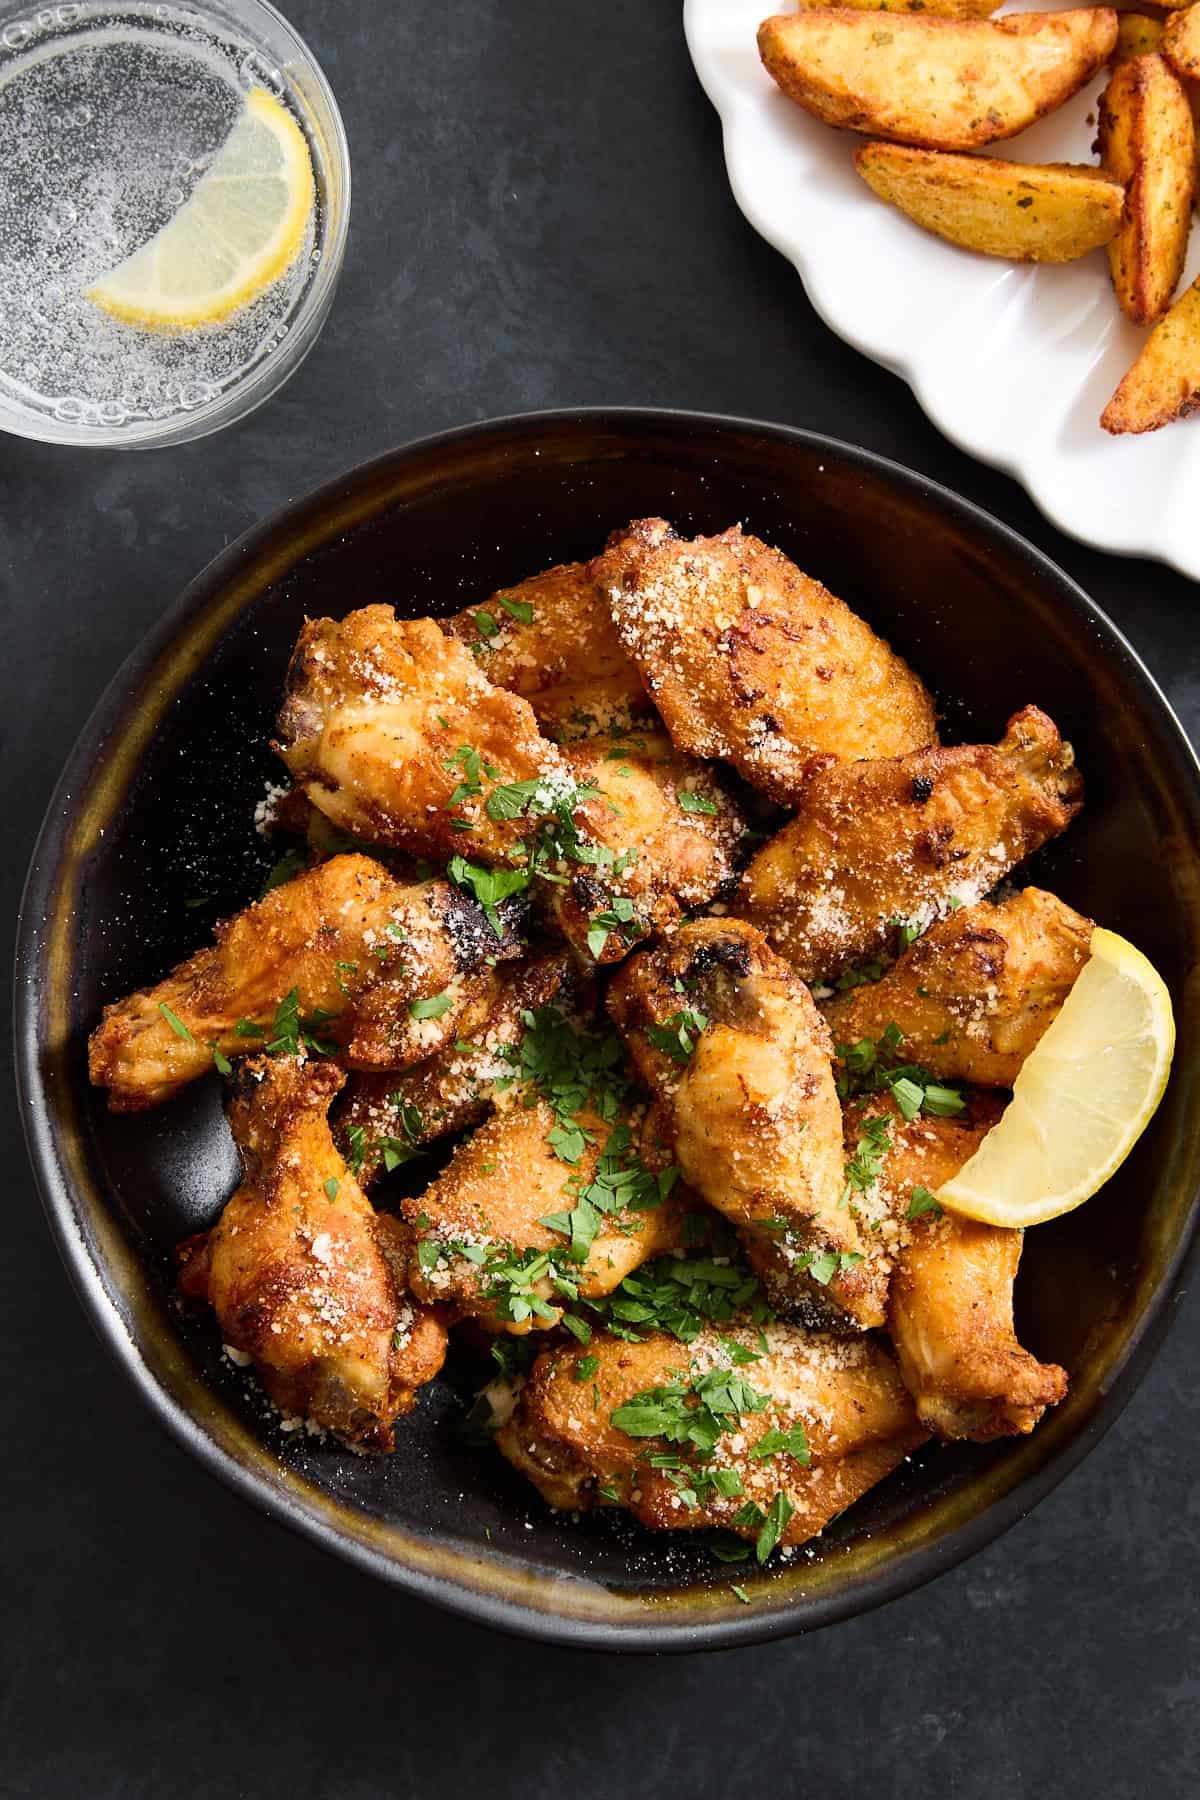 Skip the takeout, and make these crispy garlic parmesan chicken wings in the air fryer in less than 30 minutes instead!
 Learn how to make easy chicken noodle soup with ditalini in one pot in under an hour for the ultimate comfort food!
 Enjoy all the warm, savory flavors of koshary in an easy-to-make Egyptian pasta dish for a hearty comfort food everyone will love!
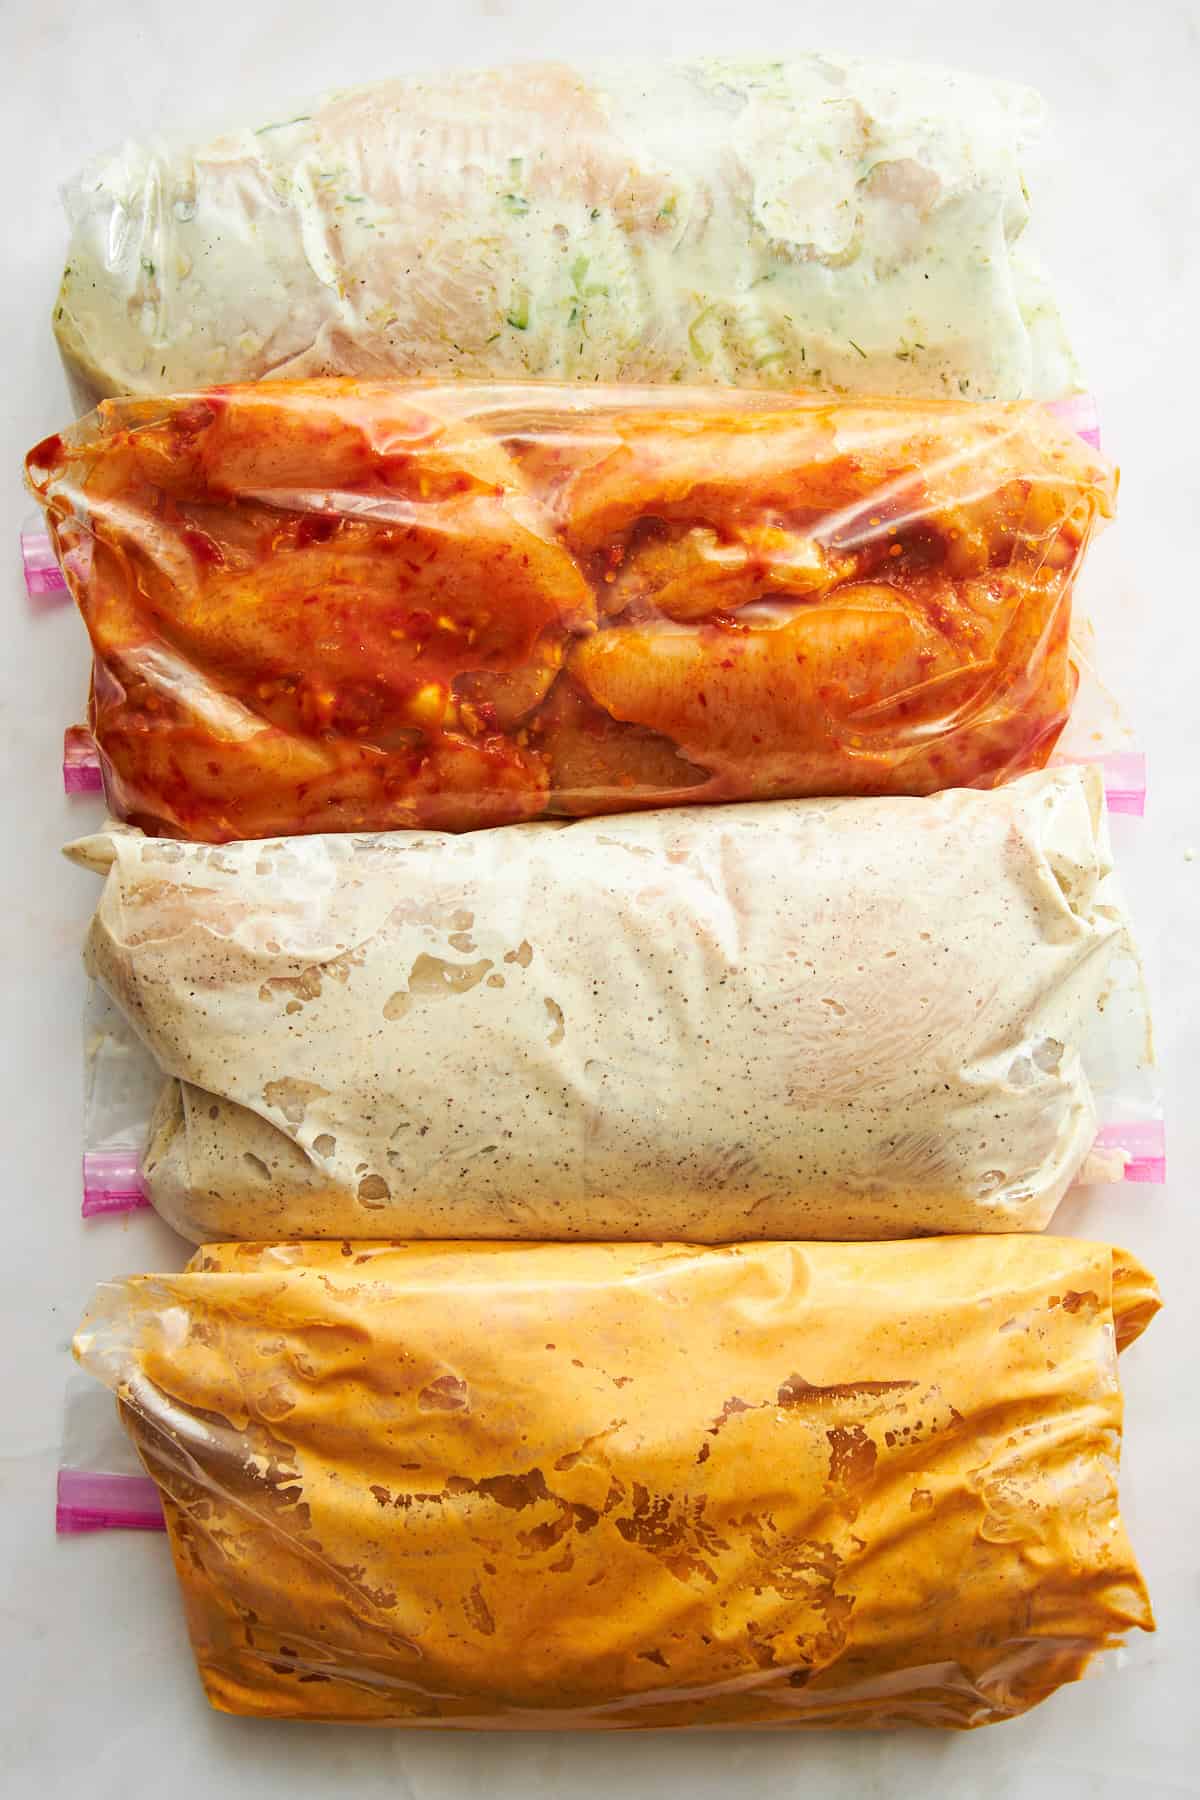 Find four different Mediterranean-inspired chicken marinade recipes to infuse your protein with vibrant, delicious flavor!
 This chicken spinach pasta bake combines rigatoni noodles, cooked chicken, and spinach in a creamy cheese sauce for a comfort food dinner!
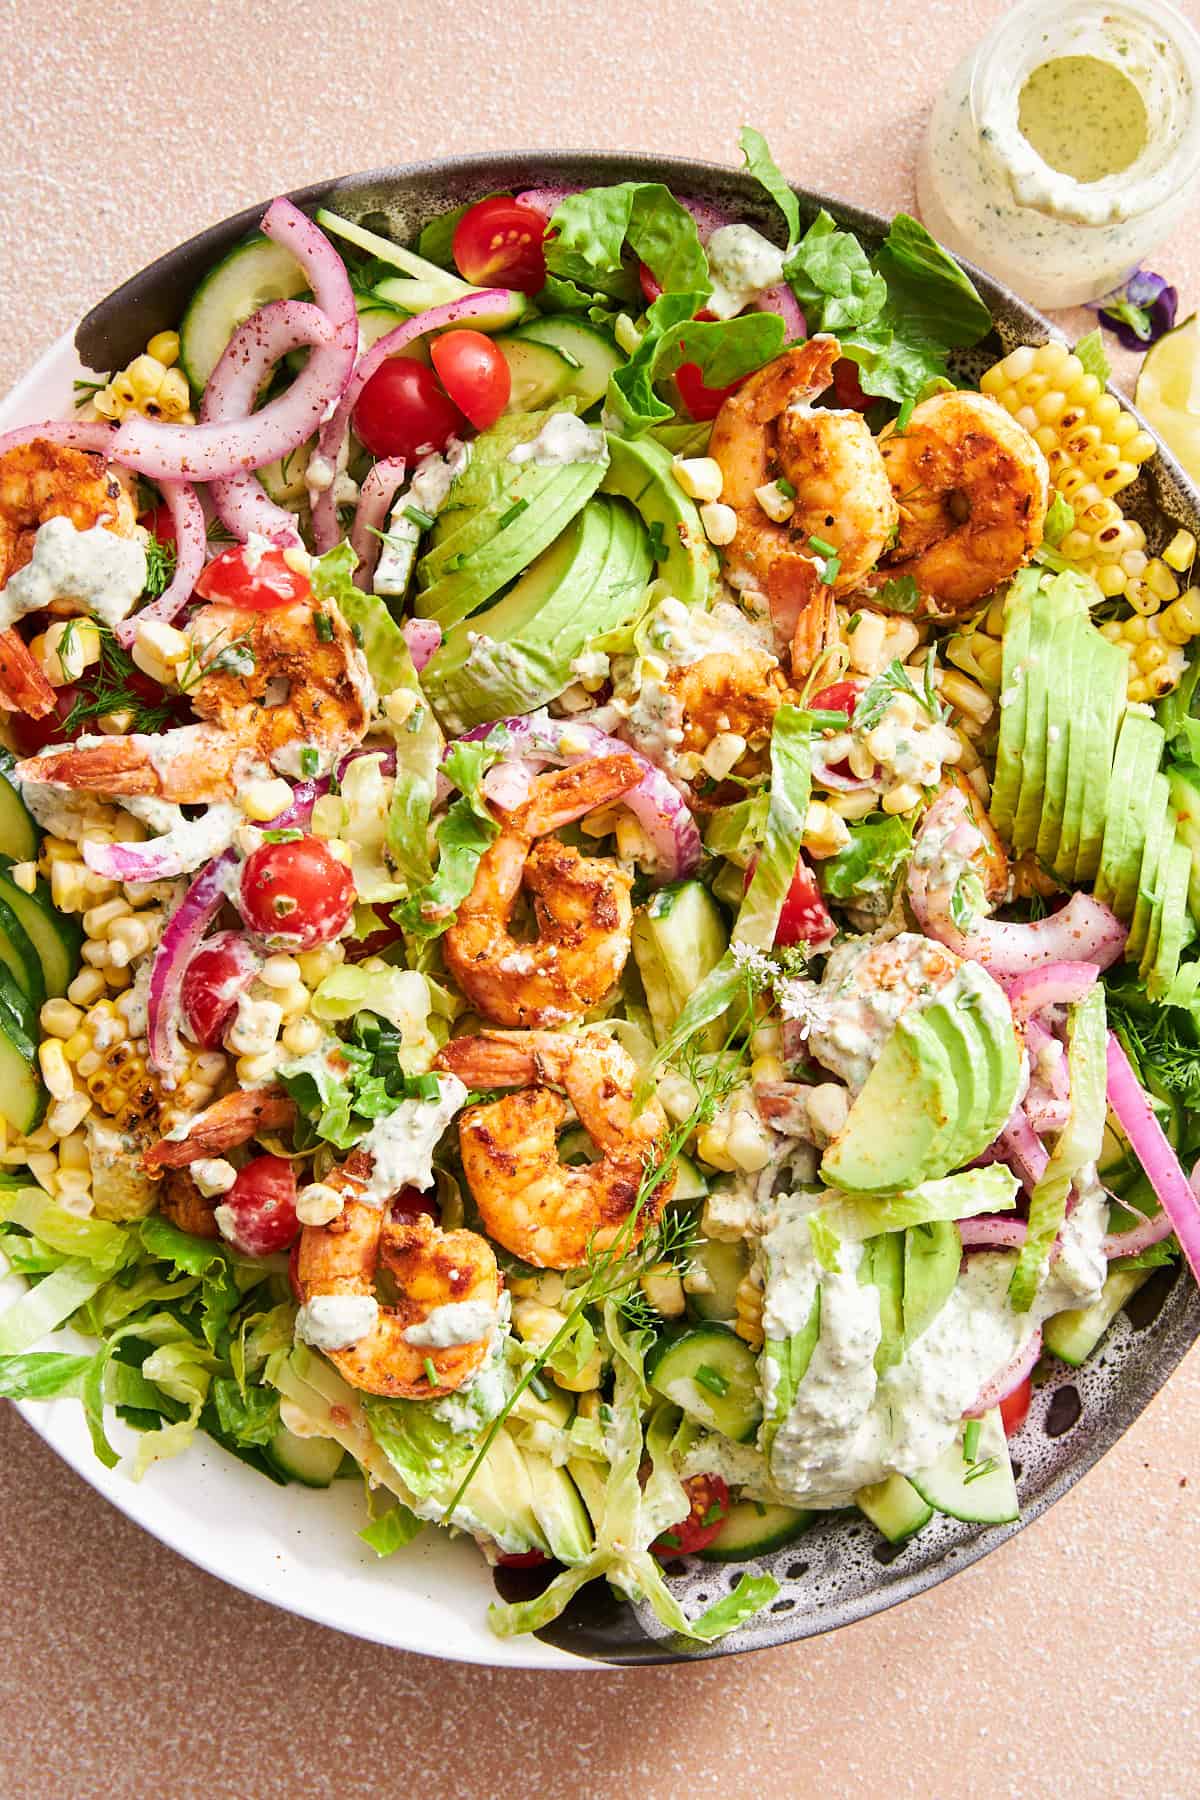 Get ready to meet your new favorite salad: Shrimp Avocado Salad with Tahini Dressing! This vibrant, flavor-packed salad is bursting…
 Enjoy all the flavors of your favorite sandwich in a low-carb, easy-to-make recipe thanks to these Philly cheesesteak stuffed peppers!
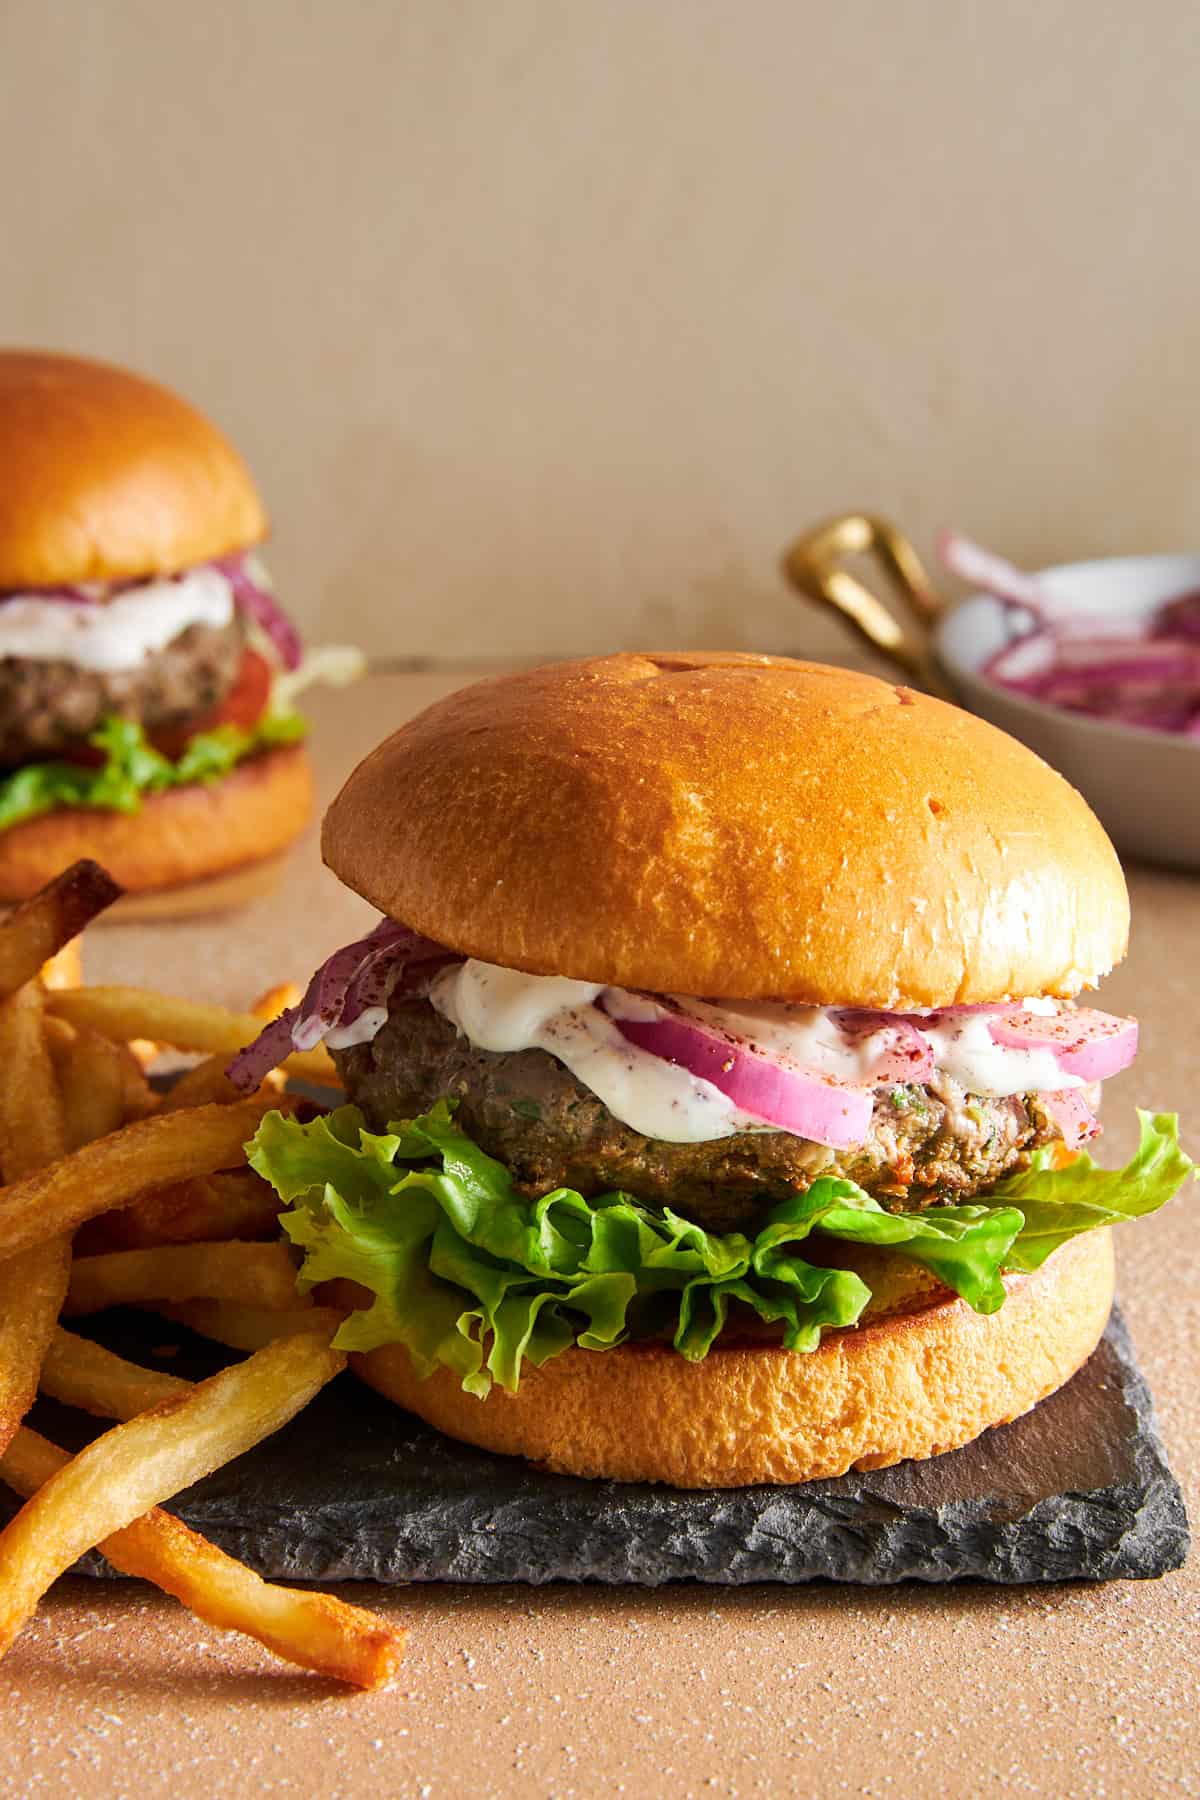 Experience kofta in a whole new way with the juicy texture and warm, savory flavors of these lamb kofta burgers!
 Make these blackened shrimp tacos with a refreshing slaw for a savory, satisfying main course ready in less than 20 minutes!
 Learn how to make veggie-packed Hawawshi, a kofta-like mixture stuffed into pita bread and baked until crisp!
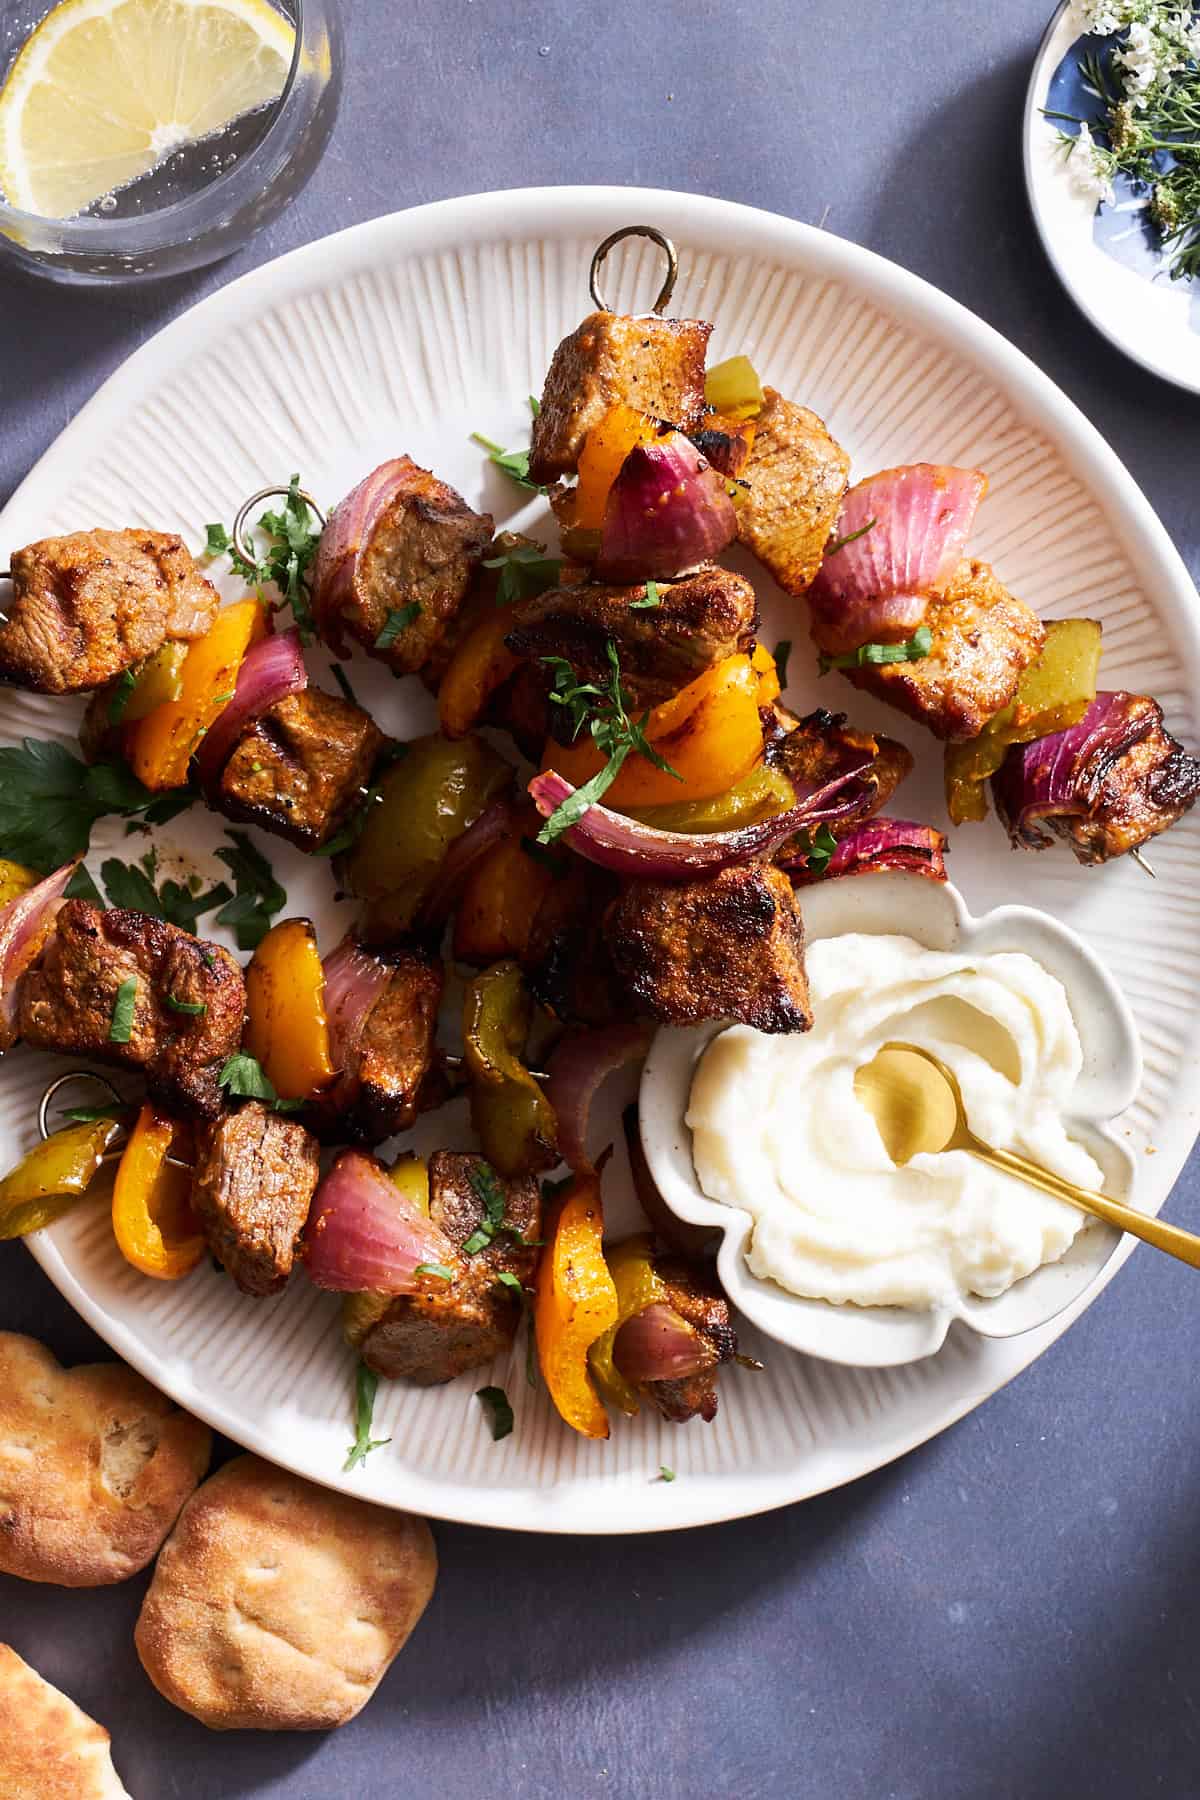 Learn how to make savory grilled steak skewers with veggies for an easy warm-weather meal that cooks in minutes!
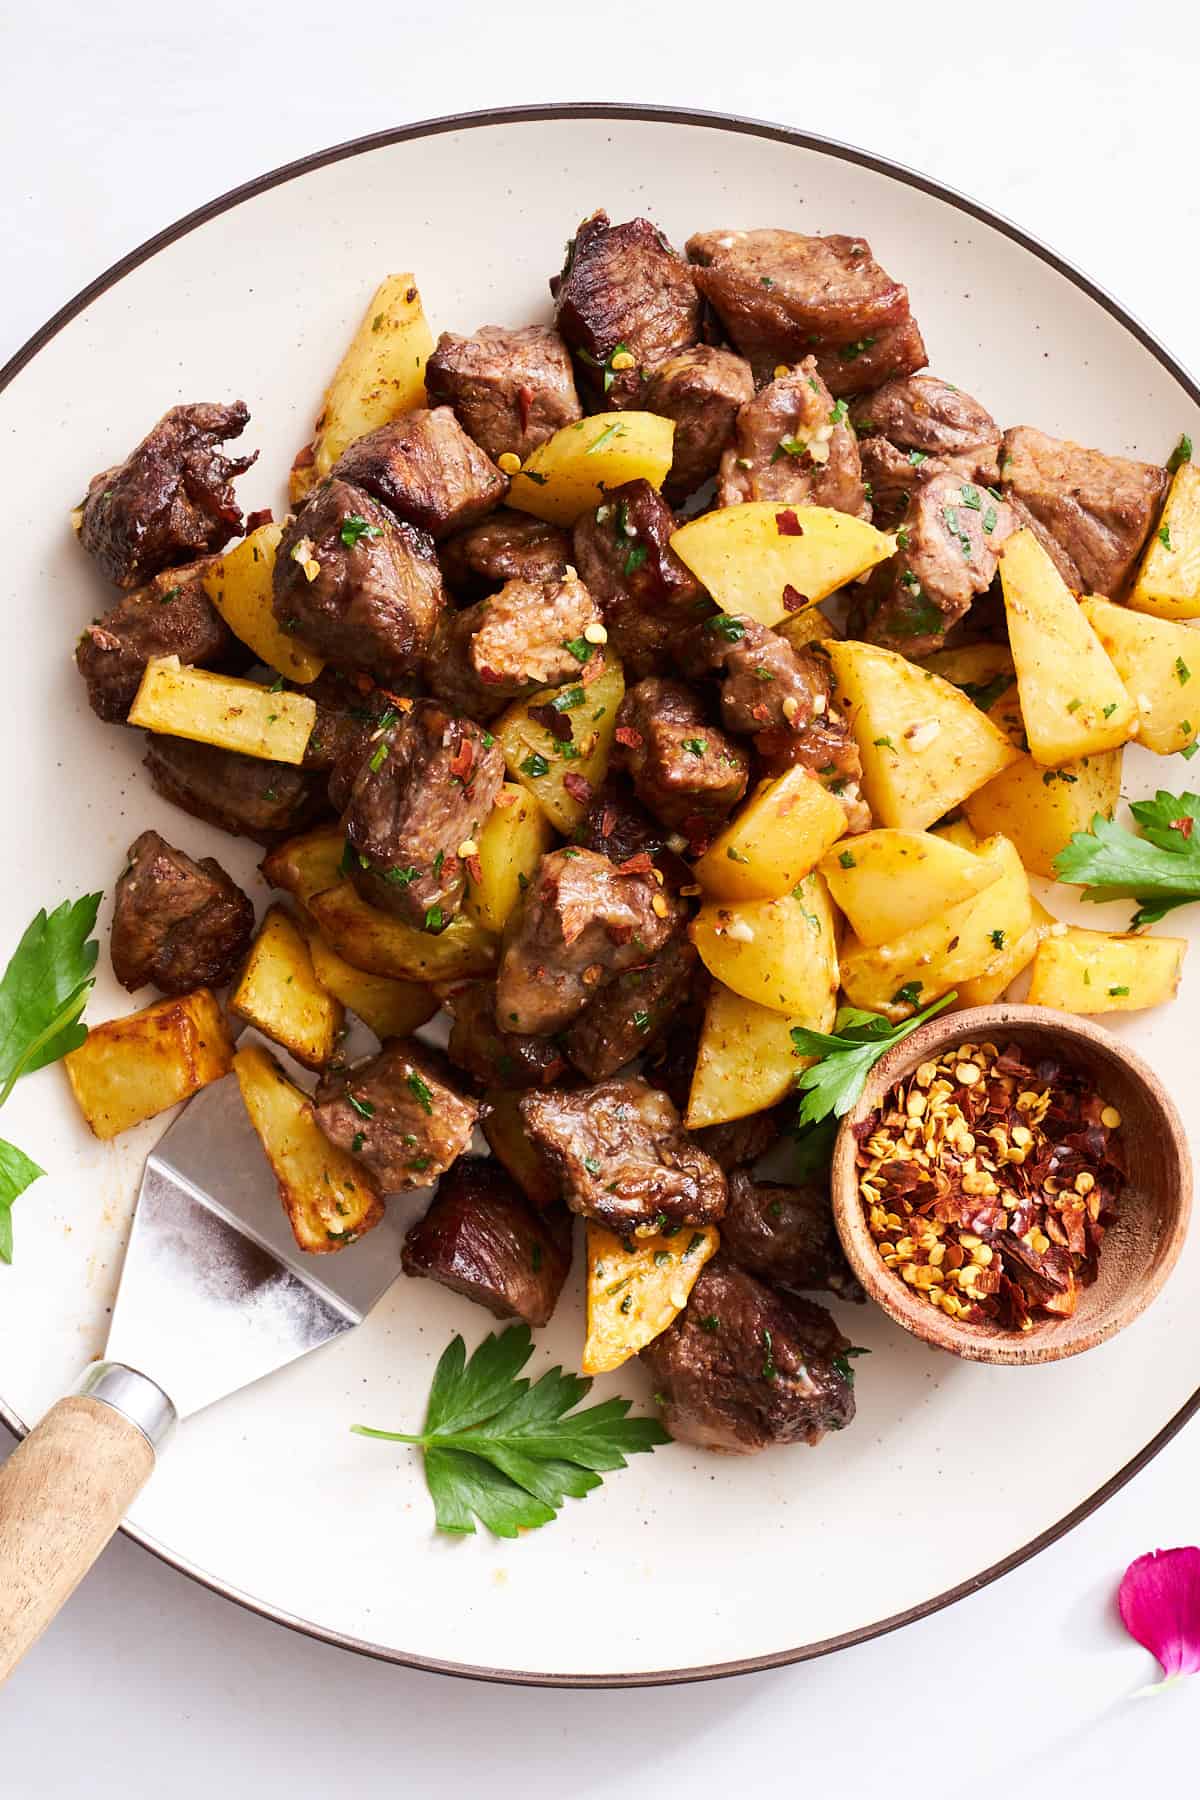 This air fryer garlic steak bites and potatoes recipe cooks in less than 20 minutes for a restaurant-worthy meal at home!
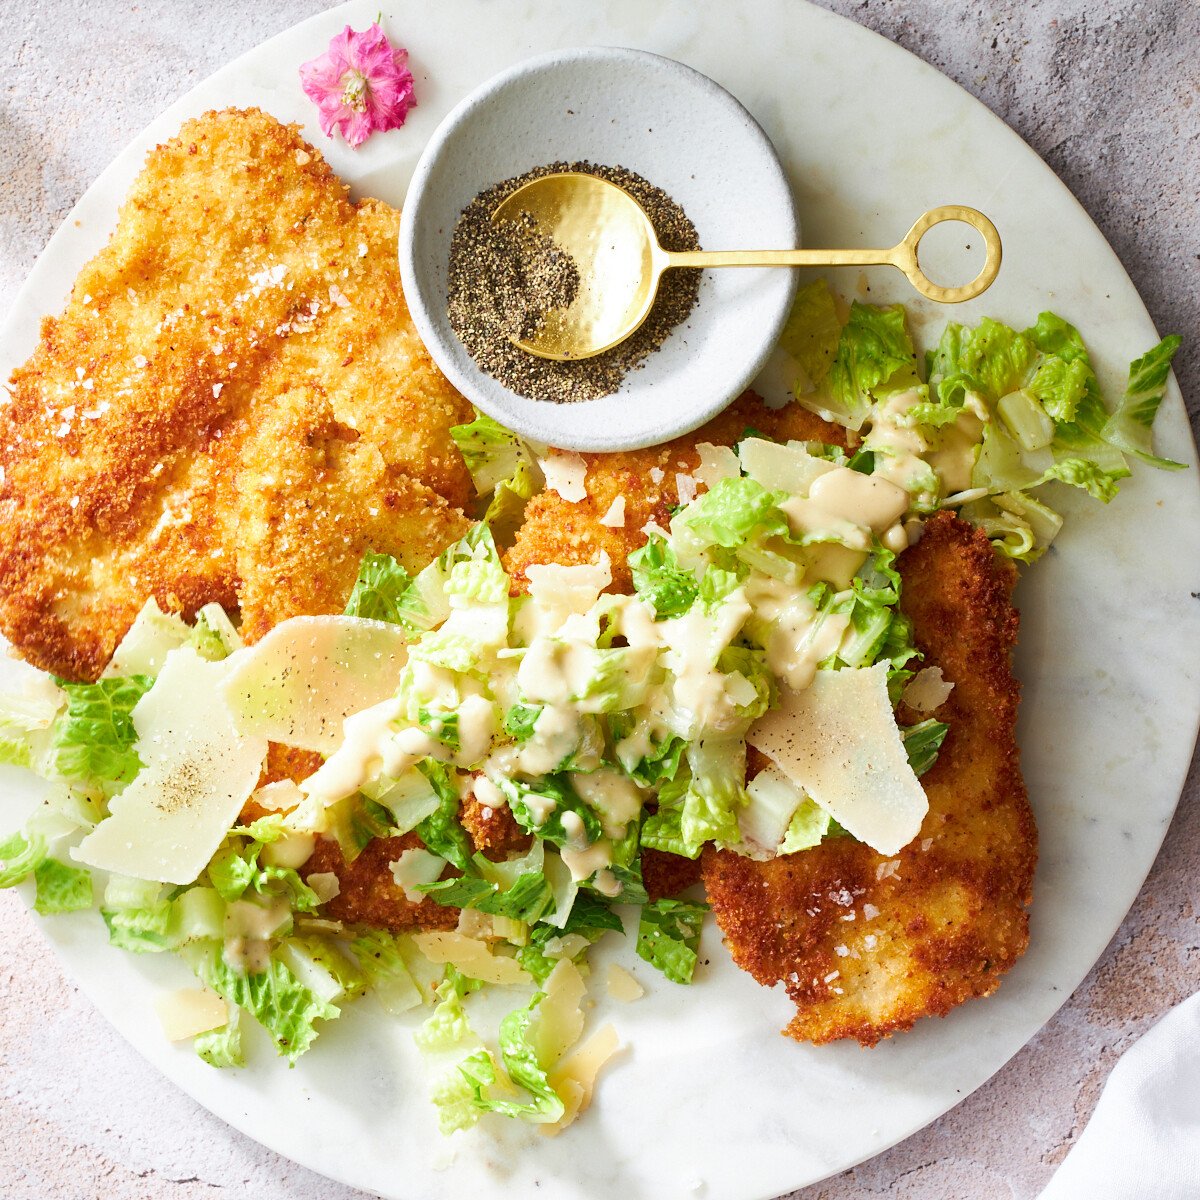 Prepare this crispy breaded chicken Milanese recipe for a hearty meal, and balance it out with a crisp, refreshing Caesar salad!
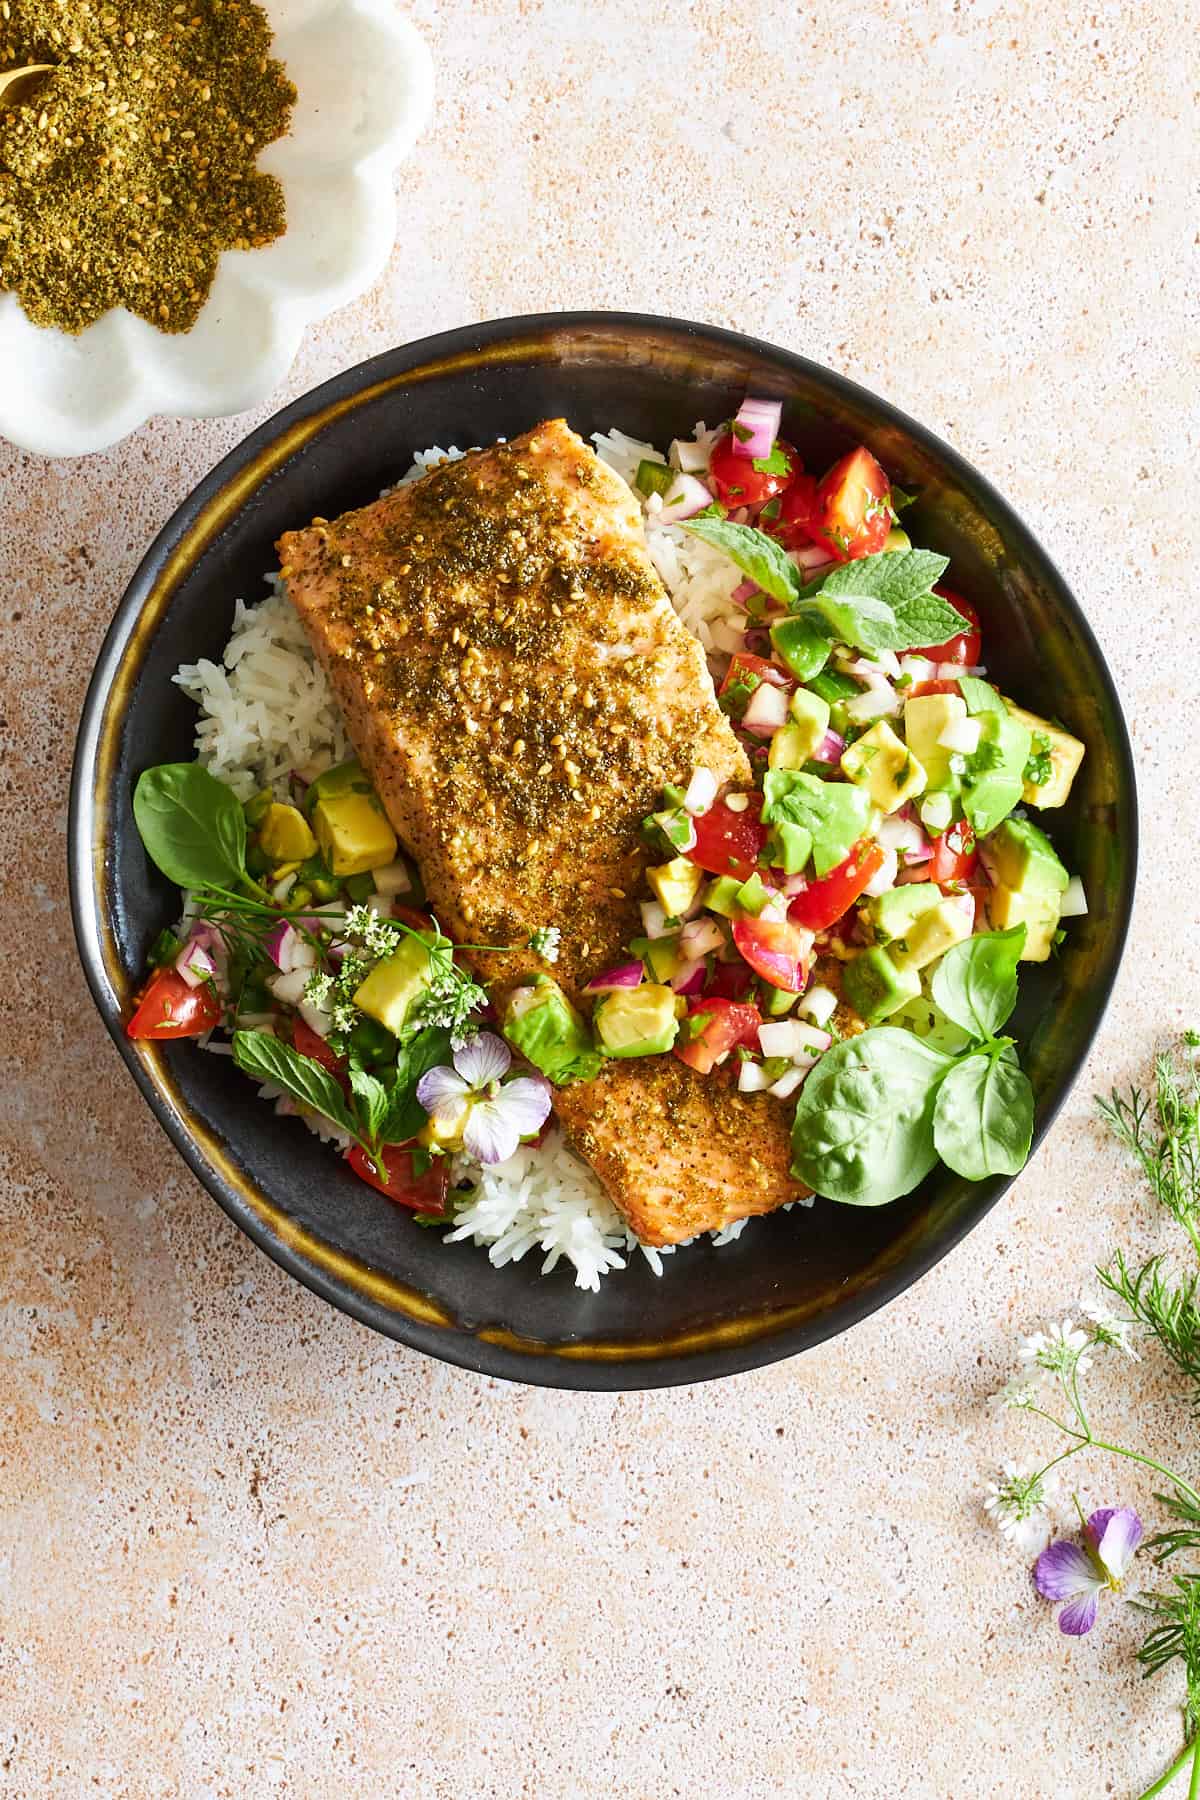 Learn how to make flakey baked salmon with za’atar and Egyptian avocado salsa for a healthy meal full of flavor!
 Take your grilling game to the next level with this restaurant-worthy grilled tomato basil chicken with burrata!