Biscuit Chicken Pot Pie
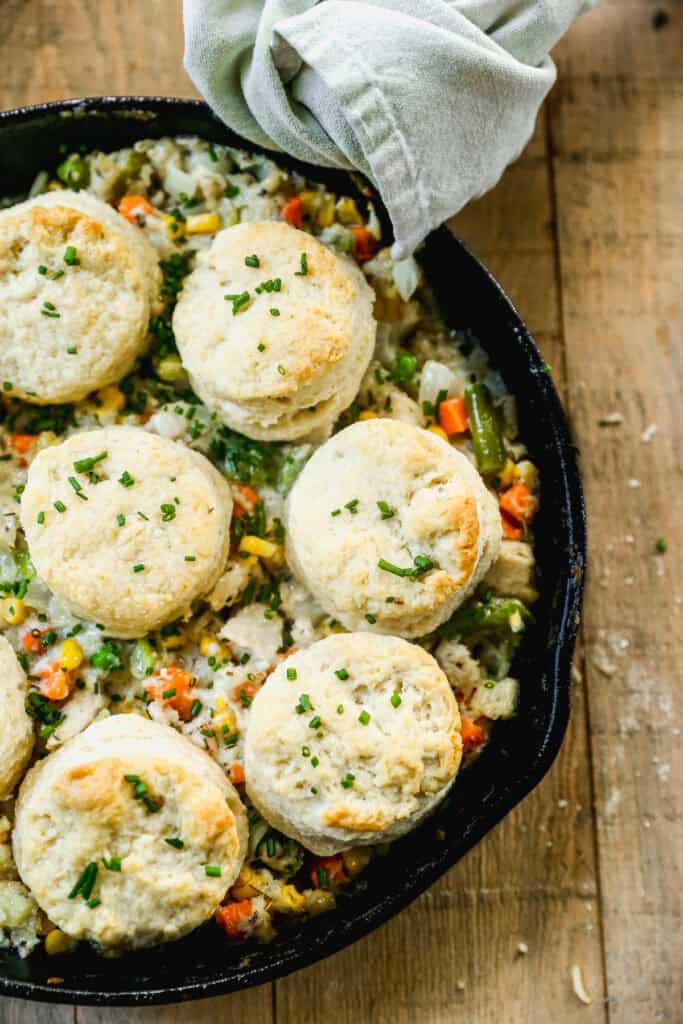 This easy Biscuit Chicken Pot Pie is our favorite way to make this ultimate comfort food, topped with golden, flaky biscuits instead of a pie crust. How to make Chicken Pot Pie with Biscuits: Cook Chicken: Season chicken with salt and pepper. Place in a saucepan, cover with water, and bring to a low boil.…