No-Bake Pumpkin Cheesecake Bars
 This no-bake pumpkin cheesecake bars recipe features a sweet, spiced Biscoff crust, a soft, pumpkin pie filling, and a Biscoff spread on top!
This no-bake pumpkin cheesecake bars recipe features a sweet, spiced Biscoff crust, a soft, pumpkin pie filling, and a Biscoff spread on top!
 Skip the restaurant, and make this easy baked chicken parmesan recipe at home in just over 30 minutes instead!
 The perfect fall dessert, these apple oatmeal cookies feature warm spices, sweet apple chunks, chopped nuts, and a tangy cream cheese icing!
 This creamy cheesy potato soup is packed with warm spices, tender chunks of potatoes, and cheese for an easy comfort food you’ll love!
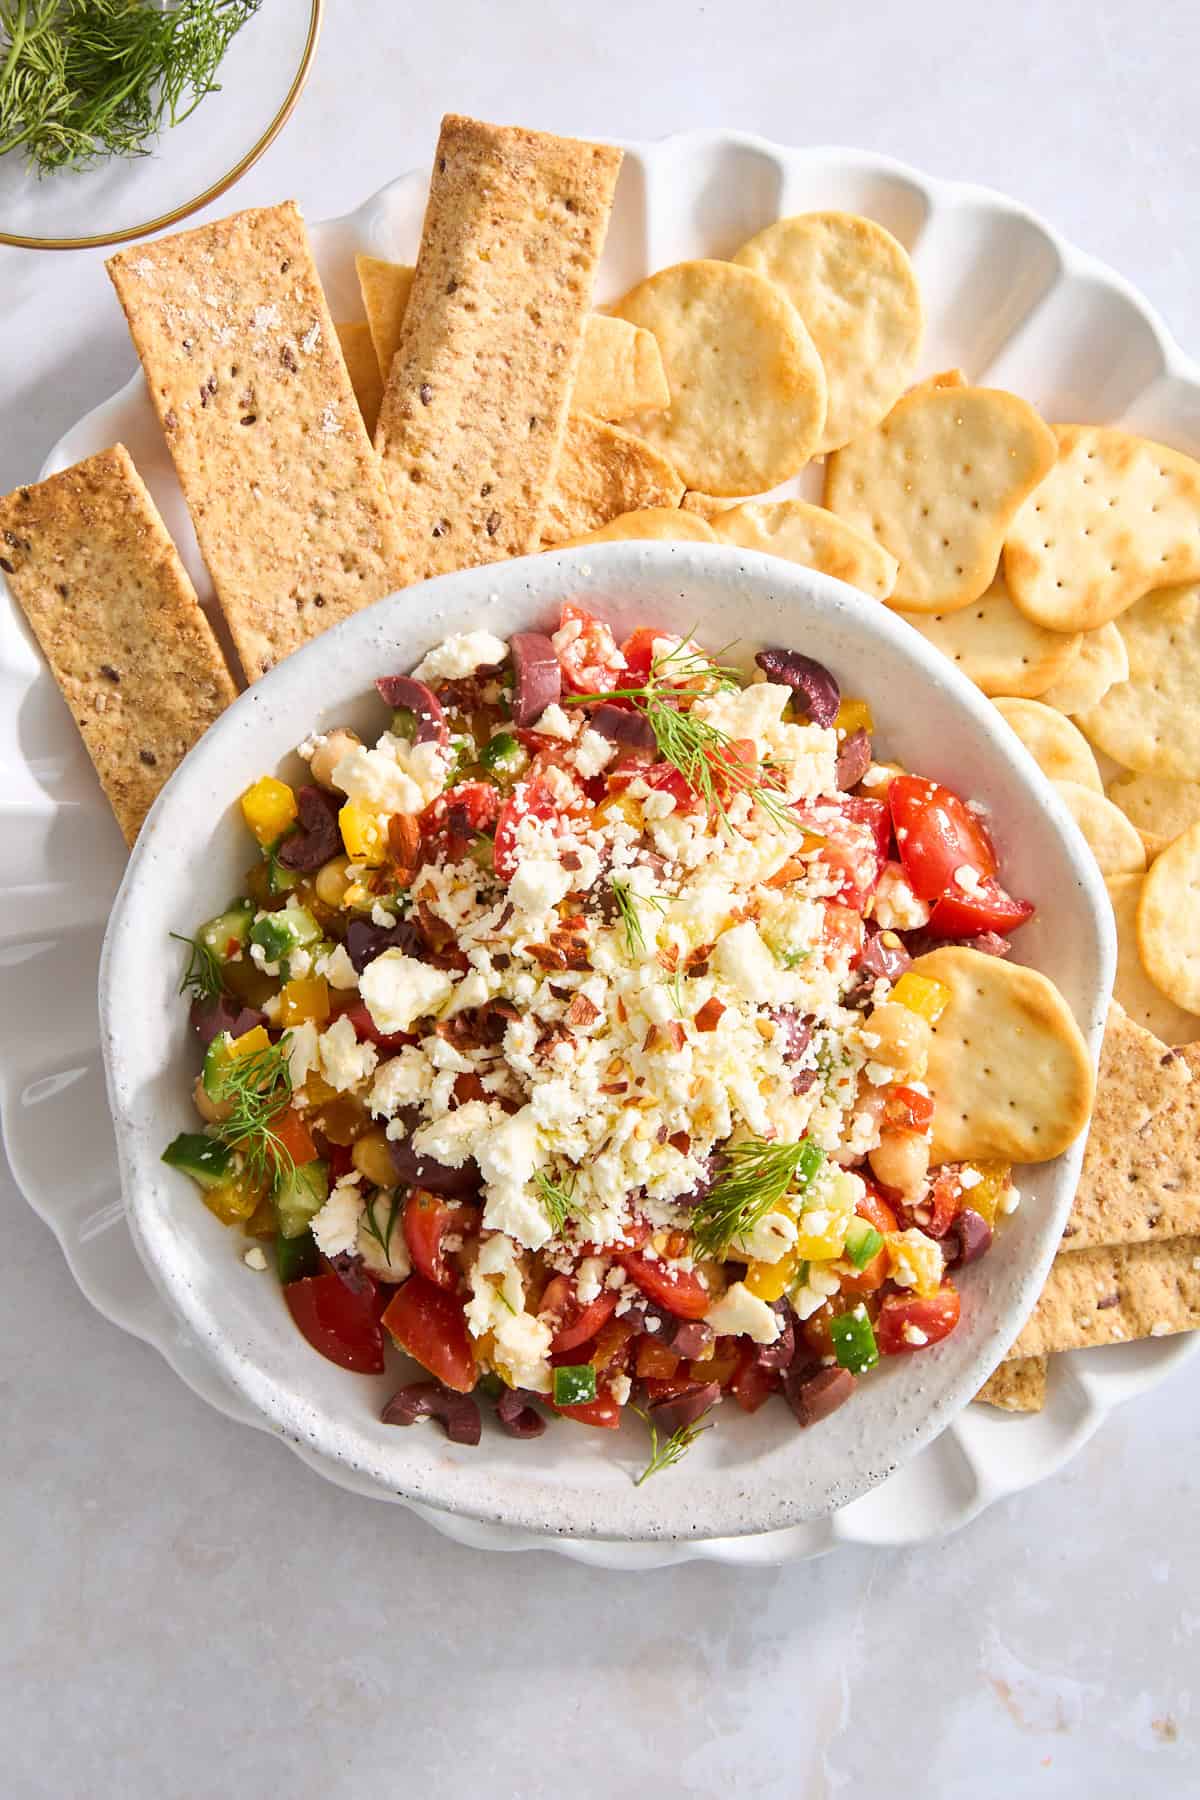 Make this Mediterranean feta dip recipe with a handful of ingredients in five minutes for a nutritious, flavorful appetizer or snack!
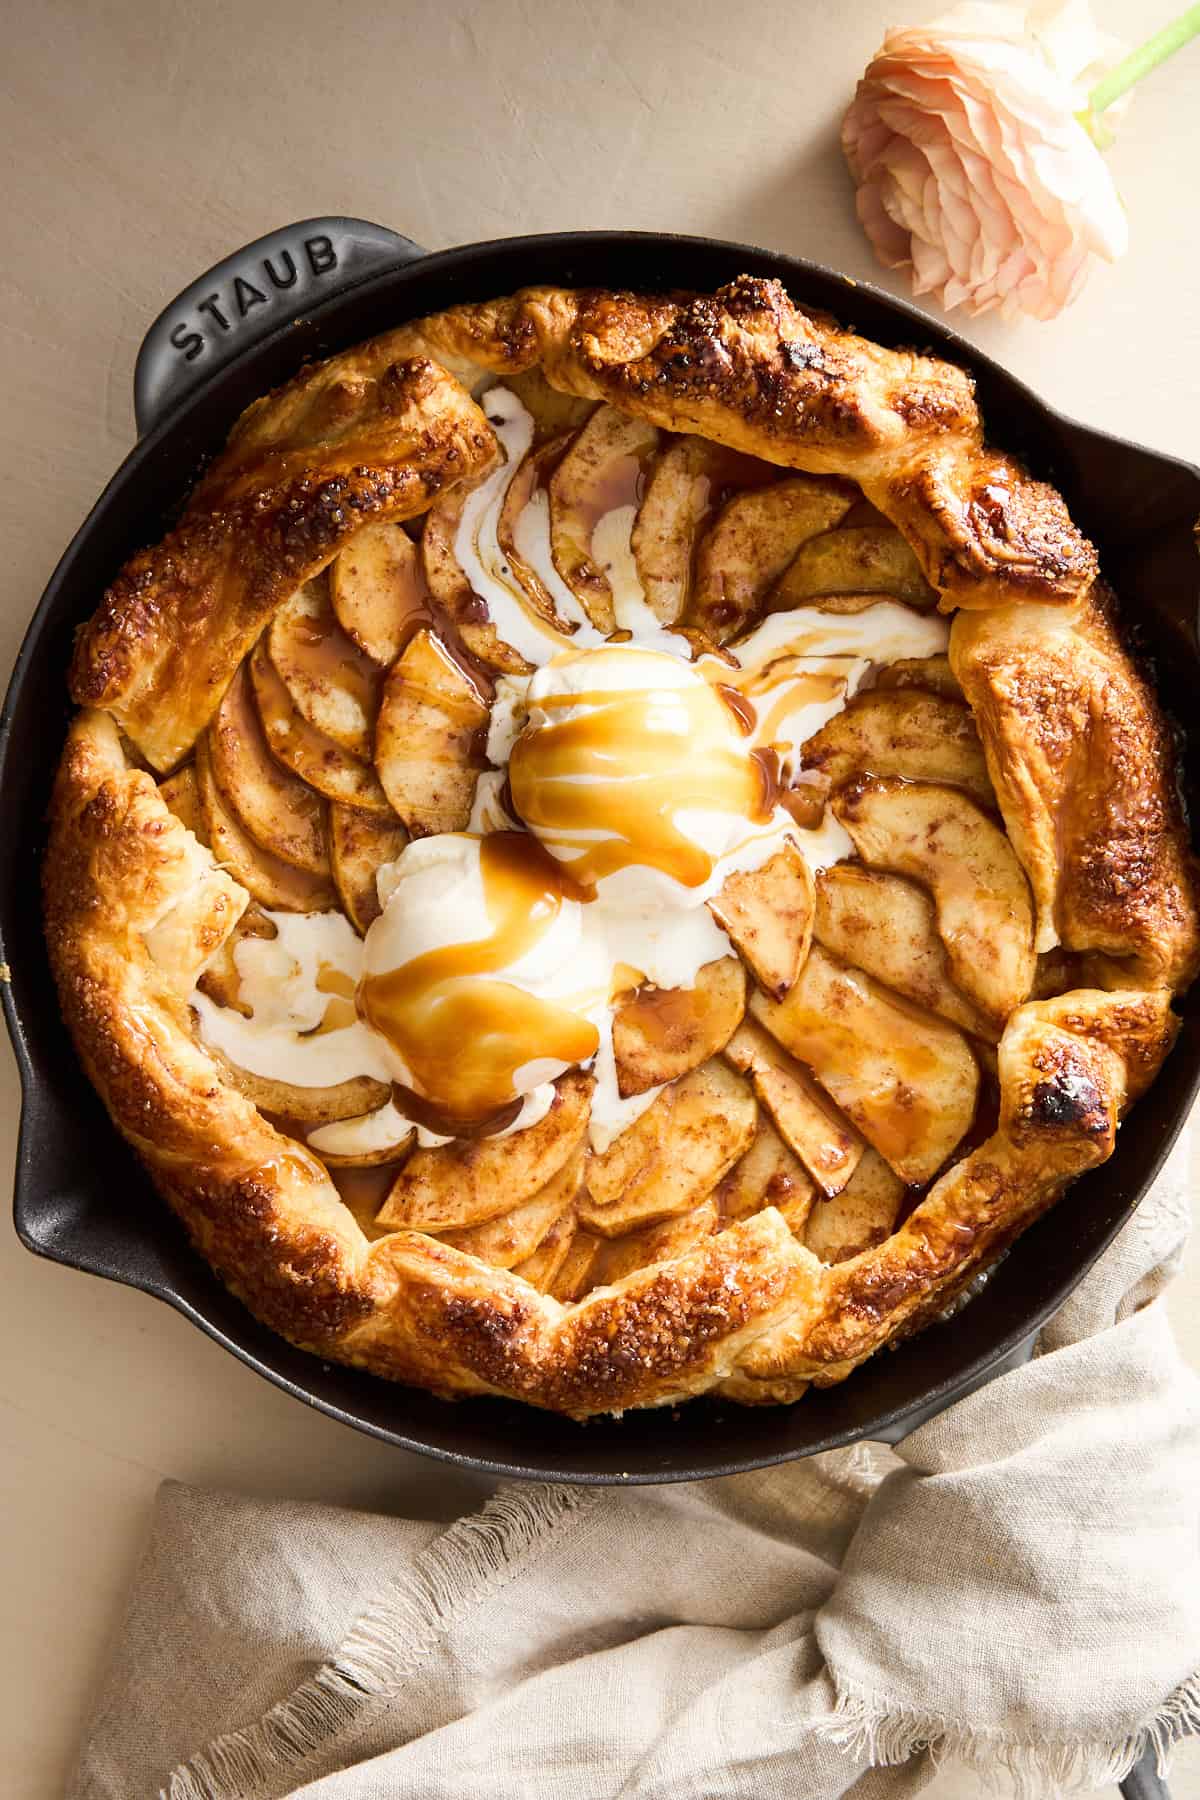 Learn how to make this easy apple galette with puff pastry and a sweet apple filling for a quick, crowd-pleasing dessert!
 Make these hot honey feta phyllo rolls with just six ingredients for a show-stopping appetizer or snack that’s sweet, savory, and delicious!
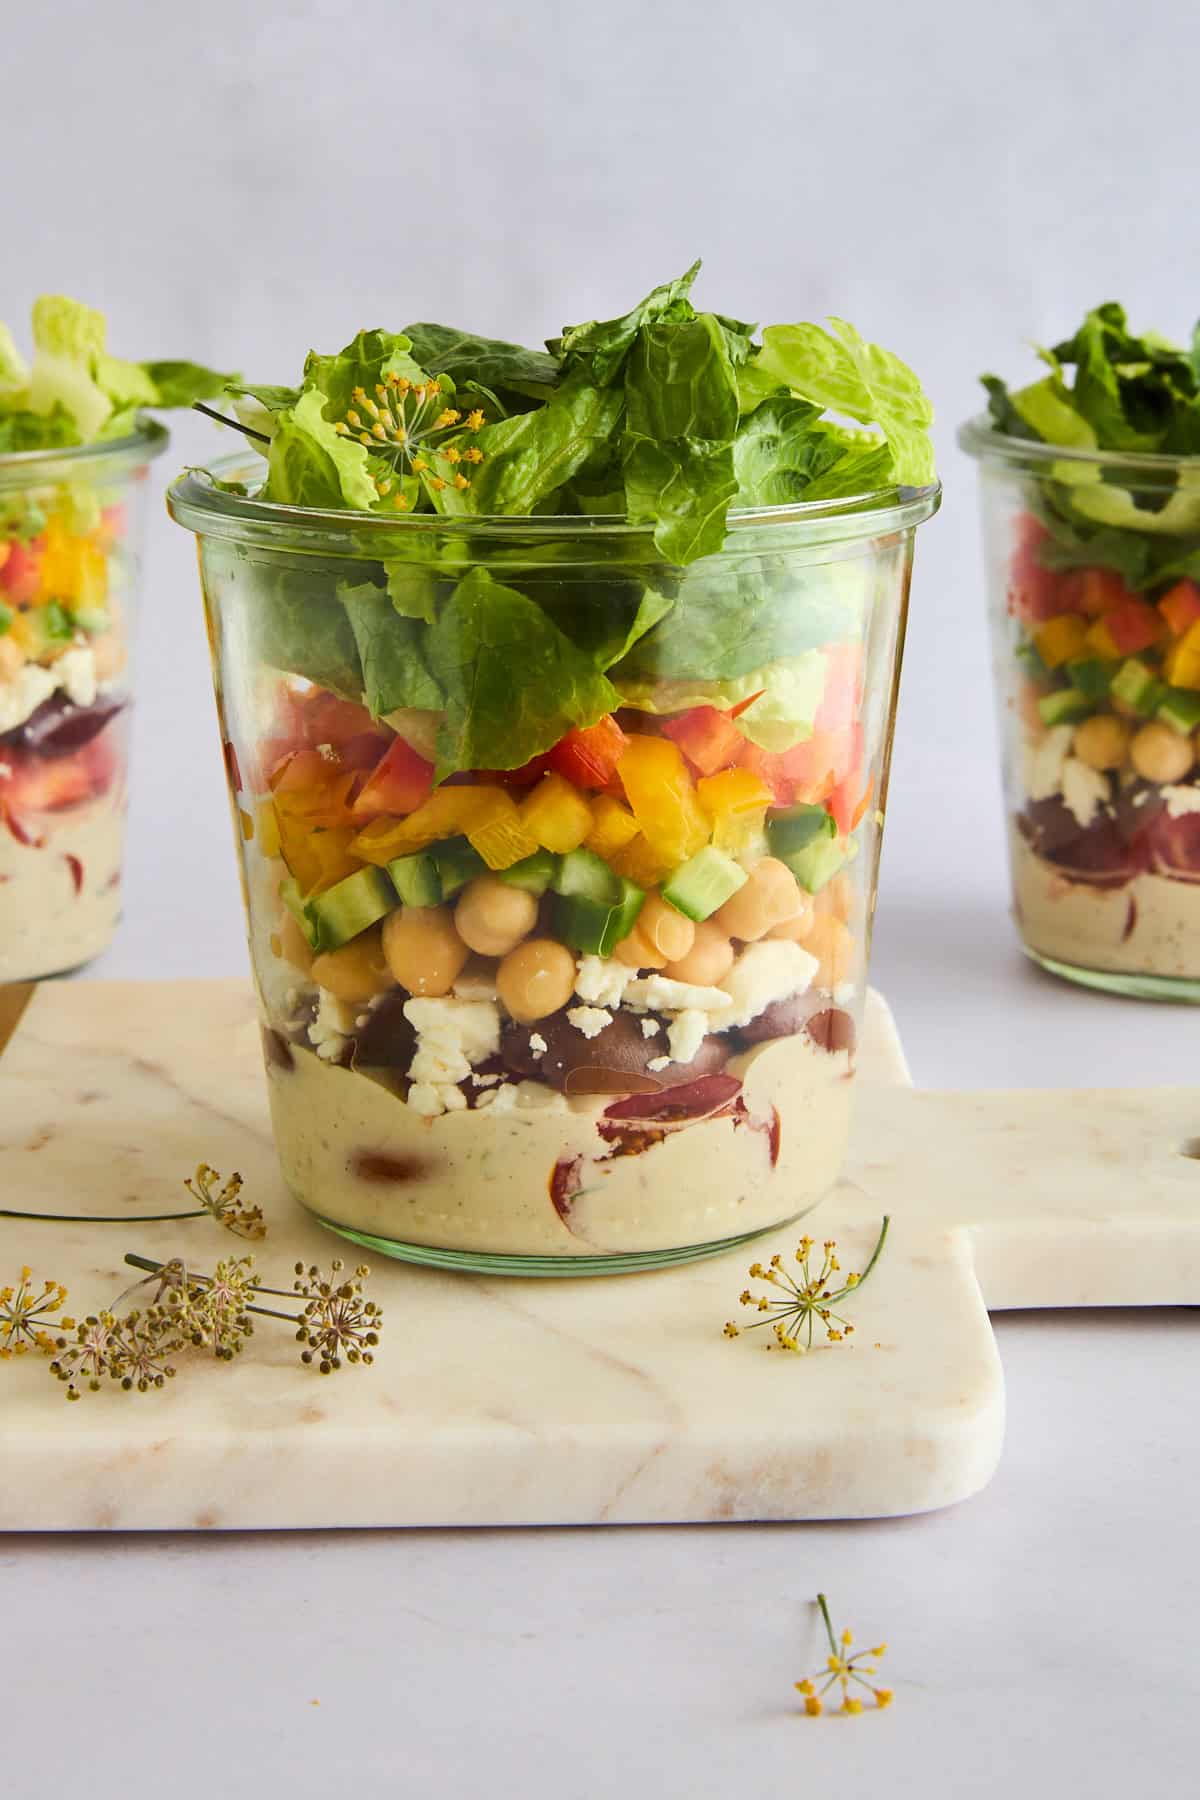 Make this mason jar Greek salad recipe with fresh veggies and creamy tahini dressing for a delicious, healthy meal prep option!
 This chickpea and roasted carrots with whipped feta dip is sweet, spicy, creamy, and so easy to make for a nutritious snack or appetizer!
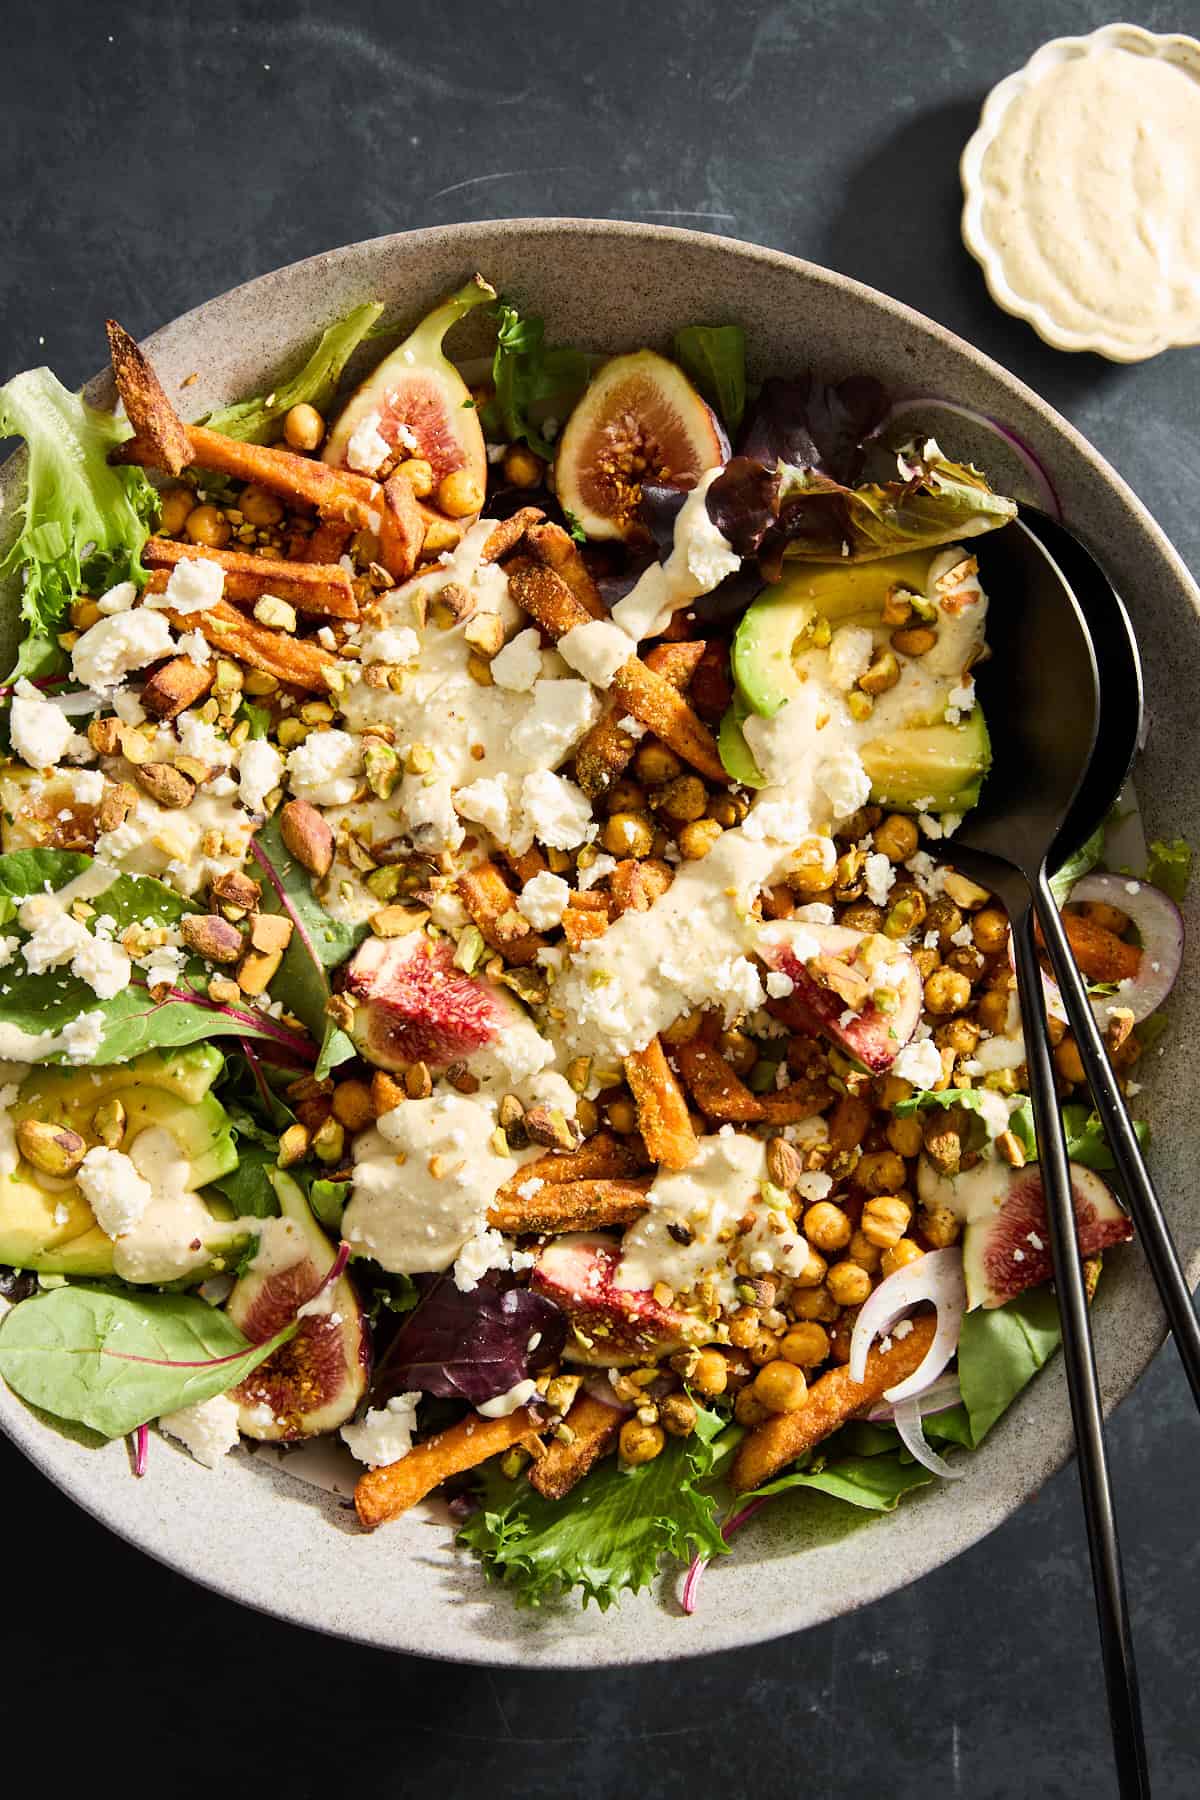 This fig salad combines crispy chickpeas, roasted carrots, sweet figs, and a creamy tahini dressing for a healthy meal you’ll love!
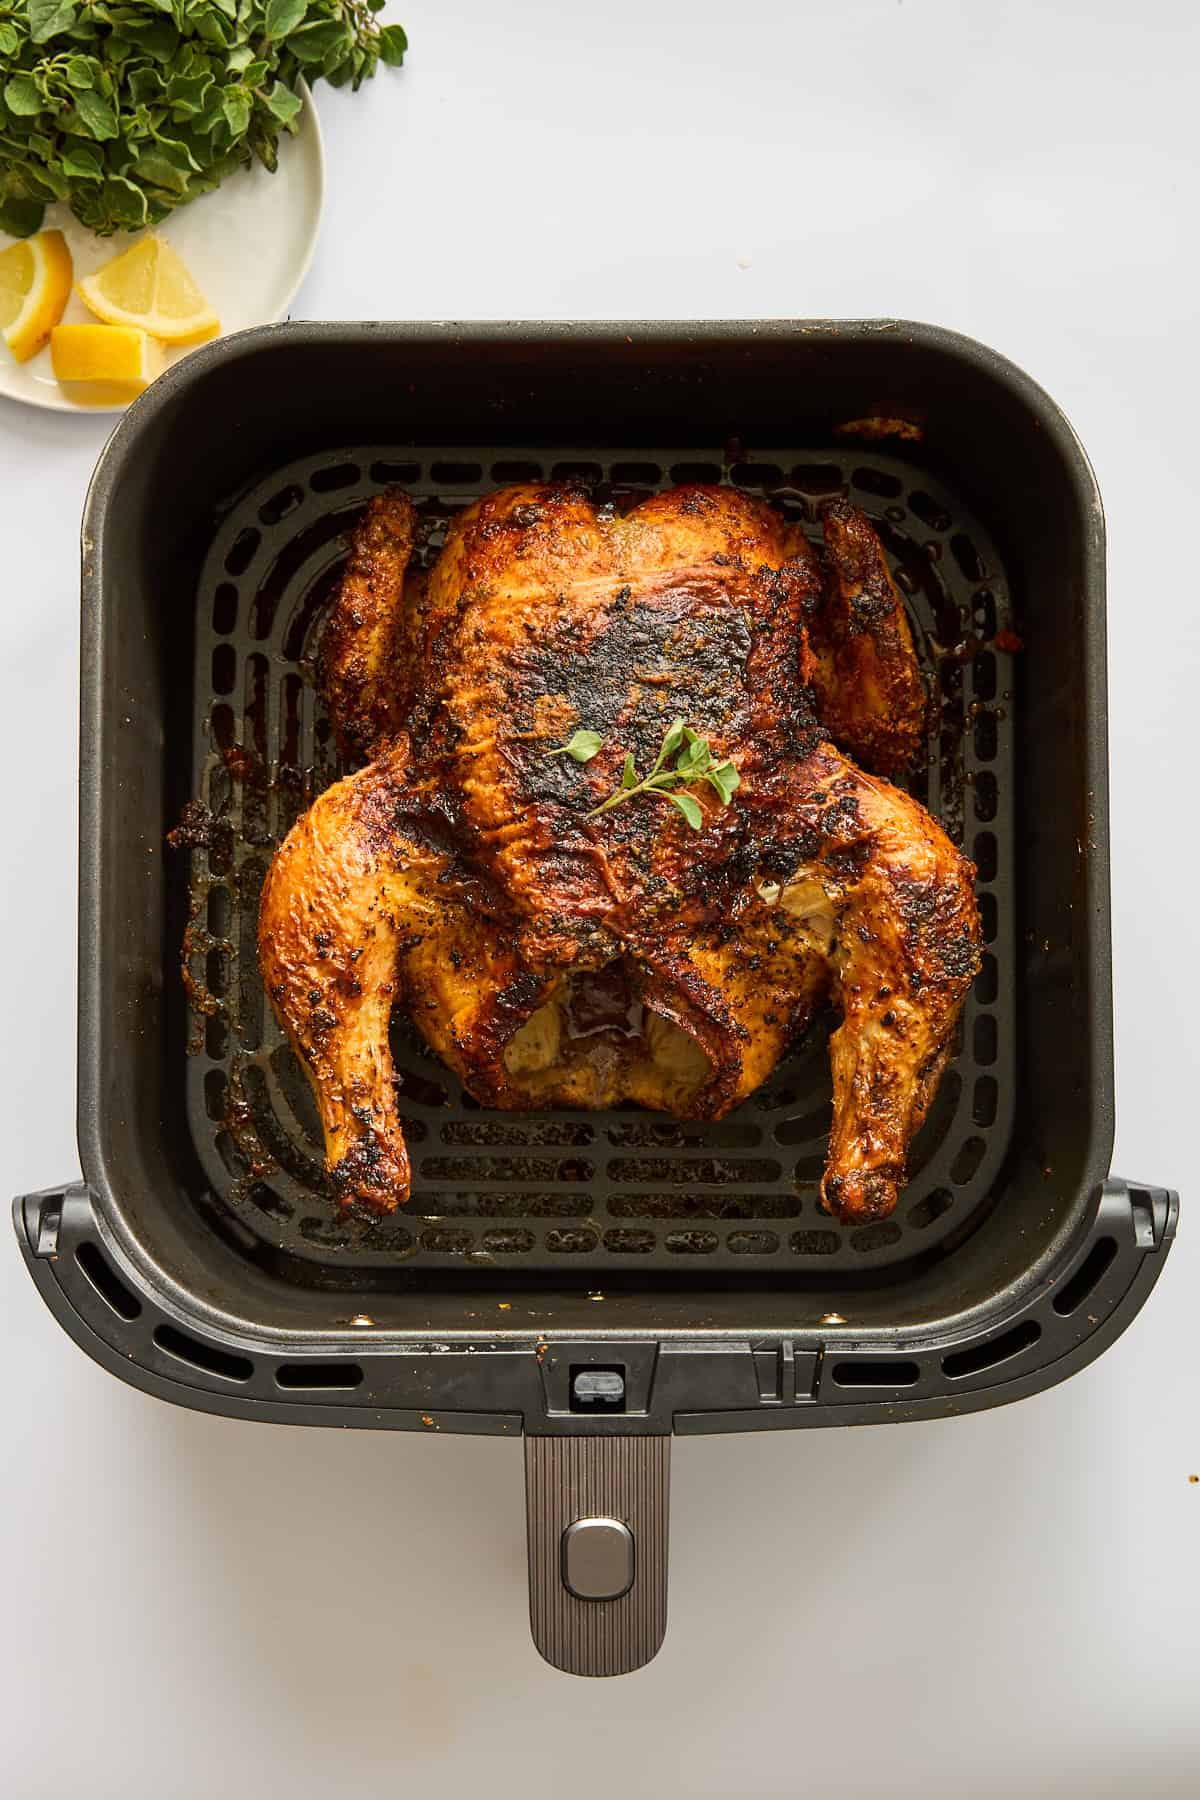 Say goodbye to bland chicken, and learn how to make a tender, juicy, flavorful air fryer whole chicken with simple steps in about an hour!
 Put those fall apples to good use with this sweet apple crumb cake featuring a soft texture and a delicious brown sugar crumb topping!
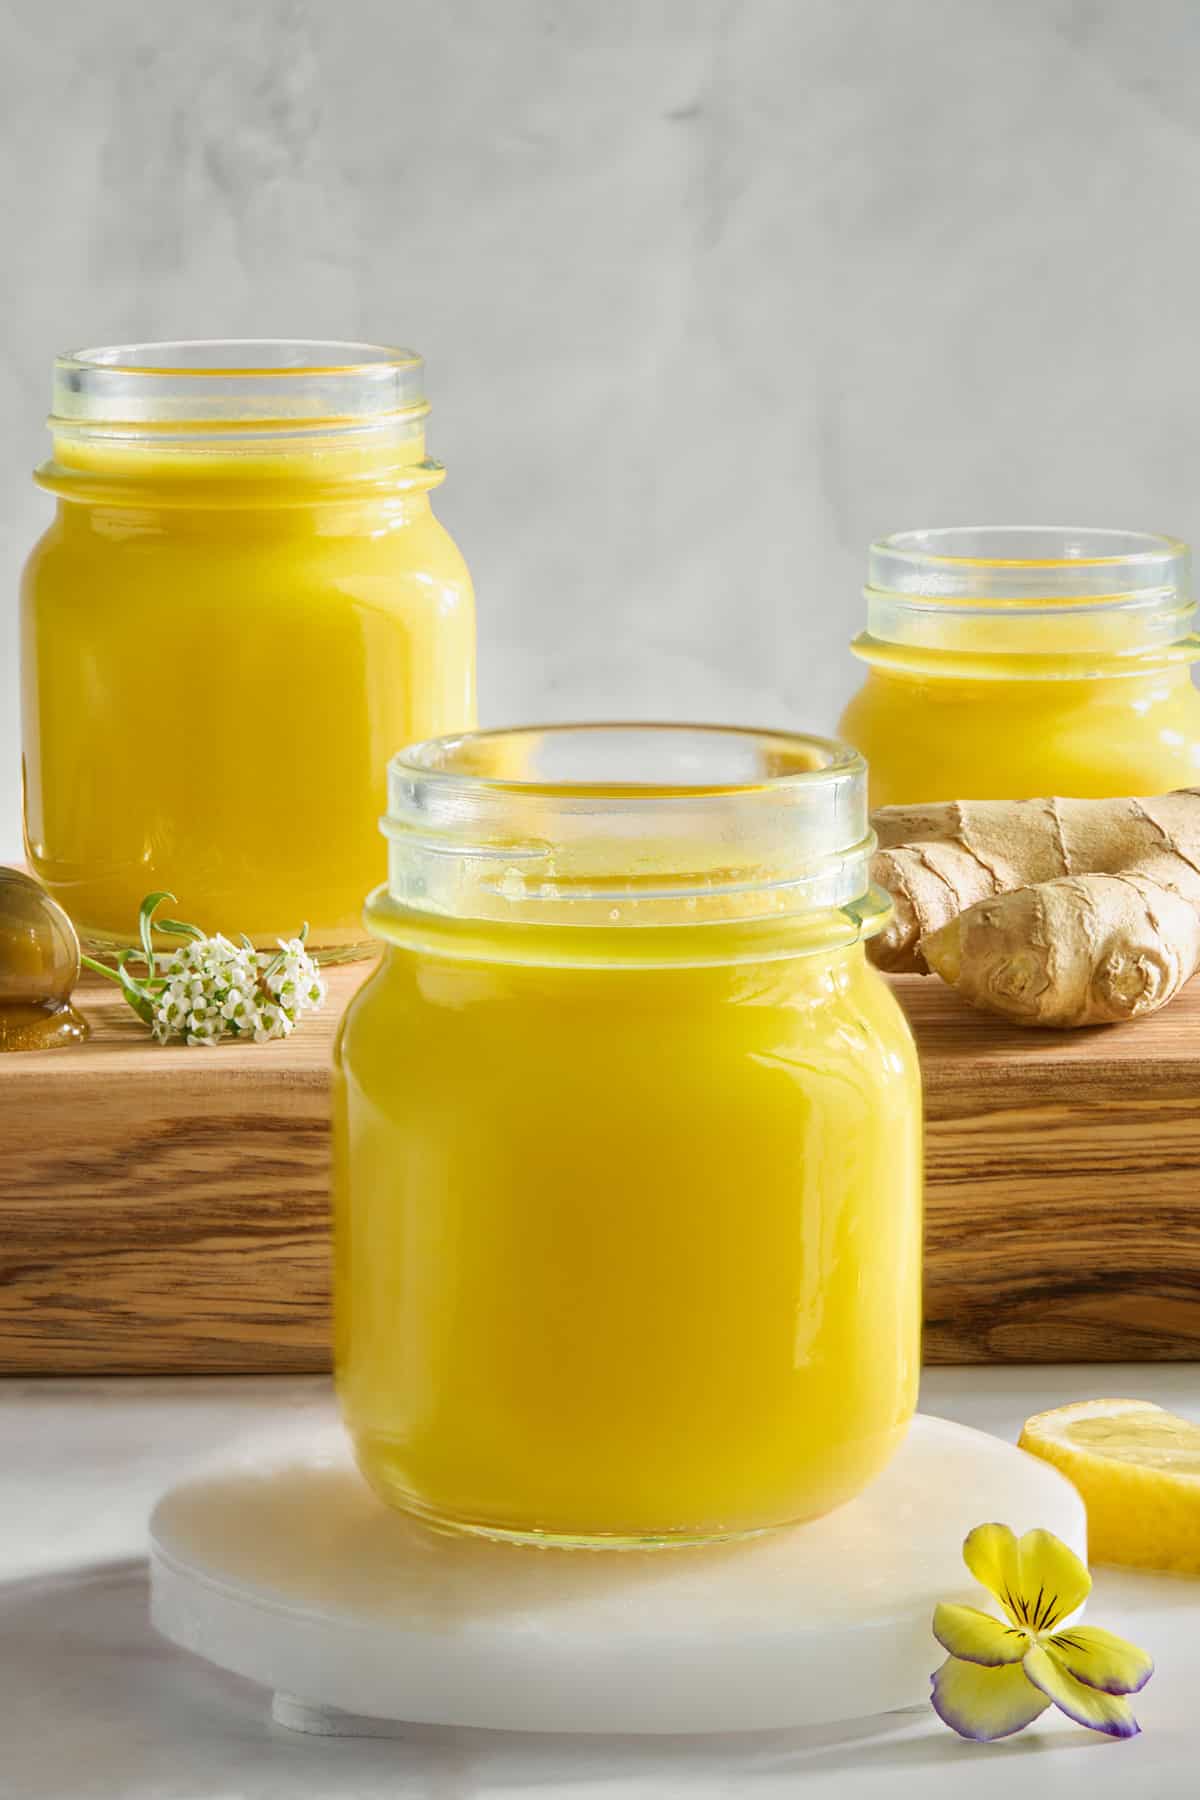 Support your immune system and reduce inflammation with this quick and easy homemade ginger turmeric shots recipe!
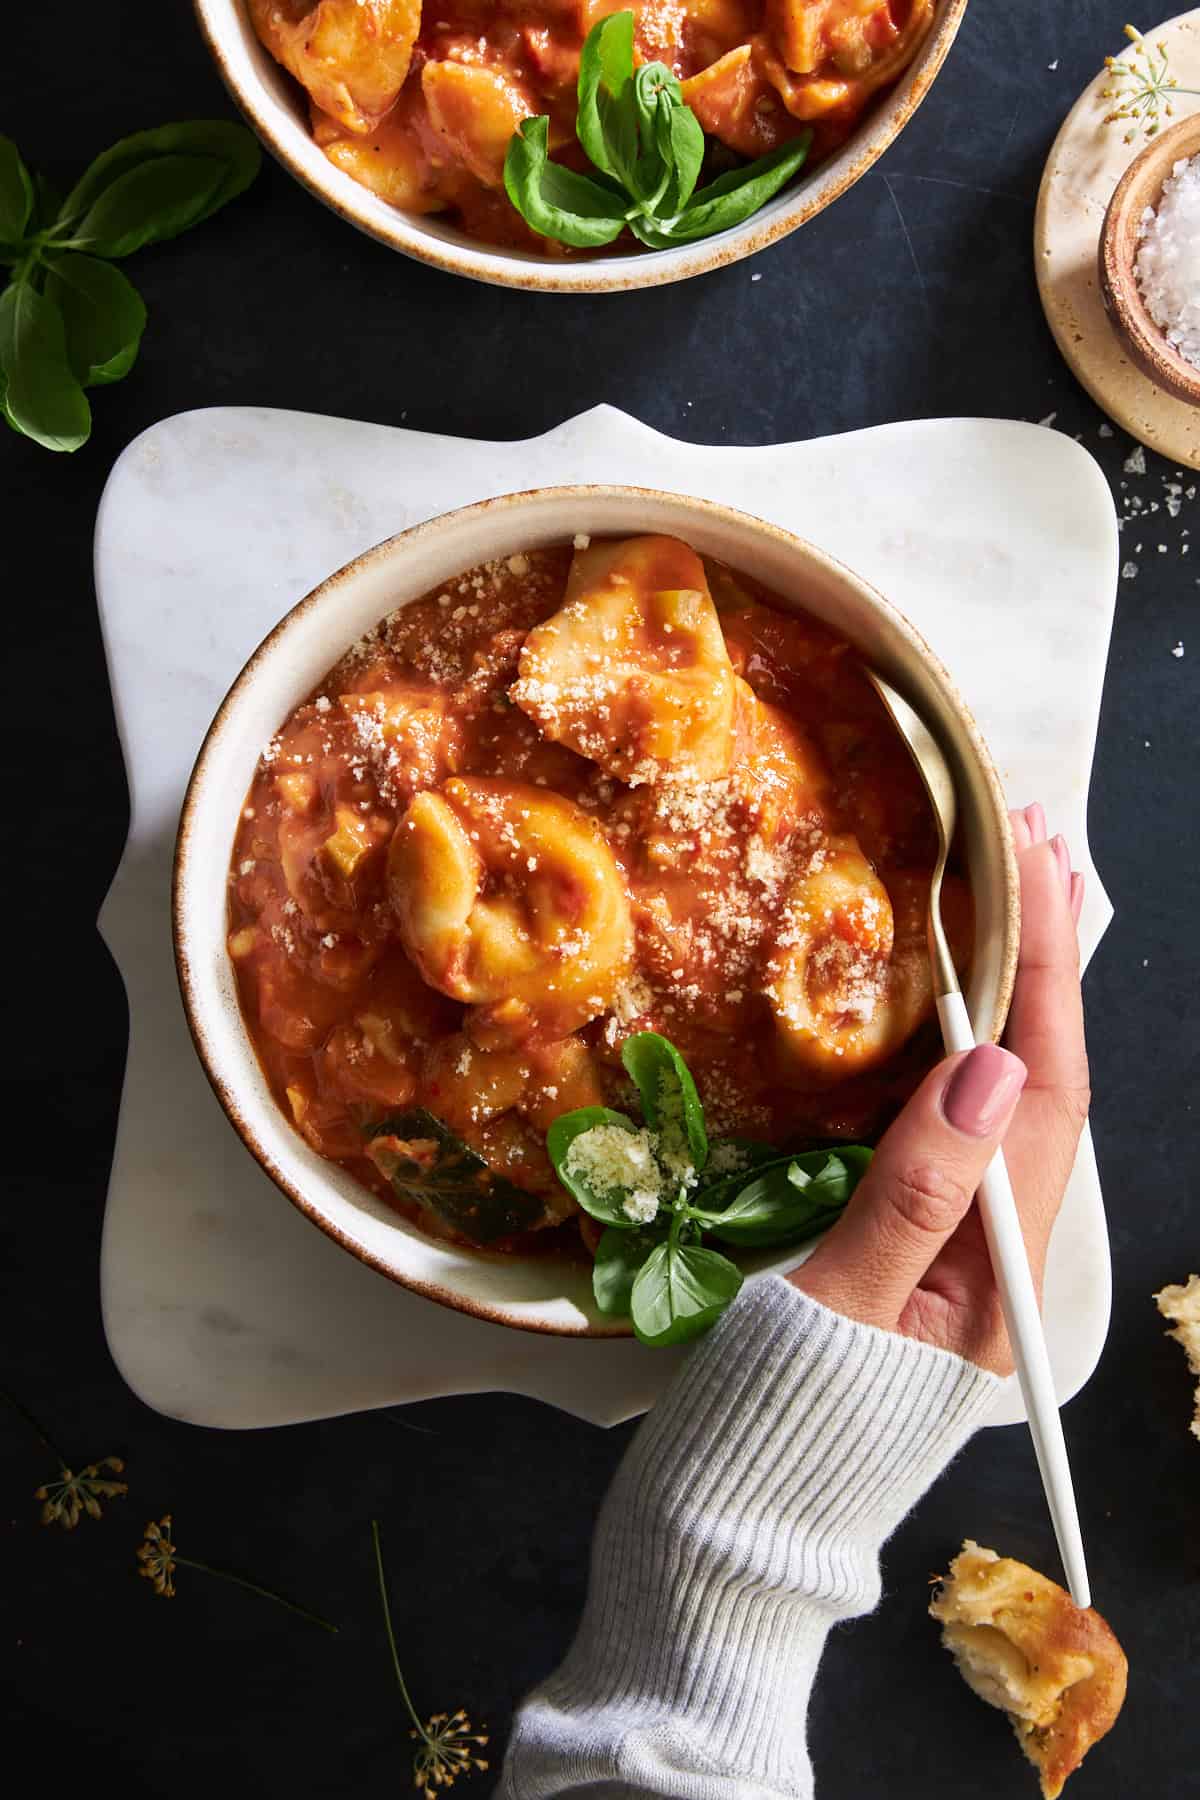 Make this cheese tortellini soup recipe in one pot for a hearty comfort food meal secretly full of veggies!
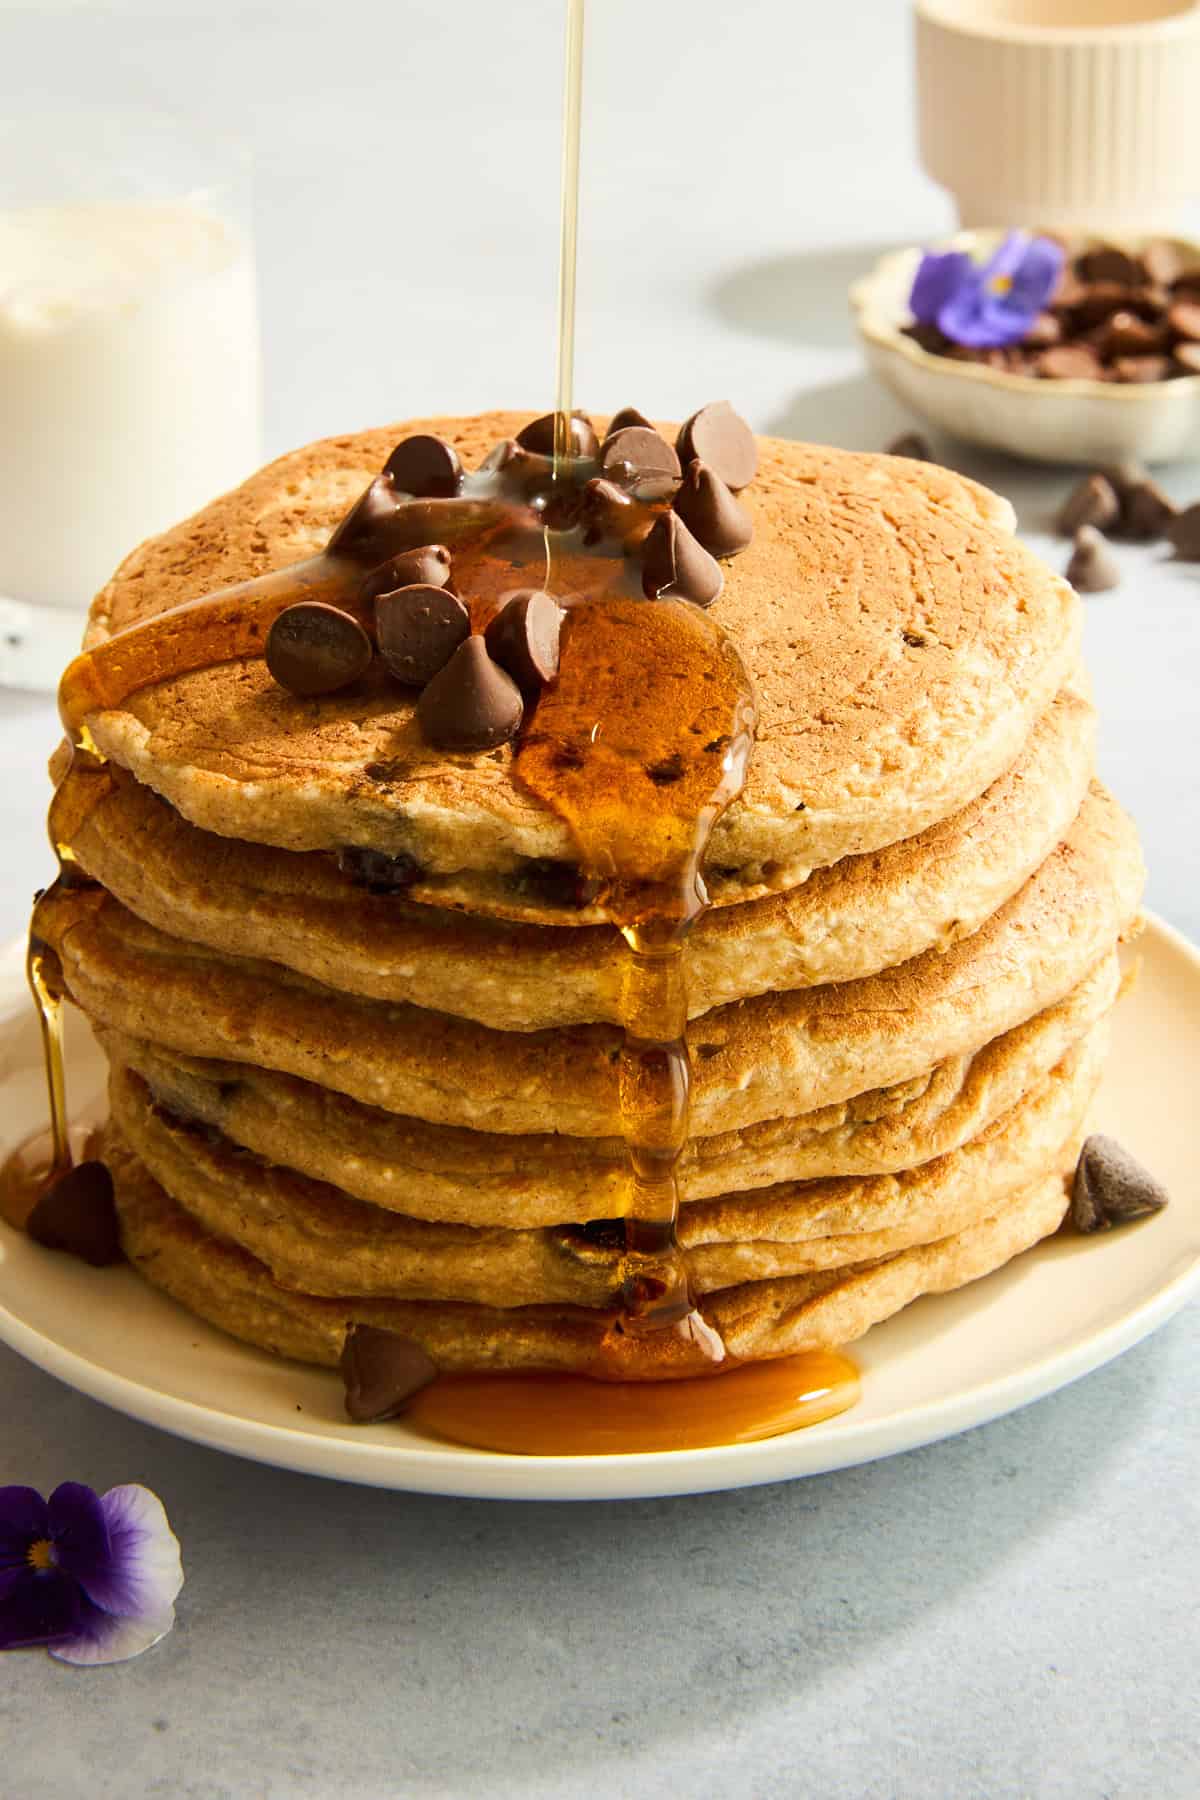 These chocolate chip protein pancakes come together with six ingredients and no protein powder for a sweet breakfast you can feel good about!
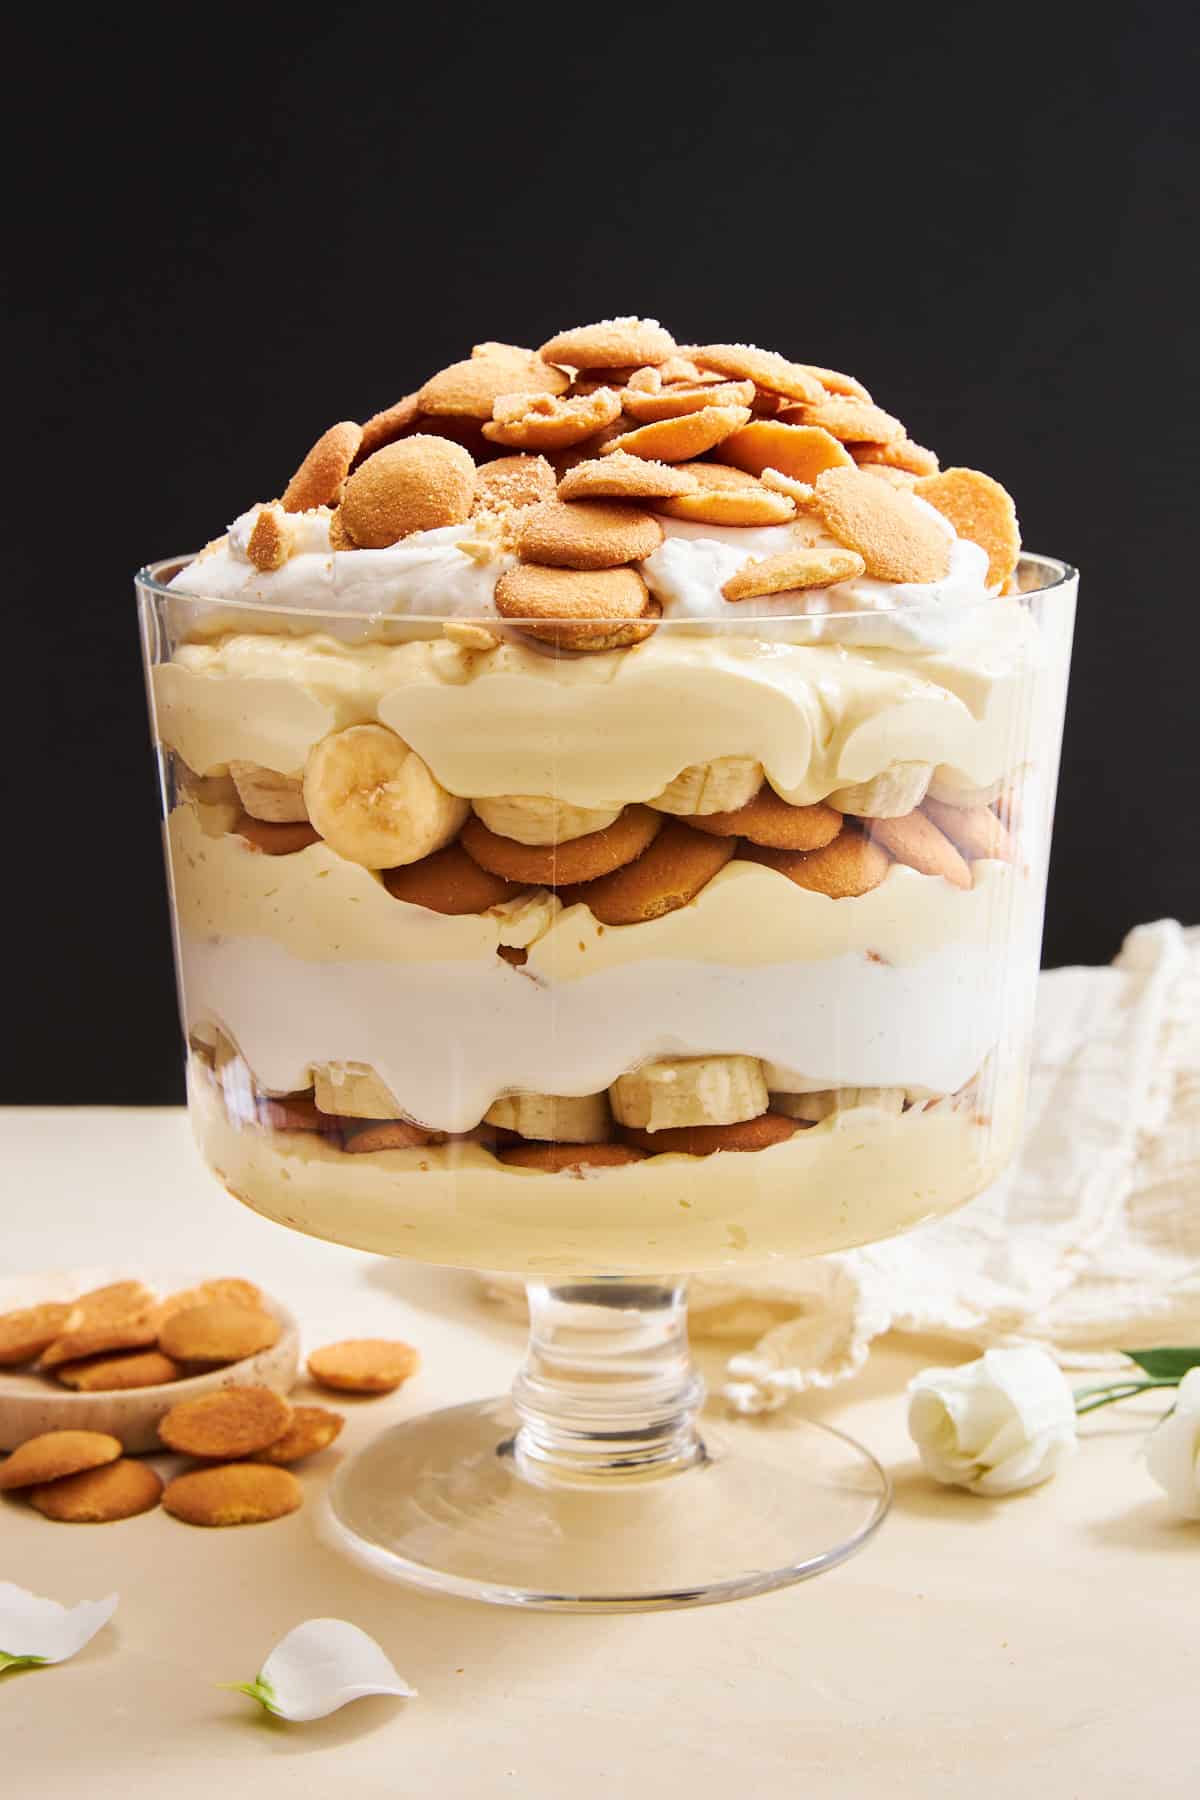 Make this easy banana pudding recipe with just six ingredients and simple steps for a failproof classic dessert everyone loves!
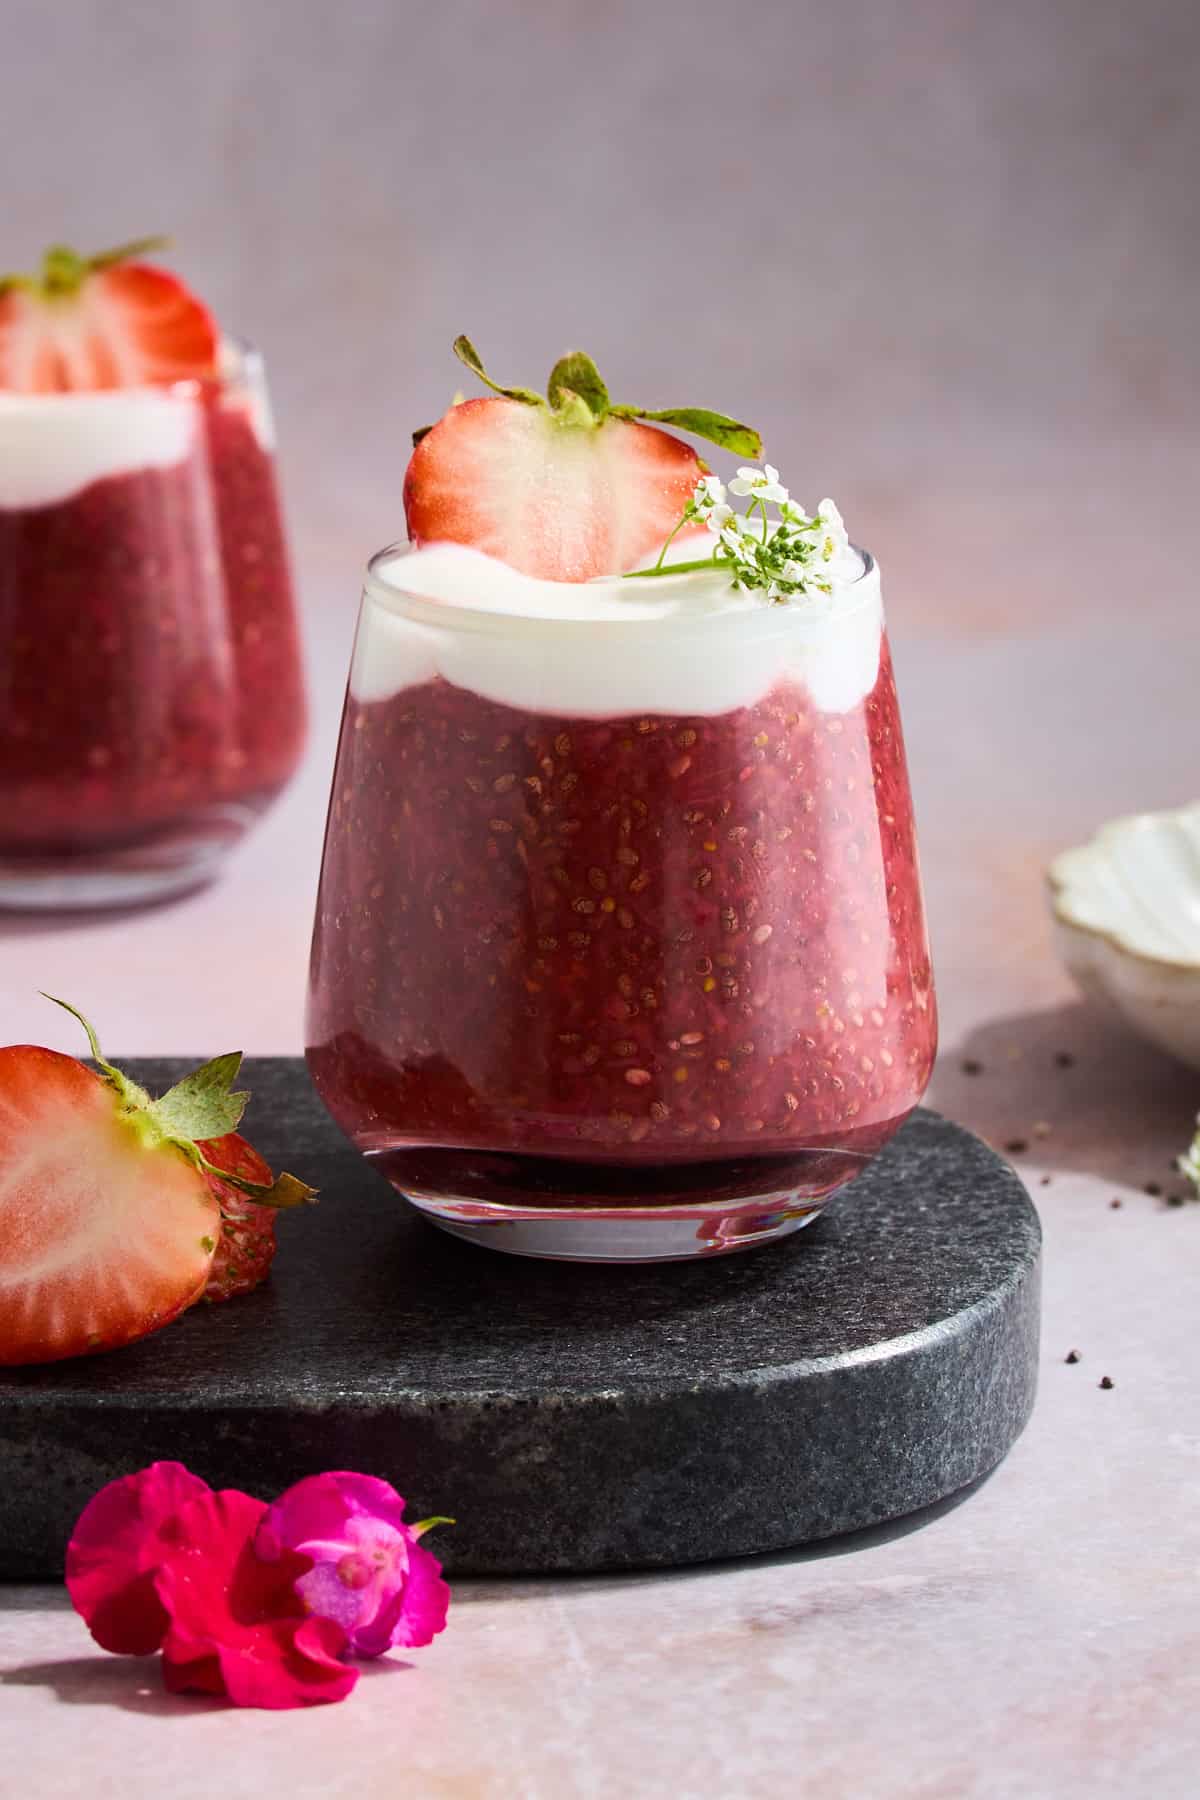 Prepare this easy strawberry chia pudding recipe with just six ingredients for a nutritious make-ahead breakfast or snack!
 Sweet, tangy, creamy, and crisp, this strawberry ricotta toast recipe has it all and is perfect for a quick breakfast or snack!
 Find a collection of irresistibly delicious desserts to satisfy all your sweet tooth cravings and celebrate every occasion!
 Apple cinnamon french toast is sweet, perfectly spiced, and easy to make in advance for a breakfast you’ll look forward to eating!
 Skip the takeout, and make these crispy garlic parmesan chicken wings in the air fryer in less than 30 minutes instead!
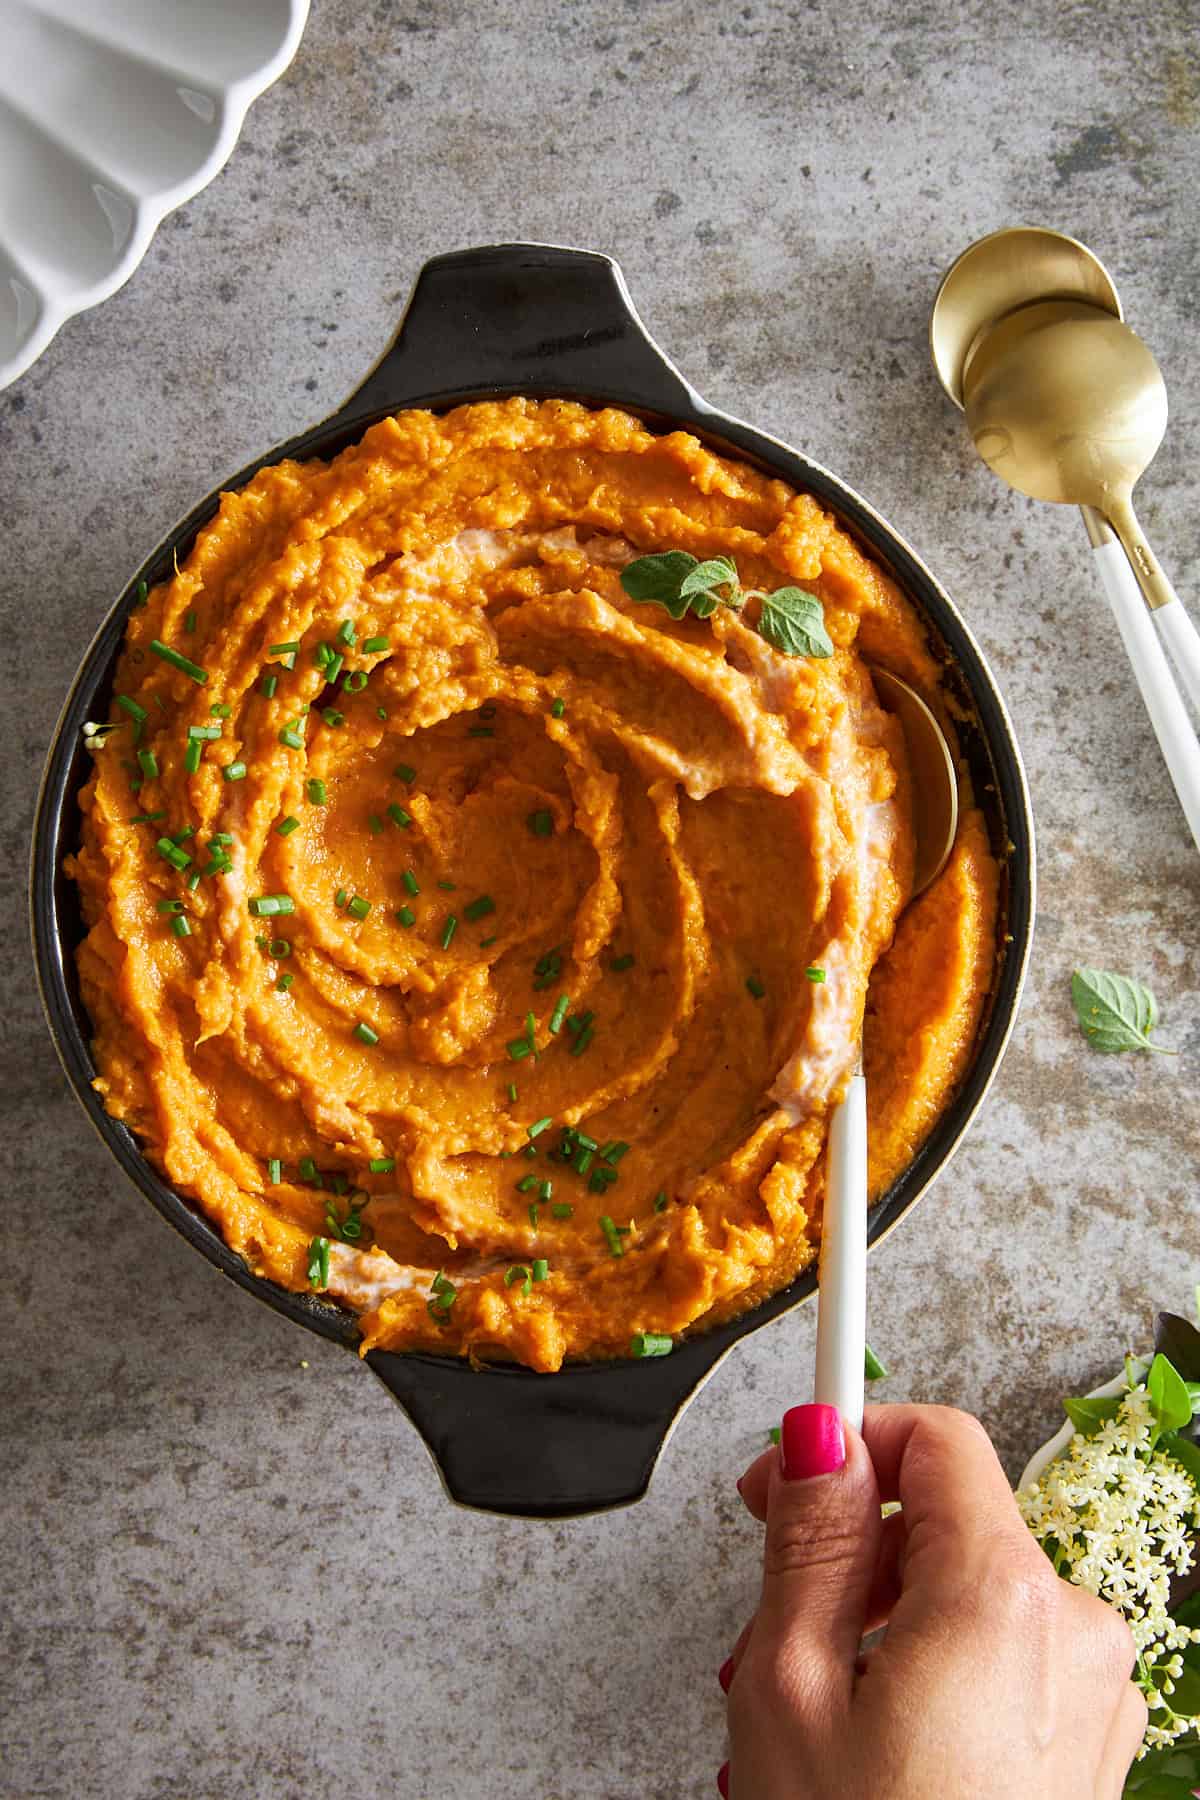 This dairy free mashed sweet potatoes recipe uses coconut milk, maple syrup, and spices to create a sweet side dish with lots of warmth!
 Learn how to make easy chicken noodle soup with ditalini in one pot in under an hour for the ultimate comfort food!
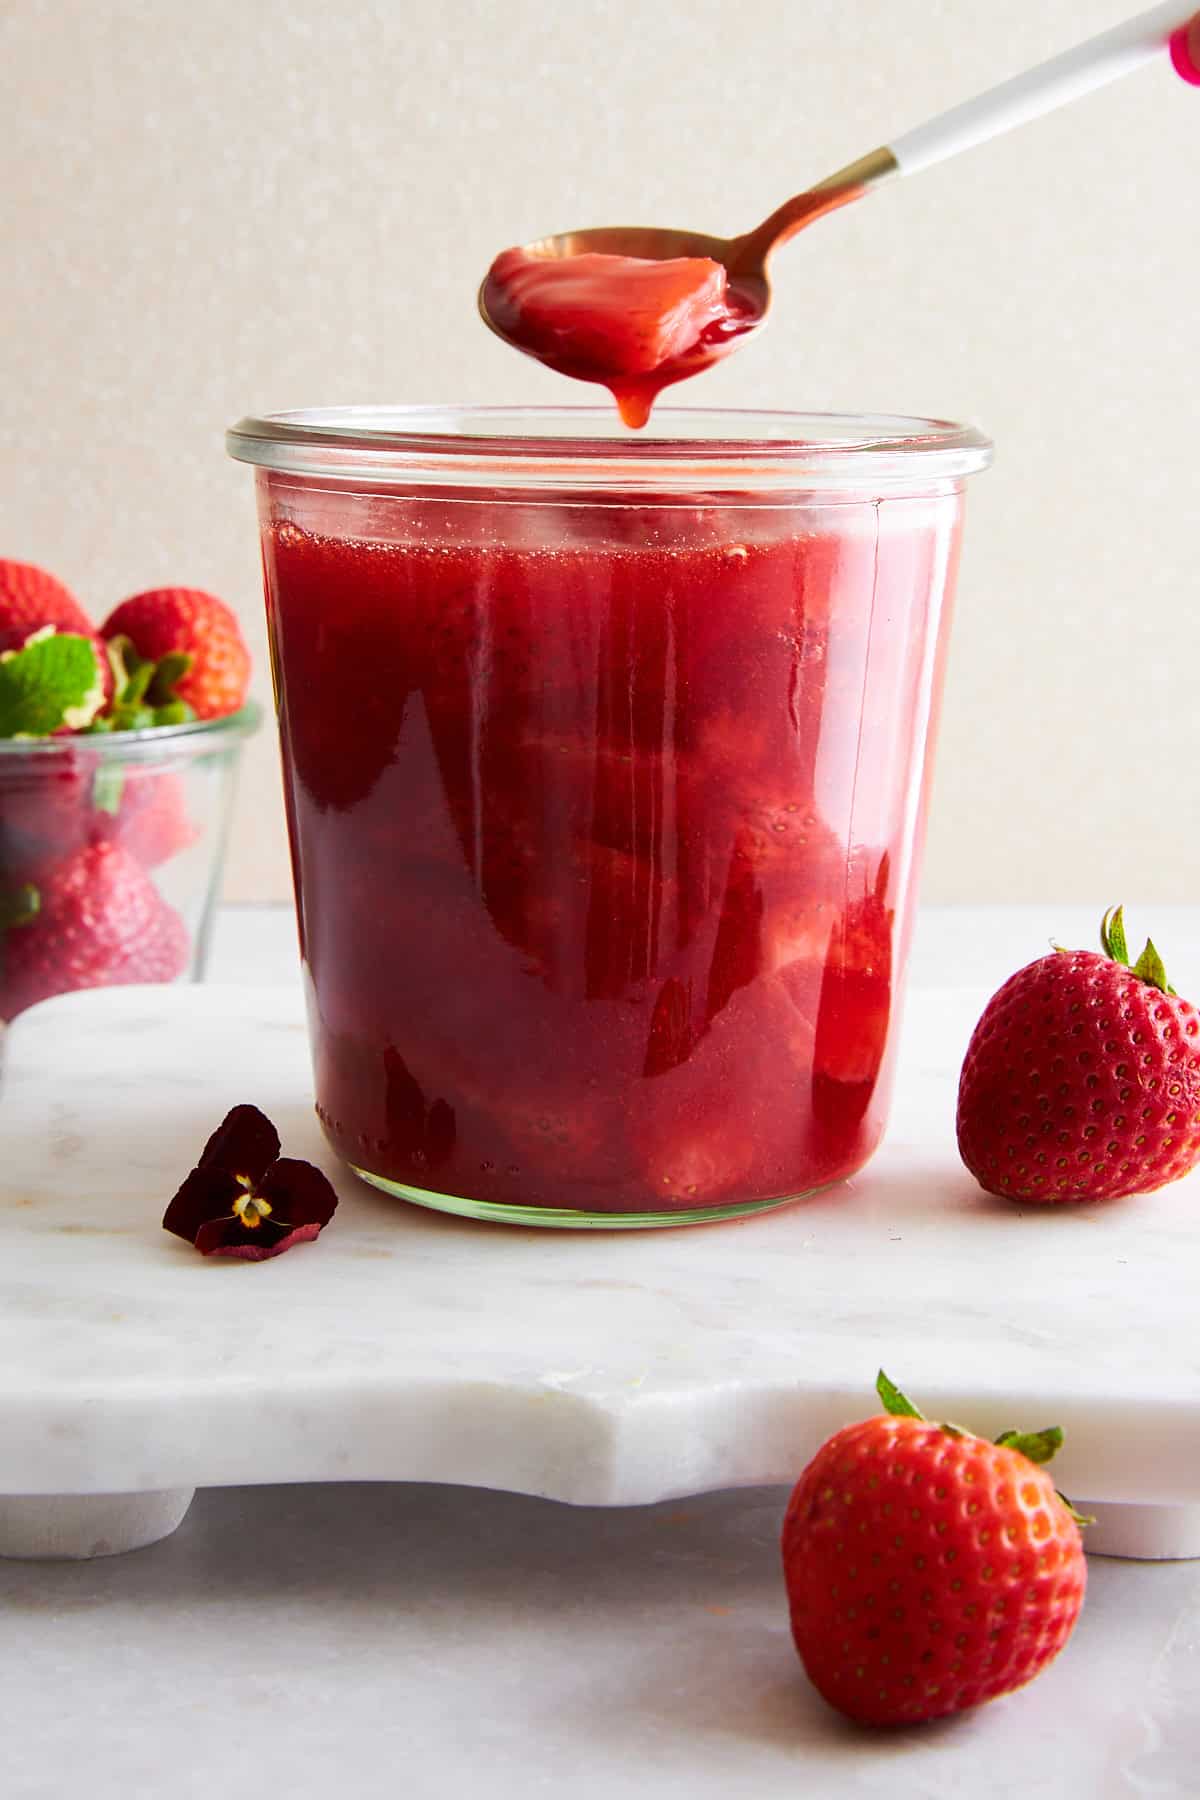 Make this easy strawberry sauce recipe with just 5 ingredients in 10 minutes to add sweet fruity flavor to all your favorite meals!
 Enjoy all the warm, savory flavors of koshary in an easy-to-make Egyptian pasta dish for a hearty comfort food everyone will love!