Layered Taco Dip
 Make this layered taco dip recipe with a taco-seasoned sour cream base and all your favorite taco toppings, and layer everything in minutes!
Make this layered taco dip recipe with a taco-seasoned sour cream base and all your favorite taco toppings, and layer everything in minutes!
 These peanut butter balls with Rice Krispies are a no-bake, bite-sized version of classic treats made even more decadent and chocolatey!
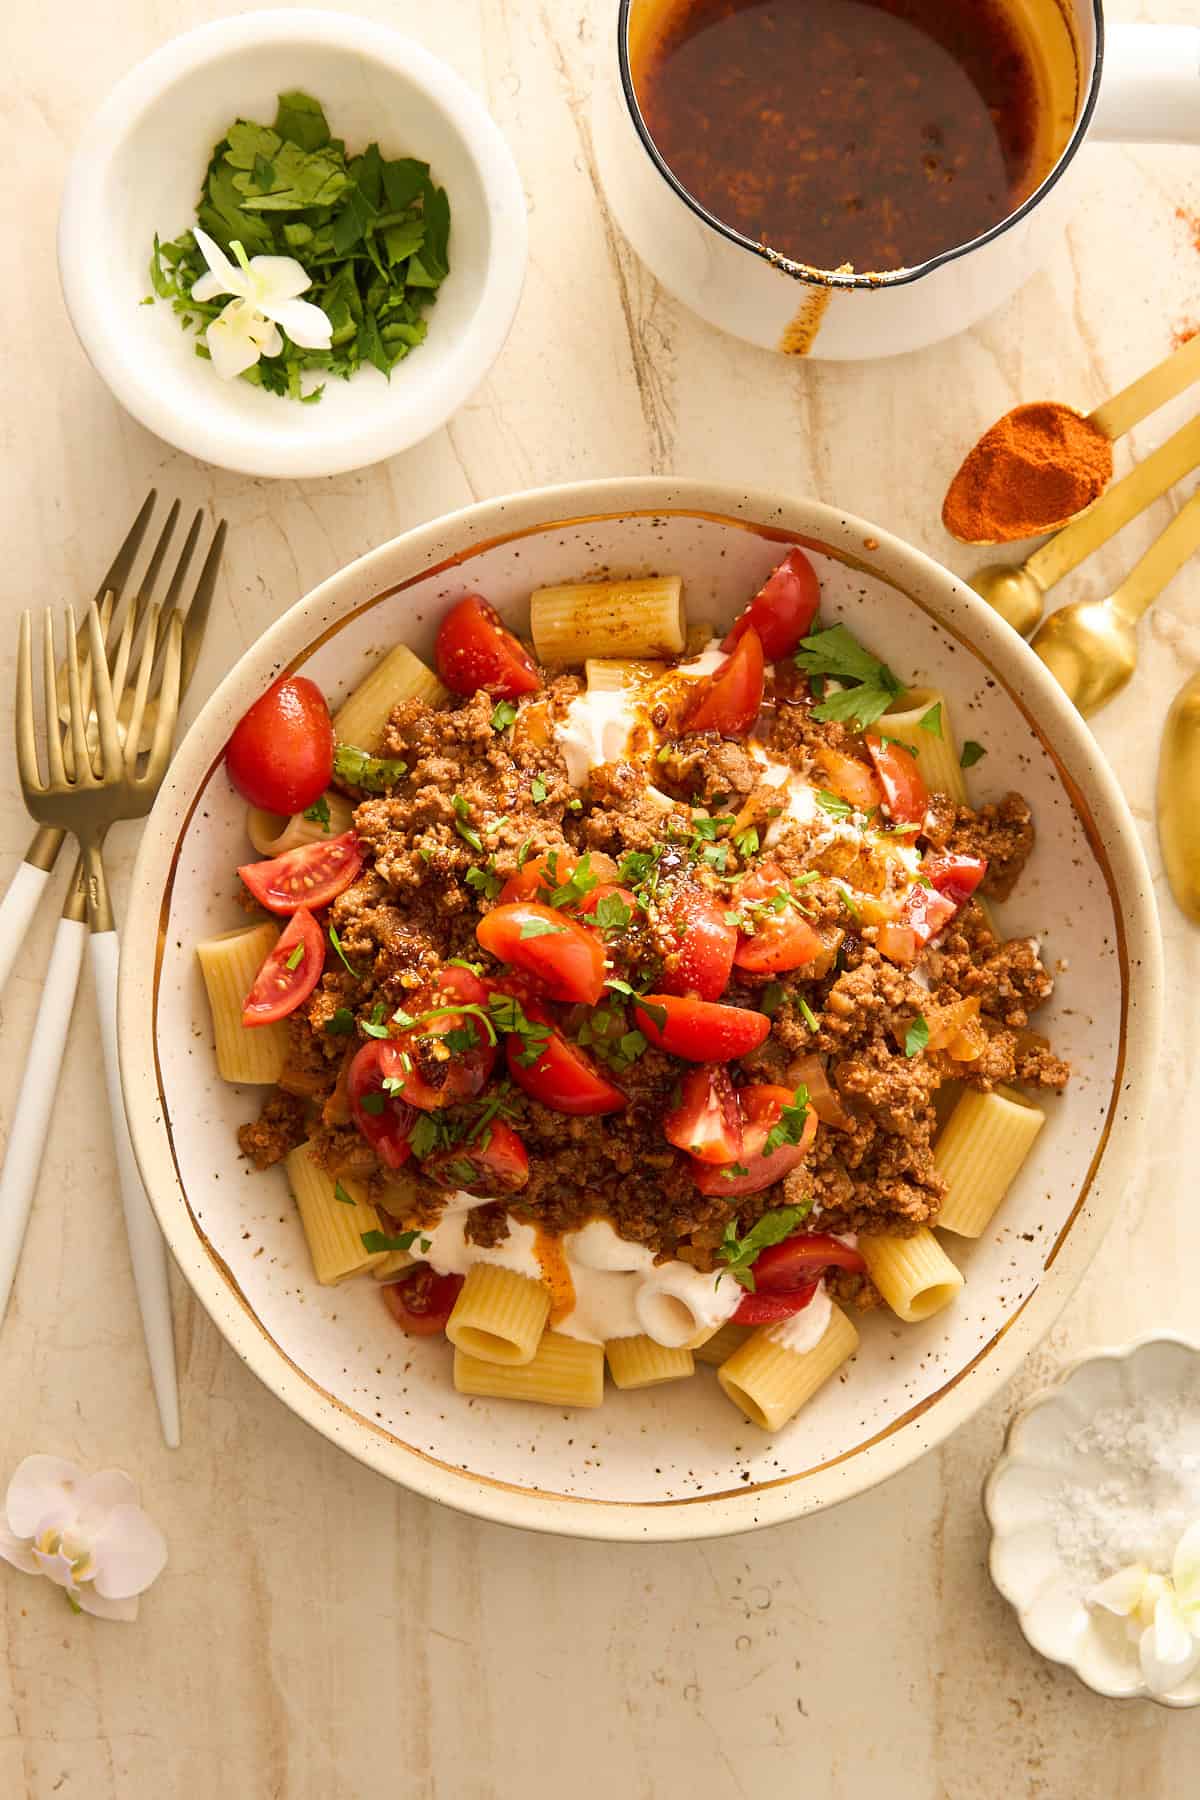 Learn how to make the best Turkish pasta with with garlic yogurt and a spiced butter sauce for a rich, hearty comfort food dinner!
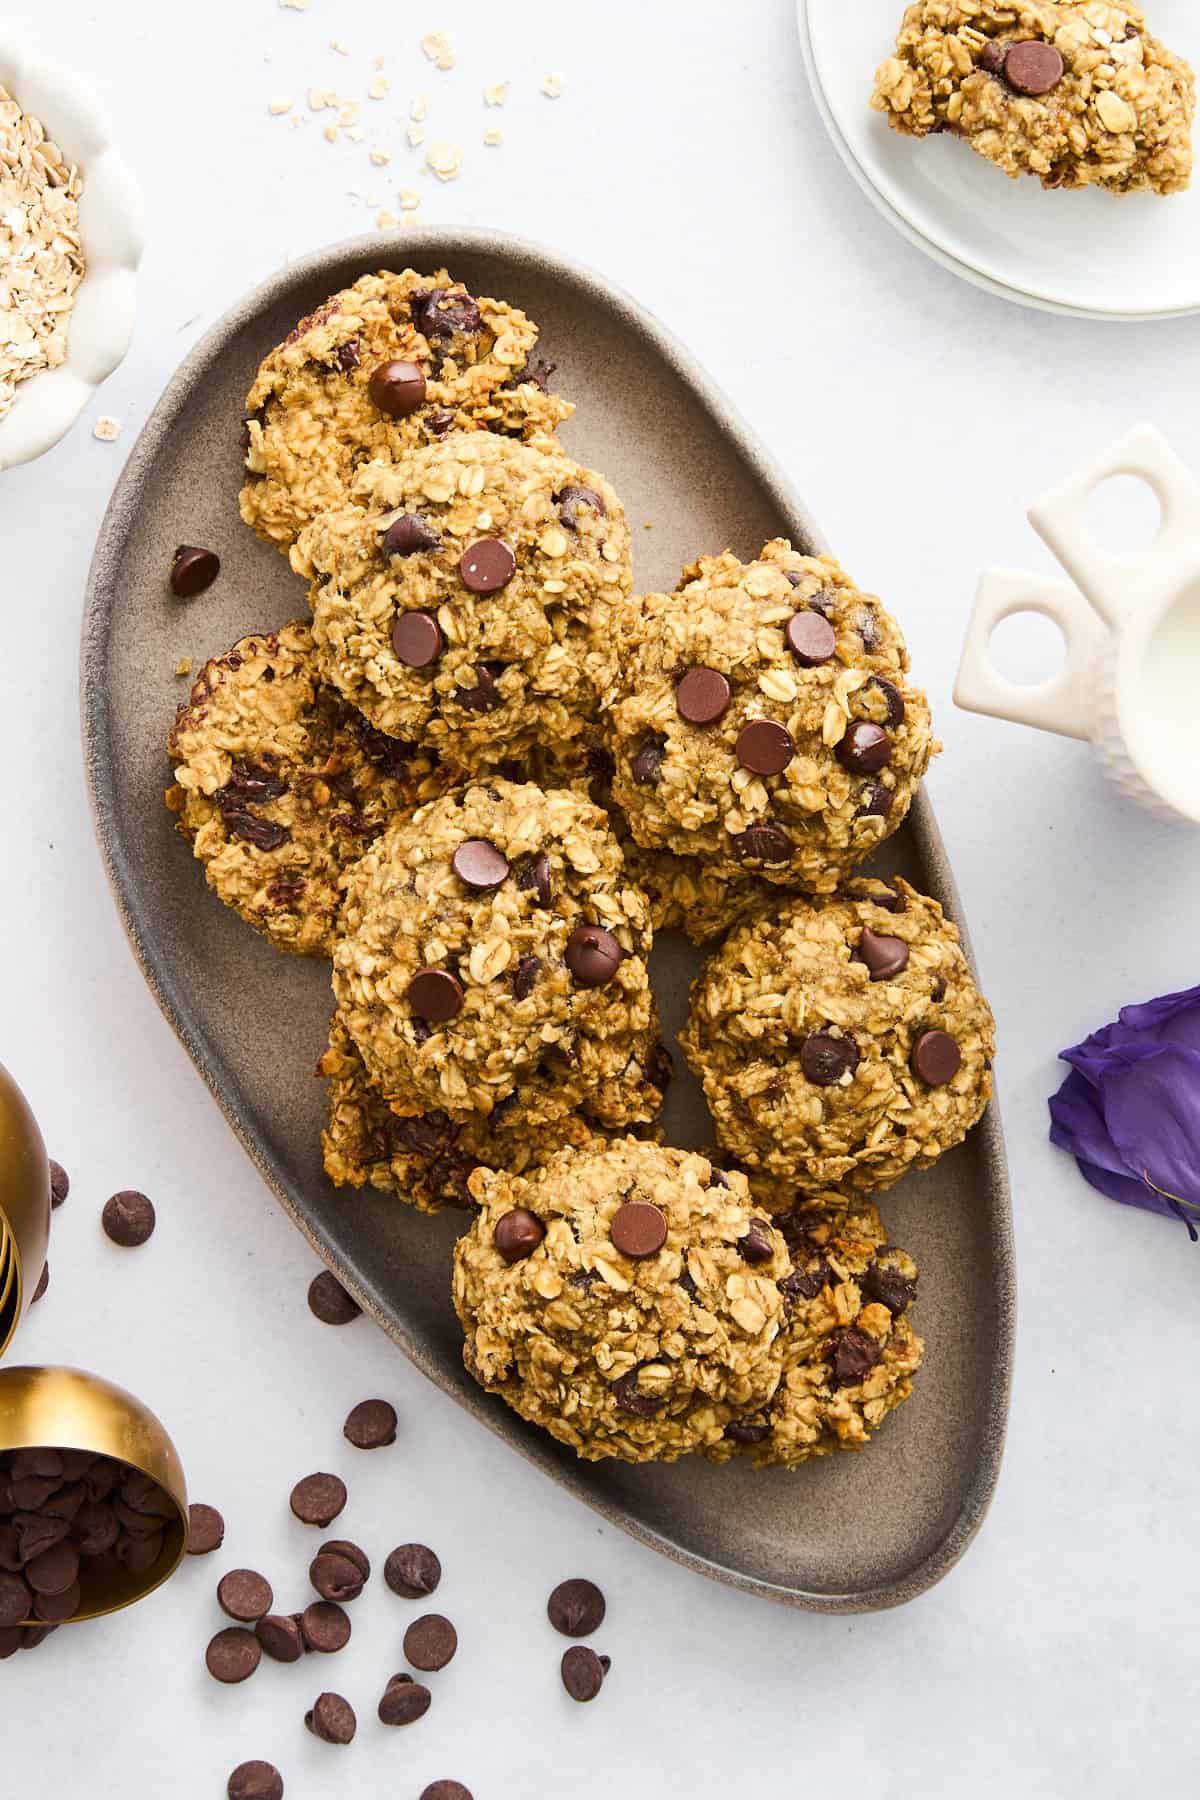 Make this easy banana oatmeal cookies recipe with chocolate chips in about 20 minutes for a sweet breakfast, snack, or dessert!
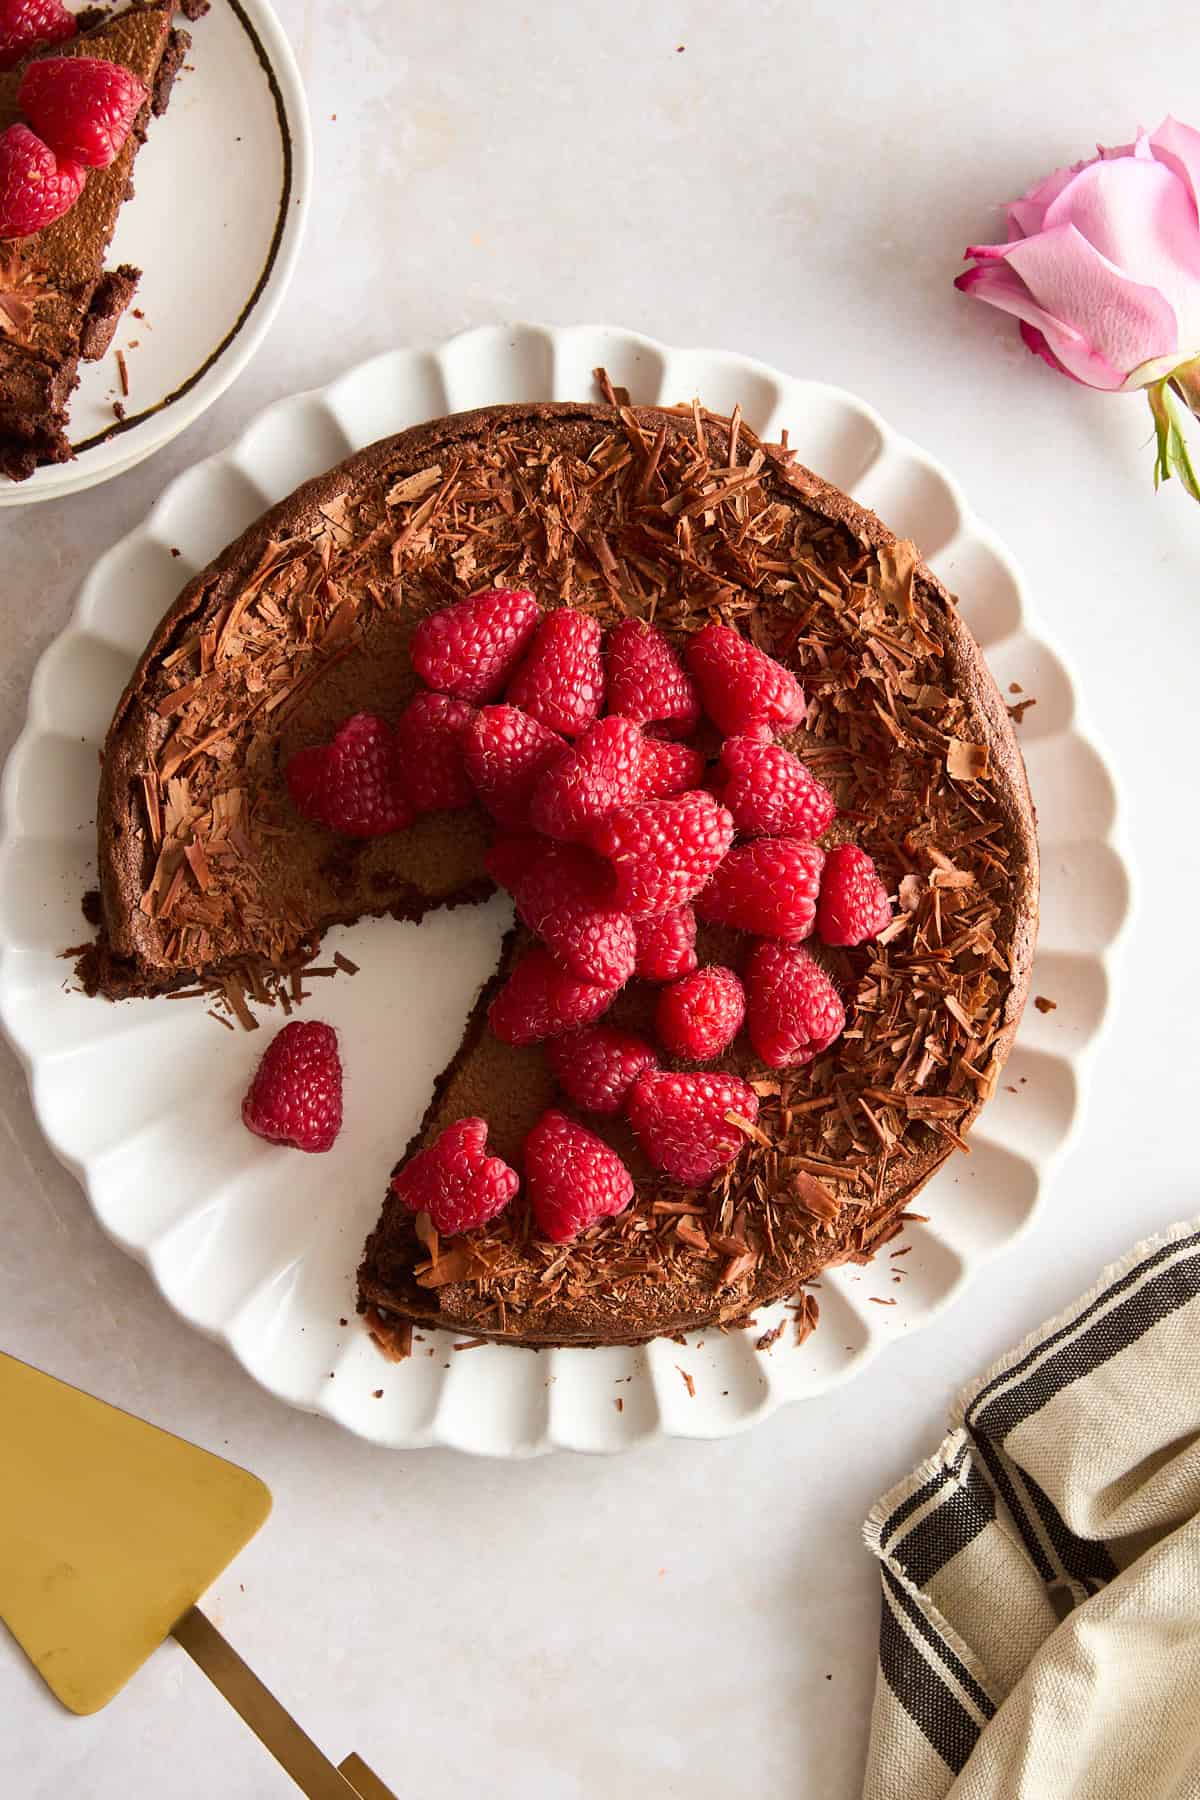 Learn how to make an easy flourless chocolate cake recipe with eight ingredients in about an hour for a decadent dessert!
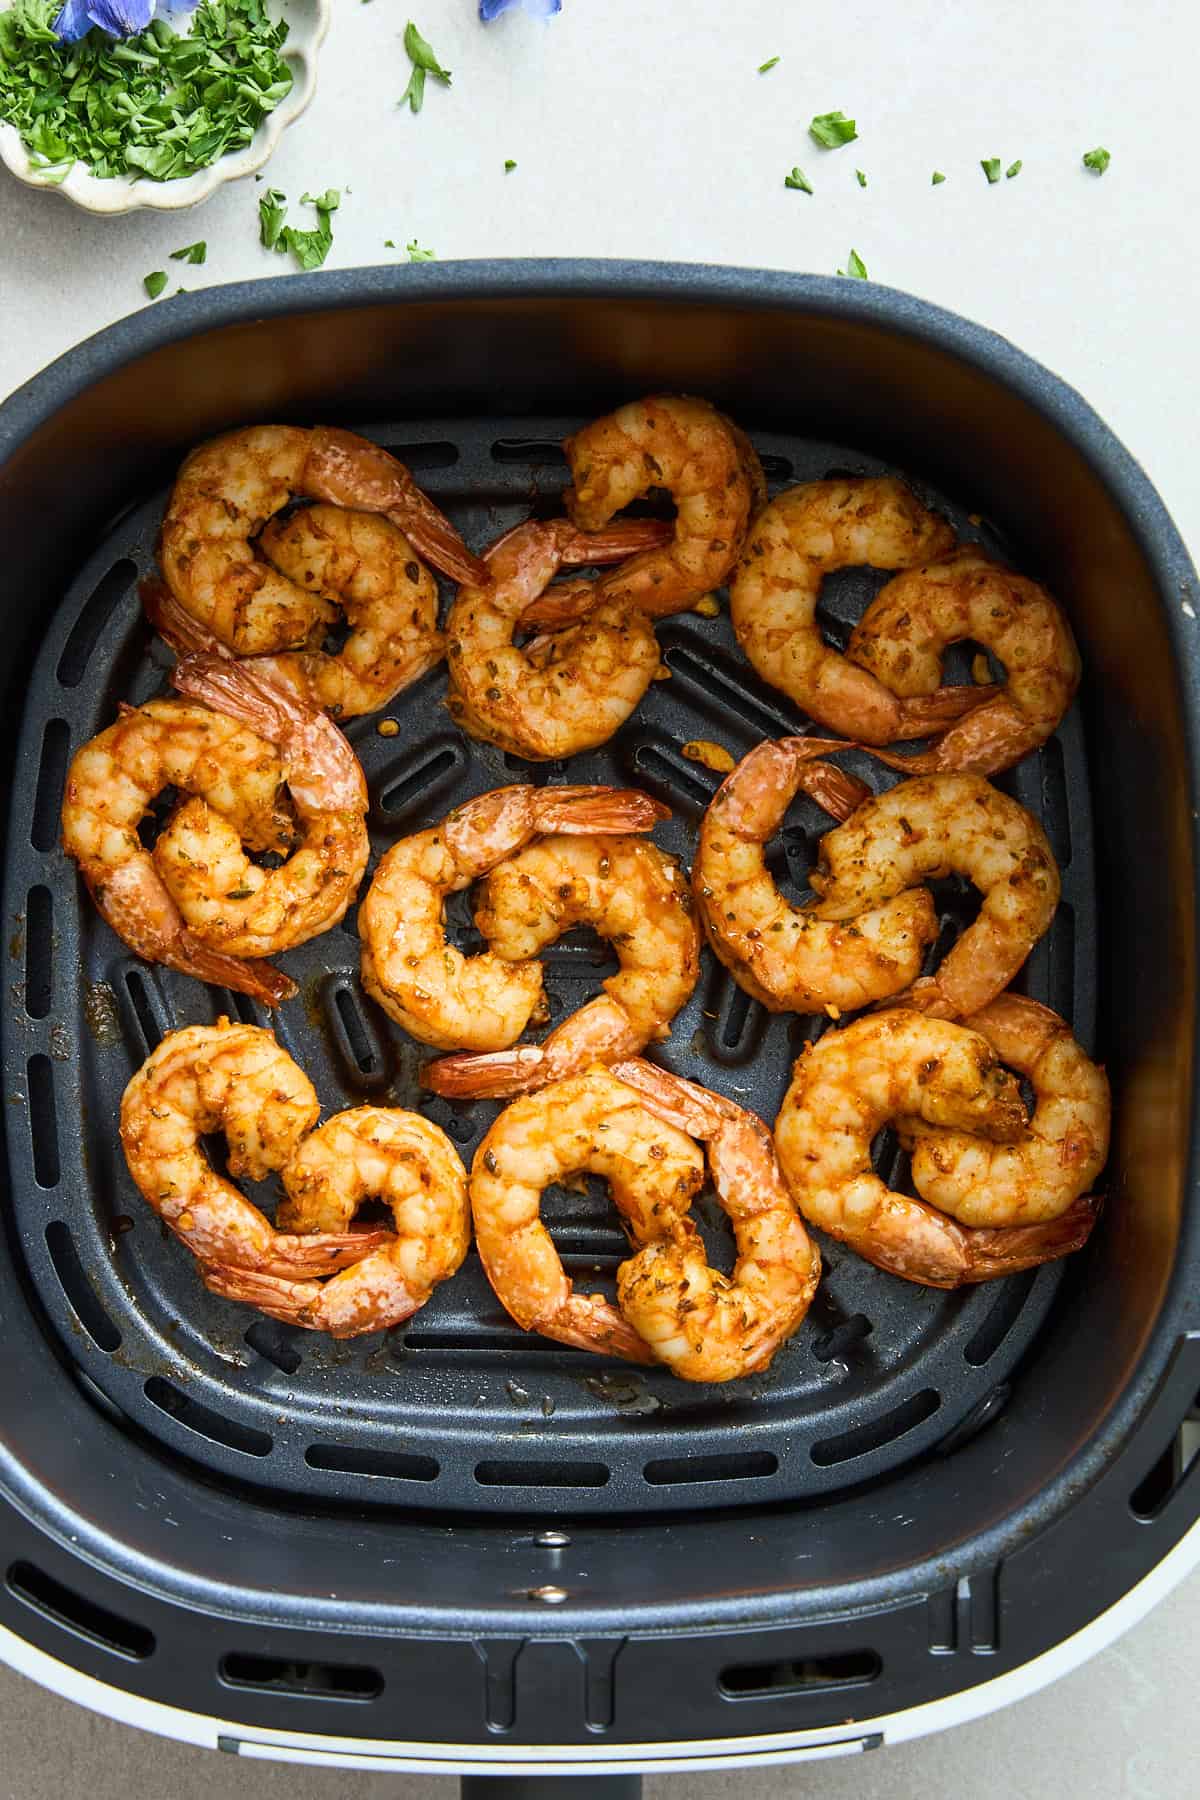 Learn how to make the best air fryer shrimp recipe with just a handful of ingredients in less than 10 minutes for an easy protein source!
 Skip takeout options, and make these flavor-packed salmon tacos with just five ingredients in less than 20 minutes instead!
 Make this easy sheet pan feta and veggies recipe in about 30 minutes for a hearty, nutritious vegetarian main course full of flavor!
 Skip the restaurant version, and make this easy copycat Olive Garden chicken gnocchi soup recipe in one pot in just over 30 minutes instead!
 Learn how to make a homemade marinated olives recipe for briny, tangy, mildly spicy olives to add bold flavor to all your favorite recipes!
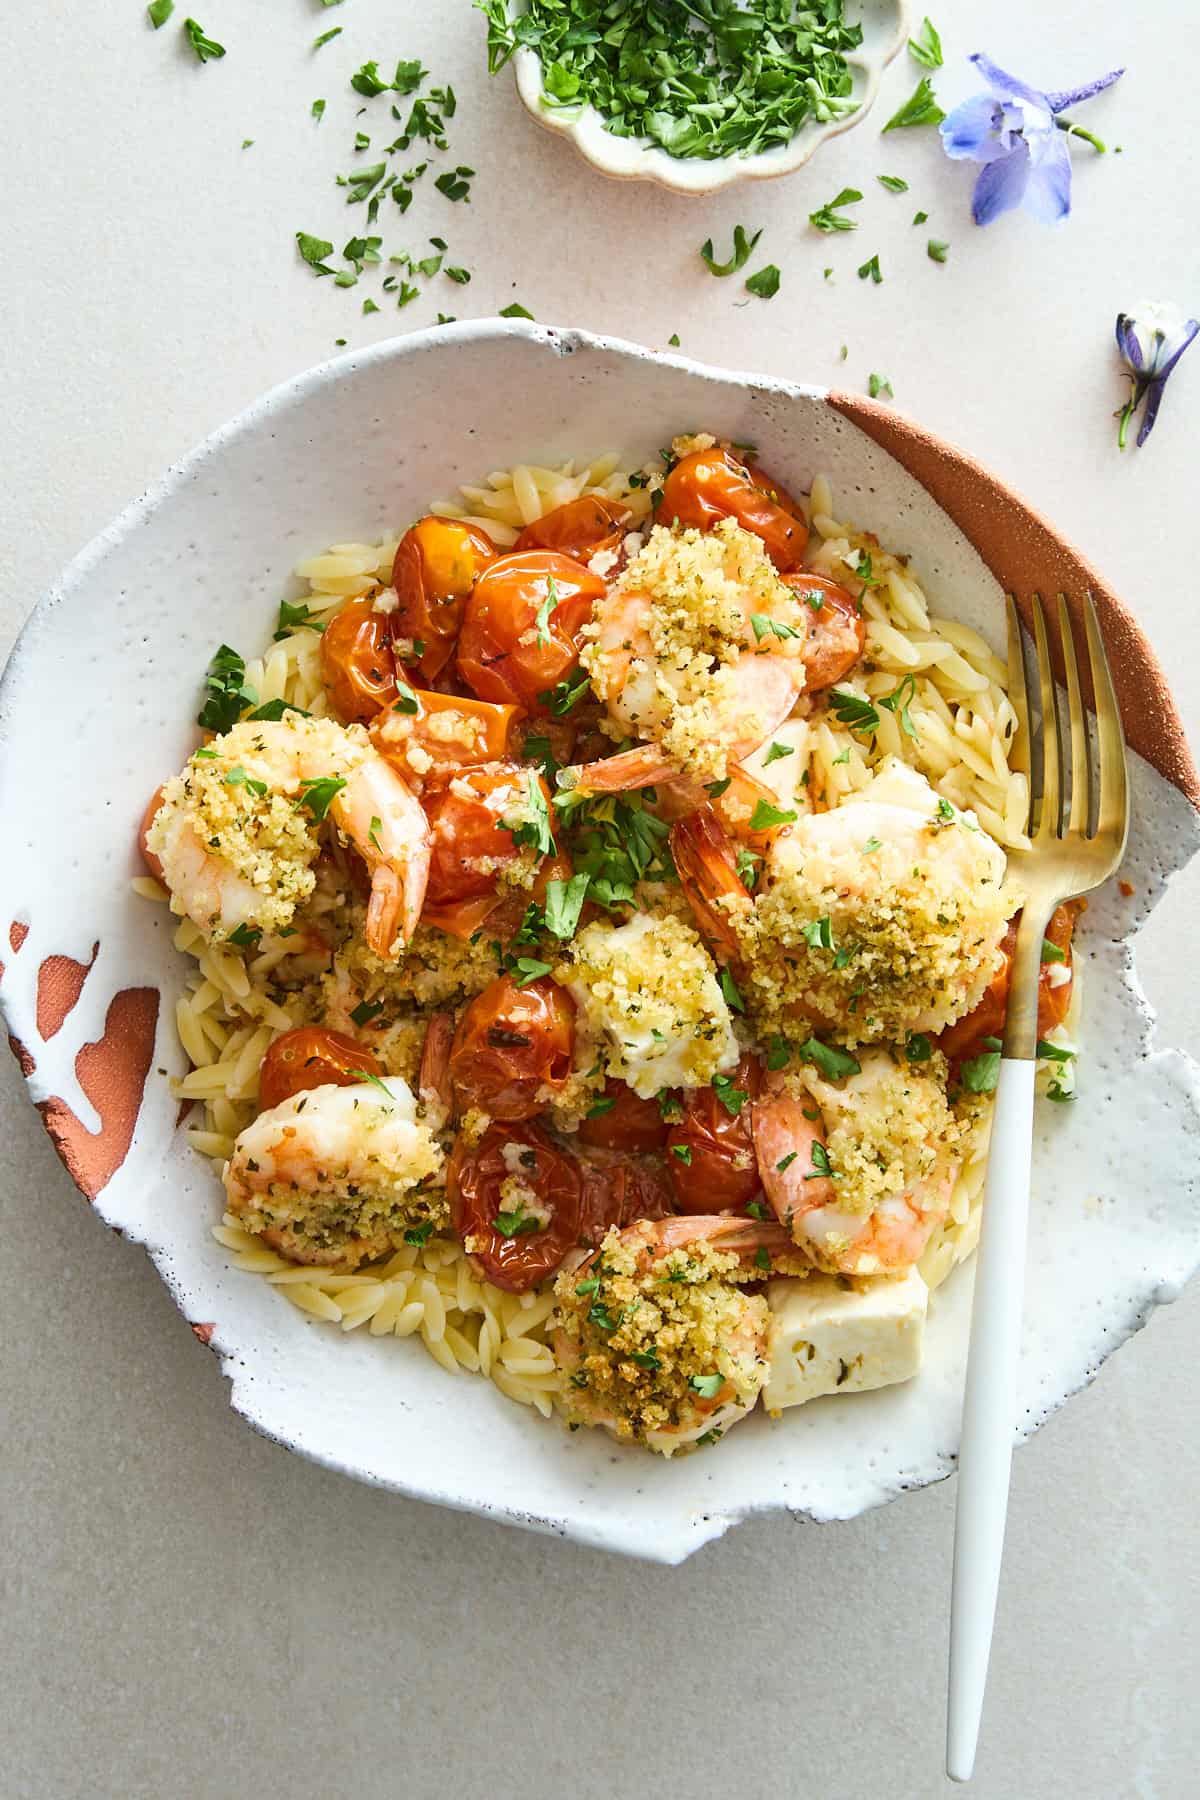 Make this flavor-packed panko shrimp and feta bake recipe in just over 30 minutes for a high-protein dish the whole family will love!
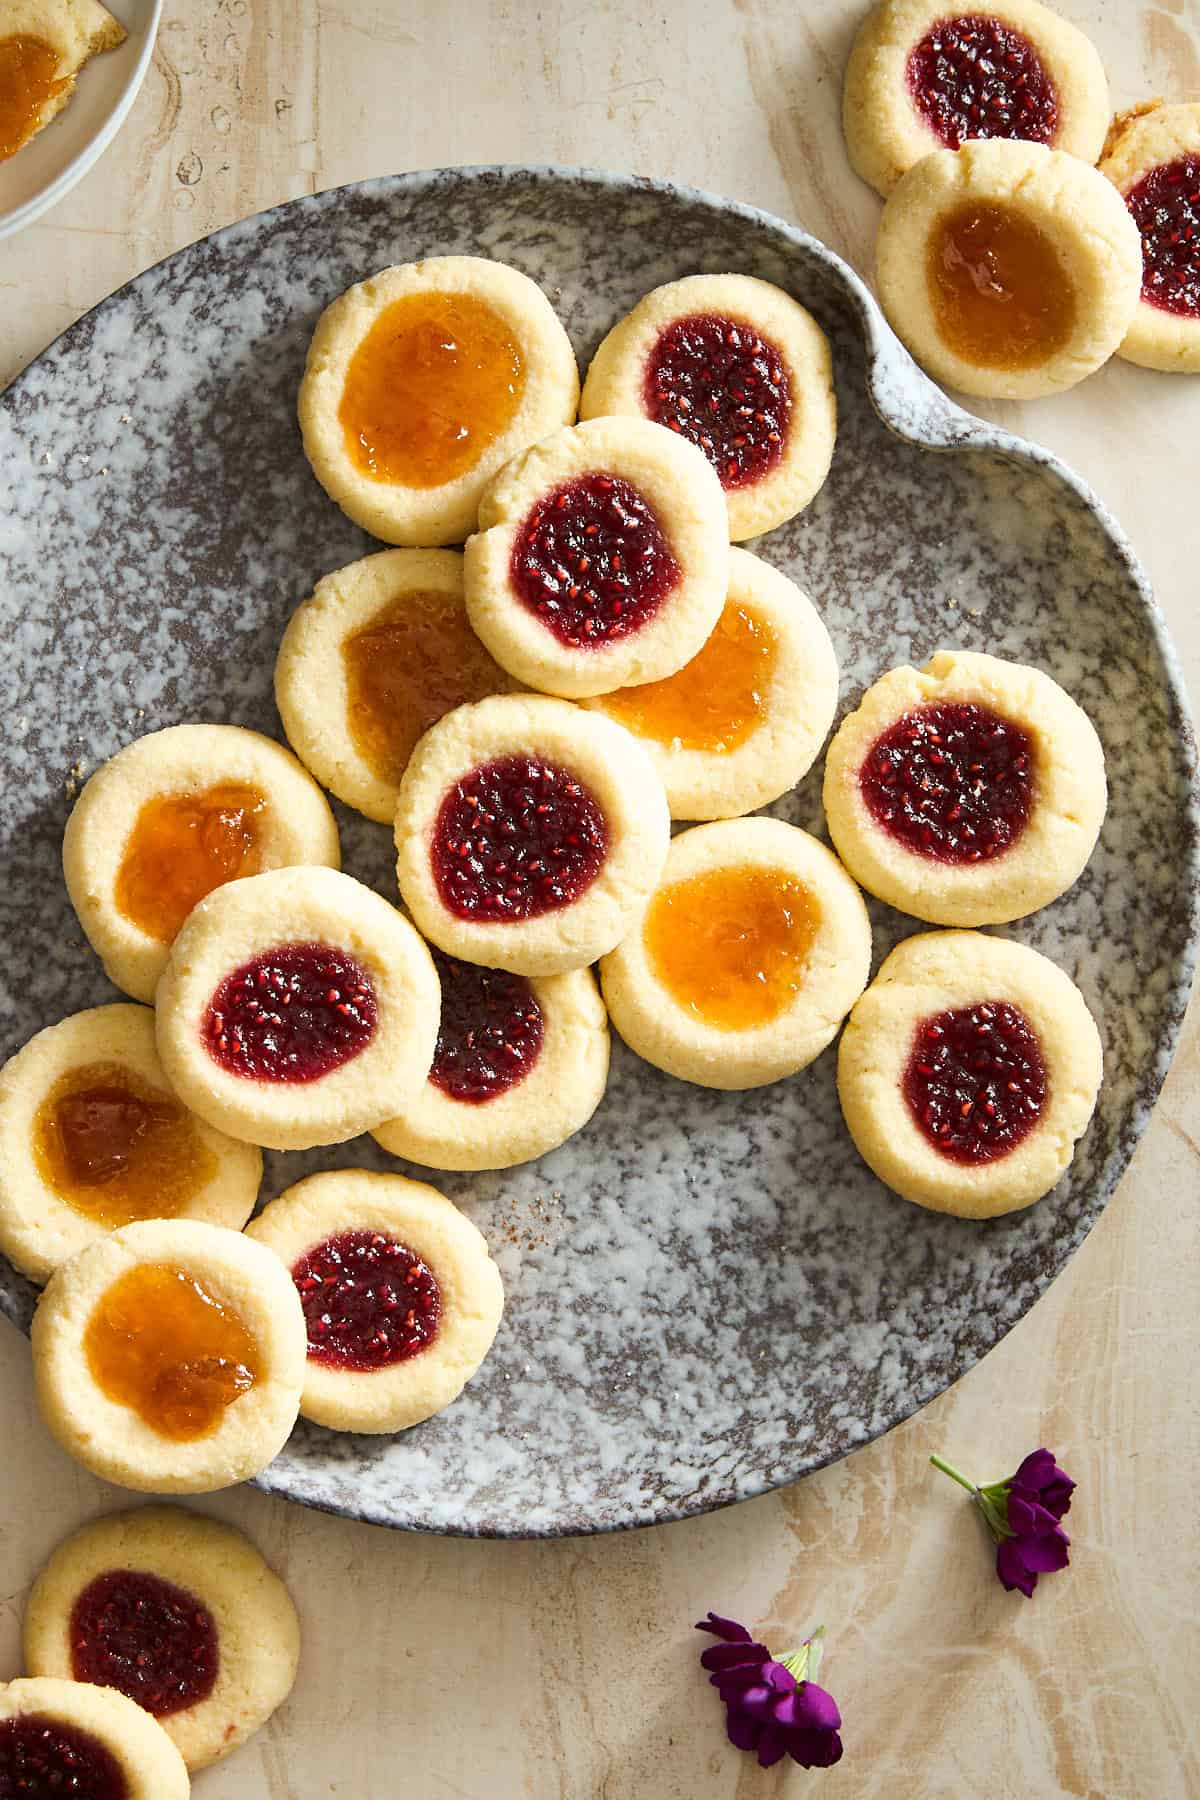 Find the best 30-minute jam thumbprint cookies recipe, and enjoy a classic holiday treat that’s rich and buttery with delicious fruity notes!
 Prepare these easy chocolate chocolate macadamia nut cookies with white and dark chocolate chips in about 30 minutes!
 Elevate your favorite breakfast with the rich, sweet flavors and dessert-like streusel topping of this irresistible maple french toast!
 Learn how to make the best spritz cookies recipe with six ingredients in under 30 minutes for a sweet, buttery holiday treat!
 Make this easy puff pastry walnut tart recipe for a sweet, nutty dessert that’s flakey on the outside and deliciously gooey in the center!
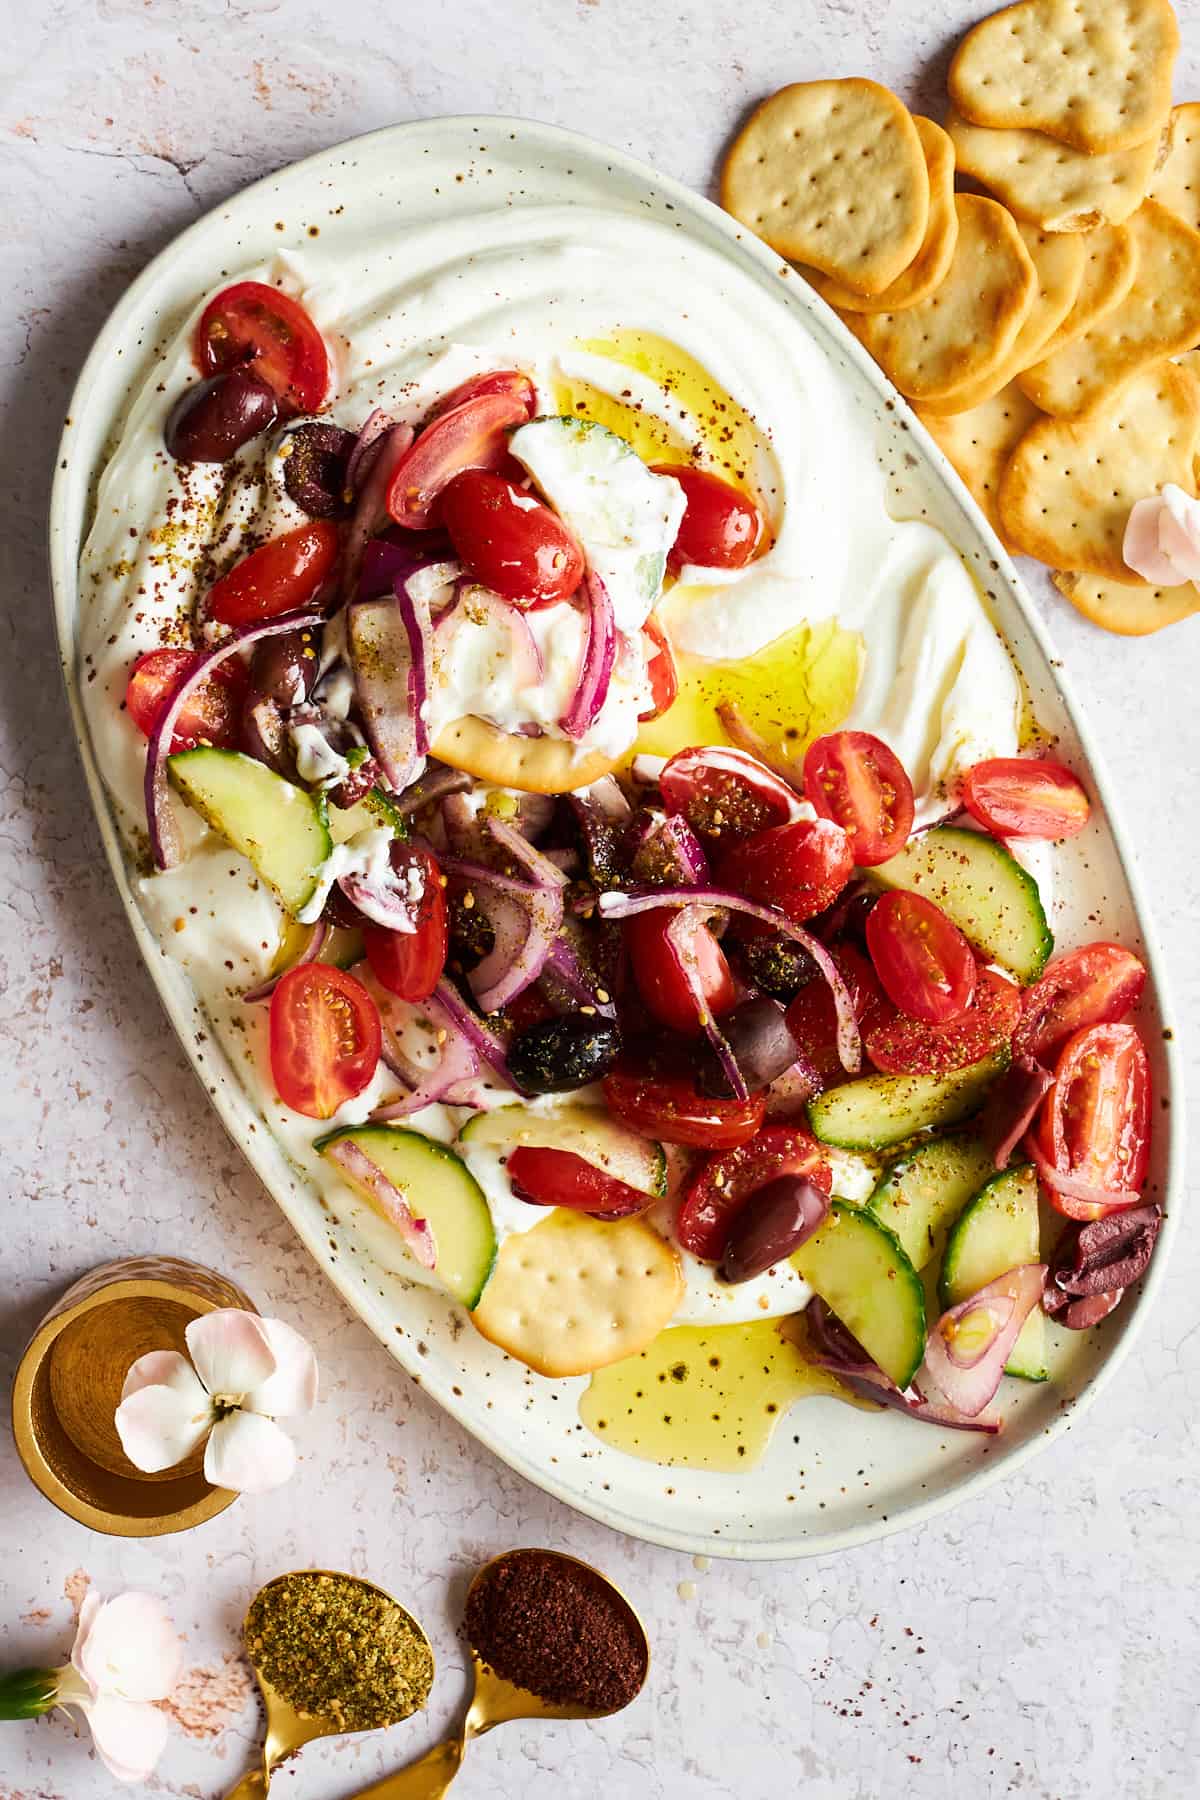 Make this Greek salad dip recipe with fresh veggies, a homemade vinaigrette, and creamy yogurt. With minimal prep time, it…
 Hey there, fellow food enthusiasts! Welcome back to the Food Dolls’ corner of the internet where we explore all things…
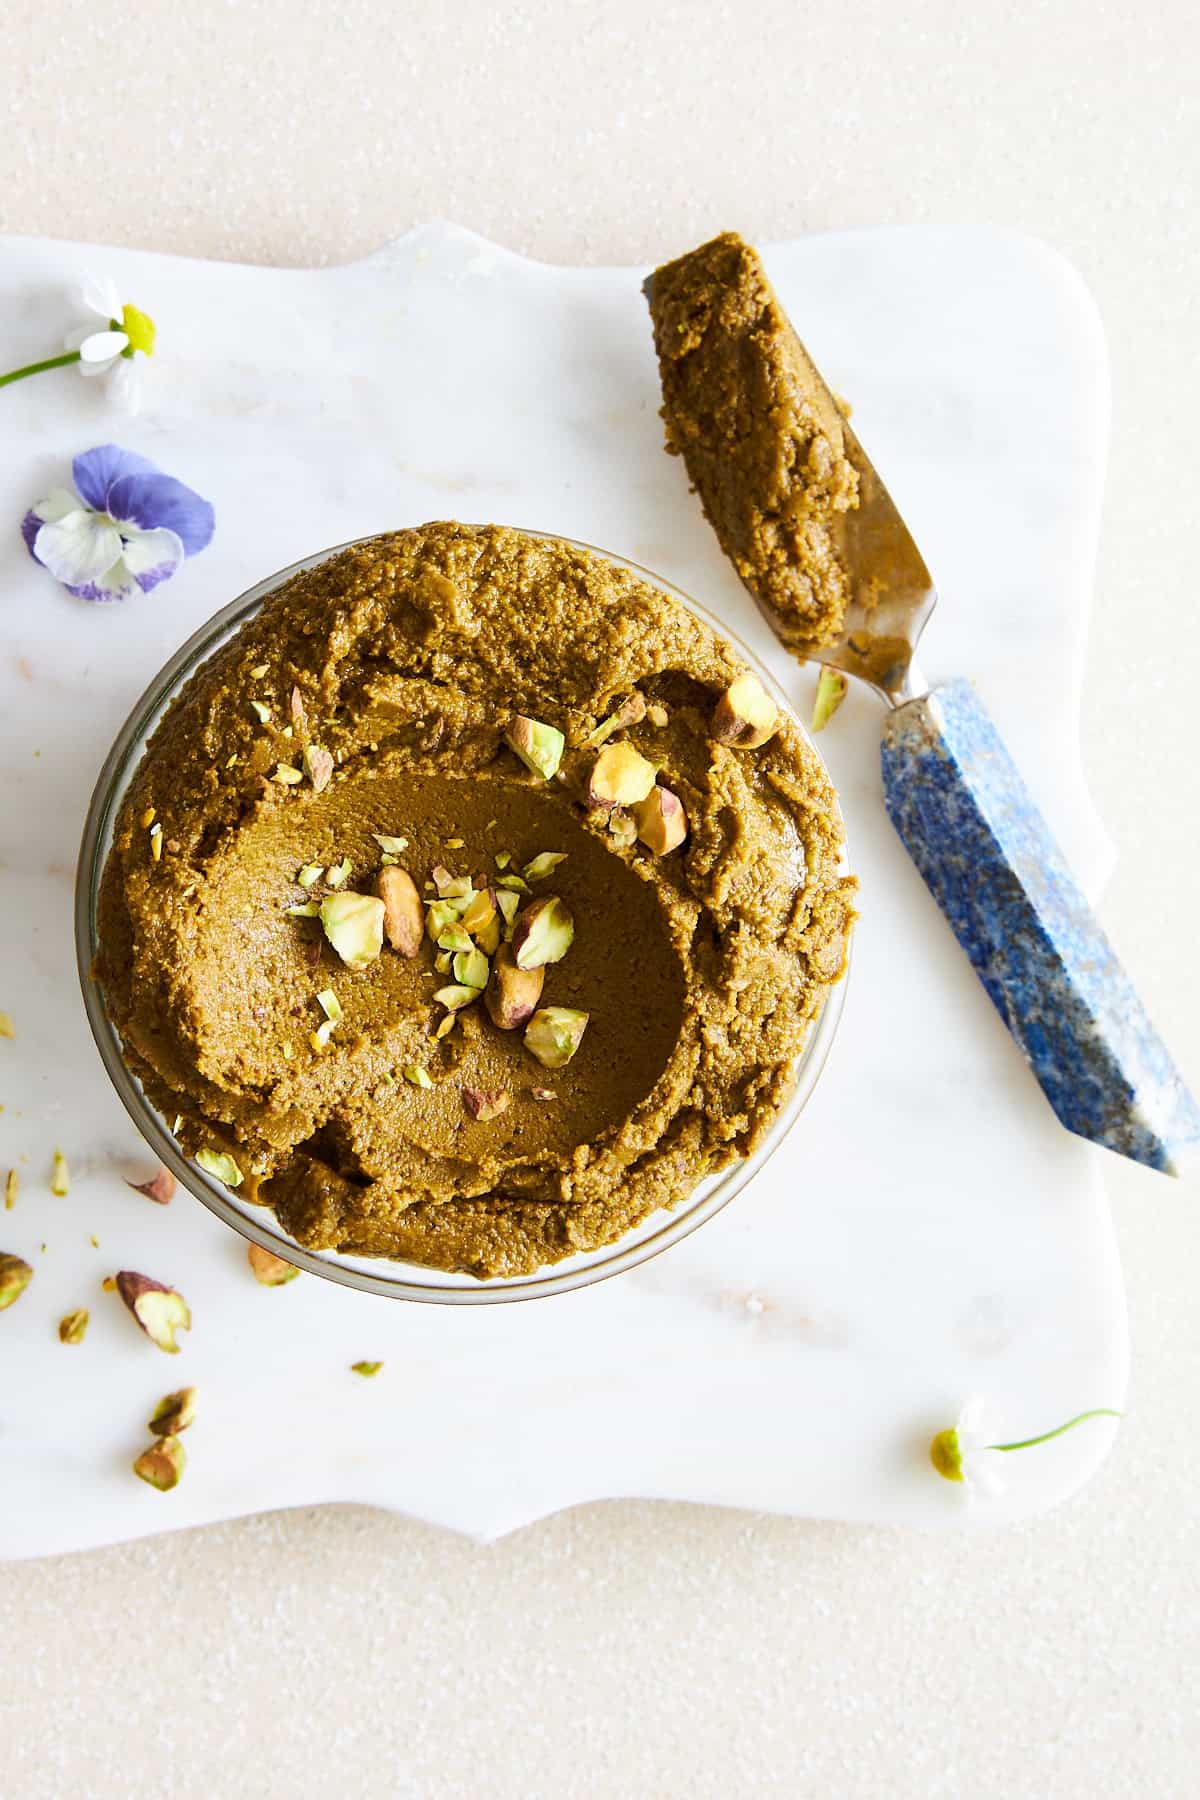 Learn how to make homemade pistachio butter with just three ingredients, and use it to add sweet, nutty flavor to a variety of recipes!
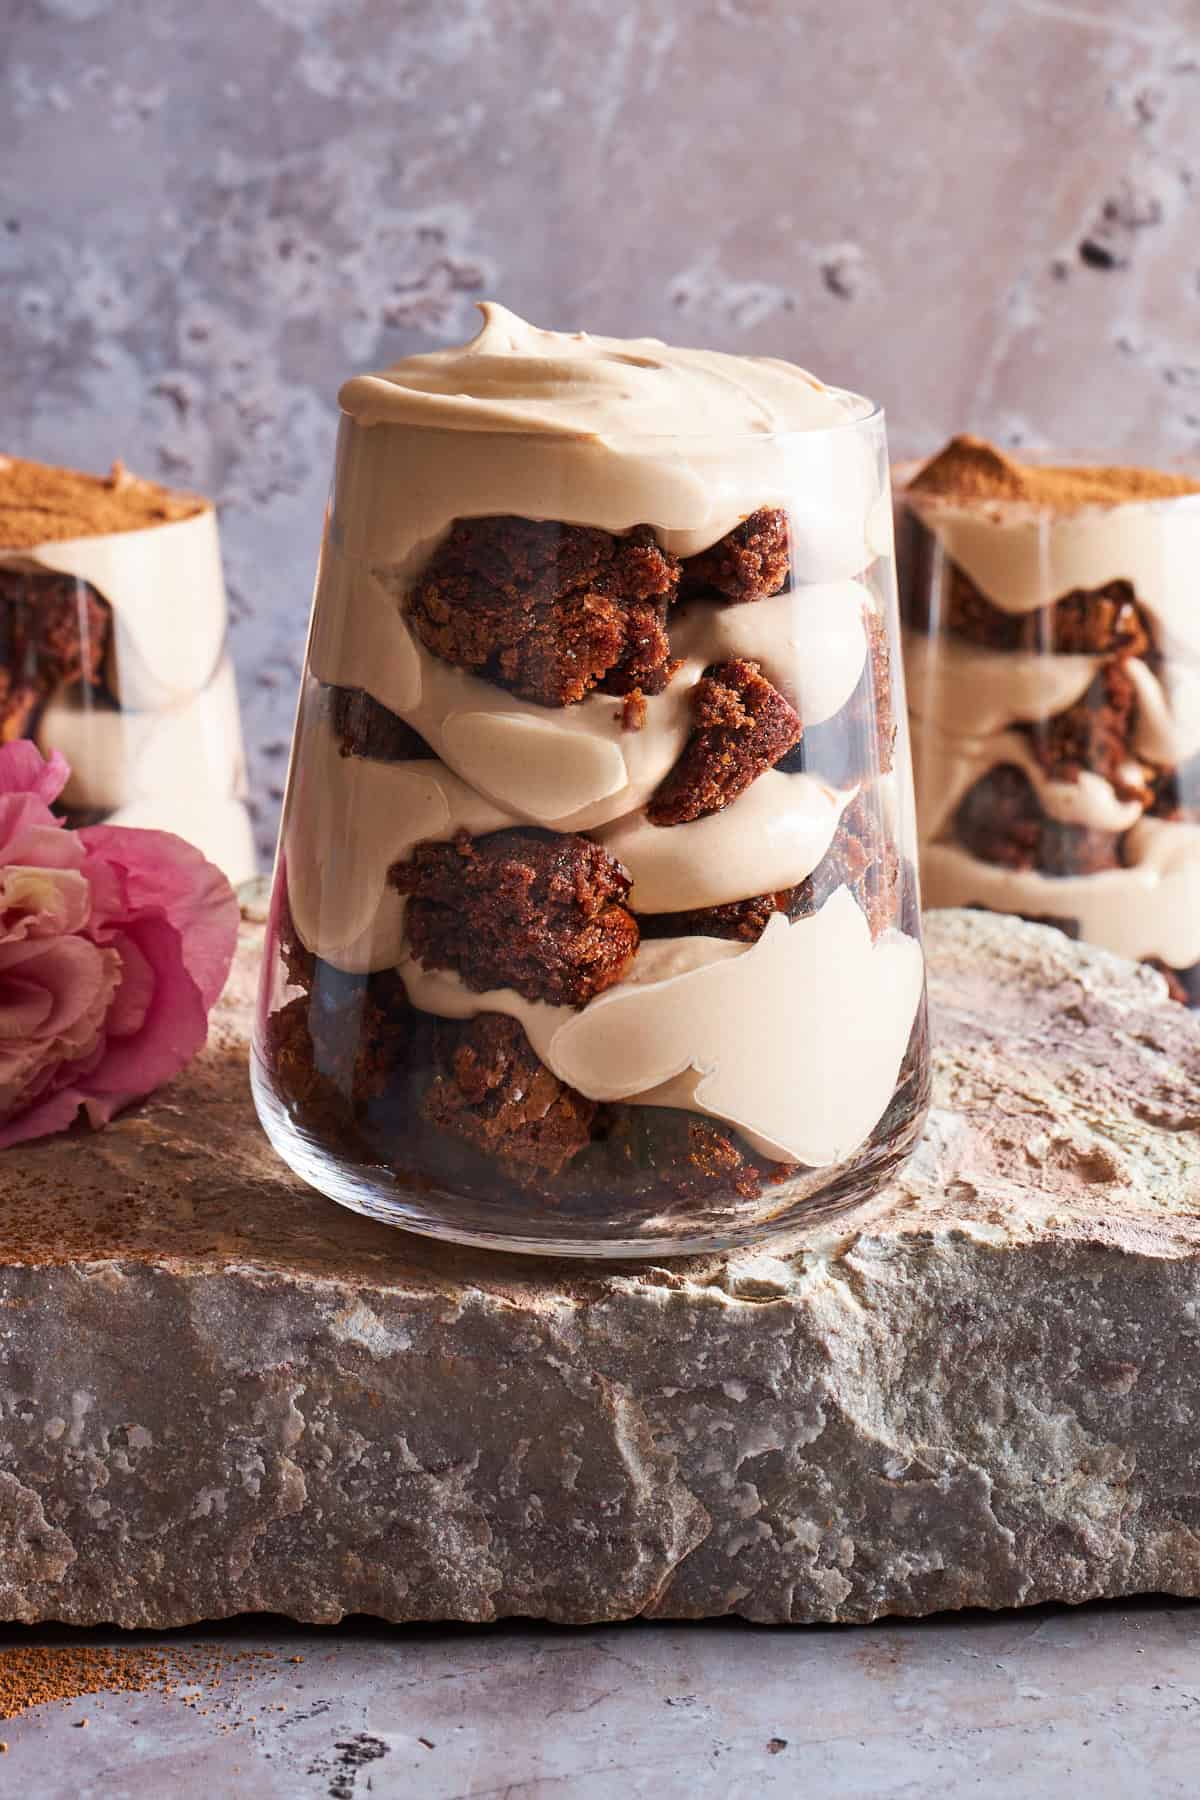 Combine two of your favorite desserts into one irresistible treat thanks to this easy, tiramisu brownie parfait recipe!
 Find a collection of fruity crisp and cobbler recipes to take advantage of fresh produce with an easy dessert everyone will adore!
 Skip the canned options, and make this easy homemade cranberry sauce recipe with just seven ingredients in 20 minutes instead!
 Make this herb butter turkey recipe for a foolproof Thanksgiving turkey that’s flavorful, juicy, and so easy to prepare!
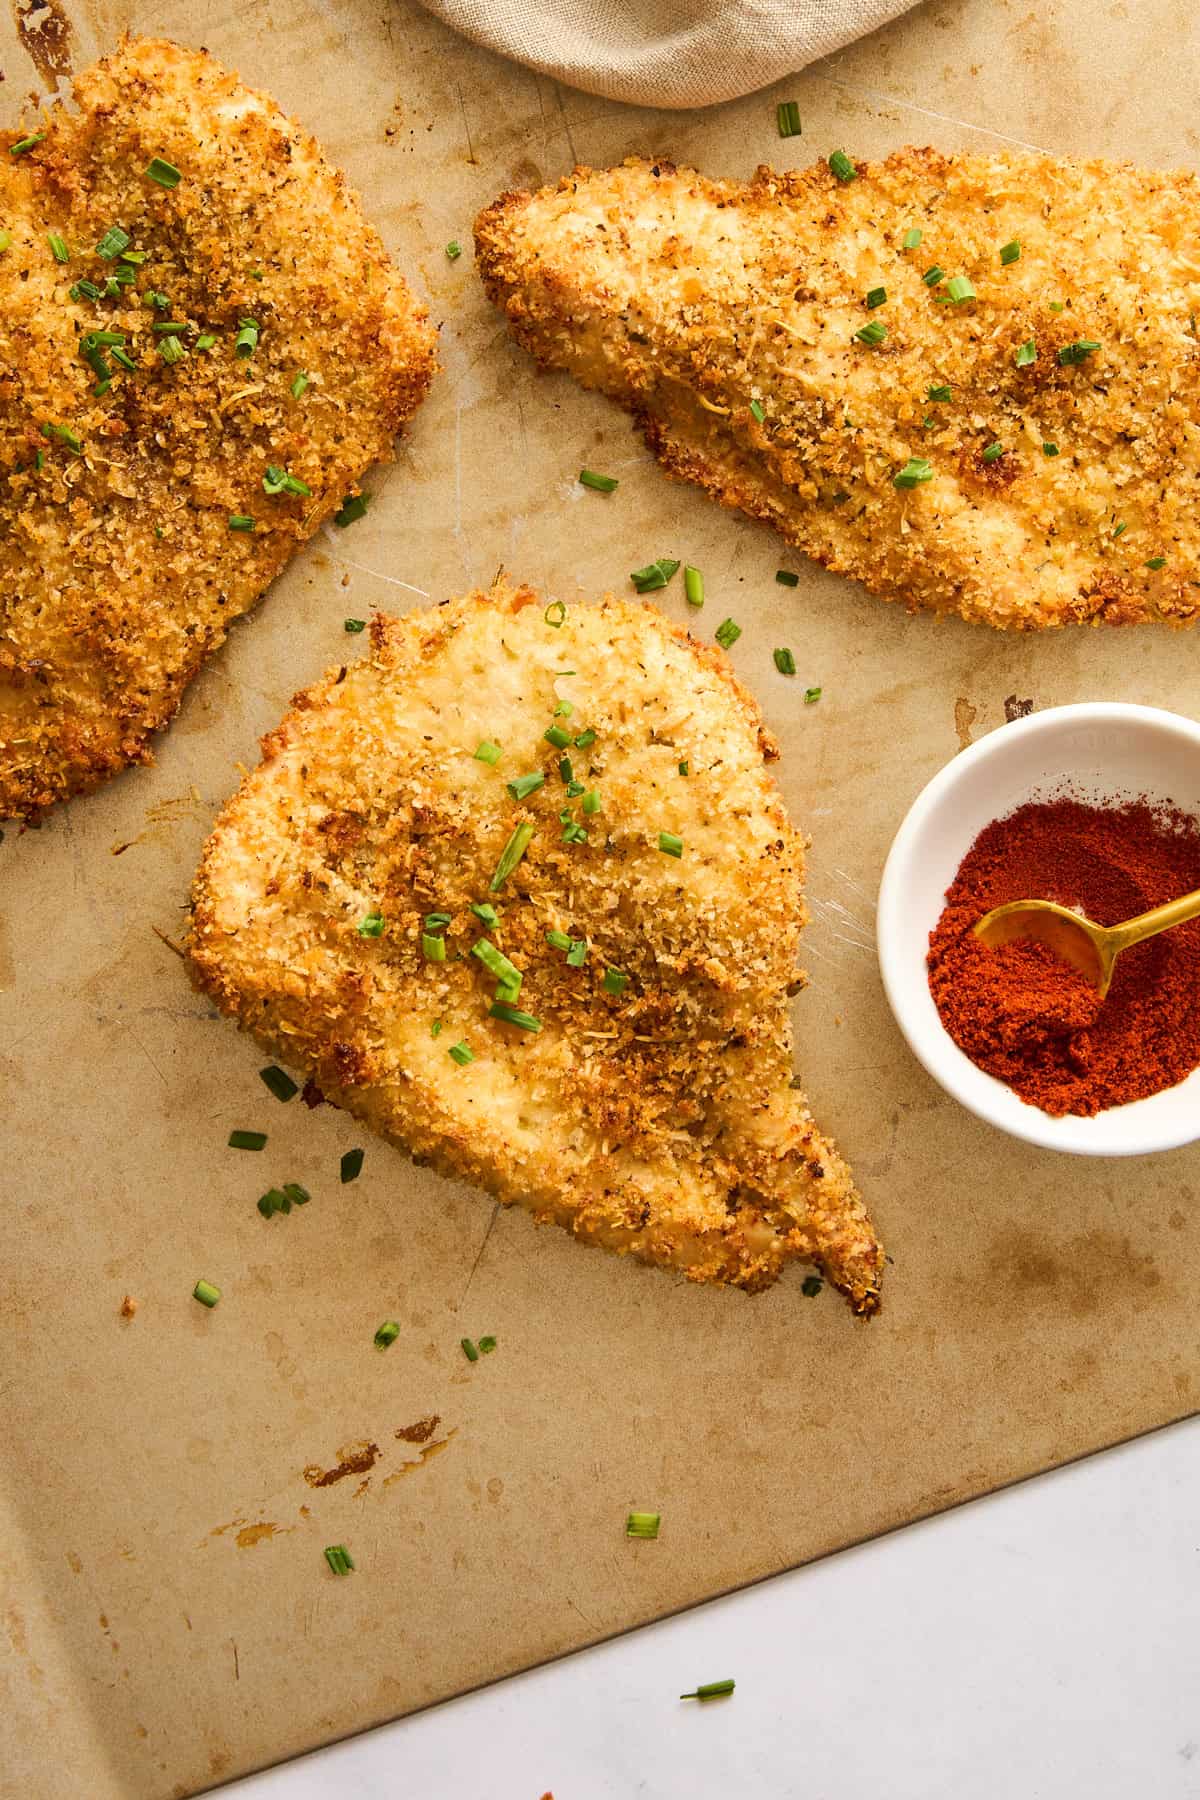 Learn how to make the best easy oven fried chicken recipe with a handful of ingredients for a healthier comfort food!
 Find a collection of easy Egyptian and Middle Eastern recipes from main courses, to snacks, and desserts for all your needs!